Belle Costume Tutorial Beauty and the Beast DIY
This content contains affiliate links or sponsored elements, read our Disclosure Policy.
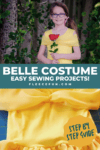

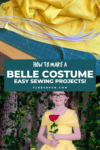
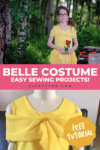

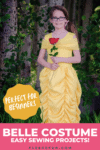

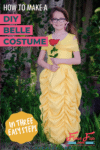
This Belle Costume Tutorial Beauty and the Beast is a simple and straight forward sewing project that is beginner friendly. Inspired by Disney’s Beauty and the Beast.

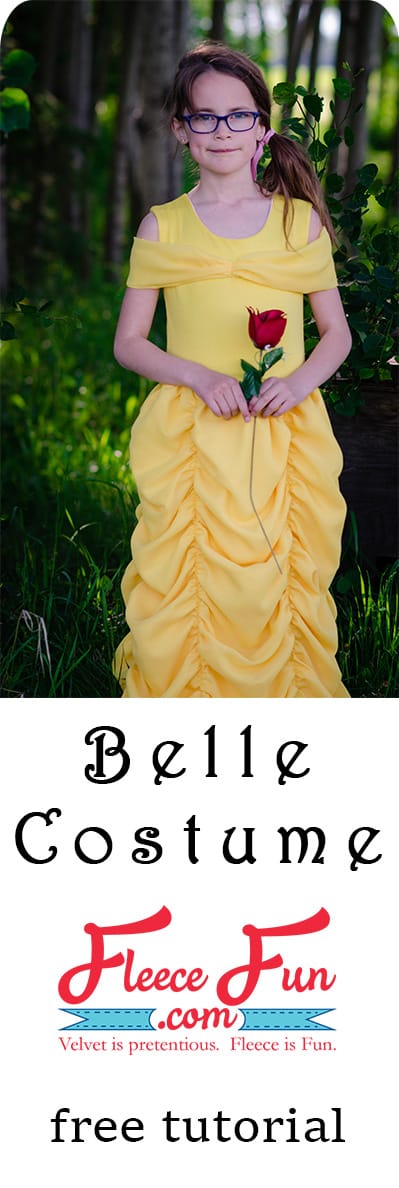
“A tale as old as time”…today I’ve put together a tutorial on how to create your own Belle inspired dress from Beauty and the Beast. The dress is sewn from a soft yellow satin with a yellow chiffon overlay on the skirt. The off the shoulder collar is sewn from the same chiffon.

While the dress looks spectacular, I came up with several short cuts that allows the dress to be sewn up in hours, not days! The bodice of the dress is actually a pre-made yellow tank top. You can purchase it from the store or sew one up from your favourite pattern. The stretchy tank top allows the dress to be worn for a long time without being outgrown and means you don’t have to fiddle with a zipper or button closure.

YOU WILL NEED:
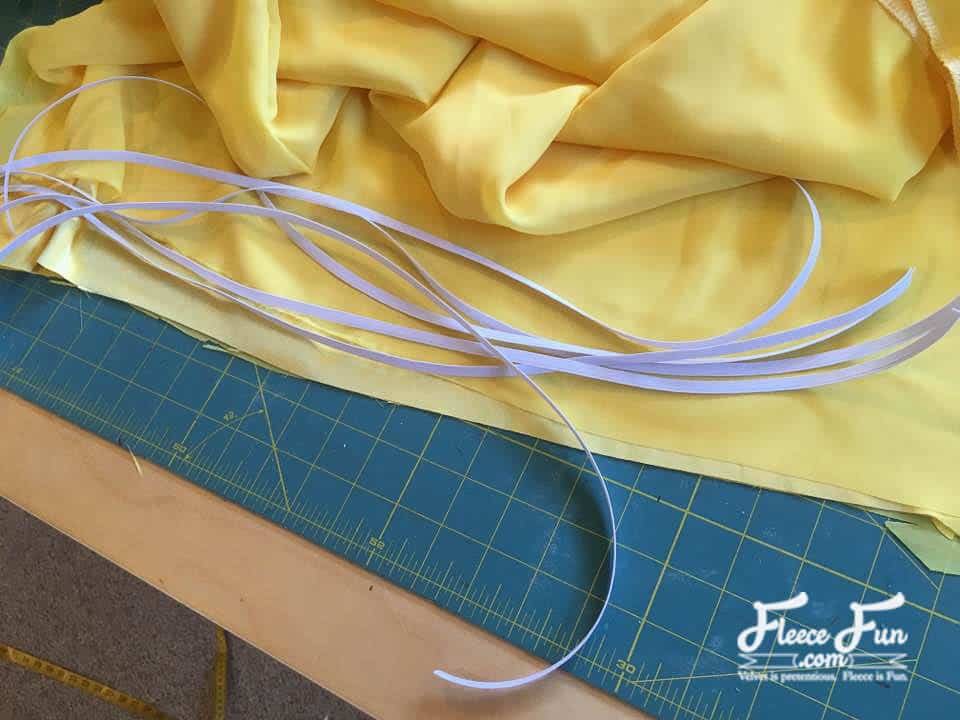
The skirt is ruched using lengths of 1/4″ elastic. You can make the skirt more or less full depending on the width of your fabric and how many rows of ruching you do.
- store bought or hand sewn yellow tank top
- 1/4″ elastic
- yellow satin – 60″ wide and double the desired length of the skirt
- yellow chiffon – 60″ wide and double the desired length of the skirt PLUS 12″
- Sewing Essentials (pins, scissors, etc.)
Quick Tip
Planning a Disney Vacation? Use the code “FLEECEFUN” to get get an extra $10 off any 2-night or longer Southern California package (hotel and 2 ticket minimum) when you book here.
Belle Costume Tutorial Beauty and the Beast
step 1 – cut the costume pieces
Cut the tank top so that the bottom edge ends at the waist (belly button).

Cut a rectangle of yellow chiffon 12″ x 60″. This is for the off the shoulder collar.

Cut 6 pieces of elastic the desired length of the skirt.
step 2 – sew the belle costume bodice
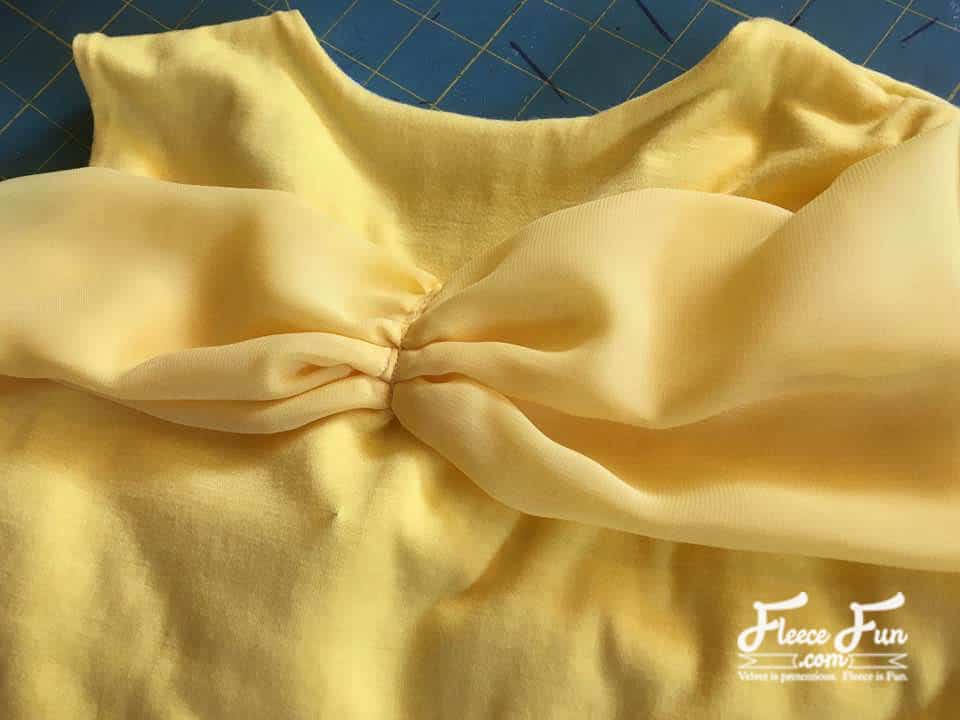
Sew the long edges of the 12″ x 60″ rectangle of chiffon together to form a tube, right sides facing. Chiffon frays easily, so use a serger or finish the seam with a zigzag stitch.

Turn right sides out and center the seam.
Wrap the tube around the model to determine the length. Don’t make it too tight or the model will not be able to move her arms.

Cut off the excess.

Stitch raw shorts ends together.

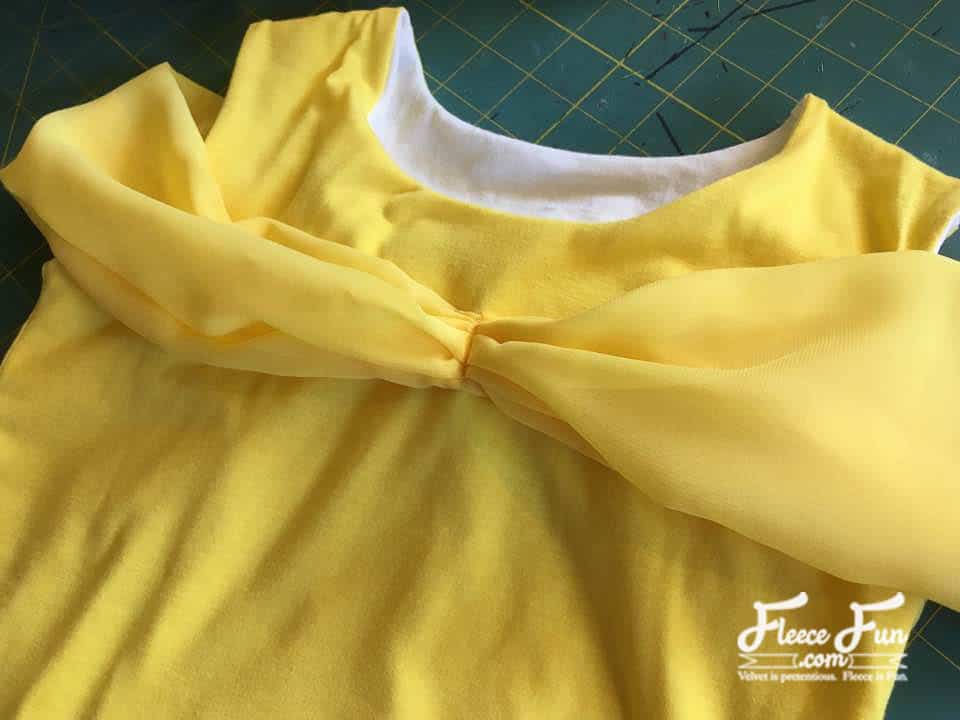
Center this seam on the back of the tank top.

Pleat or gather the tube and stitch in place.
Repeat with the front.

step 3 – sew the Belle Costume Skirt
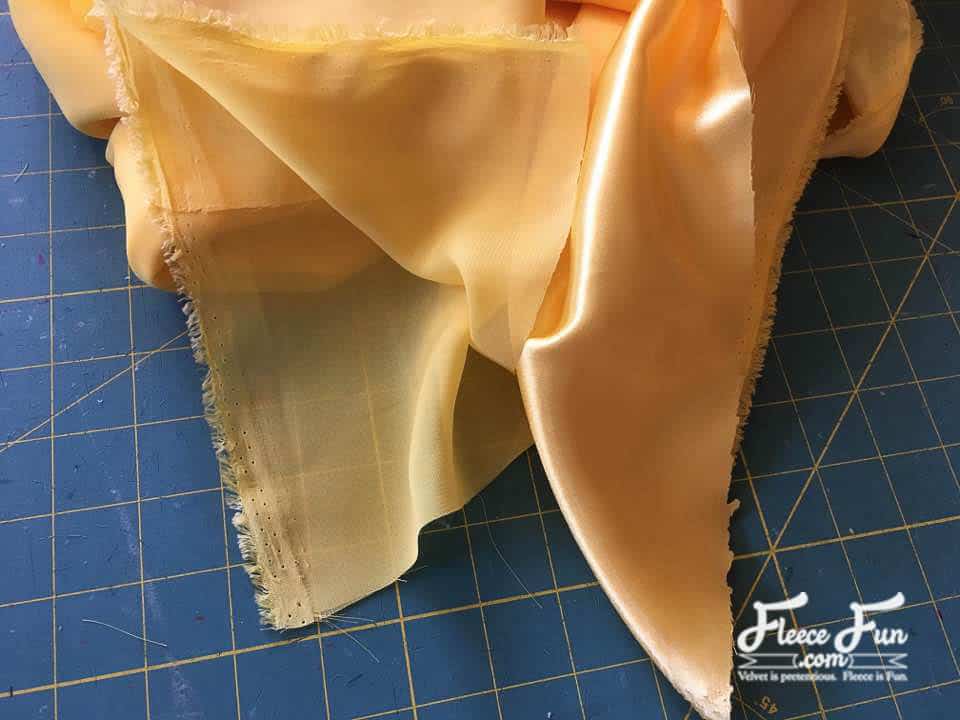
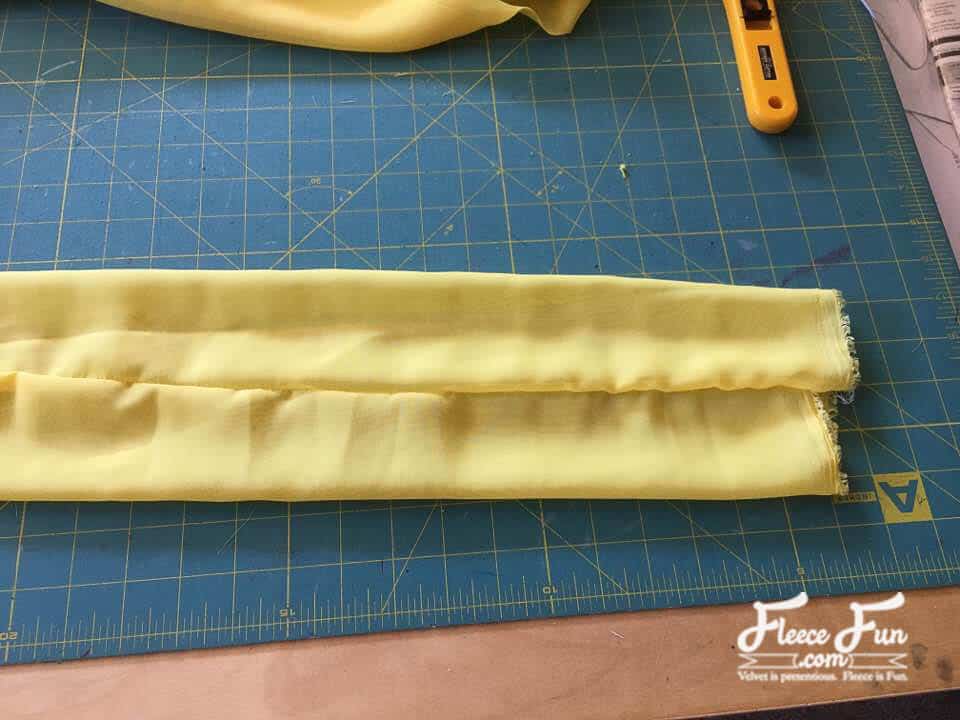
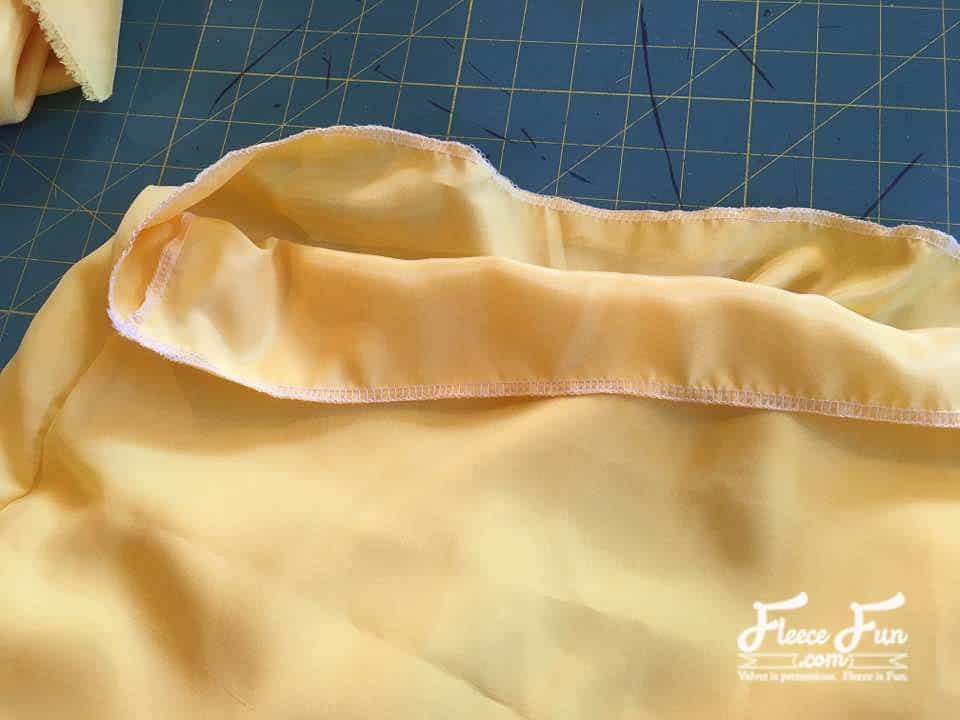
With right sides together, sew the long selvage edges of the satin together. Repeat with the chiffon. Turn both right sides out.

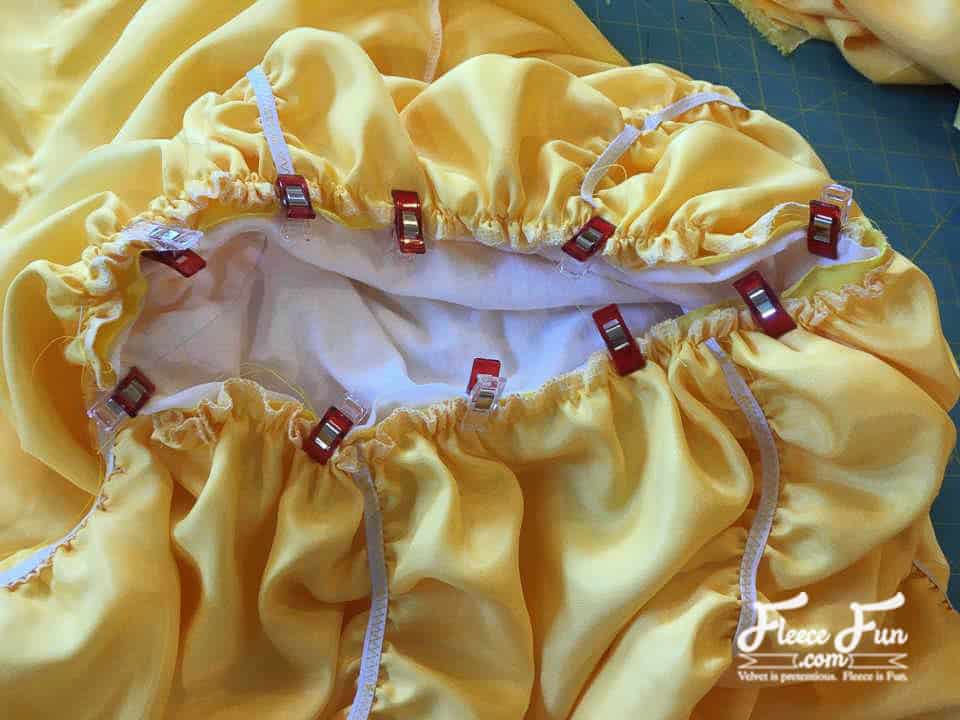
Slip the satin skirt inside the chiffon shirt so that the right sides of both are facing out. Baste them together at the top edges.
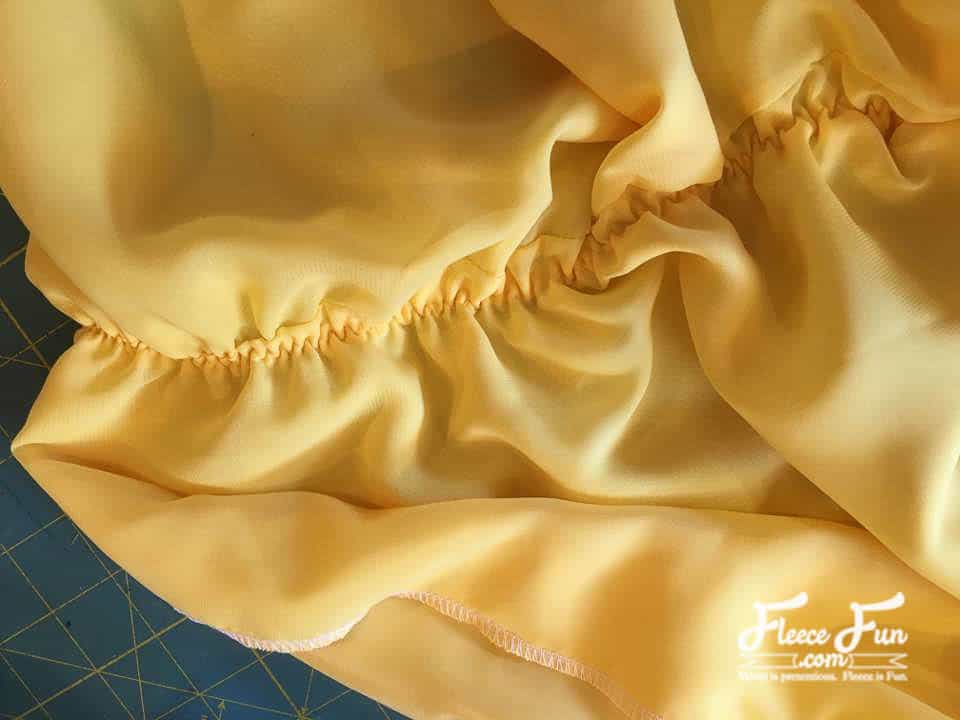
Lay the skirt flat so that the seam is at one side. Divide the front and the back of the skirt into thirds between the side seams. Sew a long vertical line of stitching at both side seams and at these markings (for 6 lines in total). These stitching lines help secure the satin and chiffon layers together as well as providing guide seams for sewing the elastic ruching.
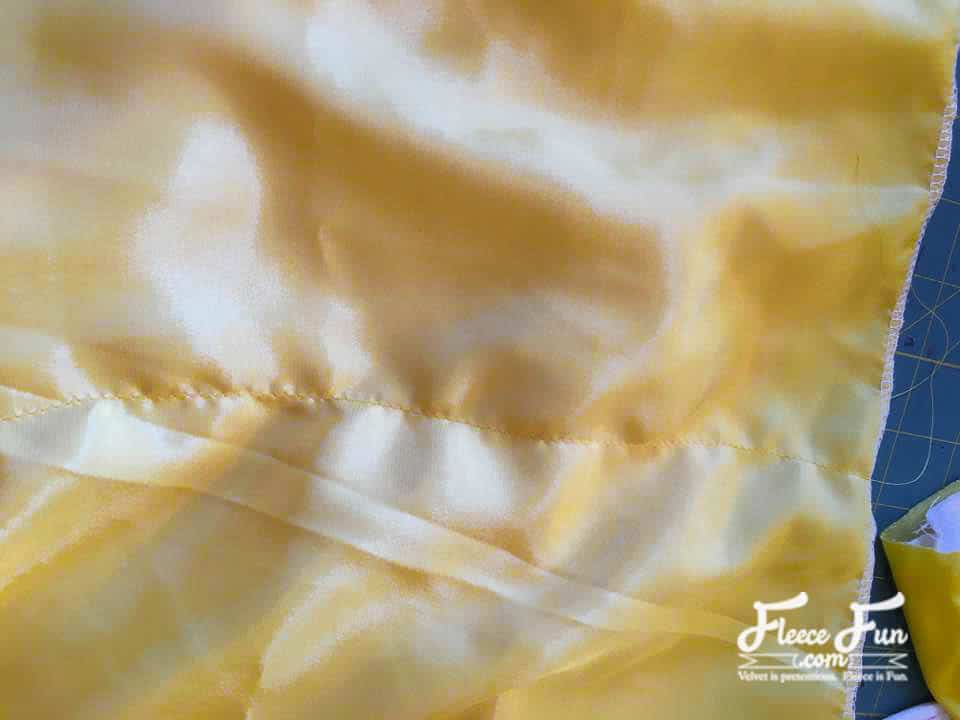

On the WRONG side of the skirt, zigzag the elastic to the skirt, stretching it as much as you can. Repeat with all 6 guide seams.
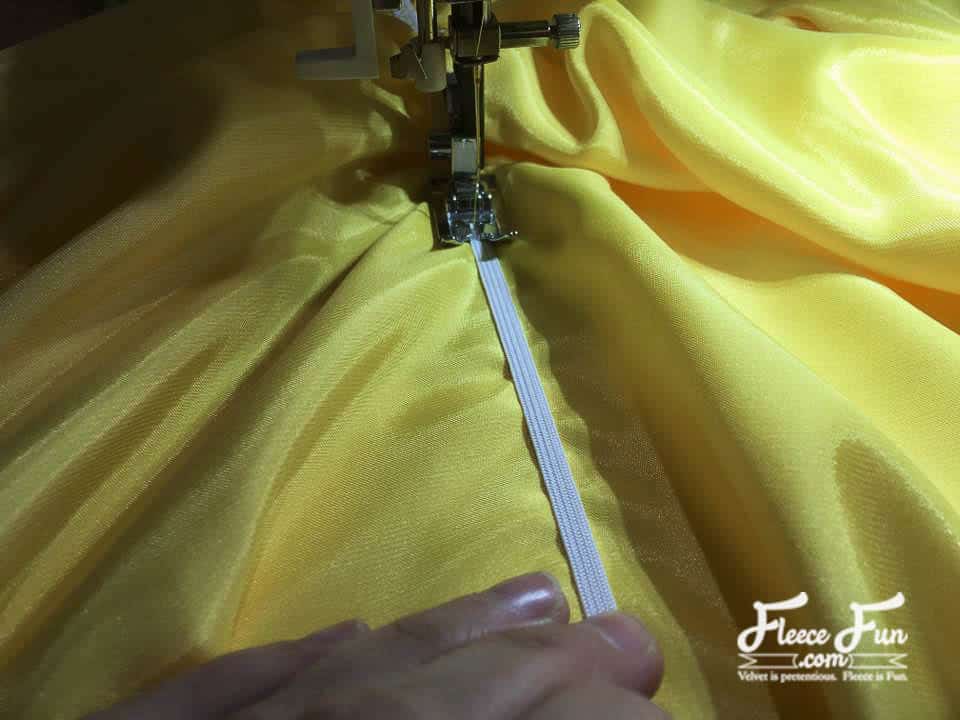
This is what it looks like close up.
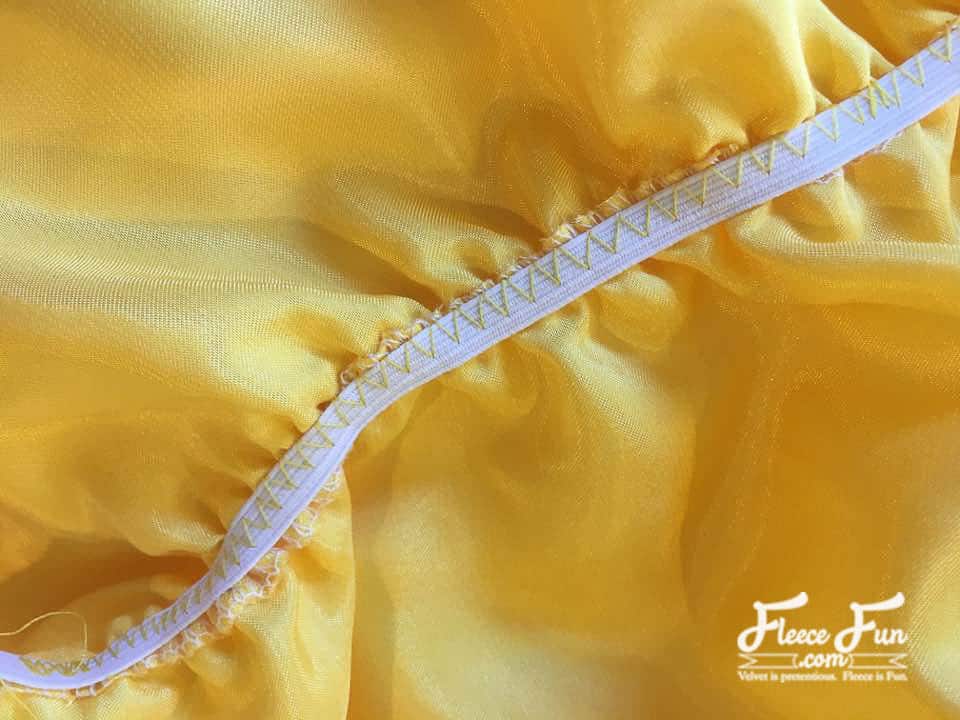
And from the right side:
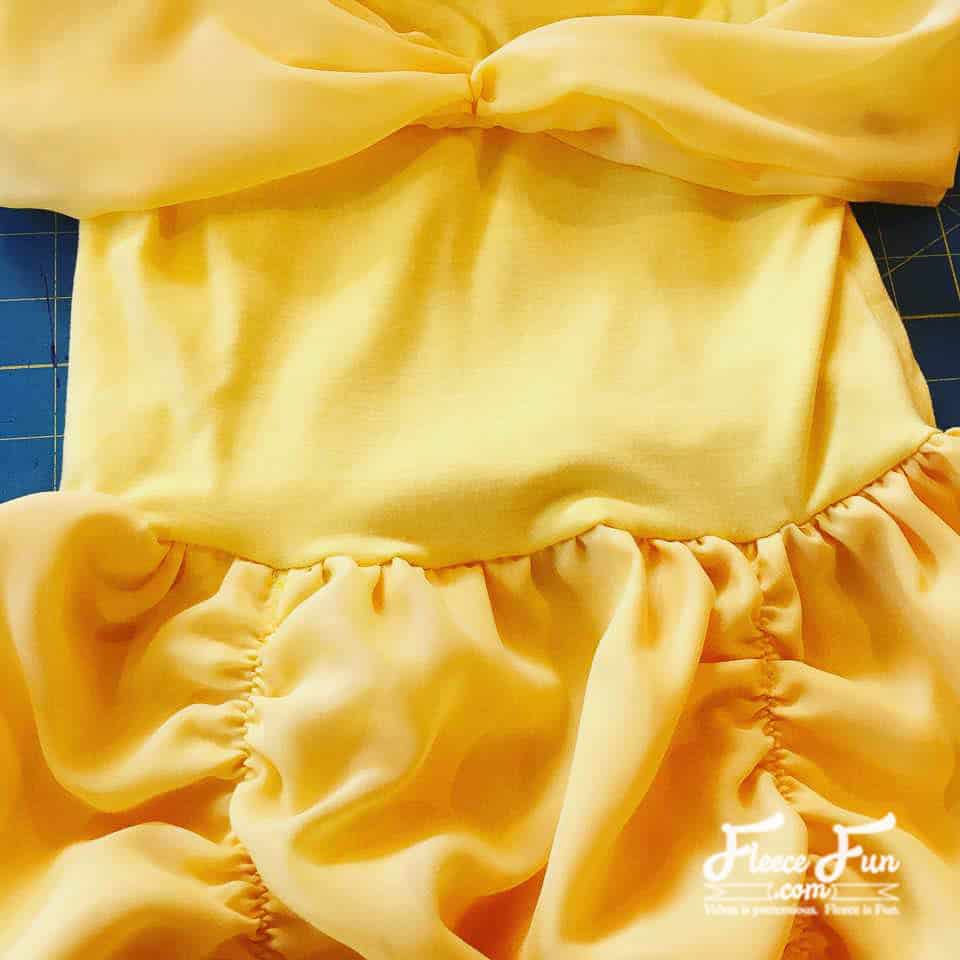
Sew gathering stitches at the top of the skirt and gather so that it is the same width as the lower edge of the bodice.

Stitch the skirt to the bodice, right sides together.
Try on the dress. Shorten the skirt if necessary. Finish off the bottom edge with a serger or zigzag stitch, fold 1/4″ to the wrong side, and hem.
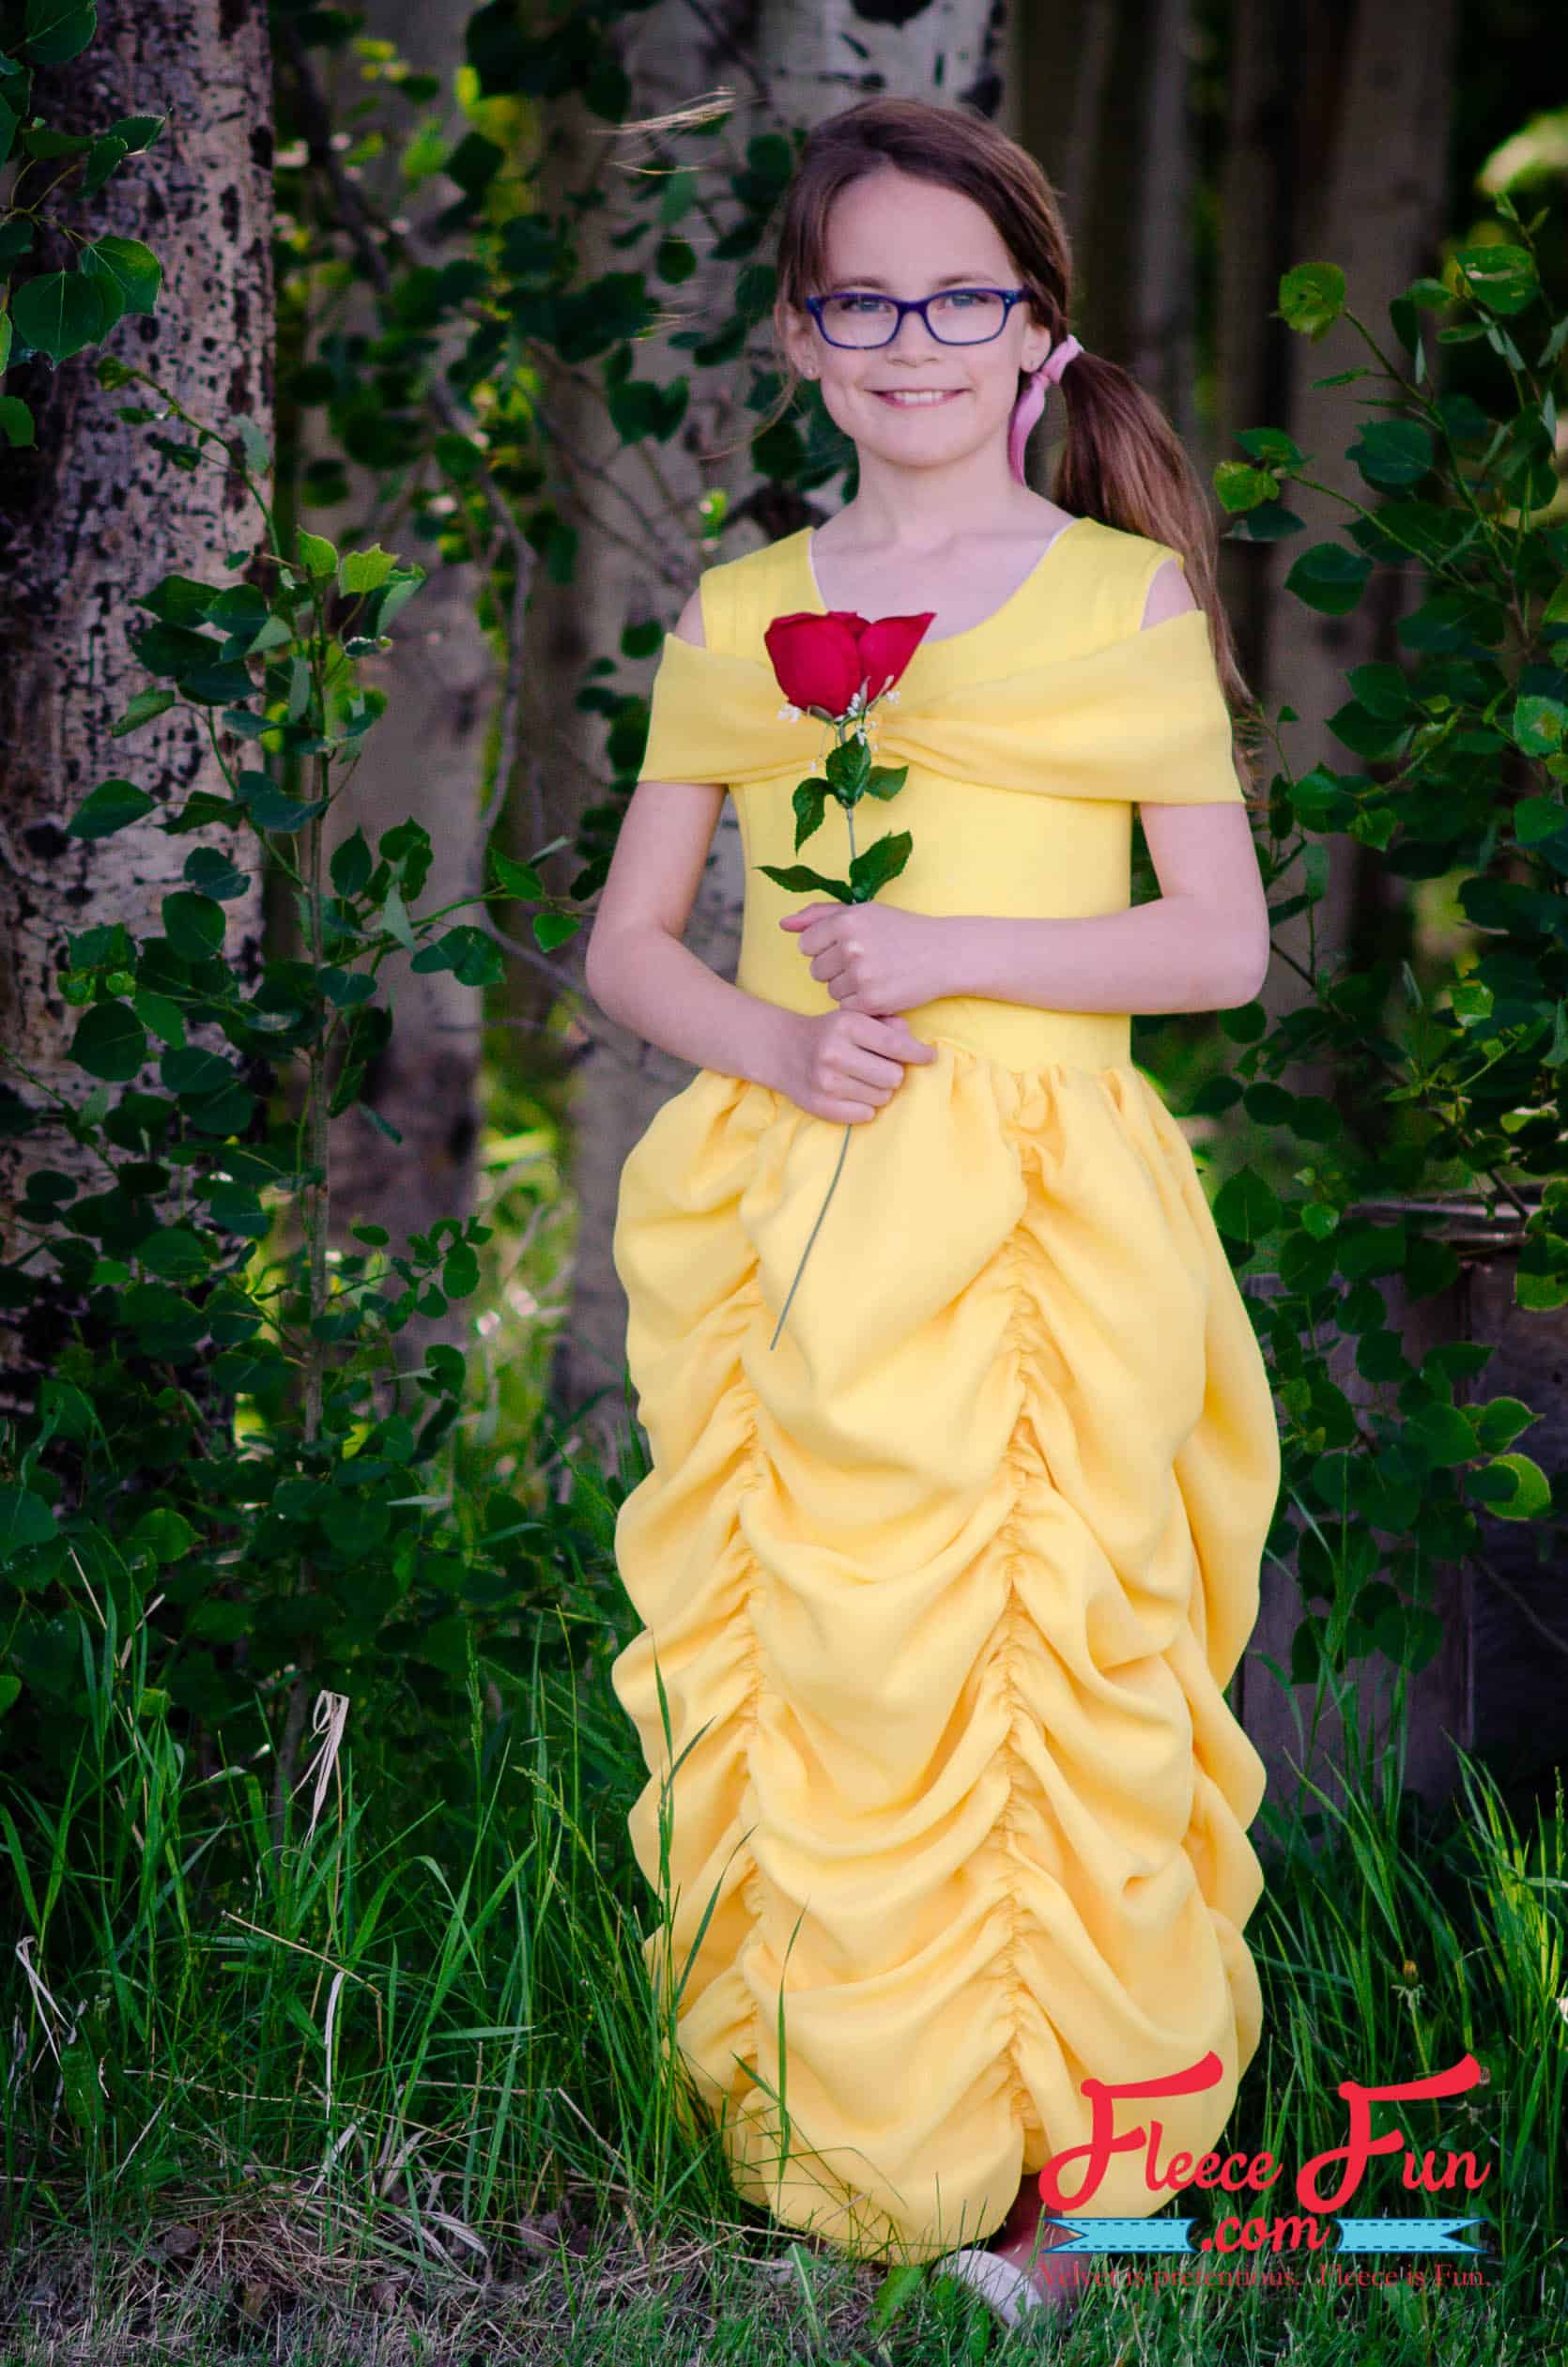
You’ve completed the Belle Costume! Enjoy your Beauty and the Beast inspired costume!
Other Disney Princess Inspired Costumes you might like:
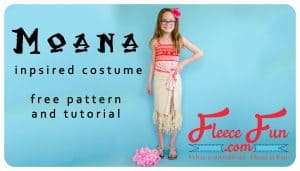
This more modest (and warmer) version of the Moana Costume is easy to put together. Get the free pattern and tutorial here.
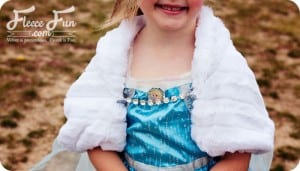
Inspired by Disney’s Frozen this little jacket will help keep your little one warm (the cold might not bother Elsa – but it might your kiddo!) Get the free pdf pattern and tutorial here.
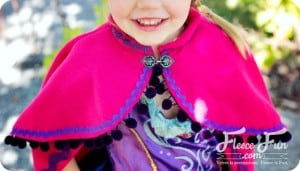
Snow Princess Cape (with video)
Inspired by Princess Anna’s Cape from Disney’s Frozen. This adorable cape will make your little girl feel like the princess that she is. Plus it will keep her warm while trick or treating! Get the free pdf pattern and tutorial here.
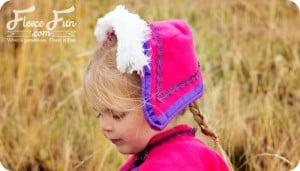
This hat is adorable and will keep your little snow princess warm! Get the free pattern
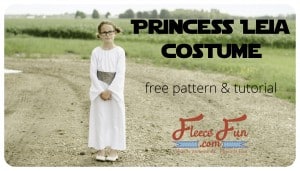
The princess who doesn’t need rescuing. And can handle a blaster better than the rest of them. Get the easy sew costume here.
love this Belle Costume? see more Girl Costumes!
- Moana Costume Tutorial
- Butterfly Wings Costume
- Princess Anna Hat Tutorial Free PDF Pattern
- Aladdin Magic Carpet Costume DIY Free Pattern
- Bonus Craft Tutorial Fall Fairy Costume
- DIY Tiara Free Pattern and SVG File
- Costume Patterns
More Costume Tutorials you might like!
- DIY Princess Leia Costume Free Pattern Tutorial
- Hedge Witch Hat
- No Sew Knight Costume DIY Tutorial
- Branch Costume Trolls DIY Free Pattern
- Wonder Woman Costume for Kids DIY