How to use JPEGs to Make a T-Shirt in Cricut Design Space
This content contains affiliate links or sponsored elements, read our Disclosure Policy.
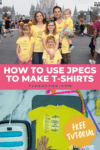


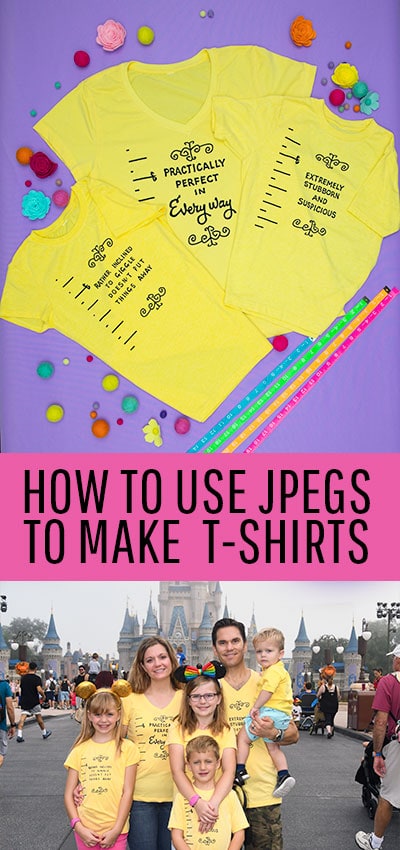
Learn how to use a JPEG to make a T-Shirt in Cricut Design Space! It’s really simple and opens up a whole world of design possibilities. I was browsing around ETSY and I came across some adorable artwork. I knew that it would be perfect for family T-shirts for our upcoming Disney trip, but unfortunately the seller only offered the work in JPEG format! But thanks to a little work in Cricut Design Space I was able to use the image for out shirts.
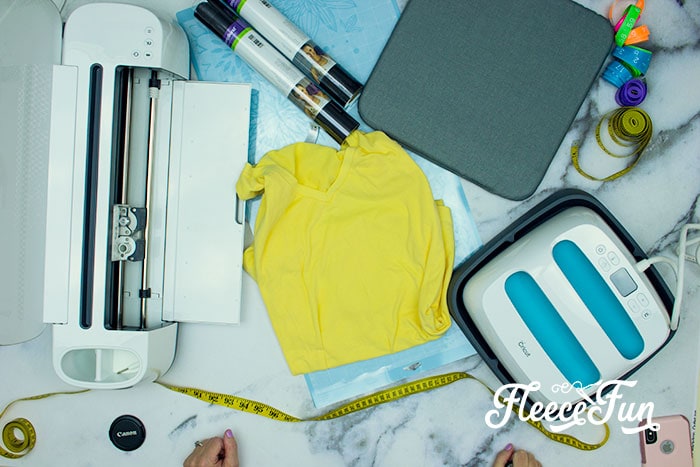
YOU WILL NEED:
The truth is that any simple, clean, high quality image can work. You could easily write in a sharpie on a plain piece of paper and use that!
- a High quality simple black and white image
- Access to Cricut Design Space
- Cricut Maker or Explore Air 2
- EasyPress
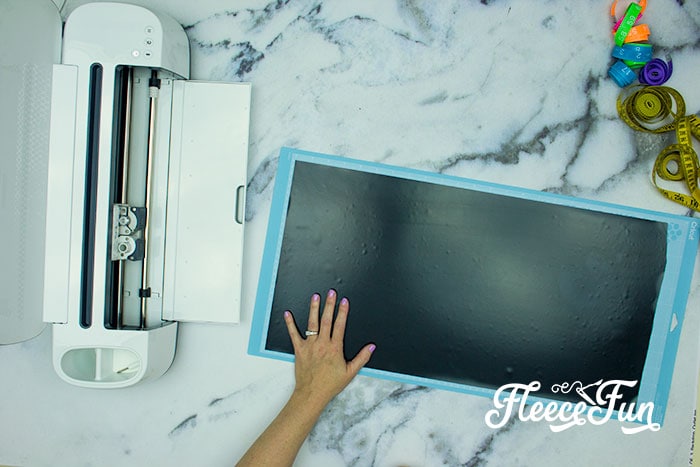
- EasyPress Mat
- Heat Transfer Vinyl
- Weeding Tools

How to use JPEGs to Make a T-Shirt in Cricut Design Space
Step 1 – Start with a Good JPEG for the t-shirt
The image I chose was black writing on a white background. This is ideal, especially when you’re starting out. It also is a high resolution image which helps. A low resolution image can lead to a pixelated or blocky look.
I found mine on Etsy, but you can easily make your own with a black sharpie and a white piece of paper.
Step 2 – Load the Jpeg into Cricut Design Space
Open up Design Space and start a new project.
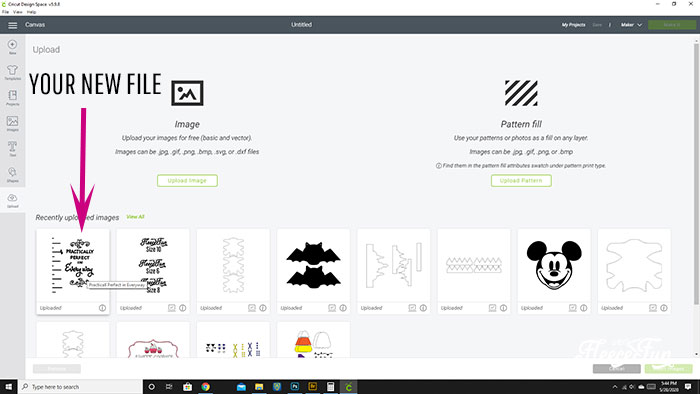
To begin uploading your artwork click the upload button.
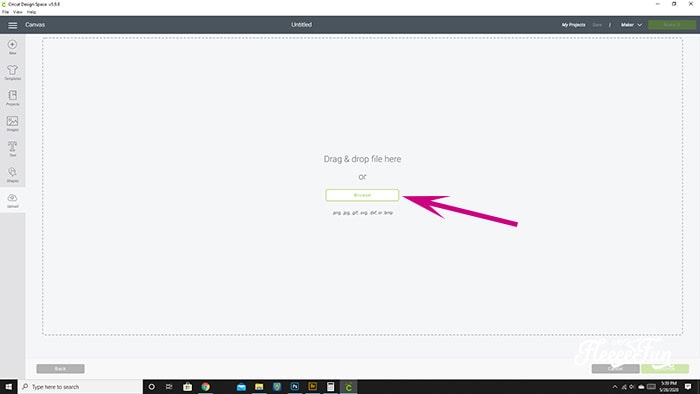
You can either drag and drop the files there or hit the “Browse” button to pull the file.

Make sure that the file is one of supported file types. I’m using a .jpg .
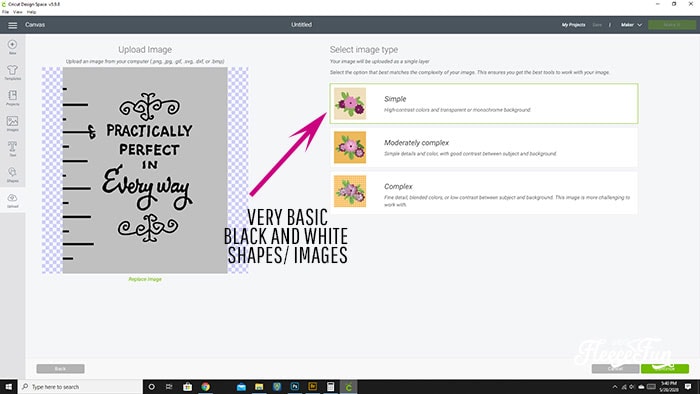
Since this is such a clean 2 color image I’m choosing “Simple”. Then hi the green continue button.
Step 3 – Clean up the file in Cricut Design Space

Next it will show you the whole JPEG image – select the parts that you don’t want on your t-shirt with the cross-hairs. Since I want the white to be transparent I will start by clicking the white background.
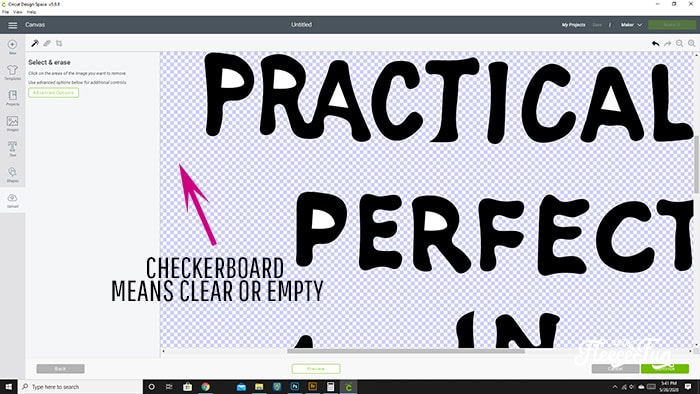
The Checkerboard means that it’s now transparent.
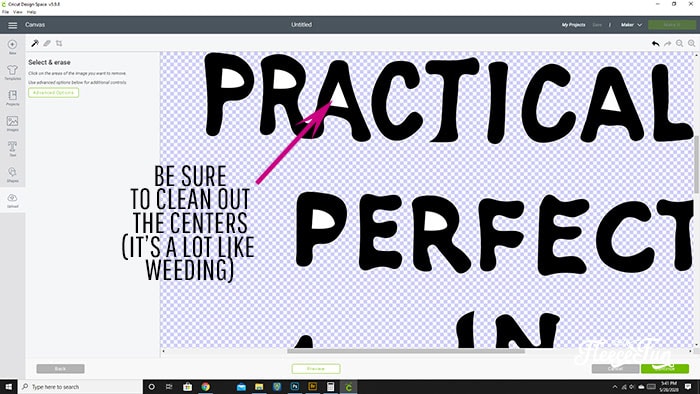
I need to make sure that ALL of the centers and parts of the file are transparent. So I take the cross-hairs and select the interiors of the letters and artwork.
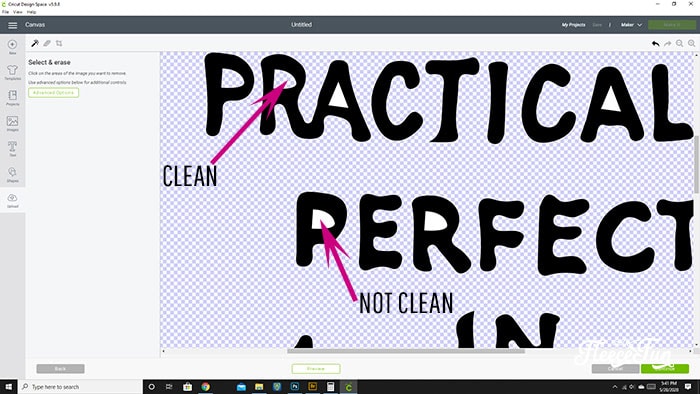
Be thorough and make sure that all of the white space is changed to transparent.
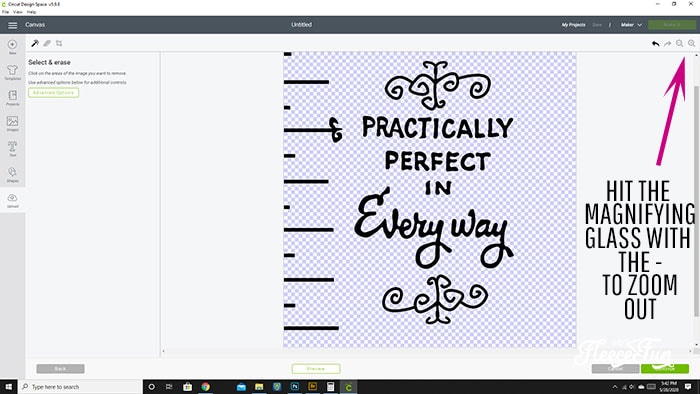
Take a good look at all of your art – to zoom in and out use the magnifying glass in the upper right corner. Once you’re happy with how it looks hit the green continue button.
Step 4 – Prep the file for Cutting
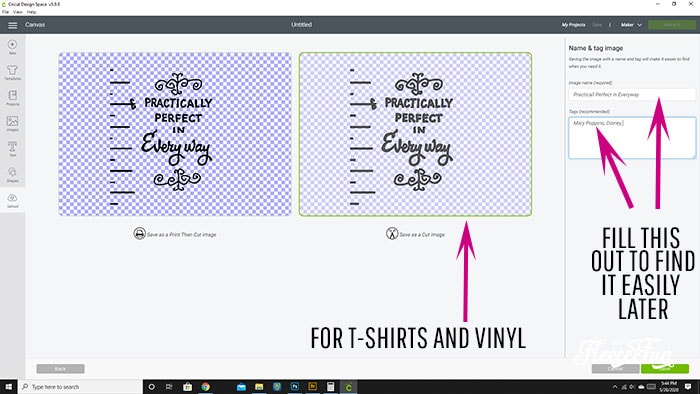
Since I want this JPEG file for a t-shirt I’m going to save this file as a cut image. Also to make it easier to find I’ll name the file and give it some tags
The file is now ready to load into your project! Select it and hit “Insert Images”.
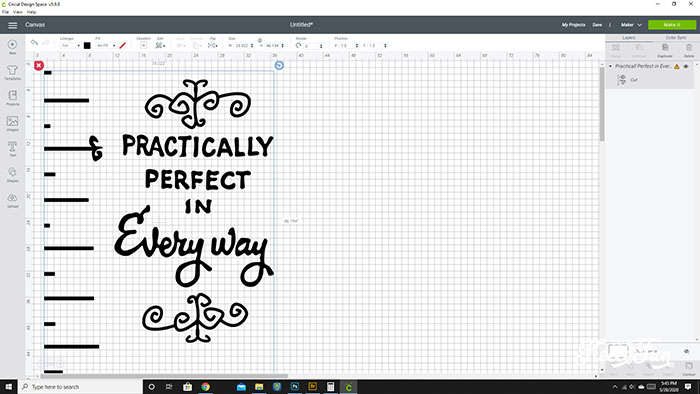
Your image is now ready to go in Cricut Design Space. The best part is you can also now resize the image – so I can make it the perfect size for my t-shirt!
Step 5 – Cut out the project
Now it’s time to stop working on the computer and your JPEG and start making the T-Shirt!
Cut the project out of HTV (be sure to select “mirror” before cutting!) With the shiny side down, cut out the Heat Transfer Vinyl.
Weed your project.
Step 6 – Add the Vinyl to the Disney T-shirt
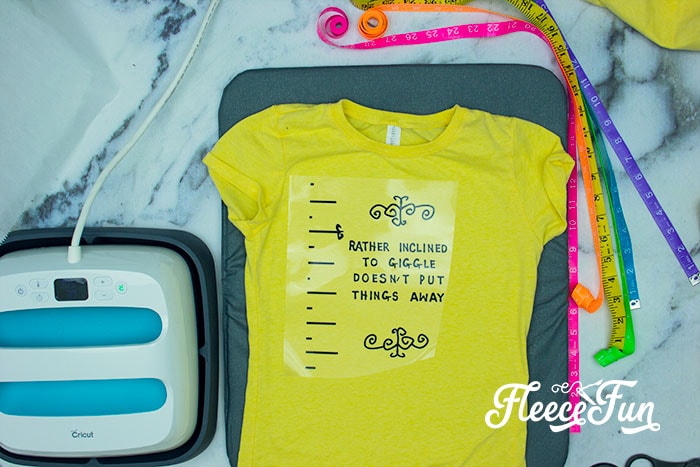
Using an EasyPress and the mat adhere the vinyl to a clean t-shirt – per the heating and timing instructions.
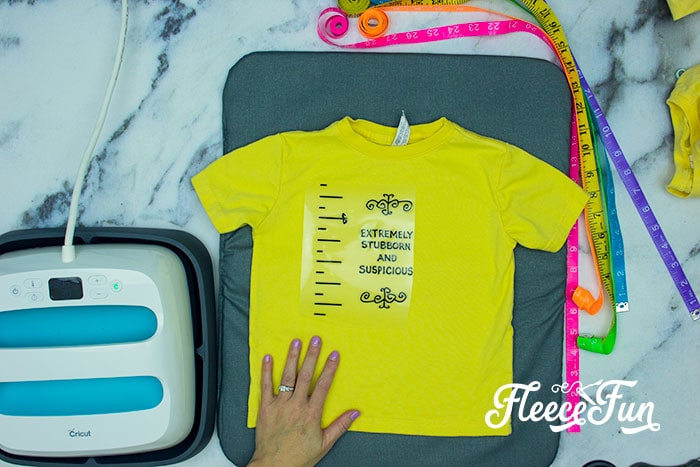
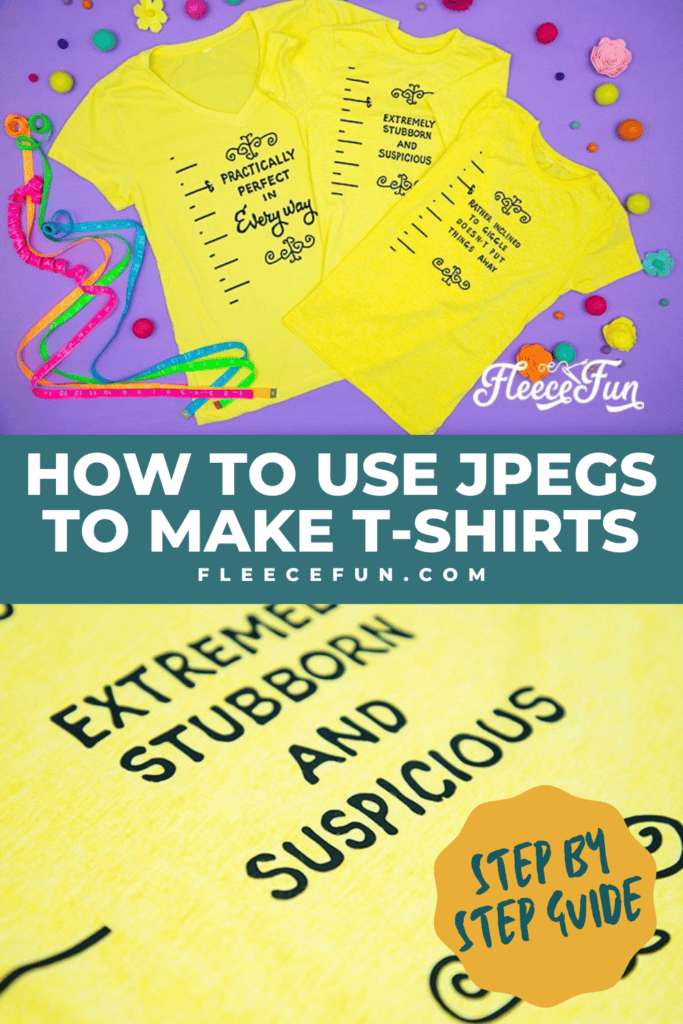
As you can see I did this to several images for my family.
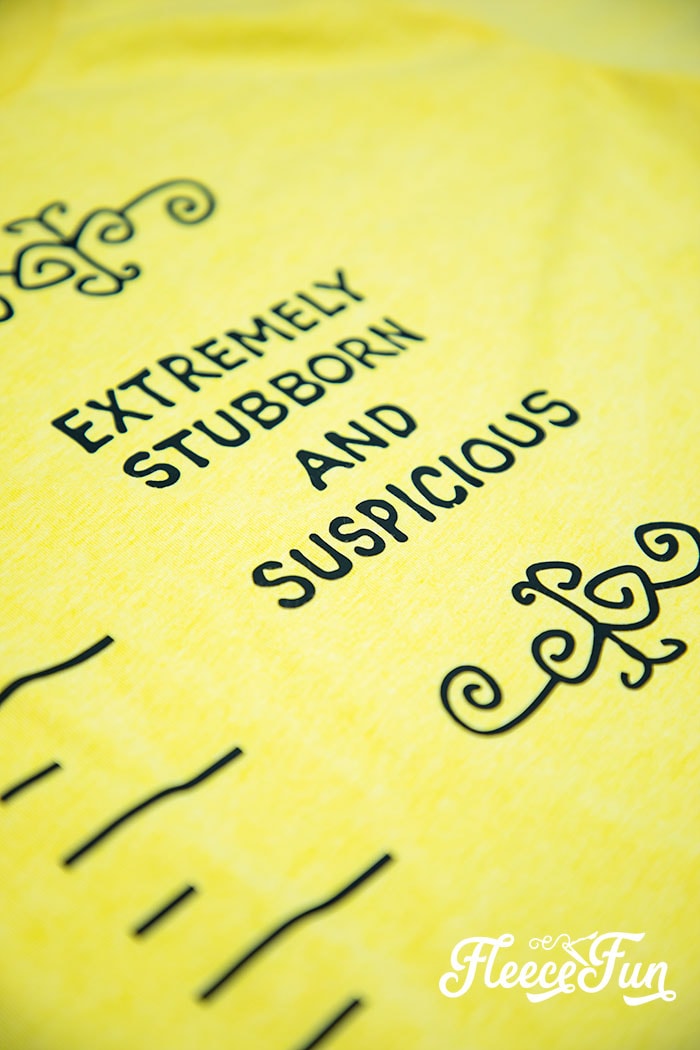
Here’s a closeup so you can see how clean and pretty the cuts are.
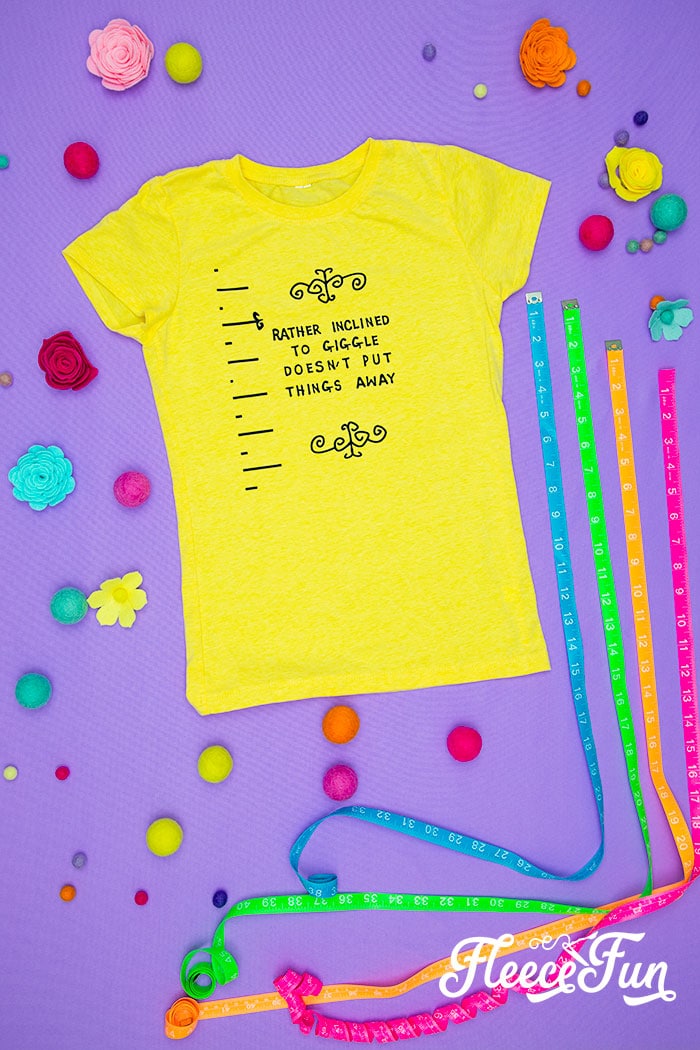
I love how they turned out! You’ve now completed the How to use JPEGs to make a T-Shirt tutorial!
This is part of the T-Shirt Project Series
More Cricut Crafts & Tips!
- Cricut Maker for Beginners: Easy Party Decor
- Your Top 3 Cricut Maker Questions Answered
- Cricut Maker Cover Tutorial
- 3 Last Minute Gifts with a Cricut Joy
- 25 Personalized Gift Ideas Using Cricut Tools
- How to Get Started Cutting a Quilt with Cricut
- How to Get Started Quilting with Cricut
- Is It Time to Upgrade Your Cricut Machine?
- Luggage Tag DIY with Cricut
- How to Decorate a Notebook
More Cricut Projects!
- St. Patrick’s Day Upcycle Book Craft
- Patriotic Pinwheel Wreath DIY
- Felt Valentine Envelope DIY (No Sew)
- DIY Matching Game
- See all of FleeceFun’s Cricut Tutorials!