Tips for Working with Iron on Mesh
This content contains affiliate links or sponsored elements, read our Disclosure Policy.


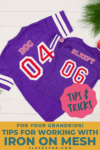
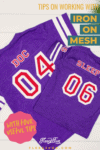

Learn the tips for working with Cricut’s Iron on Mesh. This fun product gives a “sports Jersey” look to T-shirts. But there are a few tricky things about the material that I learned while working with it.
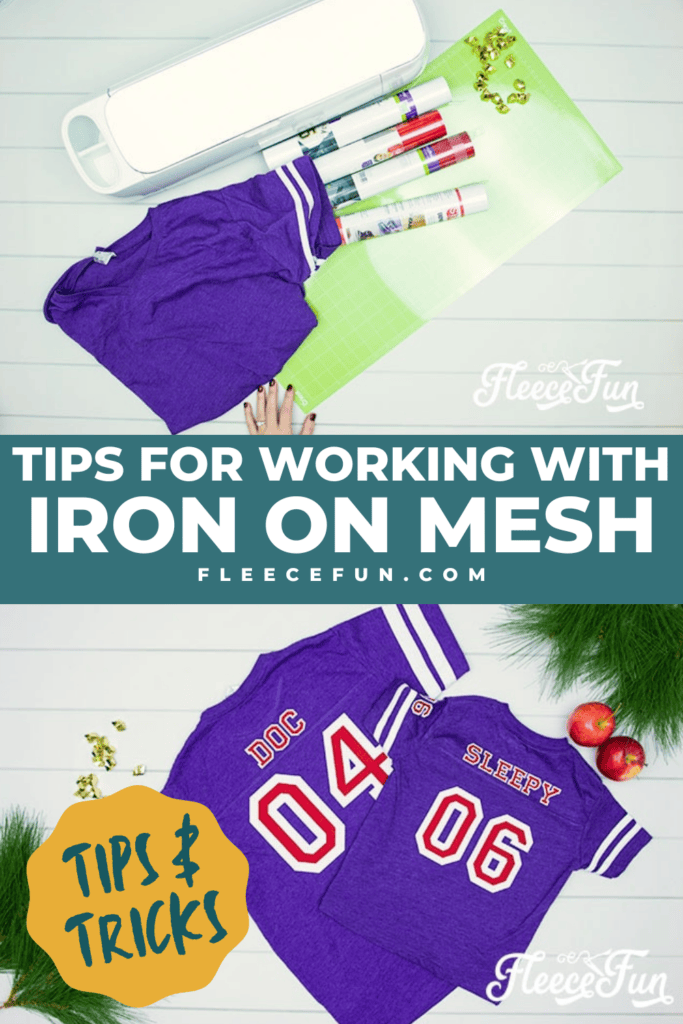
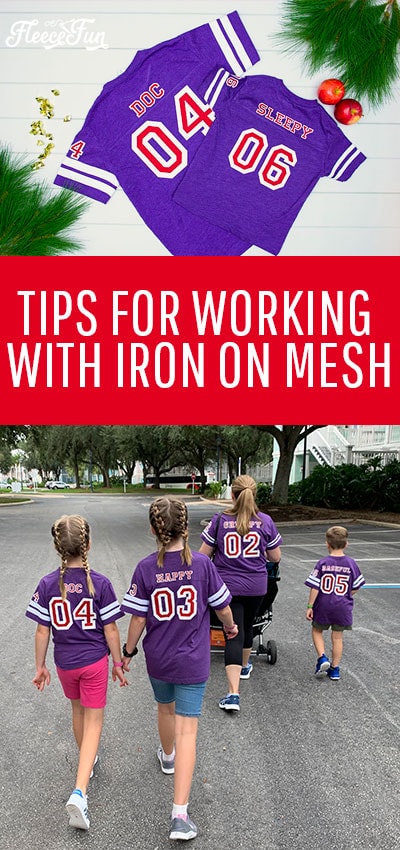
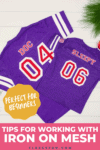
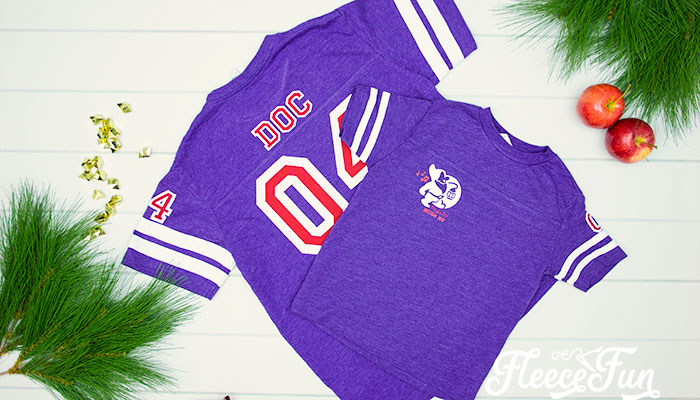
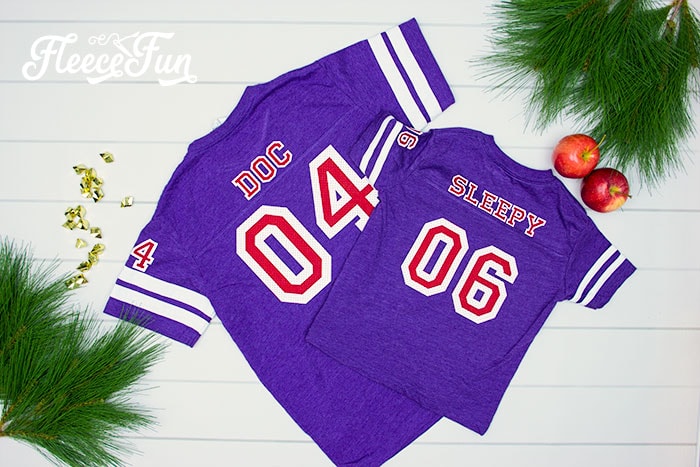
For Mickey’s not so scary Halloween Party I wanted some fun shirts for us to dress up in. I thought it would be fun to be a 7 Dwarfs” football team! I came across some cute Jersey looking shirts and found Cricut’s Iron Mesh would complete the sporty look I was going for.
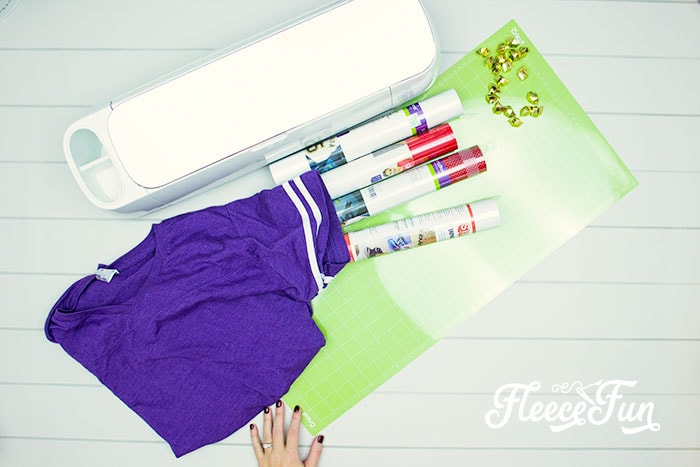
YOU WILL NEED:
- The Seven Dwarfs Design Space File
- Iron on Mesh
- Everyday Iron On
- Cricut Maker or Explore Air 2
- EasyPress
- EasyPress Mat
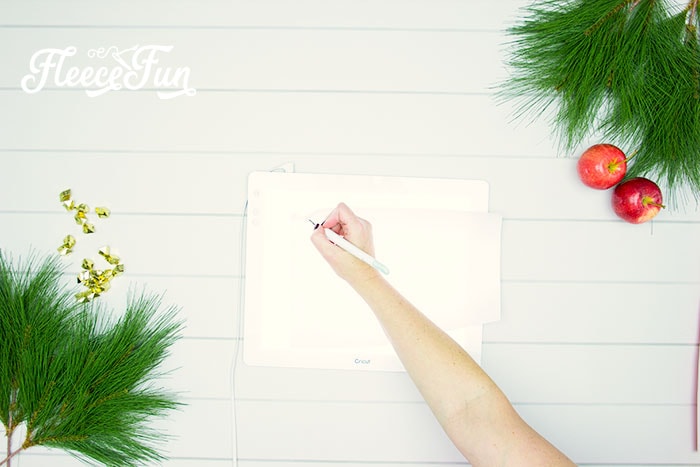
- Bright Pad or Window
- Weeding Tools
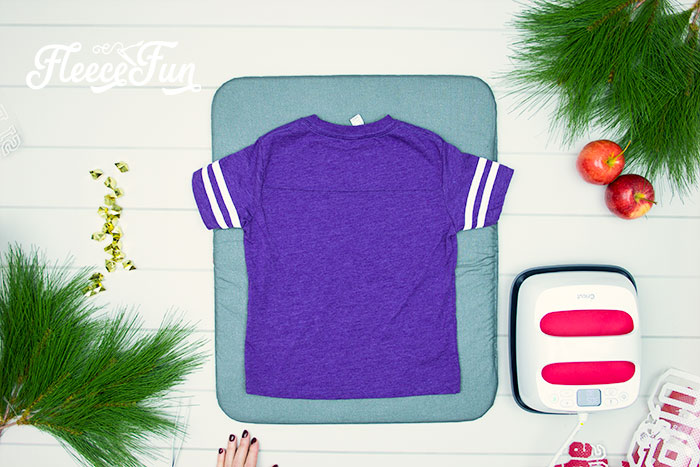
- T-shirts (washed and dried – but don’t use fabric softener or fabric sheets)

Tips for working with Iron on Mesh
Tip 1 – Use the right font/ graphics for the Iron on Mesh
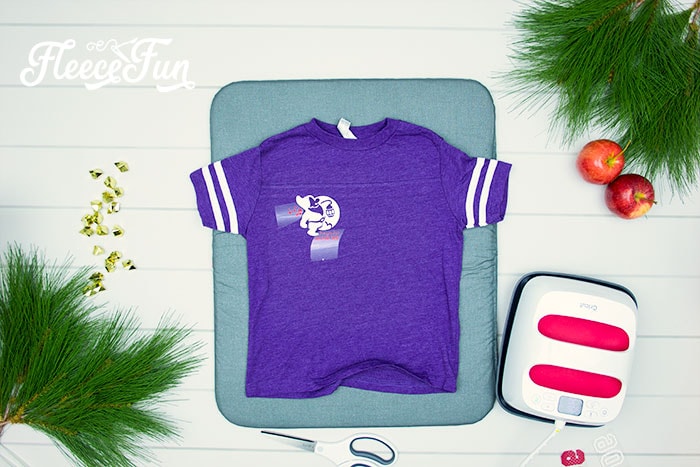
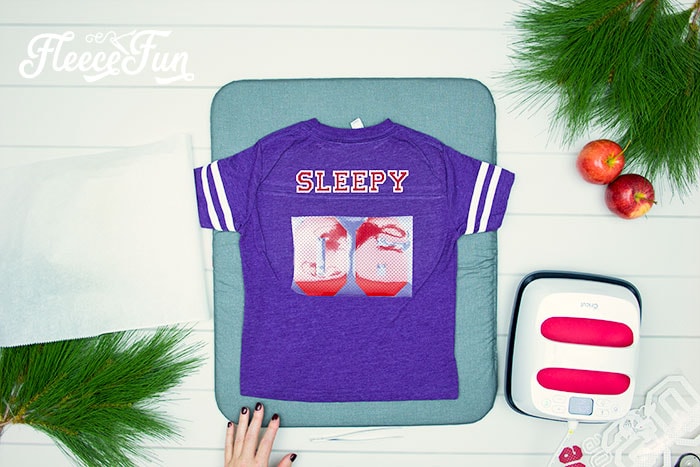
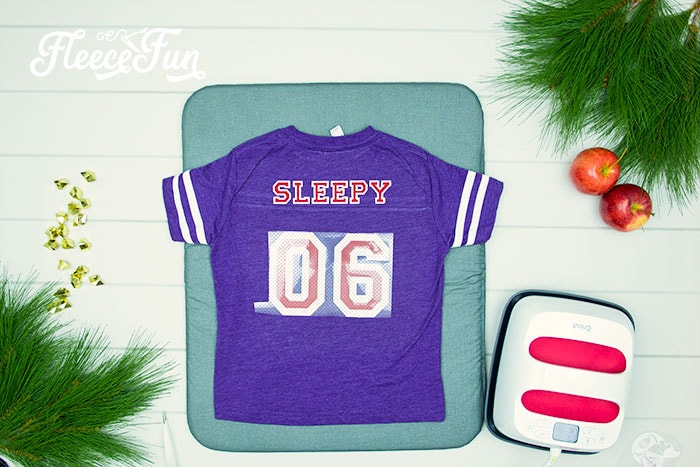
When I designed these shirts I opted to use Everyday Iron on for the Graphic on the front. Because the wording and notes were so small.

Also I wanted the outline of the Dwarf to be easy to see and felt that the mesh might distort it and make it hard to see. I opted to use Everyday Iron on for the front graphic.
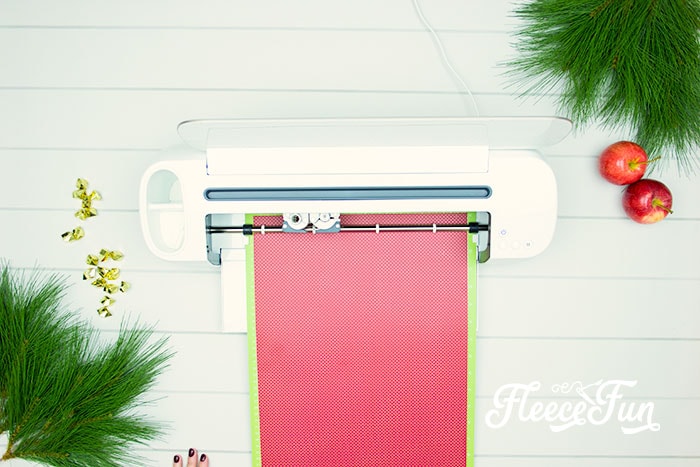
Just use Cricut Design space settings to cut out the vinyl – shiny side down.
Tip 2 – Use Block fonts
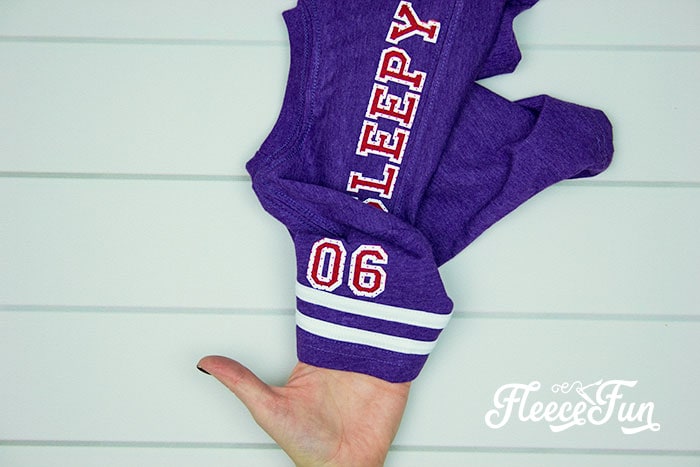
I chose to use the Cricut Access font “Varsity” for the lettering because it was a sports jersey looking font. I also likes the layered look. So opted to layer my vinyl.
Tip 3 – Use a BrightPad for Weeding
All the little dots can make it hard to see the lines of the cut – the bright pad is a tremendous help in seeing it.
Tip 4 – Working with Iron on Mesh Needs heat, time and patience
Ok. here’s the problem with the mesh, its made by poking holes into the vinyl, unfortunate this makes the vinyl extra clingy to the plastic backing making it hard to peel, even under perfect circumstances.
First make sure that your t shirt is warm – run the EasyPress over it before you place the vinyl.
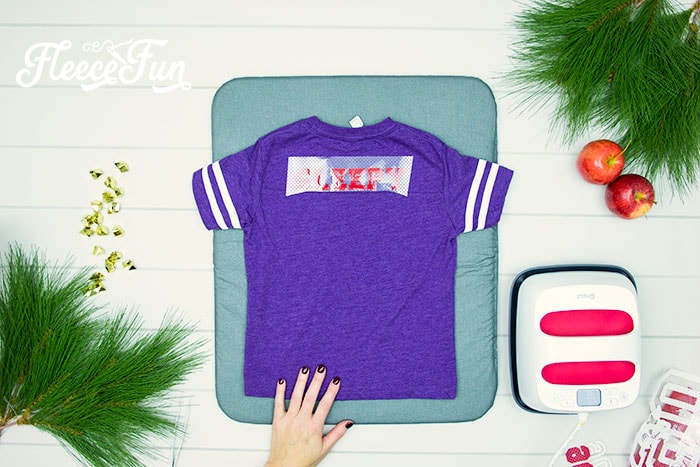
After playing (and failing) with the mesh, I learned that the best tactic was to warm peel the mesh,
while using my fingers or tools to keep the vinyl from pulling away from the shirt.
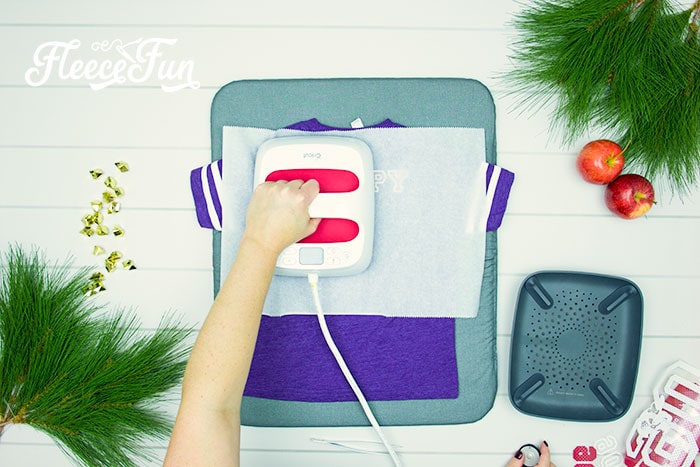
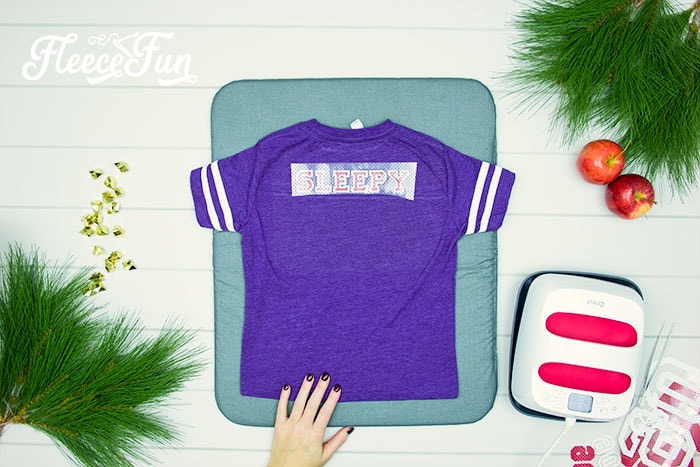
Then using some baking parchment over the mesh, use the EasyPress again to make sure it’s secure.
The holes cause some of the glue to melt trough, so make sure it’s a warm peel or the parchment will stick to the vinyl, possibly ruining your project. If you start to peel and the vinyl comes up, odds are it’s still too hot to peel.
Too cold and the plastic will be too stuck to the vinyl and it will pull up the mesh too.
This vinyl is really the “Goldilocks” of HTV.
Once you start to get an idea of the perfect peel temp the project will go smoother. But honestly while I love the look of the mesh – it’s more difficult to work with than the EveryDay Vinyl.
This is part of the T-Shirt Project Series
Creative Sewing & Cricut Projects You’ll Love!
- DIY Placemats for the Holidays
- How to Sew a Quilt the Easy Way
- Acorn Template (Free JPEG & PDF)
- DIY Custom Sewing Labels
- Felt Valentine Envelope DIY (No Sew)
- DIY Matching Game
- DIY Birthday Crown (Free PDF & SVG)
- DIY Tiara (Free Pattern & SVG)
- How to Make a Knight Helmet (Free Template)
Like these Tips for Working with Iron on Mesh? see More Cricut Projects!
- Is It Time to Upgrade Your Cricut Machine?
- Luggage Tag DIY with Cricut
- How to Decorate a Notebook
- DIY Sewing Room Décor
- See all of FleeceFun’s Cricut Tutorials!