
Giant Holly Leaves DIY (FREE SVG files)
This content contains affiliate links or sponsored elements, read our Disclosure Policy.


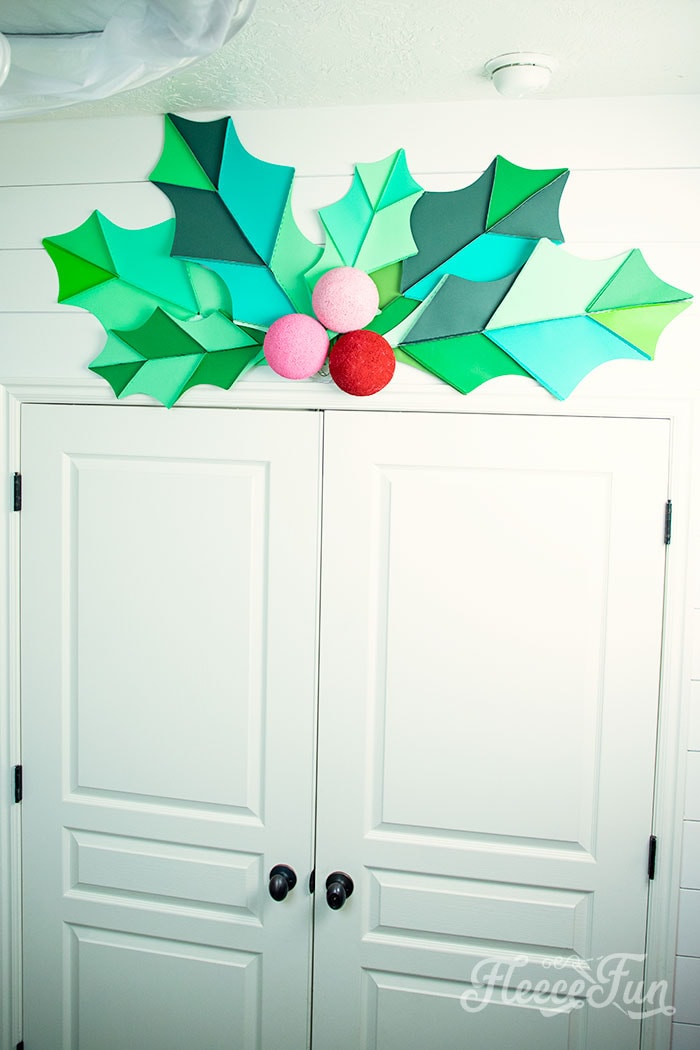
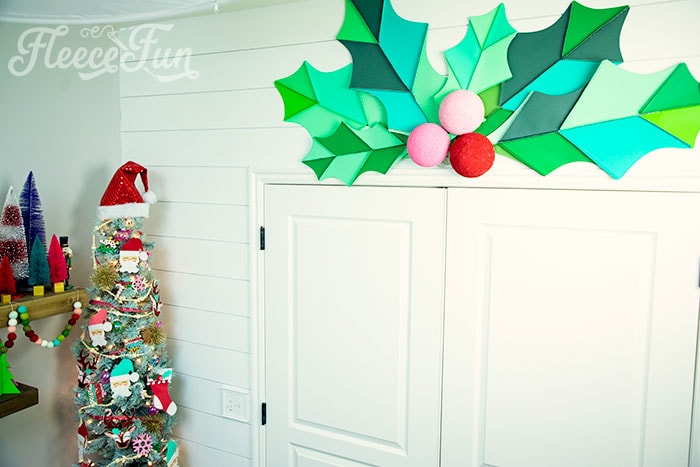
This Giant Holly Leaves DIY is the perfect way to fill a large space with festive holiday décor. Add some giant foam berries for an additional pop of color. The files come in two sizes to make wonderful layered effect. I’ve opted to use many colors to give the leaf a fun patchwork look, but you can easily make them all from one color. The folded joints make a for a nice three dimensional pop.

YOU WILL NEED:
- A Cutting Machine like a Cricut or Silhouette
- Light grip mat
- Green 12 by 12 cardstock ( 6 sheets for a large leaf 29″, 2 for a medium leaf 15″)
- Wire for the spine (optional but nice I used 18 gauge for the large and floral wire for the medium)
- 6 inch half foam balls for berries
- Glue Gun and Glue sticks
- Paint for the berries
- Get the free SVG files here.
Giant Holly Leaves DIY (FREE SVG files) Instructions:

Step 1 – Cut out the Holly Leaf pieces
Each leaf no matter the size is make up of 8 pieces.
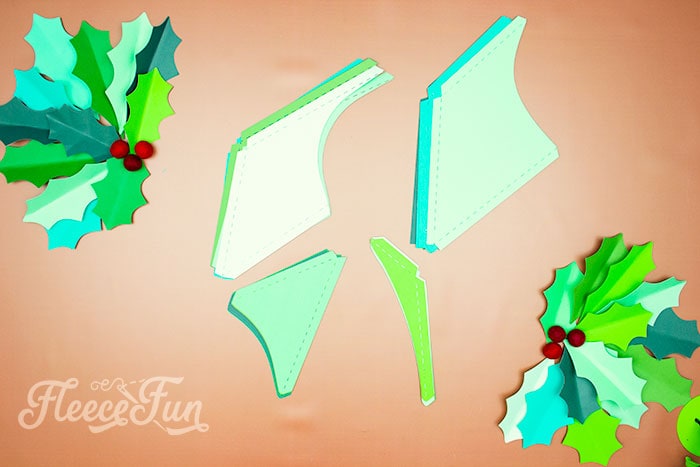
Cut out the pieces and keep the same shapes in piles. This will make is easier to assemble them
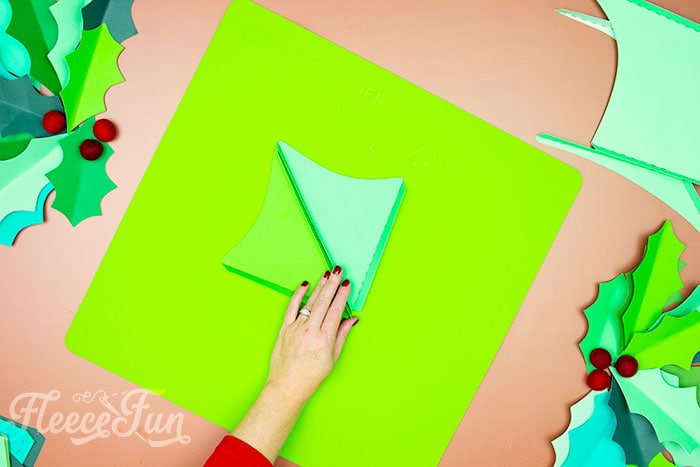
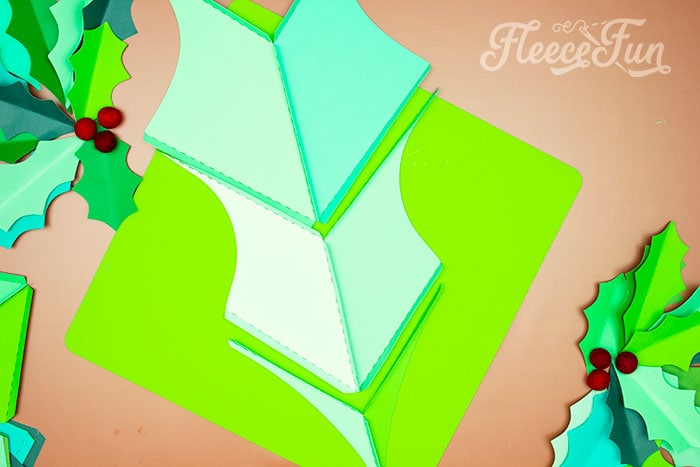
Step 2 – Fold the Edges
Each leaf has perforated edges.
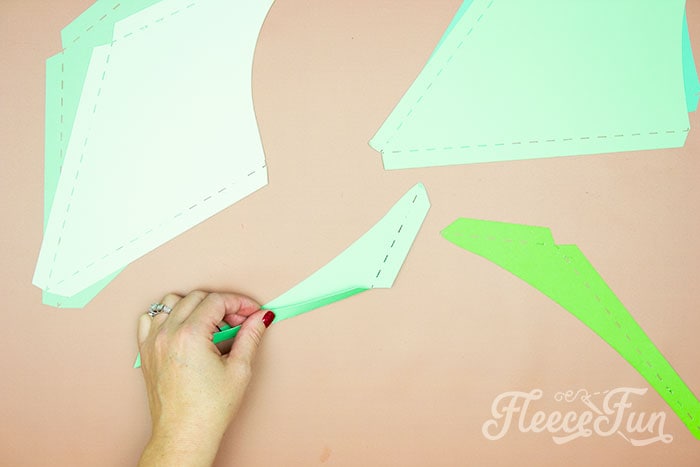
Fold up the edges on each section, making sure that you fold each shape as a mirror to the other. Notice how the top and bottom sections only have two folds, and the middle have three.
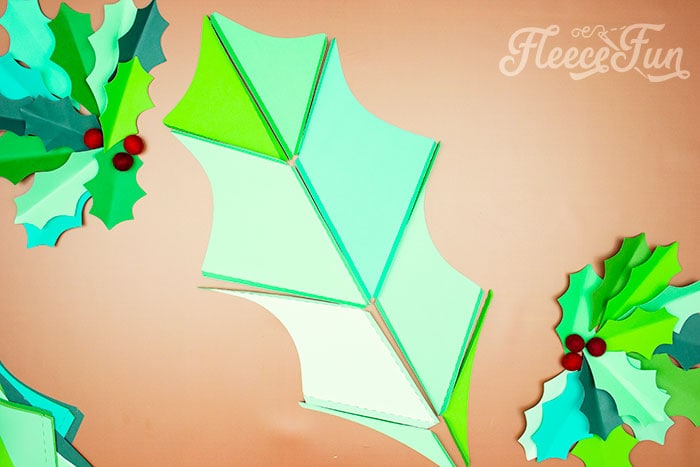
Layout the leaf so you can see how it will come together.
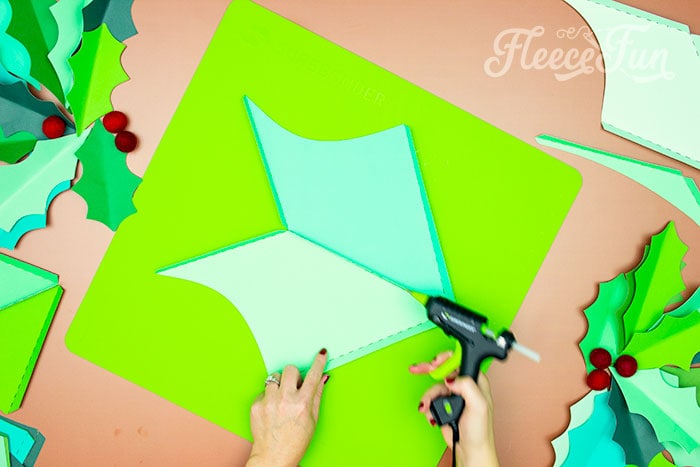
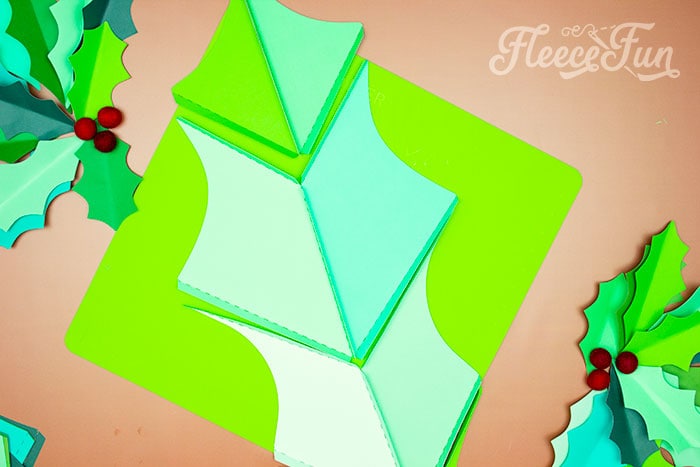
Step 3 – Glue the Giant Holly LEAVES together
Starting with the top, glue the two tops together in the center. If you plan on running a wire through the center , just glue along the top edge of the seam. Set aside.
Next, glue the first middle section piece down the center. Set aside.
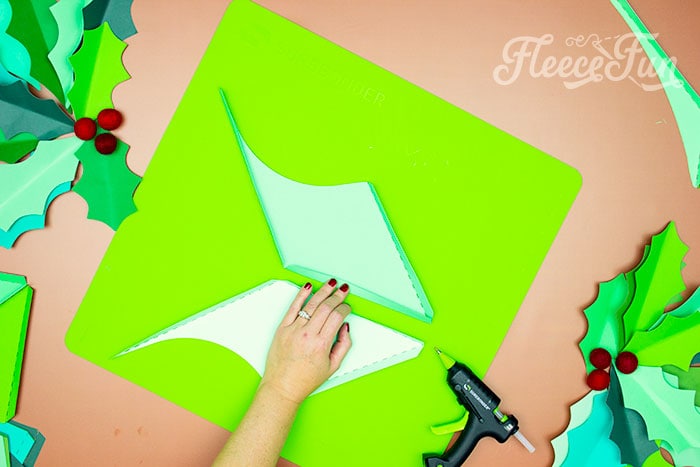
Now the second middle section – glue the center together. Set aside.
Finally the bottom section – glue the center together.
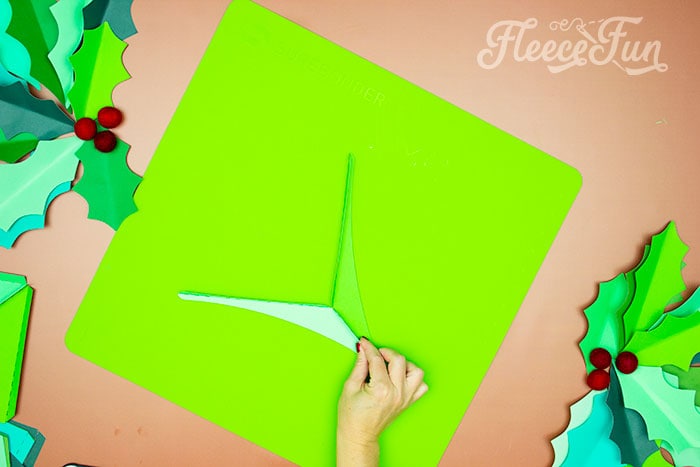
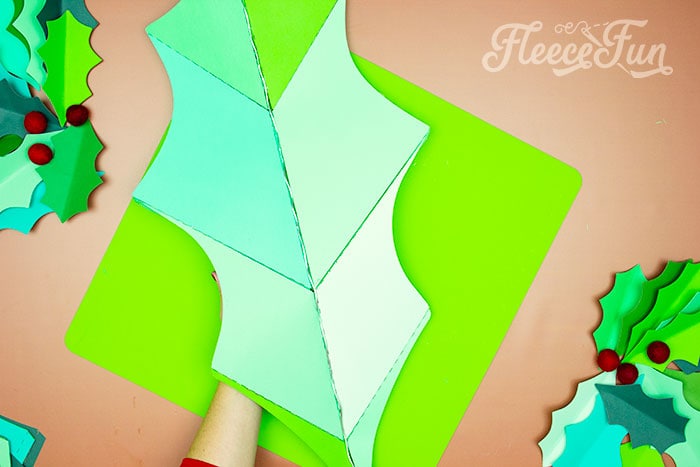
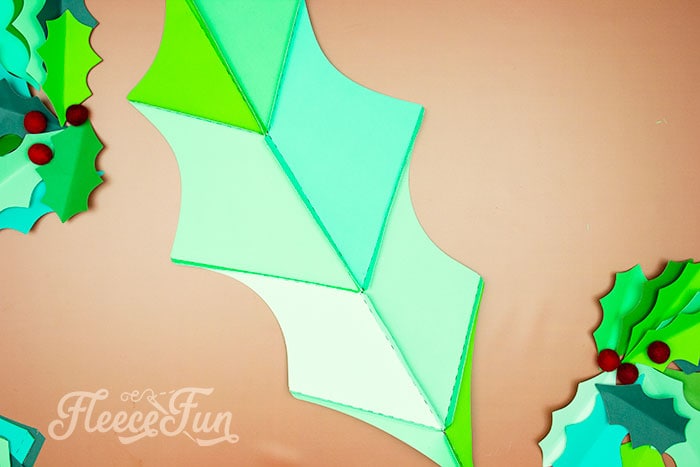
Now line up the leaf and glue the sections together. starting wit the bottom.
and working your way to the top of the giant holly leaf.

Now if you want to add some wire to make the leaf a little more sturdy and poseable – flip the giant holly leaf over and push the wire into the back and glue into place.
This is the back of the holly leaf so it’s ok if the wire is still visible. Be sure to leave some wire at the bottom to have something to poke the berries onto!
Step 4 – Paint the berries and put up!
Finally paint the berries and allow them to dry. Put the up the holly leaves using command strips and use the wire onto the ends to hook the berries into place.
DOWNLOAD THE TEMPLATE FILE BELOW (FILL OUT THE FORM)
By downloading you are agreeing to pattern terms of use. Fill out the form to get the SVG files.

Christmas Crafts You’ll Like to Try
- DIY Felt Ornaments Tips, Tricks, and Templates
- Gingerbread House Ornaments DIY
- DIY Felt Candy Christmas Tree Ornaments
- DIY Cloche Ornament
- Felt Gingerbread Man Pattern
- DIY Gnome Ornament
- Mitten Ornament Pattern
- Ice Skate Ornament DIY
- Snowflake Ornament DIY
- Felt Fox Ornament DIY
- See 40 Snow Ideas for Kids!
- You can see all of Handmade Ornament Tutorials on this page
- You can see just my Felt Christmas Ornaments here
Explore More Christmas Projects You’ll Love
- Wooden Christmas Ornament DIY
- Nutcracker Ornament DIY
- How to Make a Snowman Ornament
- Felt Elf Tutorial
- 6 Ways to Engage Kids This Christmas
- 5 Tips for Outdoor Christmas Decorating
- Christmas Ideas
- No-Bake Christmas Wreath Cookies
- Perfect Stocking Stuffers for Sewing Lovers
- Mad Hatter Tea Party Paper Chandelier

Fun and easy to execute! The perforated edges were a game changer. Thank you!