Easy Let it Snow Embroidery Hoop Ornament DIY by Swoodson Says
This content contains affiliate links or sponsored elements, read our Disclosure Policy.
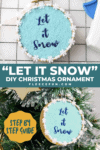

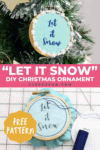

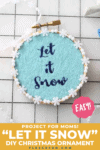
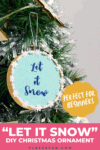
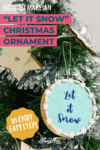
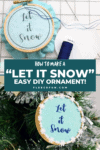
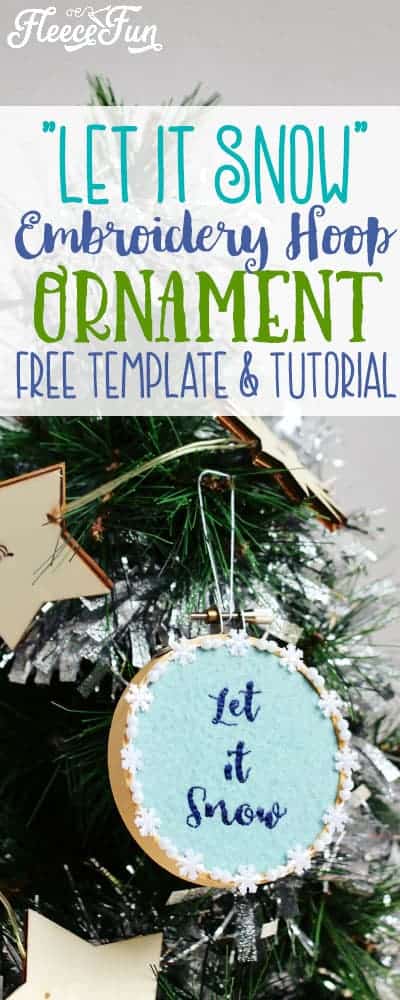
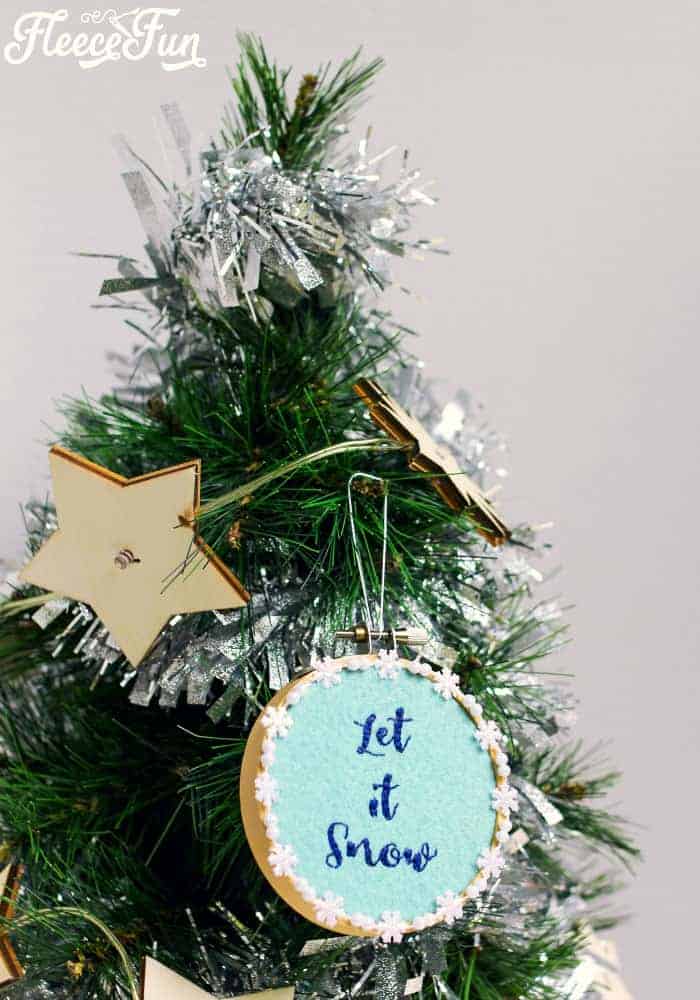
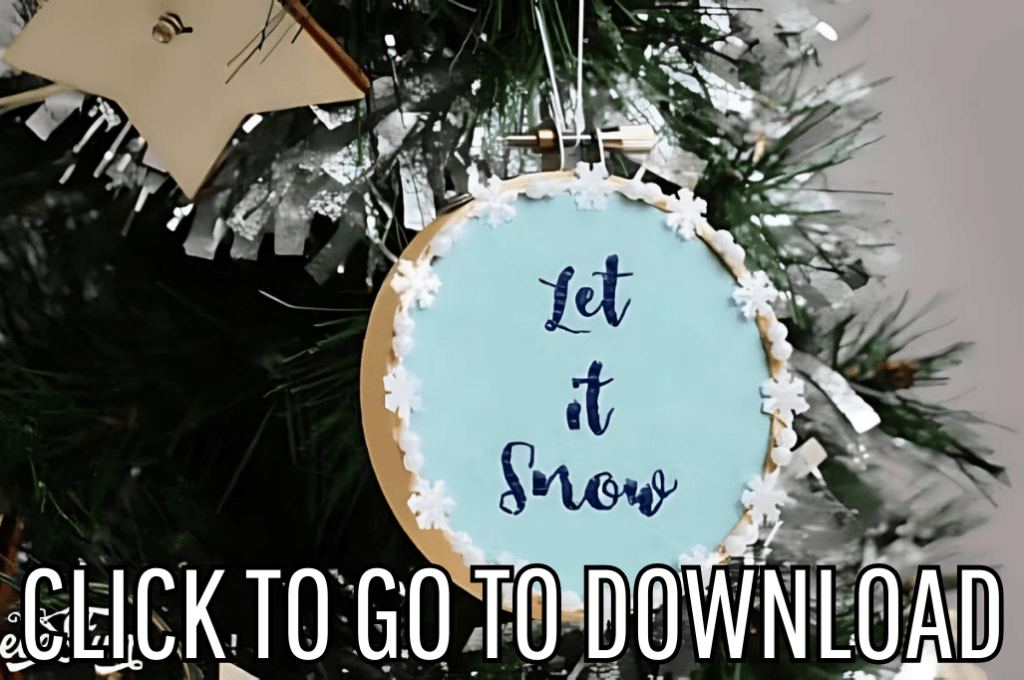
Handmade Gift Idea: This Let it Snow Embroidery Hoop Ornament DIY makes a wonderful addition to your Christmas tree. Easy step by step instructions and free pattern make this Handmade Ornament a great Christmas craft.

Hi! I’m Stephanie and I blog over at Swoodsonsays.com where I share hand embroidery projects, free sewing patterns, and lots of DIY Christmas tutorials! Hand sewn Christmas ornaments are one of my favorite things to make and gift because they’re easy to bring with me while I work on them at my kids’ dance classes and while we travel to visit family. This ornament tutorial is an easy beginner project and only takes a few hours to make (including drying time). Print out the pattern, cuddle up under a blanket and start stitching!
YOU WILL NEED:
- 3” embroidery hoop
- Embroidery floss
- Scissors
- Rotary cutter or pen
- Embroidery needle
- Sheet of wool blend felt
- Hot glue gun
- Snowflake trim (this is the one used in the post:)
- Printable pattern (Available at the end of the post)
- Pattern transfer method – I used Sulky Stick n Stitch
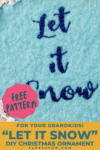
- Get the free pattern here.
Let it Snow Embroidery Hoop Ornament DIY Tutorial:
Step 1 – Cut the felt using the embroidery hoop
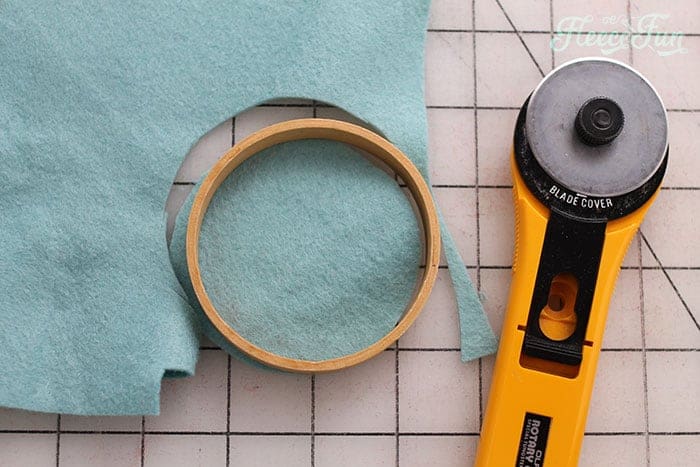
Use your pen to trace the inside circle of your embroidery hoop on to the felt and then cut it out, or use the rotary cutter to cut one out. Set it aside until the end of the project.
Step 2 – Print out the “let it snow” pattern
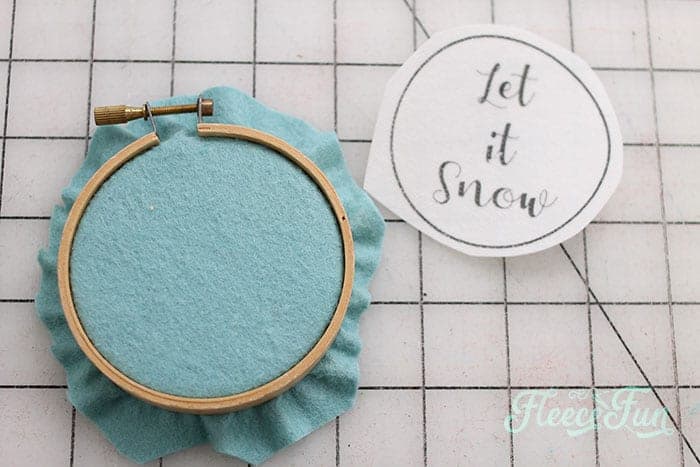
Print out the pattern and insert another piece of felt into your embroidery hoop, making sure it is big enough to leave roughly ½” overlap around all of the edges. Tighten the hoop.
Step 3 – Transfer the pattern and sew
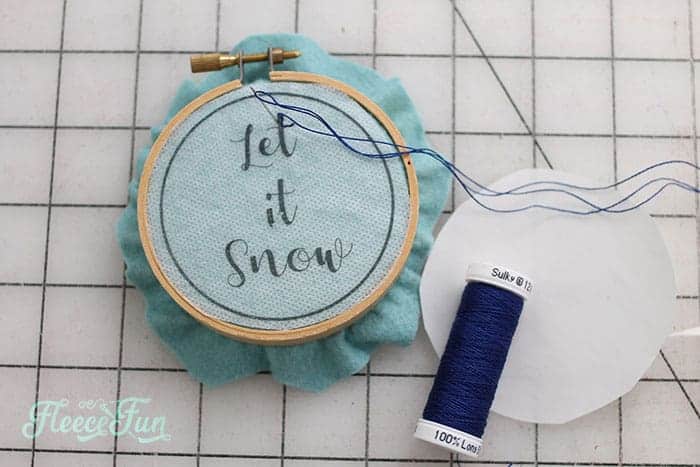
Transfer the pattern; I used Stick n Stitch so here I peeled the backing off and smoothed it on, centered. Thread your needle with floss and stitch! I used a simple back stitch for all of the letters, layering it in for the thicker parts of the letters.
Step 4 – Wash and Prepare the Felt for Assembly
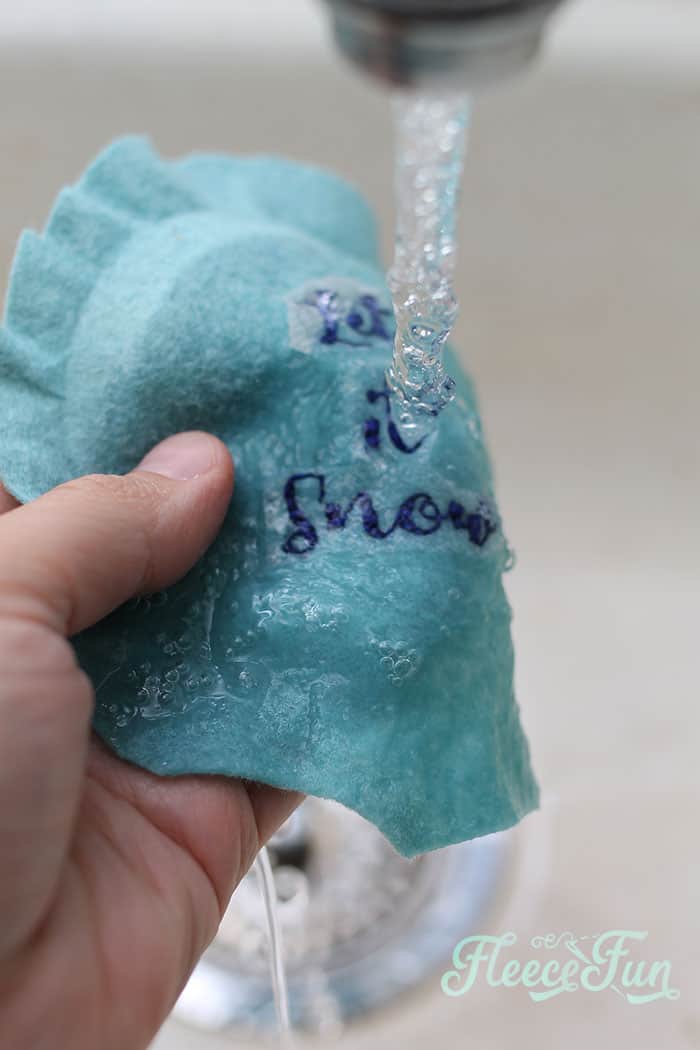
If using Stick n Stitch, take it out of the hoop and wash it off with warm water. Let dry.
Step 5 – Trim Felt Edges to Fit the Hoop Perfectly
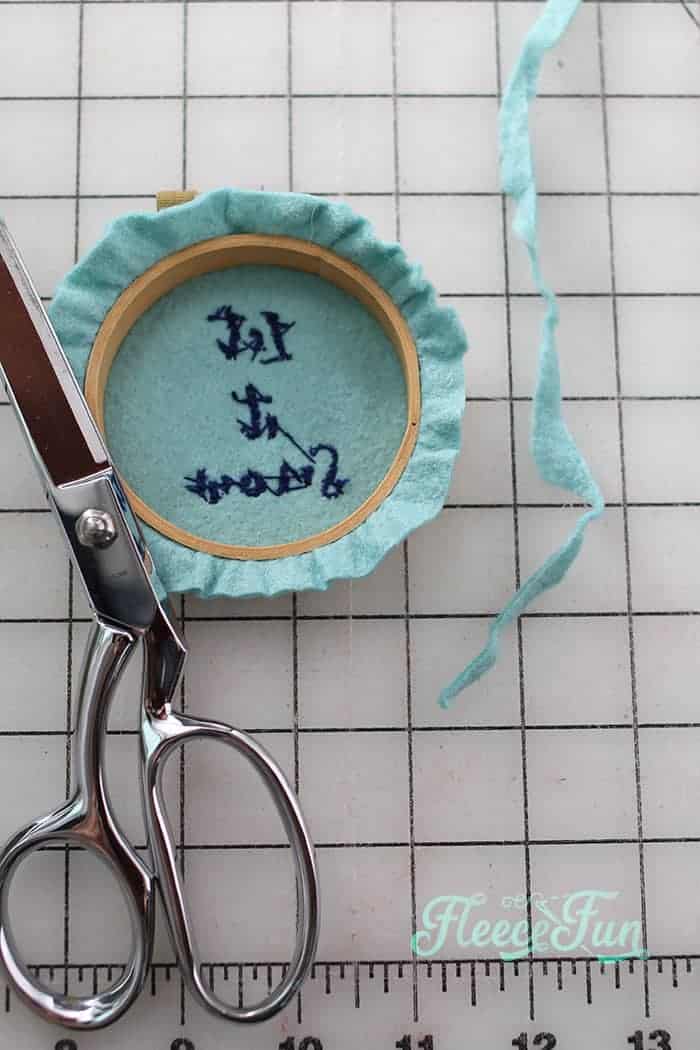
Insert embroidery back into the hoop, centering the design, tighten. Trim the edges to ½” around.
Step 6 – glue the edges of the Embroidery Hoop Ornament

Use hot glue and secure the overlap pressed down into the circle.
Step 7 – add the snowflakes trim
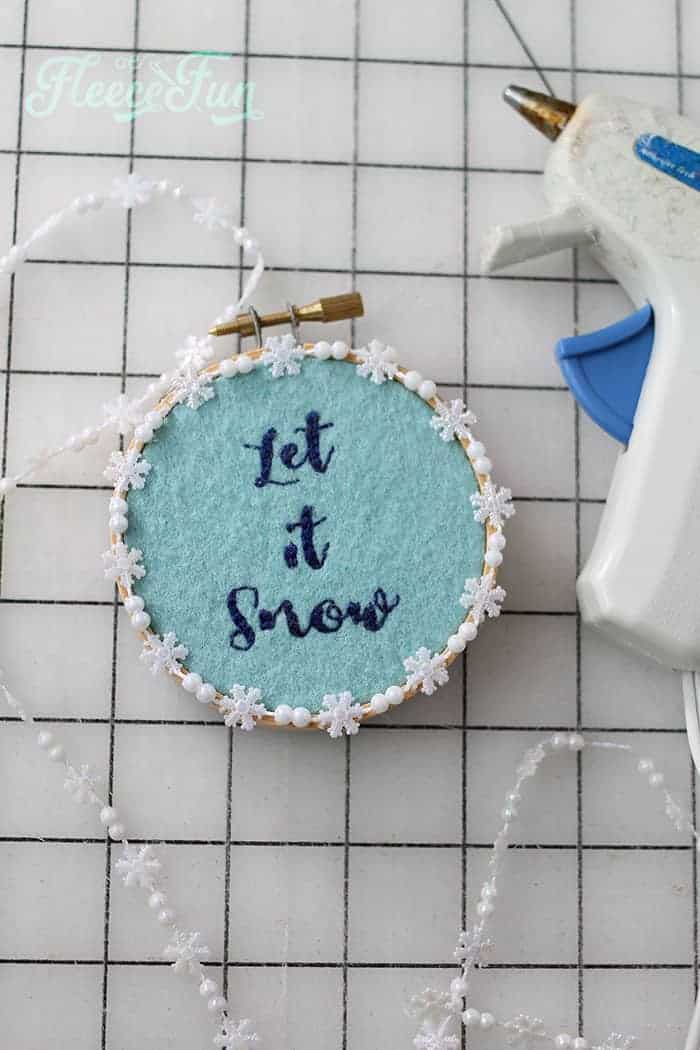
Use hot glue and carefully glue the snowflake trim around the edge of the hoop. I found it easiest to put small dabs of glue on each snowflake and push them down, leaving the little beads free.
Step 8 – Completing the Embroidery Hoop Ornament
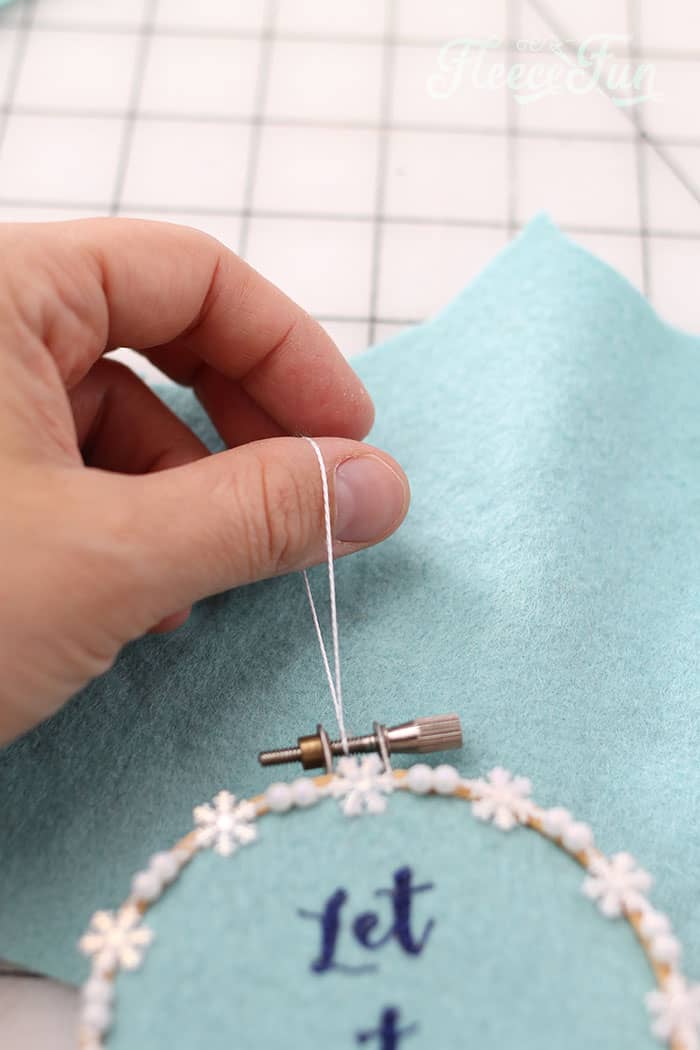
Use a small piece of embroidery floss, tie a knot, and use it to hang your ornament, you’re done!
GET THE FREE Embroidery Hoop Ornament DIY SEWING PATTERN BELOW:
I only approve of Adobe reader. By downloading you are agreeing to pattern terms of use. Fill out the form to have it delivered to your inbox.
If you’re in the handmade holiday spirit, I have a few other posts back on my own blog that you need to check out!
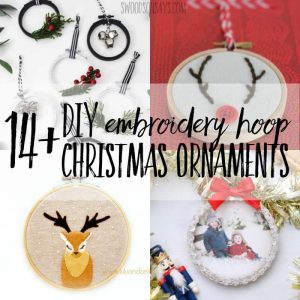
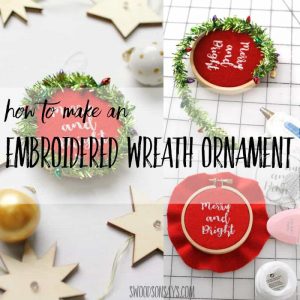
If you order embroidery hoops online in bulk, check out 14 other ideas for embroidery hoop Christmas ornaments I designed this cute little wreath ornament in the same style as the Let it Snow one, download the pattern for it here .
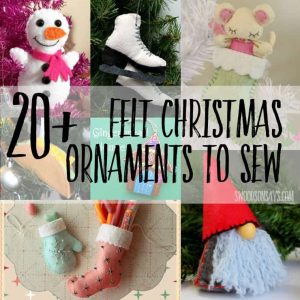
And if you have felt leftover after making this ornament, check out these free felt Christmas ornament patterns
I wish you a very craft Christmas, thanks for letting me share!
Ornaments You’ll Like for Christmas
- Reindeer Felt Handmade Ornament DIY
- Christmas Embroidery Designs Noel Hoop Ornament DIY
- Angel Handmade Ornament DIY
- How to Make a Snowman Ornament
- Felt Elf Tutorial
- Mini Top Hat Ornament Tutorial
- You can see all of Handmade Ornament Tutorials on this page
- You can see just my Felt Christmas Ornaments here
Explore More Christmas Projects You’ll Love
- DIY Felt Ornaments Tips, Tricks, and Templates
- Gingerbread House Ornaments DIY
- DIY Felt Candy Christmas Tree Ornaments
- Felt Stocking Ornament DIY
- Felt Ornament Pattern: Adorable Reindeer
- Free Ornament Template: Felt Santa
- Modern Christmas Wreath DIY Felt
- DIY Christmas Earrings
- How to Spray Paint a Pre-Lit Christmas Tree
- Holiday Spa Set Tutorial
- Christmas Stocking How-To
- No-Sew Christmas Stocking Patterns
- Free Christmas Printables
- Free Christmas Picture Printables
- Personalized Christmas Pajamas