
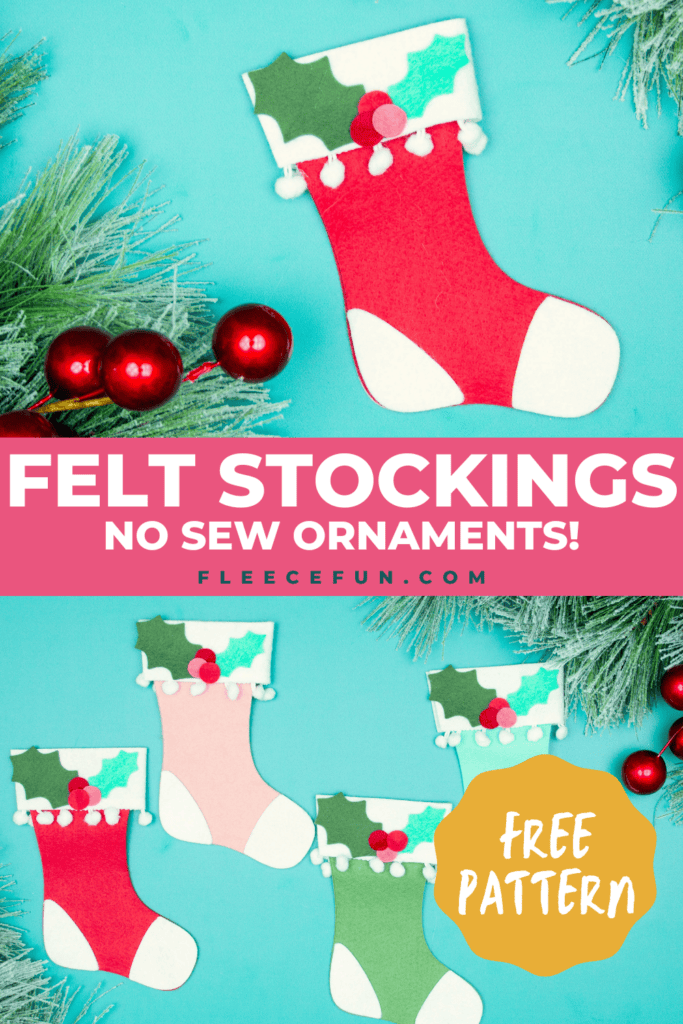
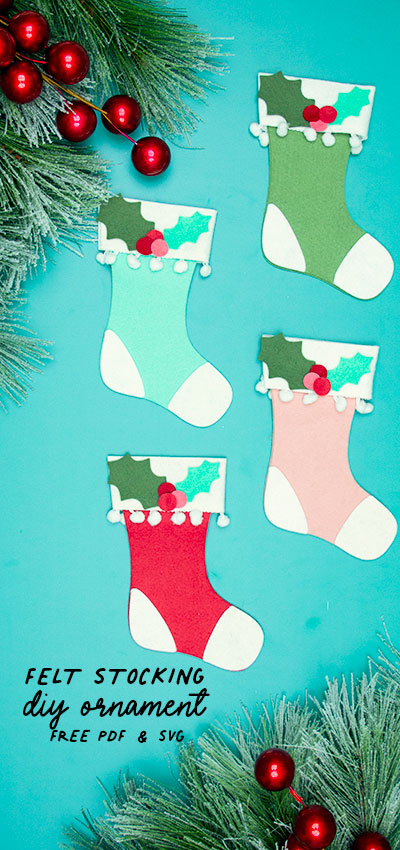
Felt Stocking Ornament DIY Free Template (PDF & SVG)
This content contains affiliate links or sponsored elements, read our Disclosure Policy.
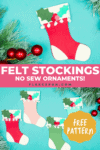


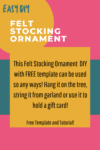


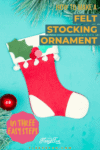
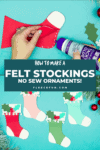
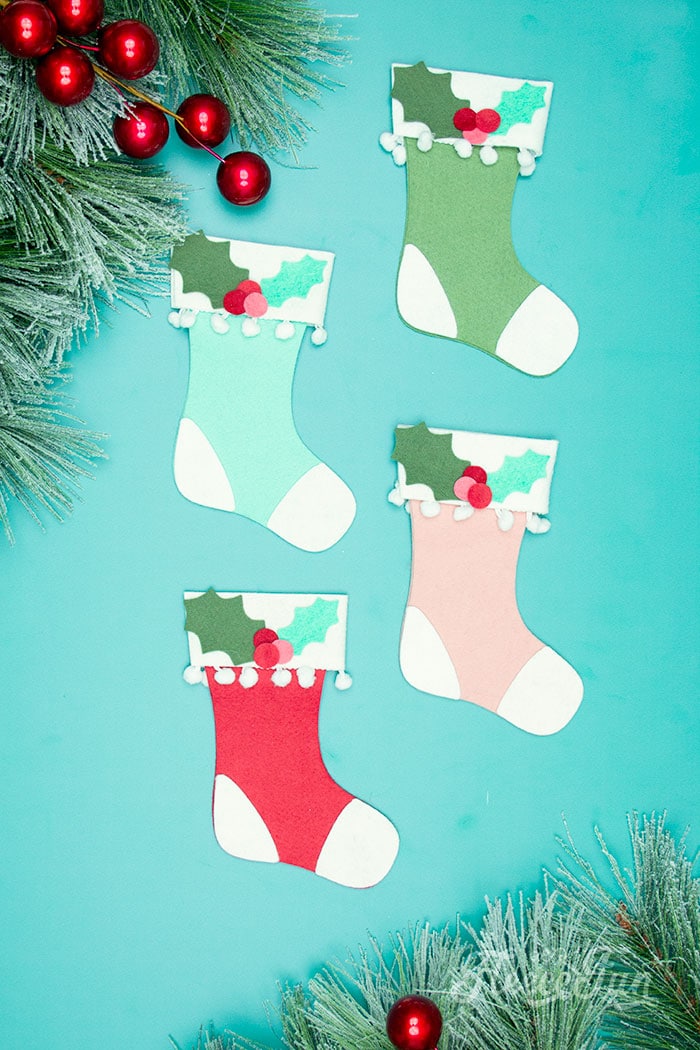
This Felt Stocking Ornament DIY with FREE template can be used so any ways! Hang it on the tree, string it from garland or use it to hold a gift card! The best part about this Christmas tree ornament is that it is No Sew – making it fast and easy to put together. Be sure to check out all of my free ornament tutorials that I have available.
Hate The Ads?
This pattern with video, SVG Files and printable instructions is available in the Makers Studio. The Maker’s Studio is an ad free experience, no video ads, no forms, no zip files, just creating.

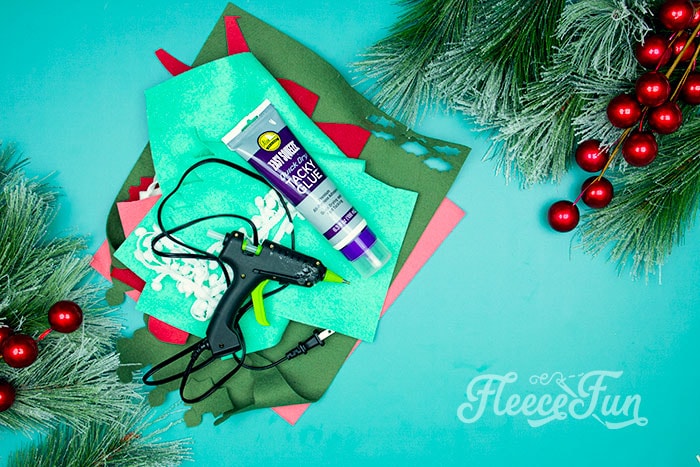
YOU WILL NEED:
- Fleece Fun’s free project files (available by filling out the form at the end of the post)
- Felt in white, red, pink and green ( but really whatever color you want to make your stockings!)
- Tacky glue
- Hot glue gun and glue sticks
- White pom pom string
- Scissors or Cricut Maker
- FabricGrip Mat
- Get the free SVG and PDF pattern here.

Felt Stocking Ornament DIY Free Template (PDF & SVG) Instructions
Step 1 – Cut out the Stocking Ornament Pieces From the Free Pattern
After gathering your materials you will need to cut out the pieces to the handmade Felt Stocking ornament.
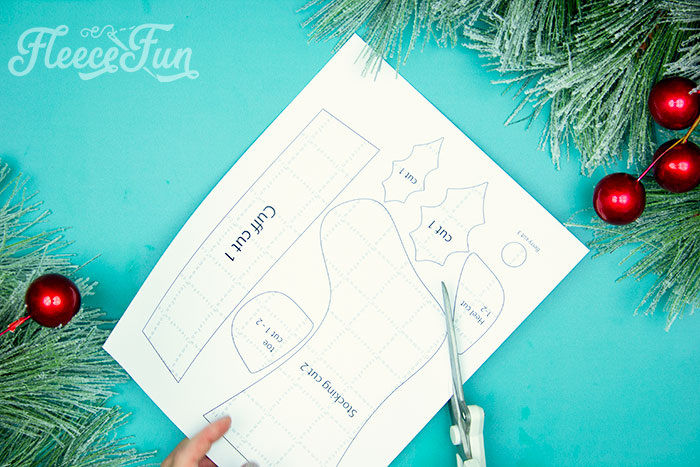
You can do this using the PDF Pattern.
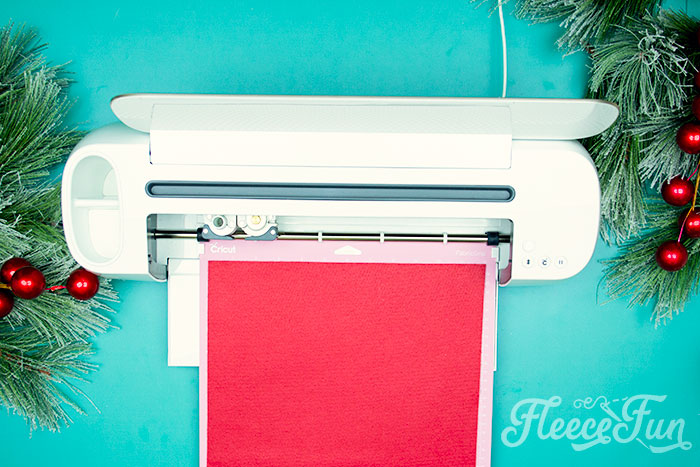
Or using a Cricut Maker with the rotary blade and a fabric grip mat.
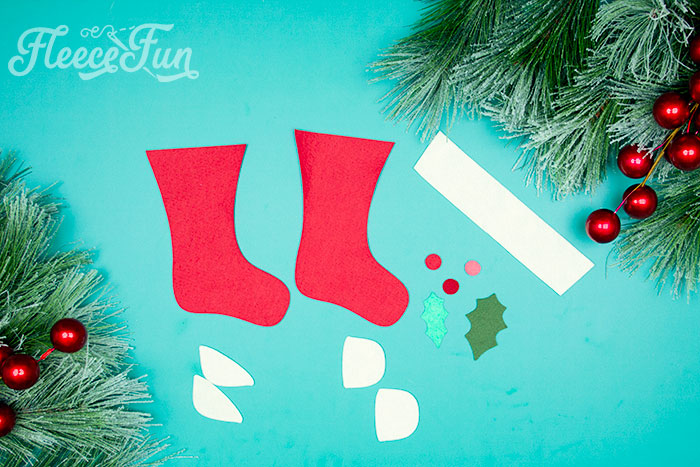
For one felt stocking ornament you will need to cut out 2 stockings, 1 cuff, 1-2 heels ( if you want it on both side of the stocking or not), 1- 2 toes, 1 large holly leaf and 1 small. 3 berries (in pink and red).
Step 2 – Make the No Sew Felt Stocking Body
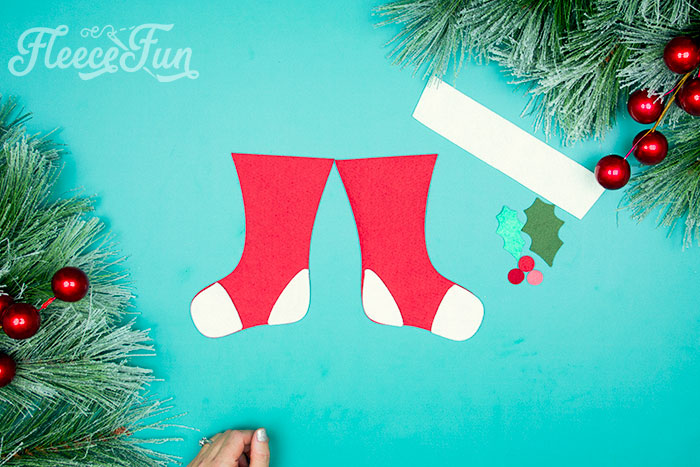
Flip one of the stockings so it is a mirror reflection of the other. Figure out the placement of the toe and heel BEFORE gluing it down. Notice that heel sits on the stocking ornament.
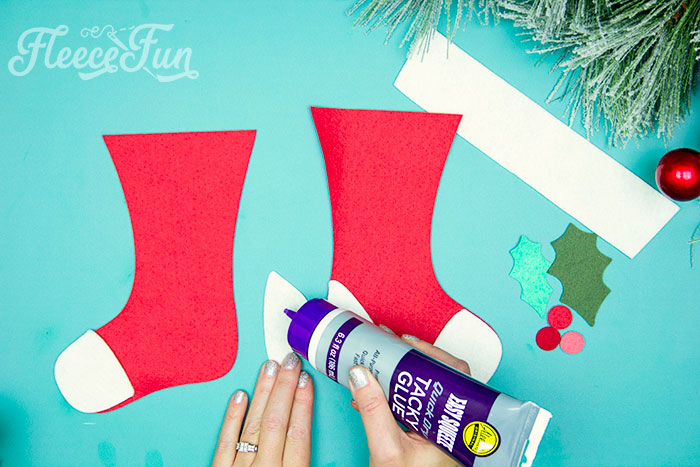
Using the tacky glue, place dots all around the wrong side of the pieces and glue into place.

Now it’s time to add some trim to the bottom of the stocking cuff. Measure the trim along the short side of the cuff ( this is the bottom). Trim to length.
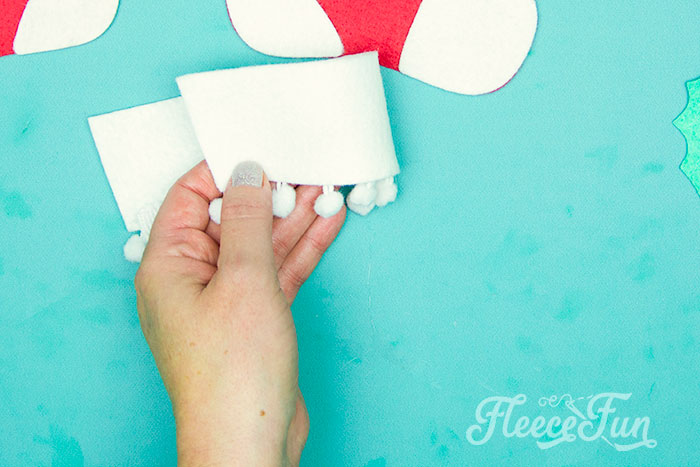
Using hot glue, glue to bottom so only the pom poms show.

Flip one felt stocking over so the right side is facing down on the work surface.
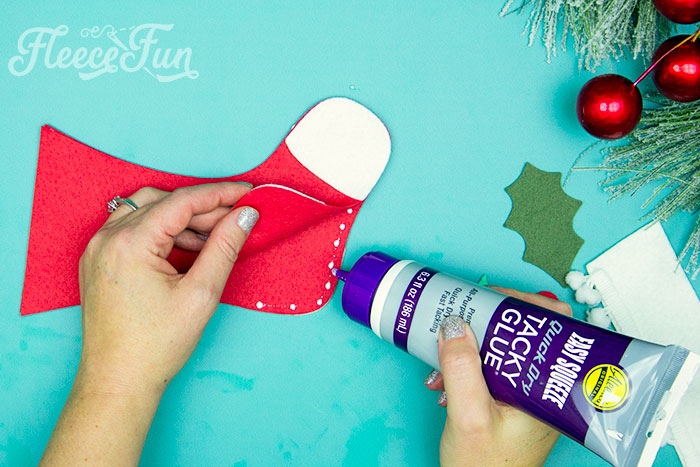
Glue the two felt stocking ornaments together using dots of glue around the edge (so you can slip things inside it if your want!)
Place the longest edge ( the side that doesn’t have the trim on it) along the top of the stocking. Make sure that the end of the cuff is on the side of the heel.

Place glue dots along the edge of the cuff and glue to the top of the stocking.
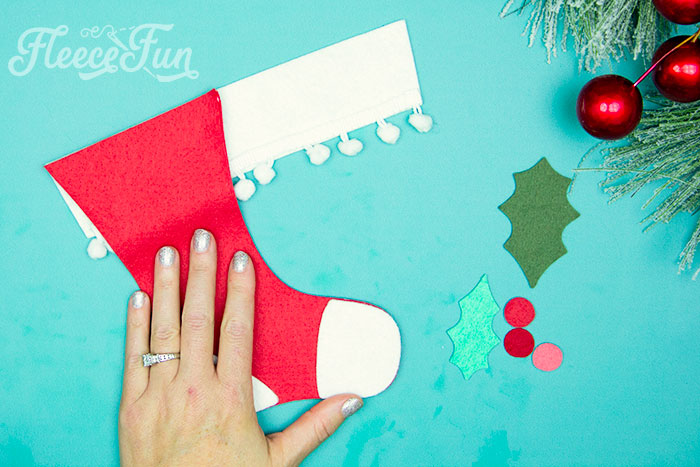
Step 3 – Add Some Holly to Finish the Stocking

Using either hot glue or tacky glue glue the holly leaves and then the berries into place.

Make several Felt Stocking Ornaments in different colors!
Download the Free FELT Stocking Ornament Template Below (PDF & SVG)
By downloading you are agreeing to pattern terms of use. Fill out the form to get the SVG and PDF file.

More Ornaments for your Tree!
- Felt Ornament Pattern: Adorable Reindeer
- Free Ornament Template: Felt Santa
- Santa Ornament DIY
- Ballet Slipper Handmade Ornament
- DIY Homemade Ornament with Gnomes
- Wooden Christmas Ornament DIY
- Nutcracker Ornament DIY
- Felt Lanterns Handmade Ornament
- You can see all of Handmade Ornament Tutorials on this page
- You can see just my Felt Christmas Ornaments here
Explore More Christmas Projects You’ll Love
- DIY Felt Ornaments Tips, Tricks, and Templates
- Gingerbread House Ornaments DIY
- DIY Felt Candy Christmas Tree Ornaments
- Reindeer Felt Handmade Ornament DIY
- Let It Snow Embroidery Hoop Ornament DIY
- Modern Christmas Wreath DIY Felt
- DIY Christmas Earrings
- How to Spray Paint a Pre-Lit Christmas Tree
- Holiday Spa Set Tutorial
- Christmas Stocking How-To
- No-Sew Christmas Stocking Patterns
- Free Christmas Printables
- Free Christmas Picture Printables
- Personalized Christmas Pajamas
Enjoy making your small projects. I can put everything in a kit bag that I made and carry it with me on weekend trips.