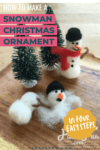
How to make a Snowman Ornament
This content contains affiliate links or sponsored elements, read our Disclosure Policy.


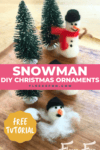

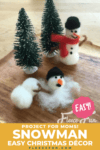
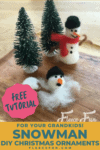
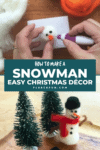
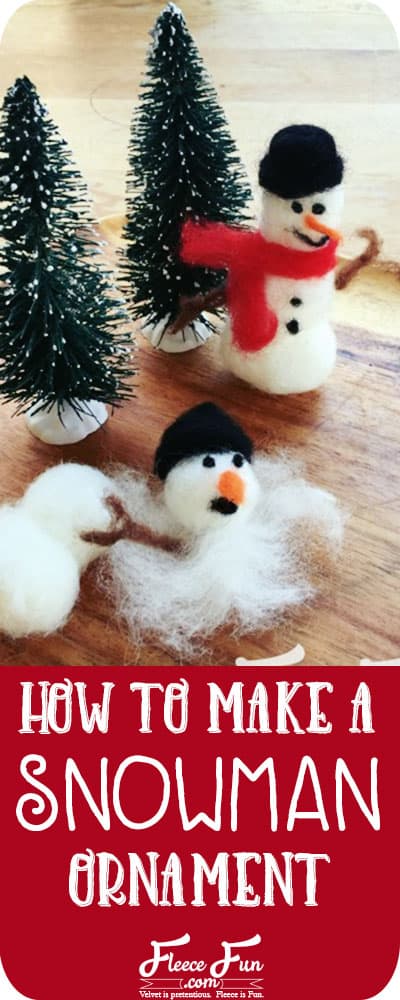
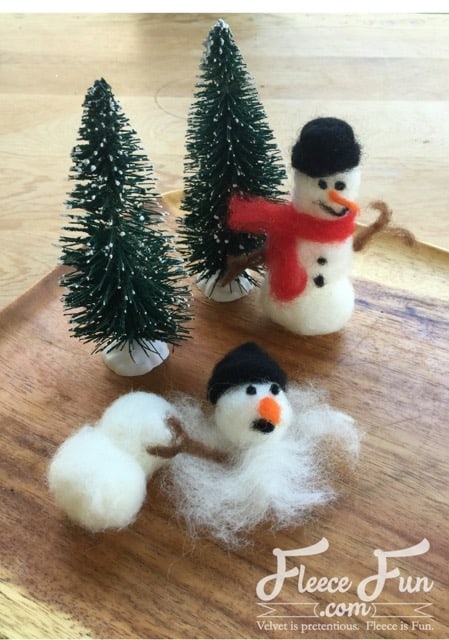
Snowmen are my favorite winter decorations. I like to keep a few of them around all winter long, even after the holidays have come and gone. Here we used some wool roving leftover from another project to create these Felted Wool Snowmen Ornaments.
Hi, I am Jessica.
I am a former apparel designer turned blogger, DIY-er, crafter, and general designer of the domestic world, and I share my exploits on my blog www.designerssweetspot.com. I started blogging to share tips and tricks on making a beautiful designer looking home, on a frugal budget, a long, long time ago. It’s been seven years since my first post, and I love every minute of it! I am excited to share this project with you on Fleece is Fun!
During the holidays we always have decorated our home with Snowmen. It’s our way of bringing the outdoors inside, even when it’s too cold to be out in our Wisconsin climate. Some of our favorite crafted snowmen are portrayed as melting away. They make us laugh, and pokes fun at the long winter days ahead of us. We really don’t mind winter a bit. Making crafts is a great way to pass the time indoors, we like to work on projects while listening to audio books on CD, or watching those sappy Hallmark Christmas movies that we can’t get enough of.
How to make a Snowman Ornament:
Working with felted wool is fun and easy to do. It requires a few tools from the craft store, but we love the softness of the natural material. Wool fibers naturally felt and hold themselves together when prodded repeatedly with a needle, there is no glue or adhesive involved. There is something so charming and old fashioned about simple handmade felted wool pieces. Here’s what you will need to make a Felted Wool Snowman Ornament.
YOU WILL NEED:
- Wool Roving in off white, black, brown, red and orange
- Felting Needle
- Foam felting block
- Black thread and sewing needle, to make a loop for hanging ornaments on the tree
Step 1 – Build the Snowman Ornament’s Body
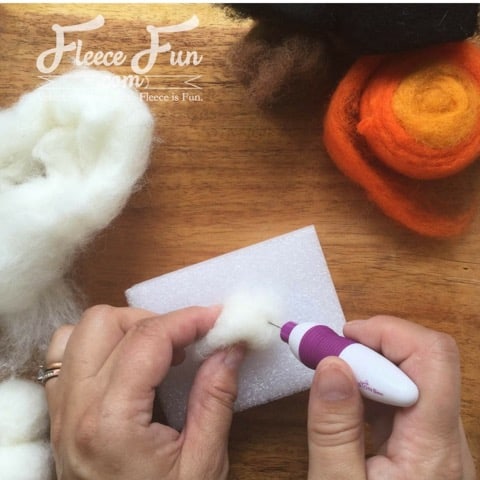
Pull a length of white wool roving off of the skein, approximately 5″ long.
Roll into a ball with your fingers, place on top of felting block
Begin working the fibers with the felting needle while you continue to roll the wool into a ball. Press the needle into the wool ball repeatedly until the ball holds together on it’s own. You will have to rotate the ball as you work.
Make two more balls, each one slightly bigger than the first.
Assemble the snowman by stacking the two lower balls together. One ball on top of the other, and working the edges of the balls together with the felting needle until they become attached.
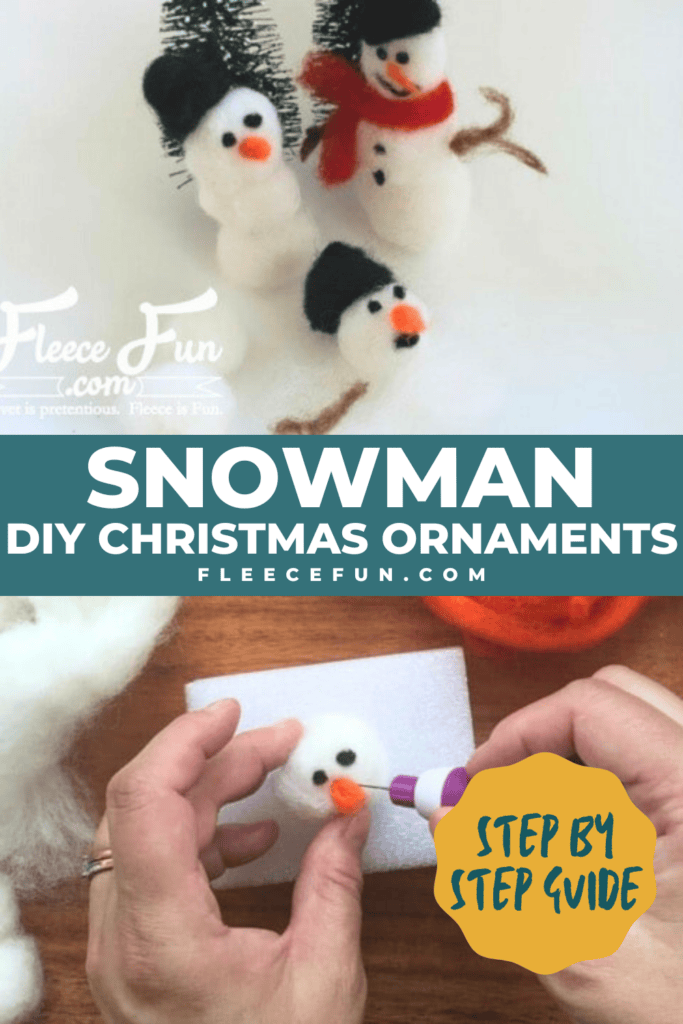
Step 2 – Create the Snowman’s Face
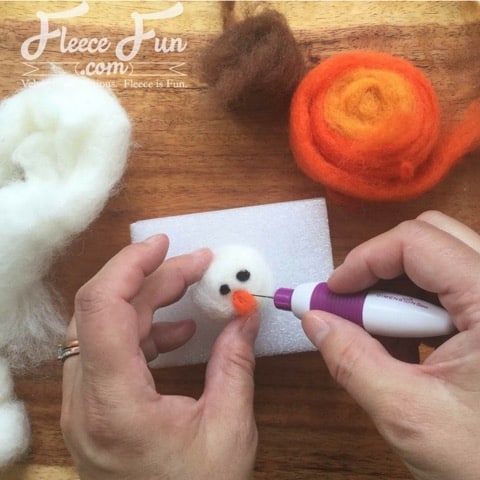
To make the face on the snowman ornament, use a small amount of orange roving rolled together for a carrot nose. Work the wool with the felting needle until you get the shape you desire. Add the nose to the center of the face by attaching it only on one end with the felting needle.
The eyes, nose and buttons are made from small amounts of black wool roving. Pull a tiny amount of roving off the skein, roll into a ball and felt together. Then attach to the snowman as shown in the photograph.
The mouth is a small piece of black roving, rolled into a smile shape and attached with the needle to the face.
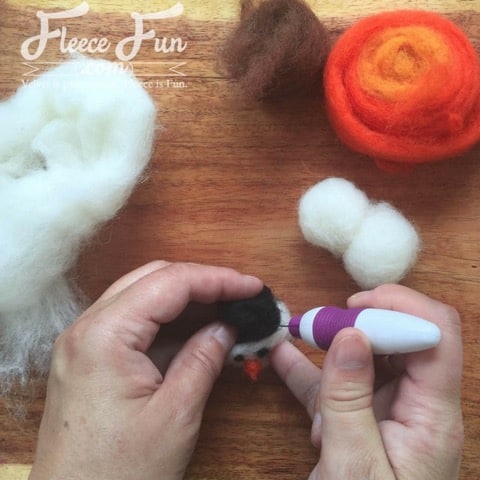
Step 3 – Craft the Snowman’s Hat
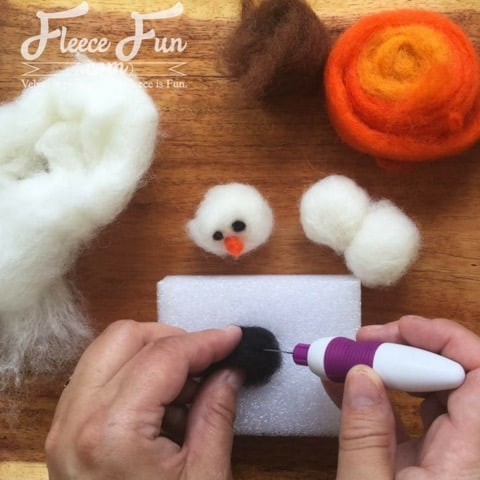
The hat began as a black roving ball. Make the ball, with the same technique as the balls for the body of the snowman. Work the roving gradually into a ball, keeping it slightly flat on the bottom to fit on the head of the snowman. Add a brim to the hat with more roving and felt together.
Place the hat on the snowman, felt into place.
Step 4 – Assemble and Complete Your DIY Snowman Ornament
To make the arms, roll bits of brown roving into short lengths shaped like tree branches. Felt with the needle to hold together, then attach on either side of the snowman.
The scarf is red roving. Use a piece of roving about 6″. Roll lengthwise, felting with the needle as you work until the scarf holds it’s shape. Drape around the neck of the snowman leaving the ends floating in the air as if the wind were blowing them.
Attach loop for hanging the snowman by threading a sewing needle with heavy black thread and sewing it through the top of the snowman’s hat. Cut and tie treads ends together.
To make the melting snowman, assemble two white roving balls. Make a third ball for the head, add facial features and hat as before. Place the head on some wisps of white roving to look like it’s melting. Felt in place.
note
The melted snowman will not hang on the tree.
Ornaments You’ll Like for Christmas
- Reindeer Felt Handmade Ornament DIY
- Let It Snow Embroidery Hoop Ornament DIY
- Christmas Embroidery Designs Noel Hoop Ornament DIY
- Angel Handmade Ornament DIY
- Felt Elf Tutorial
- Mini Top Hat Ornament Tutorial
- You can see all of Handmade Ornament Tutorials on this page
- You can see just my Felt Christmas Ornaments here
Explore More Christmas Projects You’ll Love
- Mitten Ornament Pattern
- Printable Holiday Gift Tags
- Mini Holiday Gift Tags
- Ice Skate Ornament DIY
- Wooden Christmas Ornament DIY
- Nutcracker Ornament DIY
- 6 Ways to Engage Kids This Christmas
- 5 Tips for Outdoor Christmas Decorating
- Christmas Ideas
- No-Bake Christmas Wreath Cookies
- Perfect Stocking Stuffers for Sewing Lovers
- Mad Hatter Tea Party Paper Chandelier
- Giant Holly Leaves