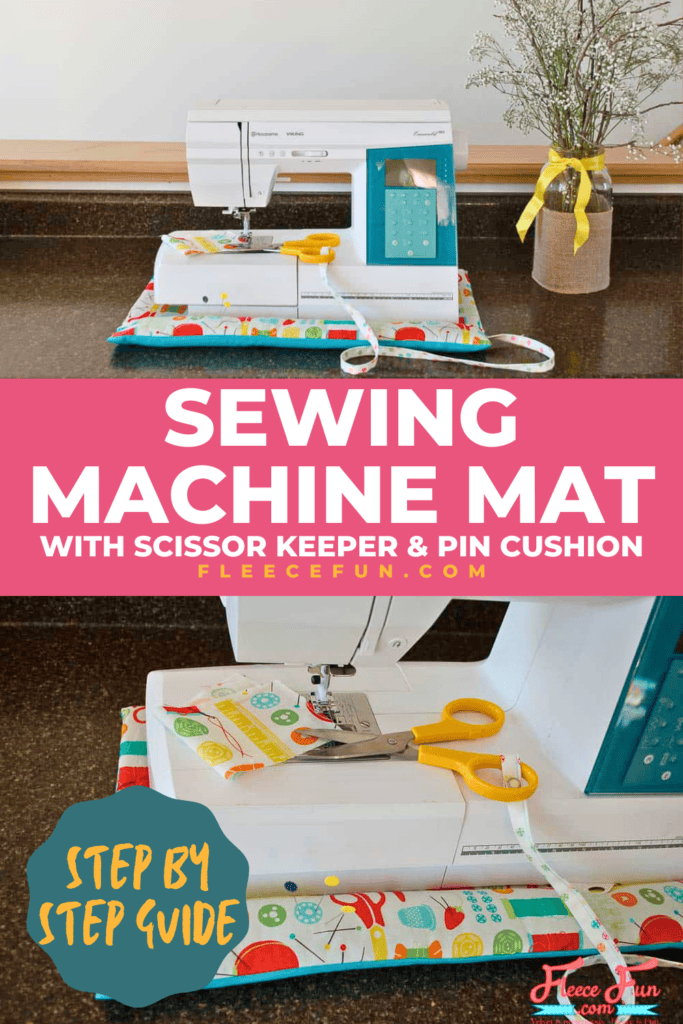
Sewing Machine Mat Tutorial
This content contains affiliate links or sponsored elements, read our Disclosure Policy.
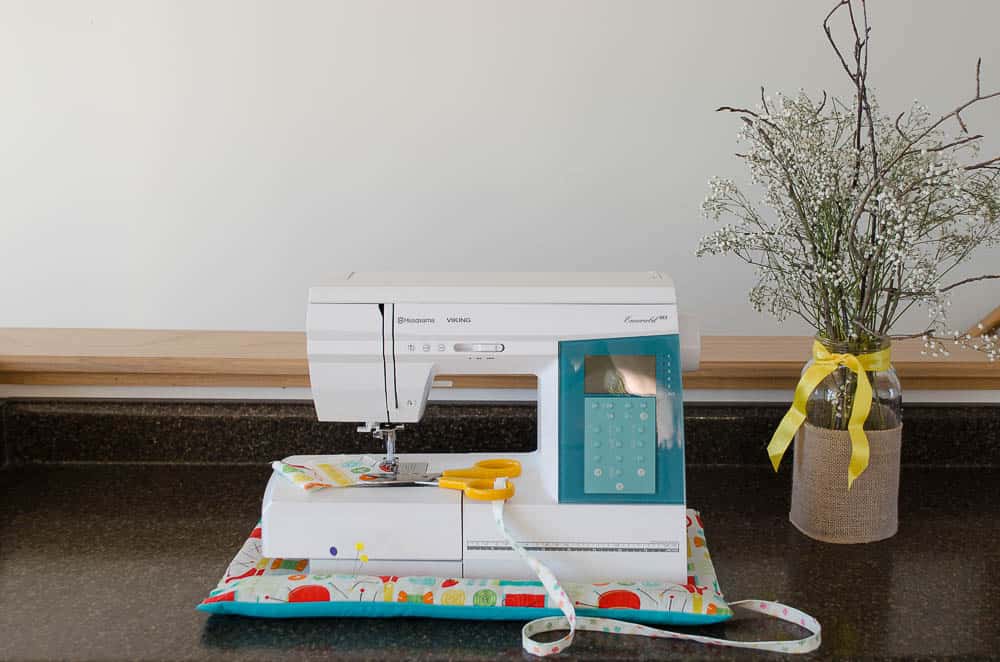
You can make this sewing machine mat that will protect your equipment and make sewing easier (not to mention cuter)! Follow these simple steps to cut, sew, and assemble your sewing mat with a built-in pincushion and scissor leash.
YOU WILL NEED:
- 1 fat quarter of quilting cotton fabric
- 1 fat quarter of contrasting quilting cotton fabric
- One 9″ × 20″ piece of high-density foam (I cut a rectangle from an old yoga mat.)
- 1 set of snaps
- Sewing Essentials (pins, scissors, etc.)
- Sewing Machine
sewing machine mat Tutorial
Step 1 – Cut the Fabric Pieces
Start by cutting all of the pieces you’ll need before you begin sewing.
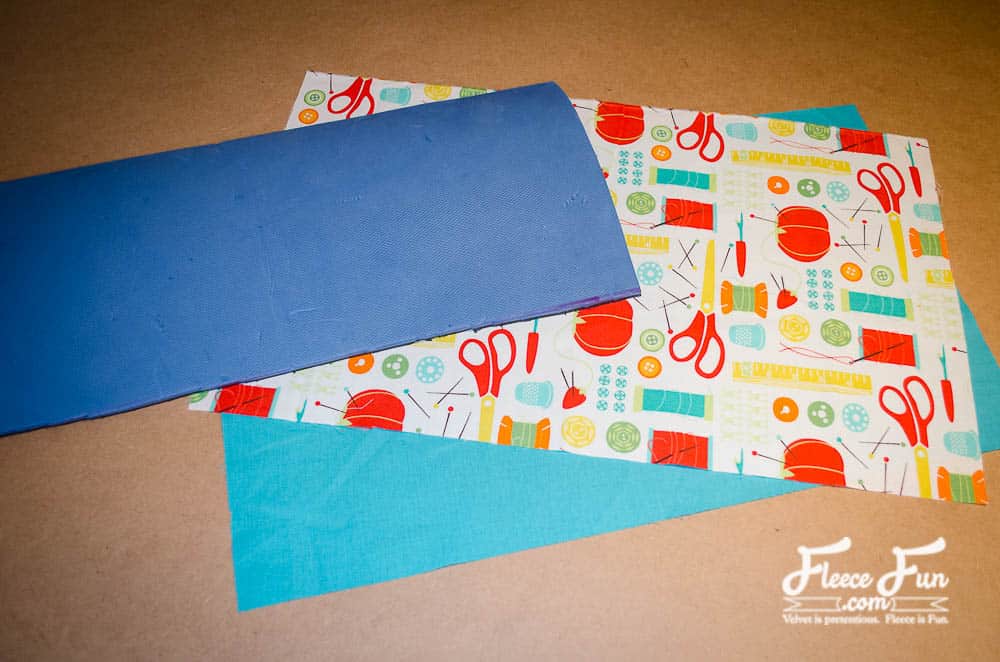
Cut:
7″ × 21″ for the pincushion sleeve
9″ × 20″ of foam
30″ × 2″ for the scissor leash
13″ × 21″ of the top fabric
13″ × 21″ of the bottom fabric
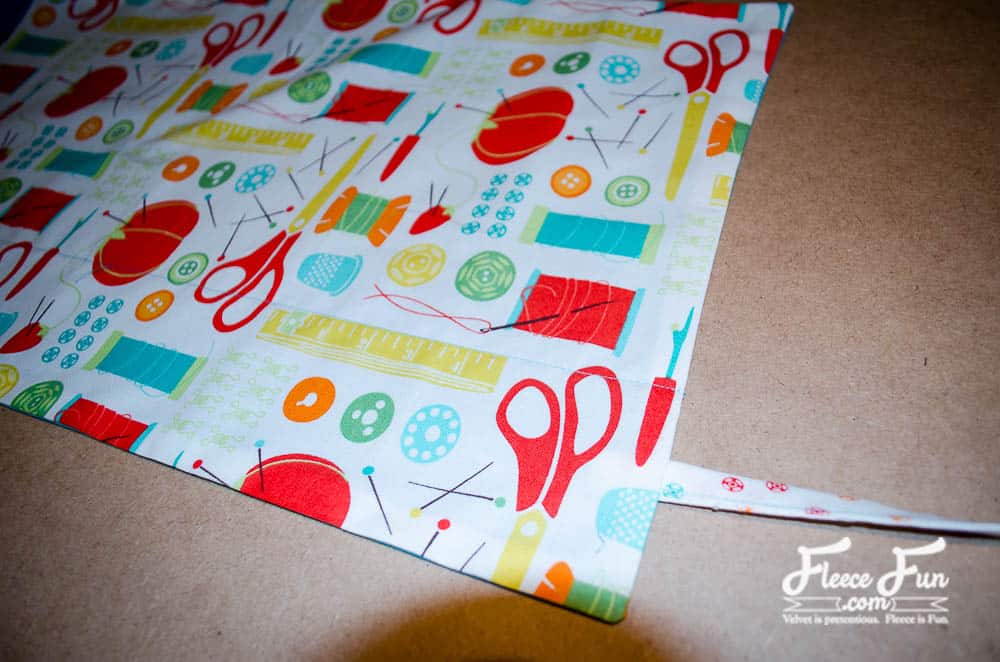
Step 2 – Prepare the Scissor Leash
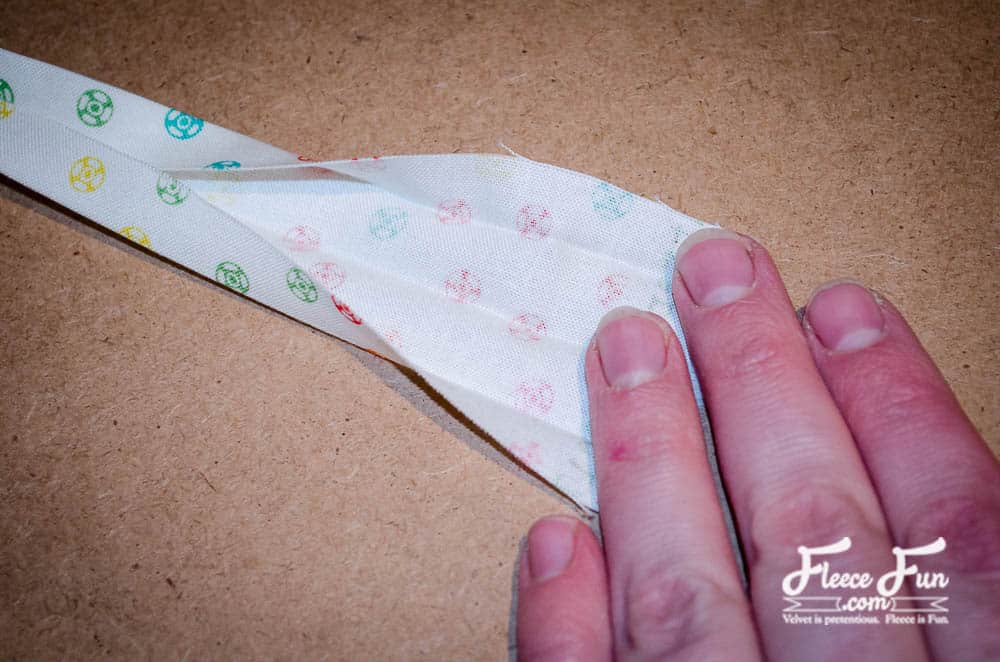
Prepare the scissor leash the sewing machine mat by pressing in half with the wrong sides facing. Open and fold the edges so that they meet in the middle. Press.
Step 3 – Sew the Scissor Leash
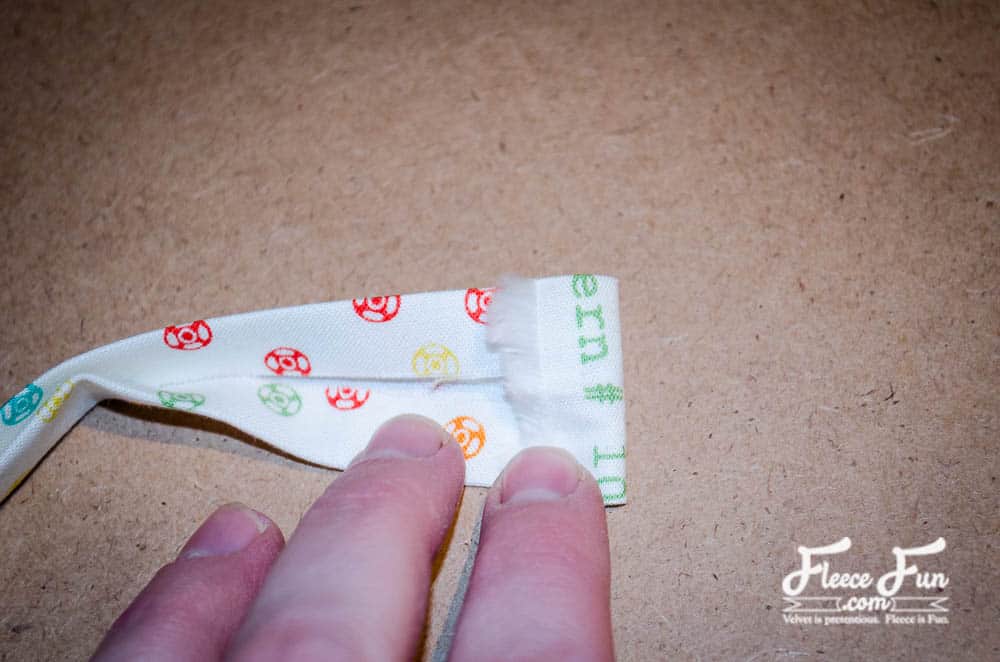
Fold over one of the raw ends to the wrong side. The other raw edge will be inside the sewing machine mat.
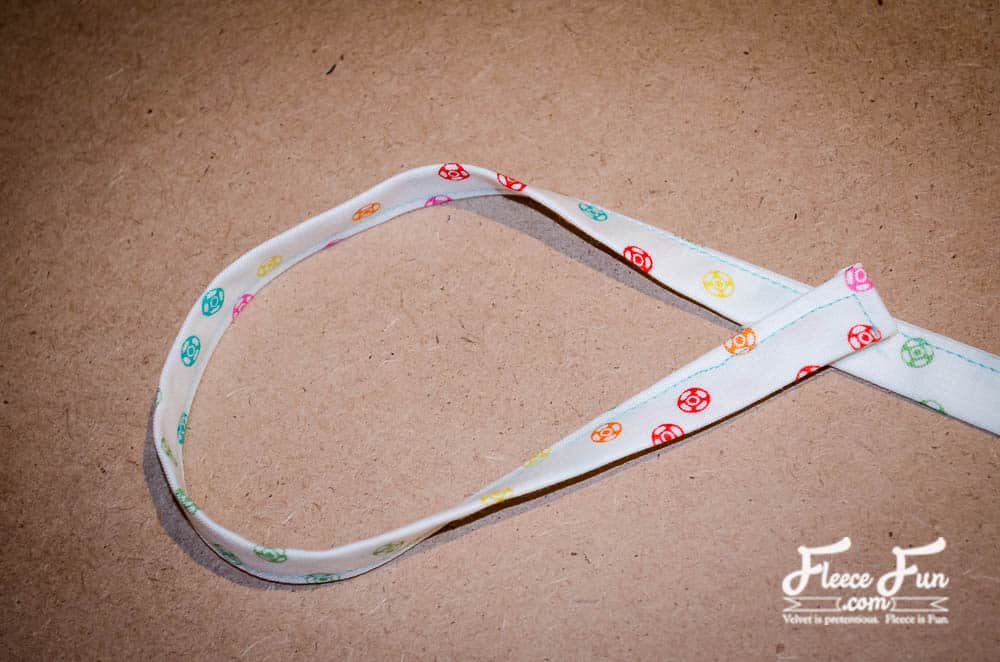
Sew along the long edge and the folded short edge of the scissor leash. Set the scissor leash aside.
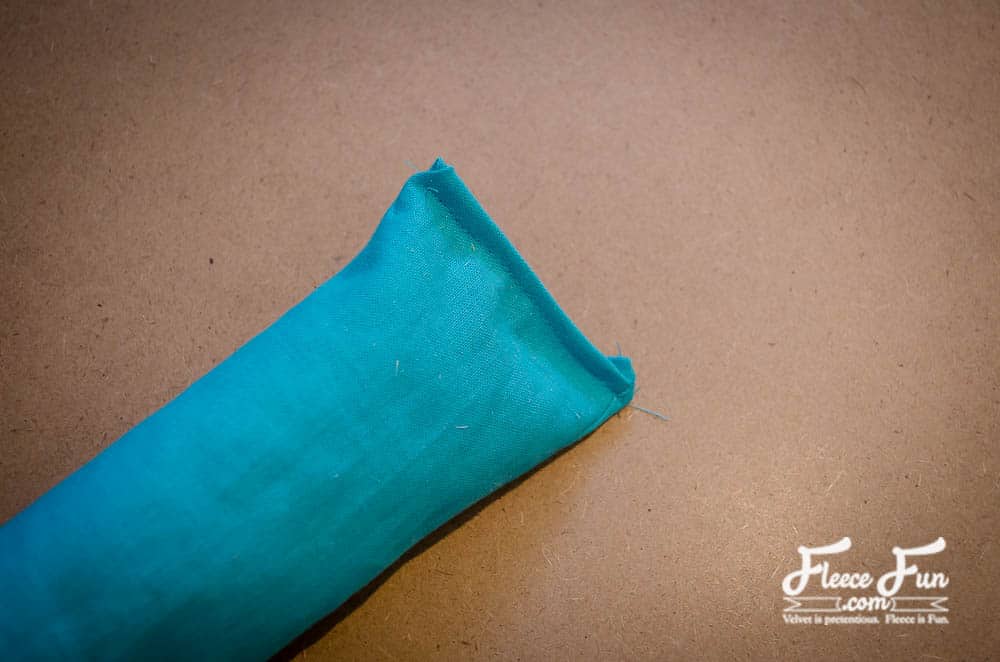
Step 4 – Make the Pincushion Sleeve
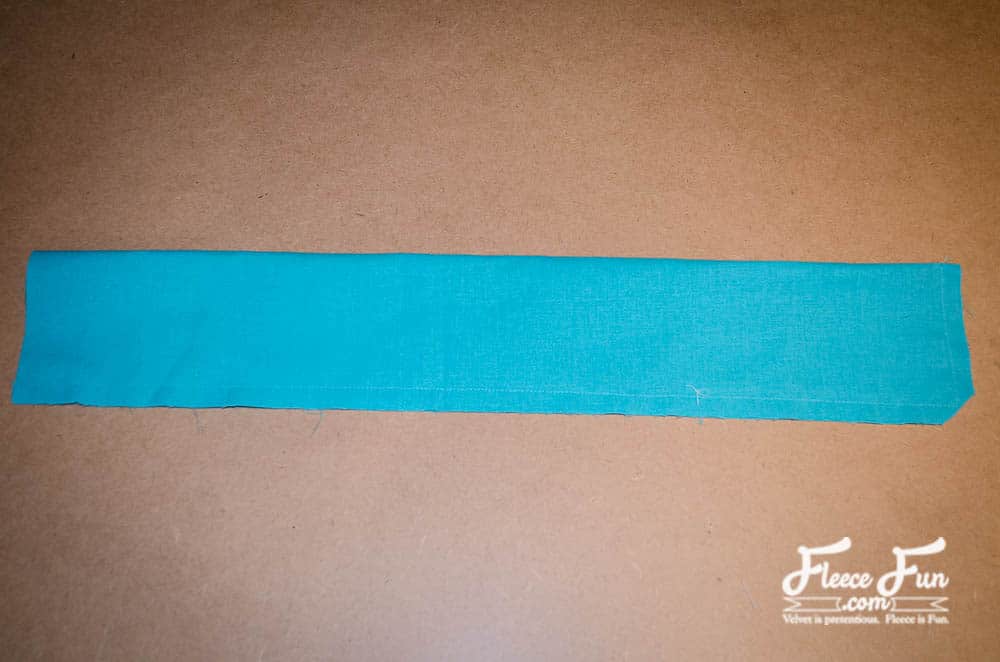
Fold the pincushion sleeve in half with the wrong sides together. Stitch along the long edge and one short edge. Clip the corner.
Step 5 – Fill the Pincushion Sleeve
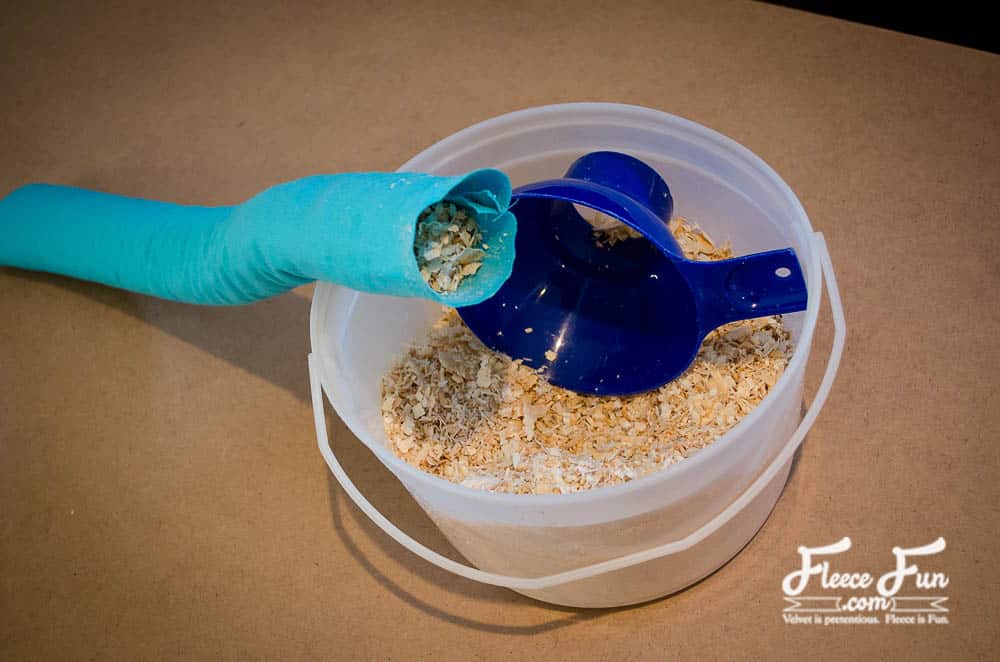
Turn the pincushion sleeve right side out. Fill with sawdust. I found a canning funnel to be helpful. Pack the sawdust in tightly.
Step 6 – Close the Pincushion Sleeve
Fold over the open edge and stitch it shut. It doesn’t have to be pretty, as you won’t see this from the outside of the finished mat. Set the pincushion sleeve aside.
Step 7 – Sew the Sewing Machine Mat Together
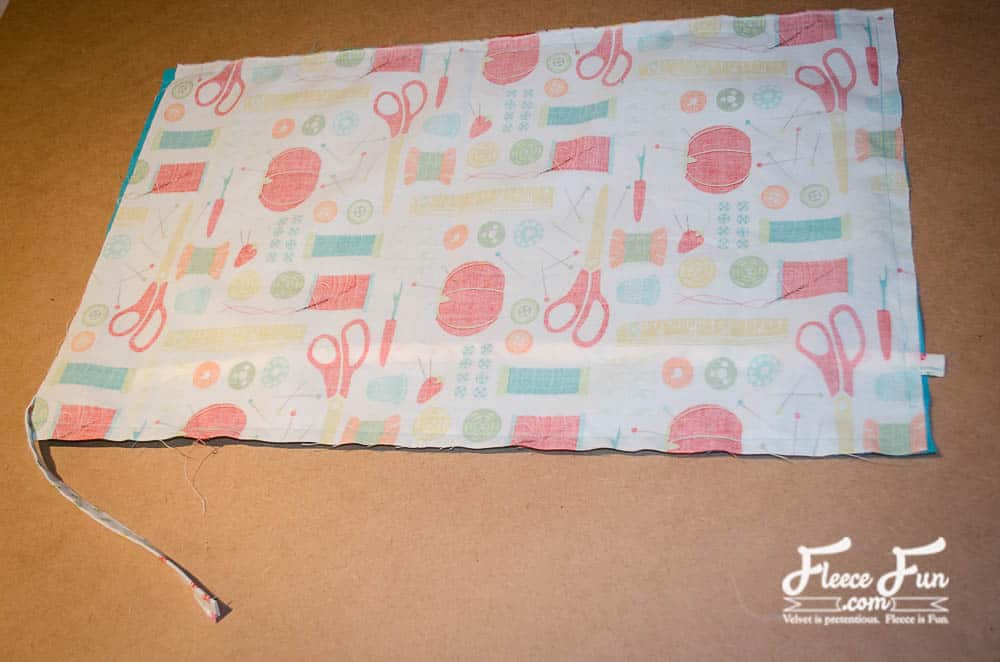
Sandwich the raw edge of the scissor leash between the two mat layers, with the right sides facing. Stitch along the top, side, and bottom edges. Clip the corners and turn it right side out.
Step 8 – Create the Sewing Machine Mat Pockets
Sew a seam 3″ from the bottom edge. This will divide your mat into two pockets; one is for the sewing mat, and the other is for the pincushion.
Step 9 – Insert the Sewing Machine Mat Foam
Now it’s time to add the foam to give the mat its shape.
Slide the mat into the larger pocket. Tuck the raw edges in and pin them in place.
Step 10 – Insert the Pincushion
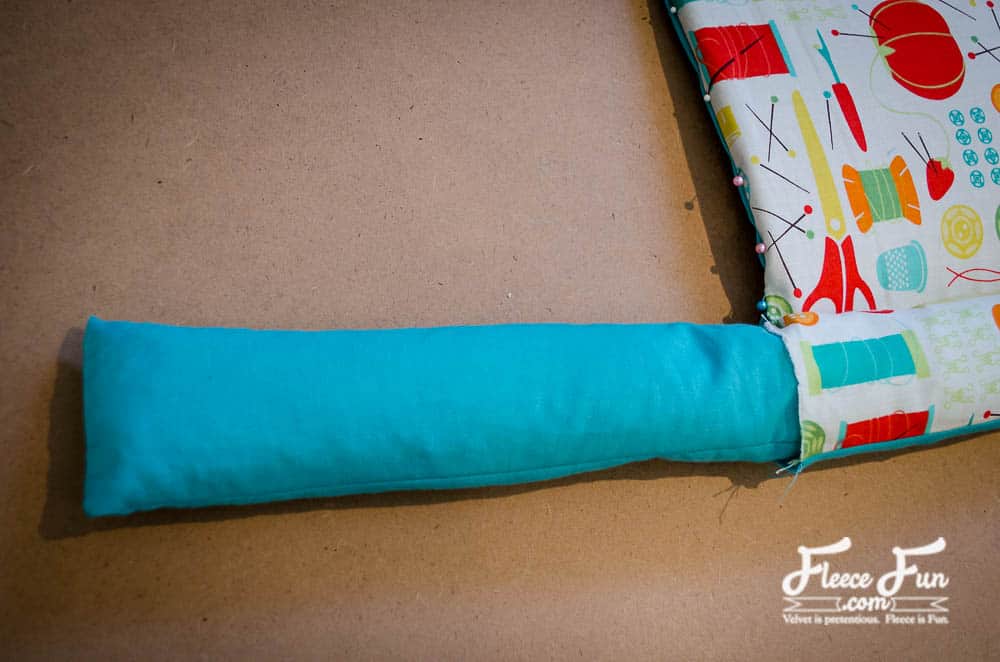
Stuff the pincushion sleeve into the pocket you formed. This will be tight. I found it helpful to use a wooden ruler to help stuff it in.
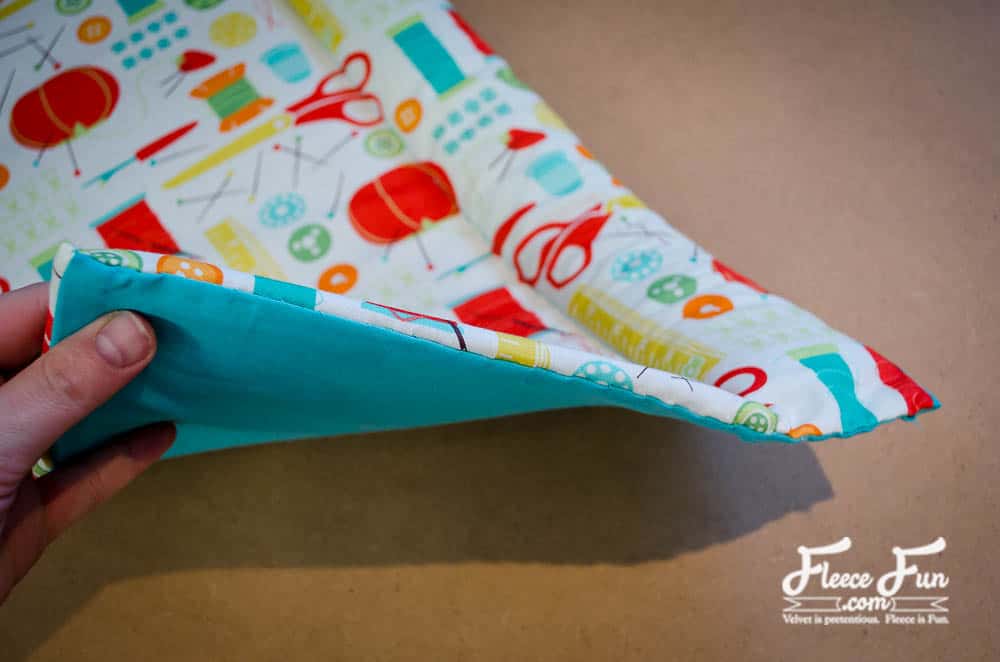
Step 11 – Close the Opening
You’re almost finished. Close the remaining opening to complete the mat.
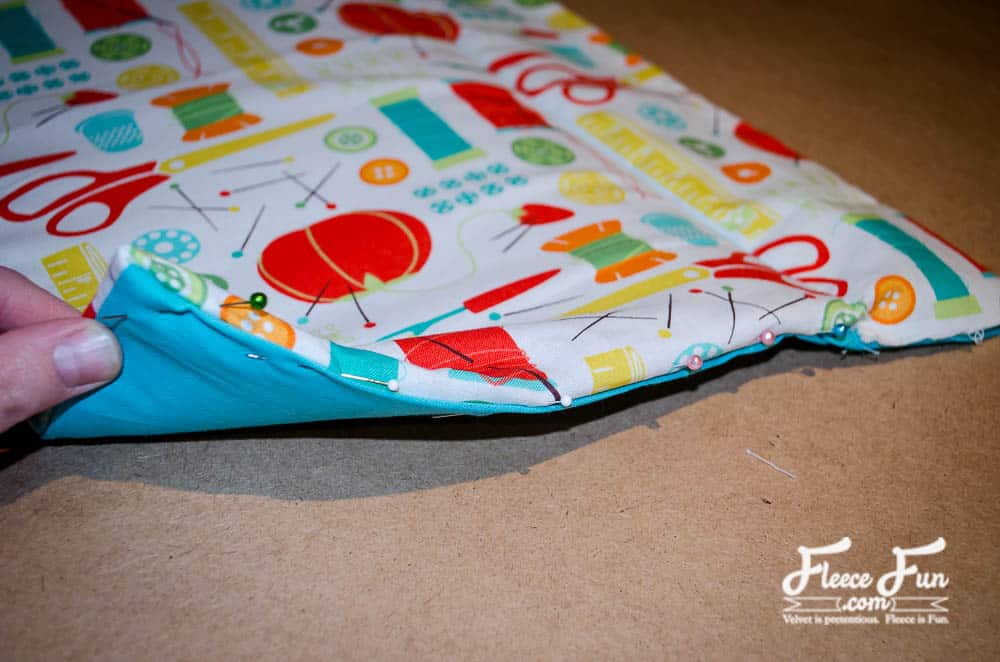
Pin the remainder of the edge closed and hand stitch it shut.
12. Add the Snap
Finish your sewing machine mat by attaching the final hardware.
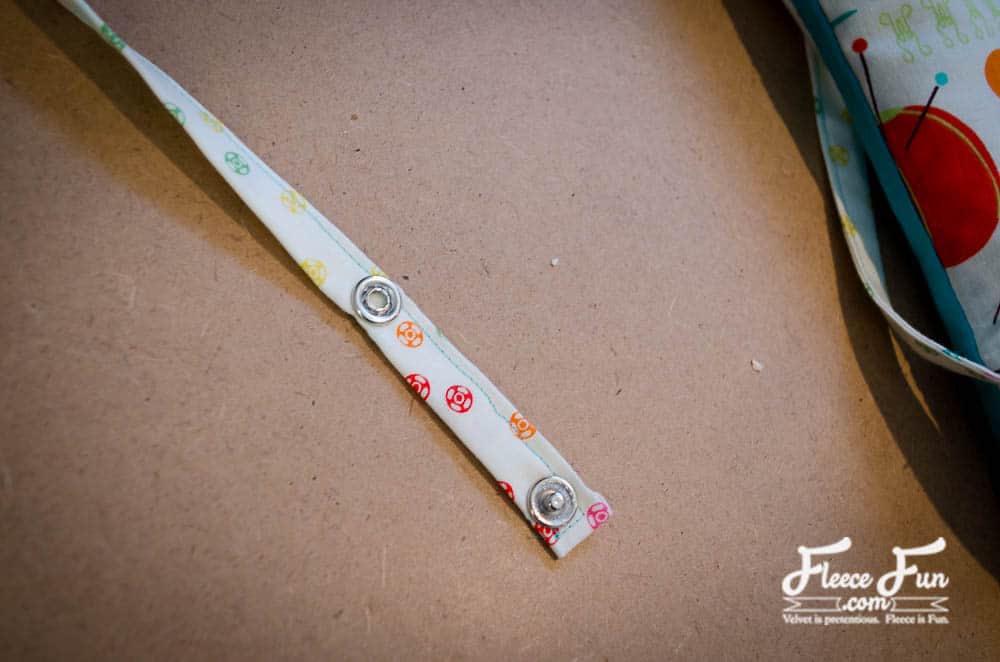
Apply a snap to the end of the scissor leash.
Love this Sewing machine Mat? See More tutorials for Organizers!
- Origami Fabric Basket Tutorial
- IKEA Fabric Stool
- How to Make a Binder Pouch Tutorial
- Ribbon Book Mark
- Craft Room Hanging Organizer Tutorial
- How to Make a Giant Pegboard for Your Craft Room
- Cricut Maker Cover Tutorial
- How to Make a Pin Cushion Tutorial (Bracelet Style)
- Cute Trash Can DIY Craft Room Decor
- Make Giant Buttons Wall Decor
- Tips on How to Paint Stripes on Walls
- Painting a Chalkboard Wall – 5 Things to Know
- See all of our Organizer Tutorials
Love these Craft Room Makeovers and Decor Ideas!
- Craft Closet Organization: The Ultimate Guide
- Sewing Room Ideas: My Studio Makeover (Part 1 of the Makeover Series)
- How to Choose Colors for Your Sewing Studio (Part 2 of the Makeover Series)
- Sewing Room Ideas: How to Pick Furniture (Part 3 of the Makeover Series)
- Cute Craft Room Decor Ideas (Part 4 of the Makeover Series)
- Craft Room Ideas: Makeover Final Reveal (Part 5 of the Makeover Series)
- Honest Craft Room Tour!
- See all Studio Space and Decor Tutorials!