
Ikea Fabric Stool Cushion Tutorial
This content contains affiliate links or sponsored elements, read our Disclosure Policy.
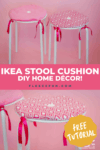

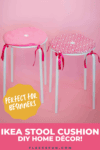
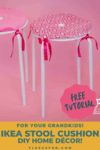
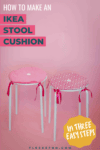
This Ikea Fabric Stool Cushion Tutorial is easy to sew and up and a great way to add a splash of color to the room. Or switch out the covers with the seasons to refresh a room.
One of my favorite places to shop for home décor is IKEA. I really like the simple modern style, and of course, the inexpensive prices! Recently I purchased 2 ‘Marius’ stools, at quite the bargain.
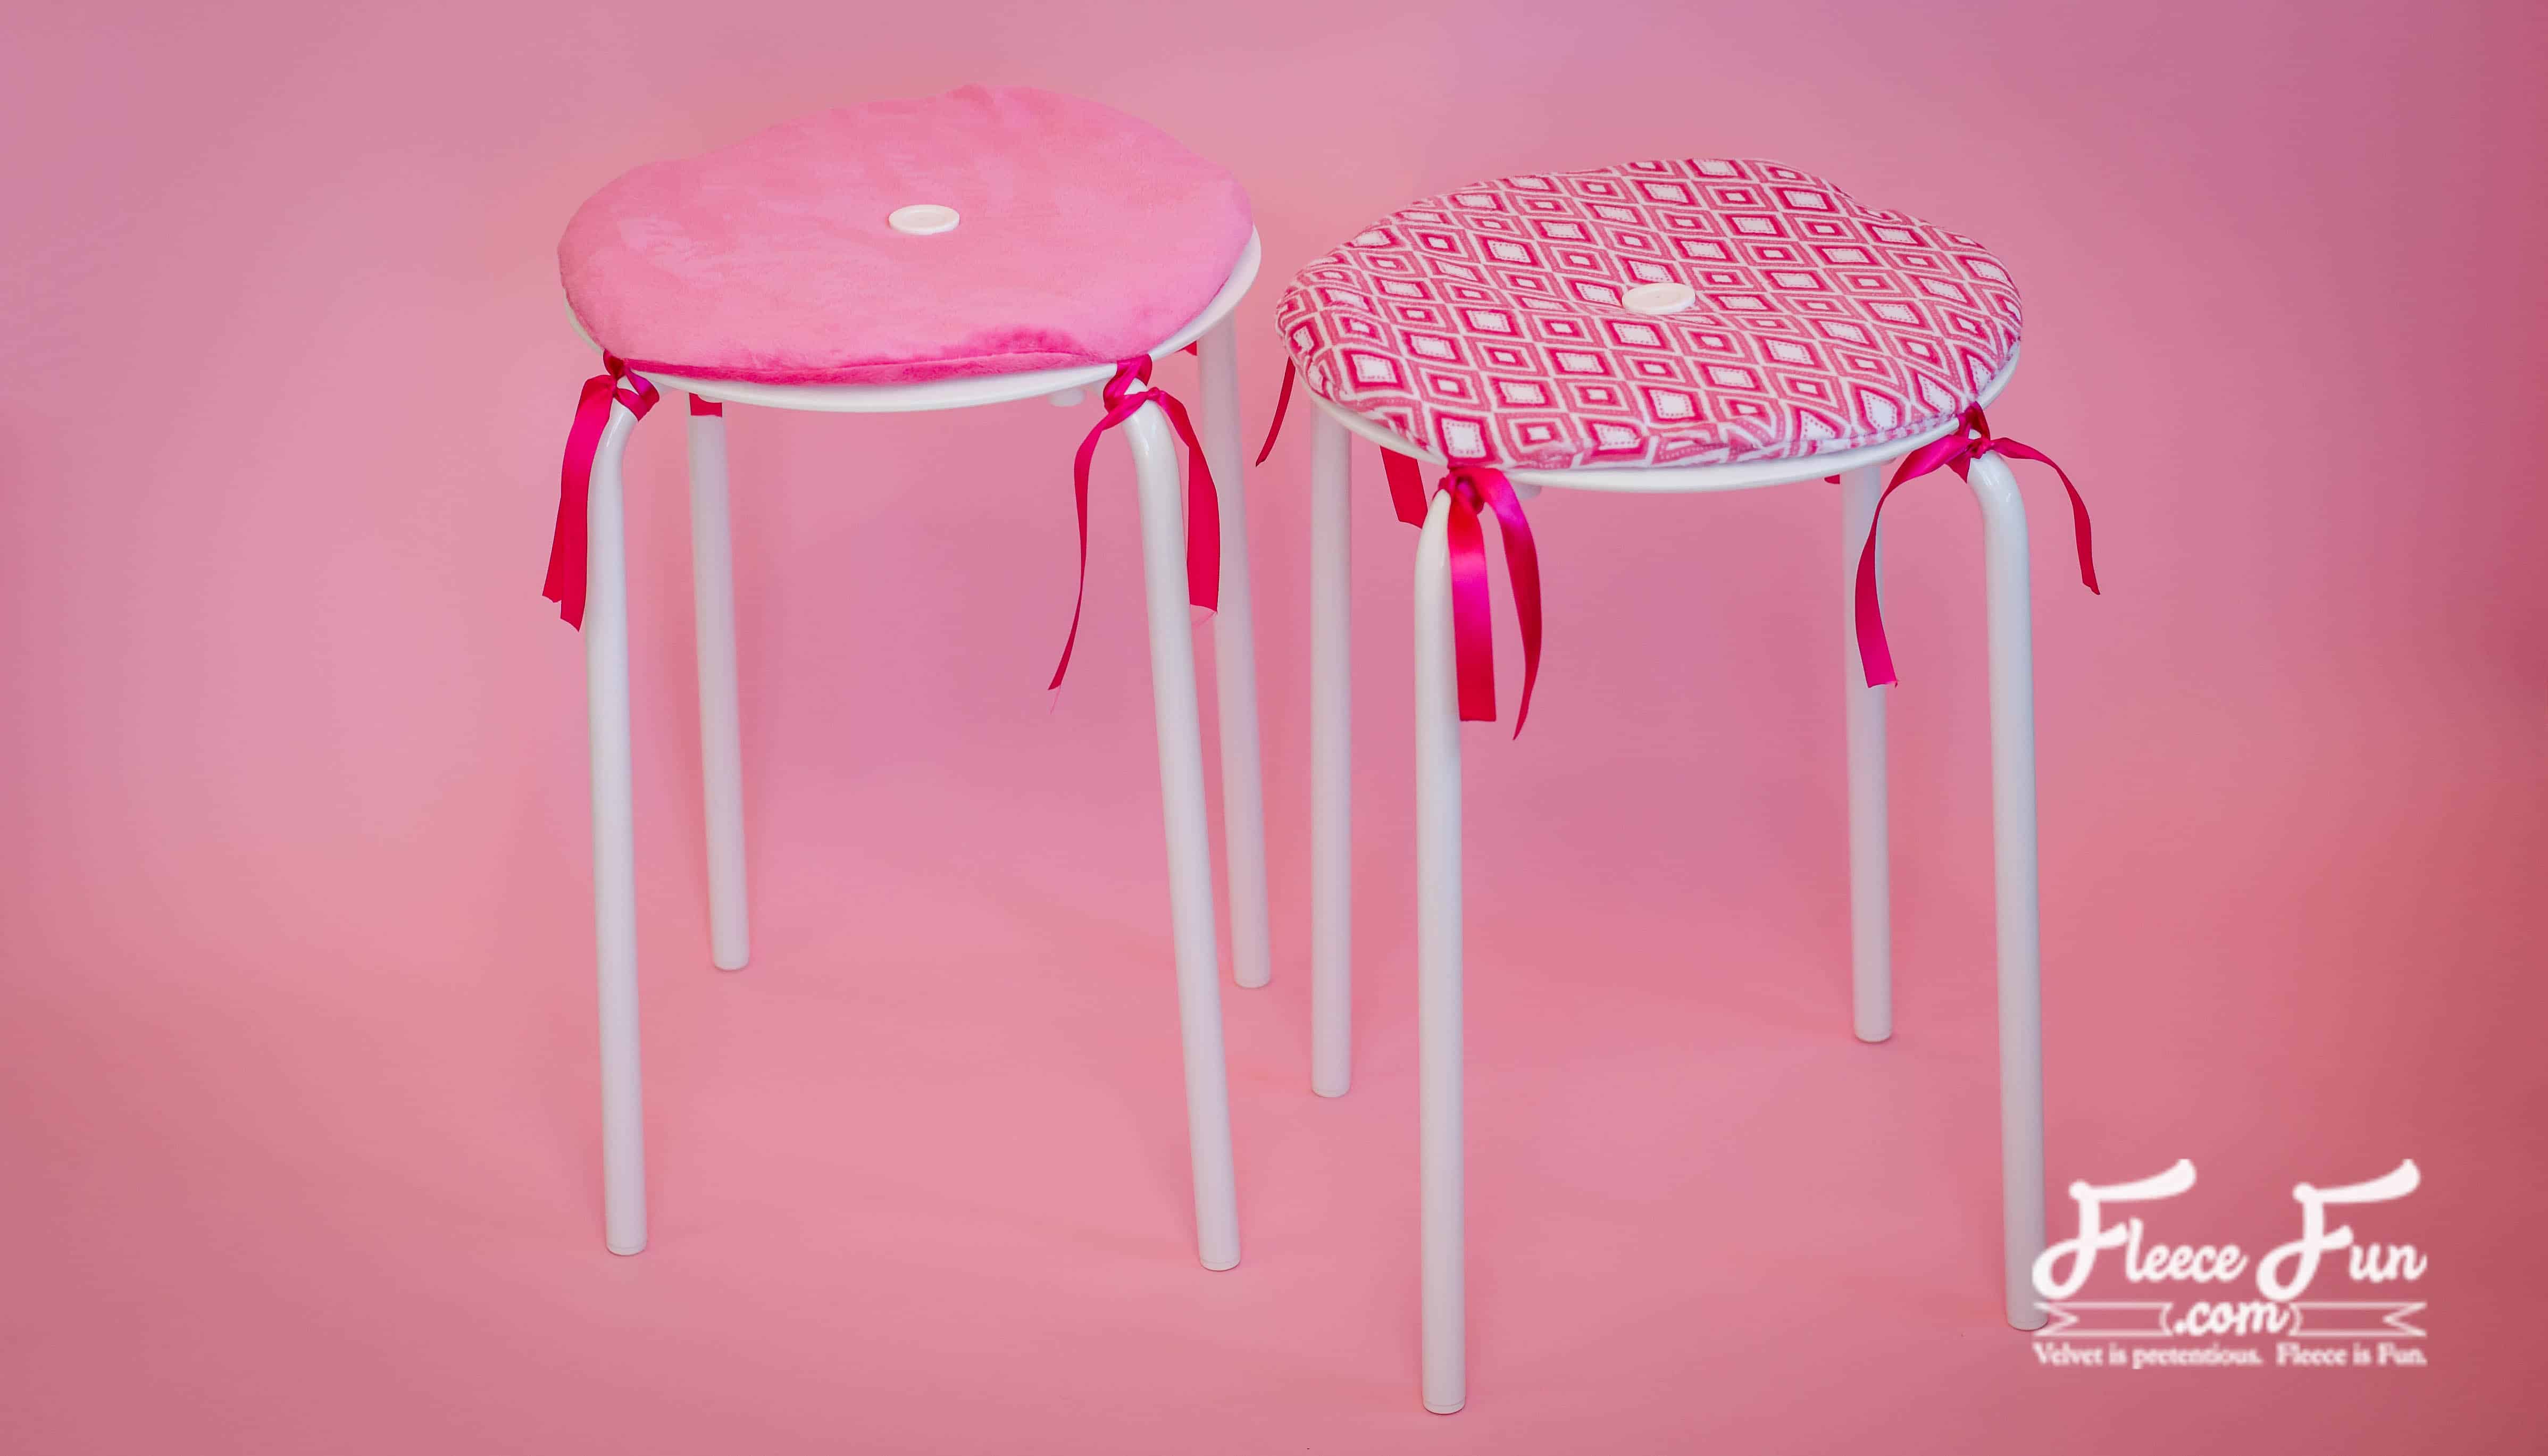
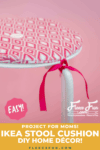
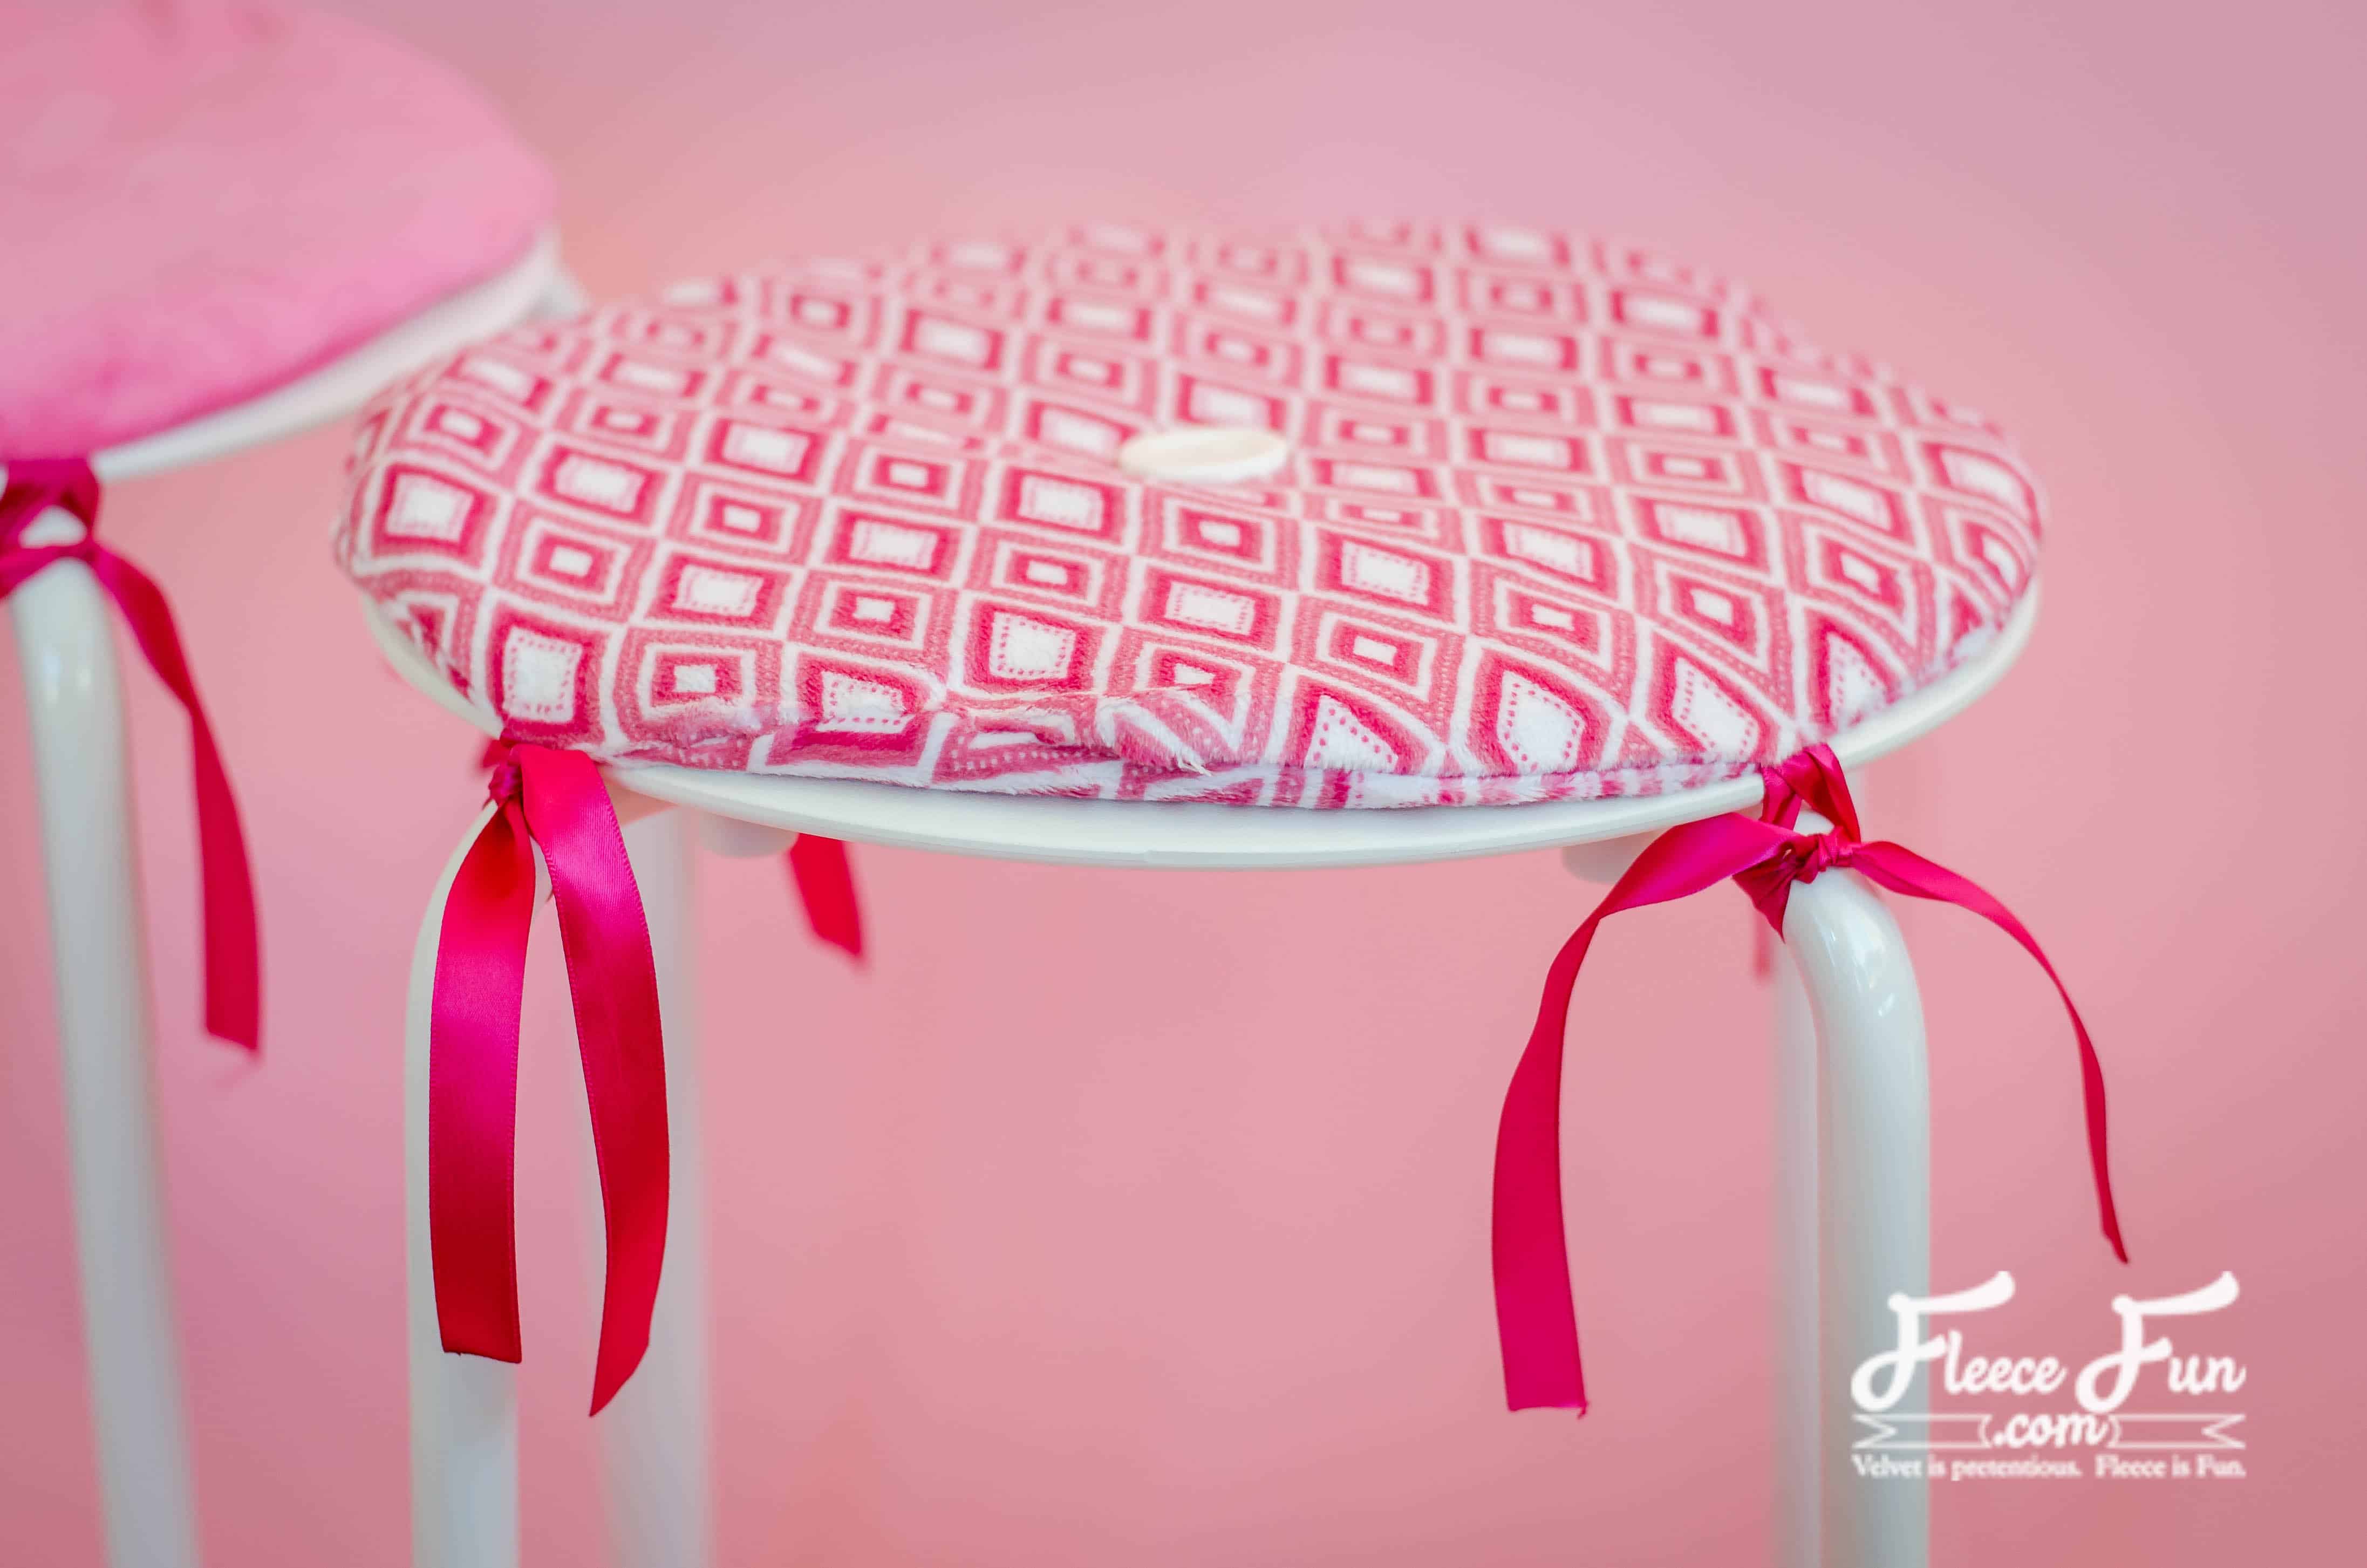
To make them a little more interesting for my daughter’s nearly decorated room, I designed and sewed these simple cushions for on top. They are tied on so they won’t slip around, and the single button adds a pop of colour and prevents the batting from slipping around.
They are a quick sew, and only use a small amount of fabric, so you can easily change them up based on your decor. While I used these IKEA stools, the tutorial will walk you through drafting a pattern for any size stool.

YOU WILL NEED:
- 1/2 yard cuddle fleece
- 1 yard quilt batting OR fat quarter 1″ foam
- 6′ satin ribbon
- 1 large button
- Sewing Essentials (pins, scissors, etc.)
Ikea Fabric Stool Cushion Tutorial
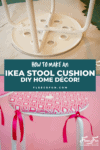
STEP 1 – TRACE THE STOOL AND CUT THE FABRIC
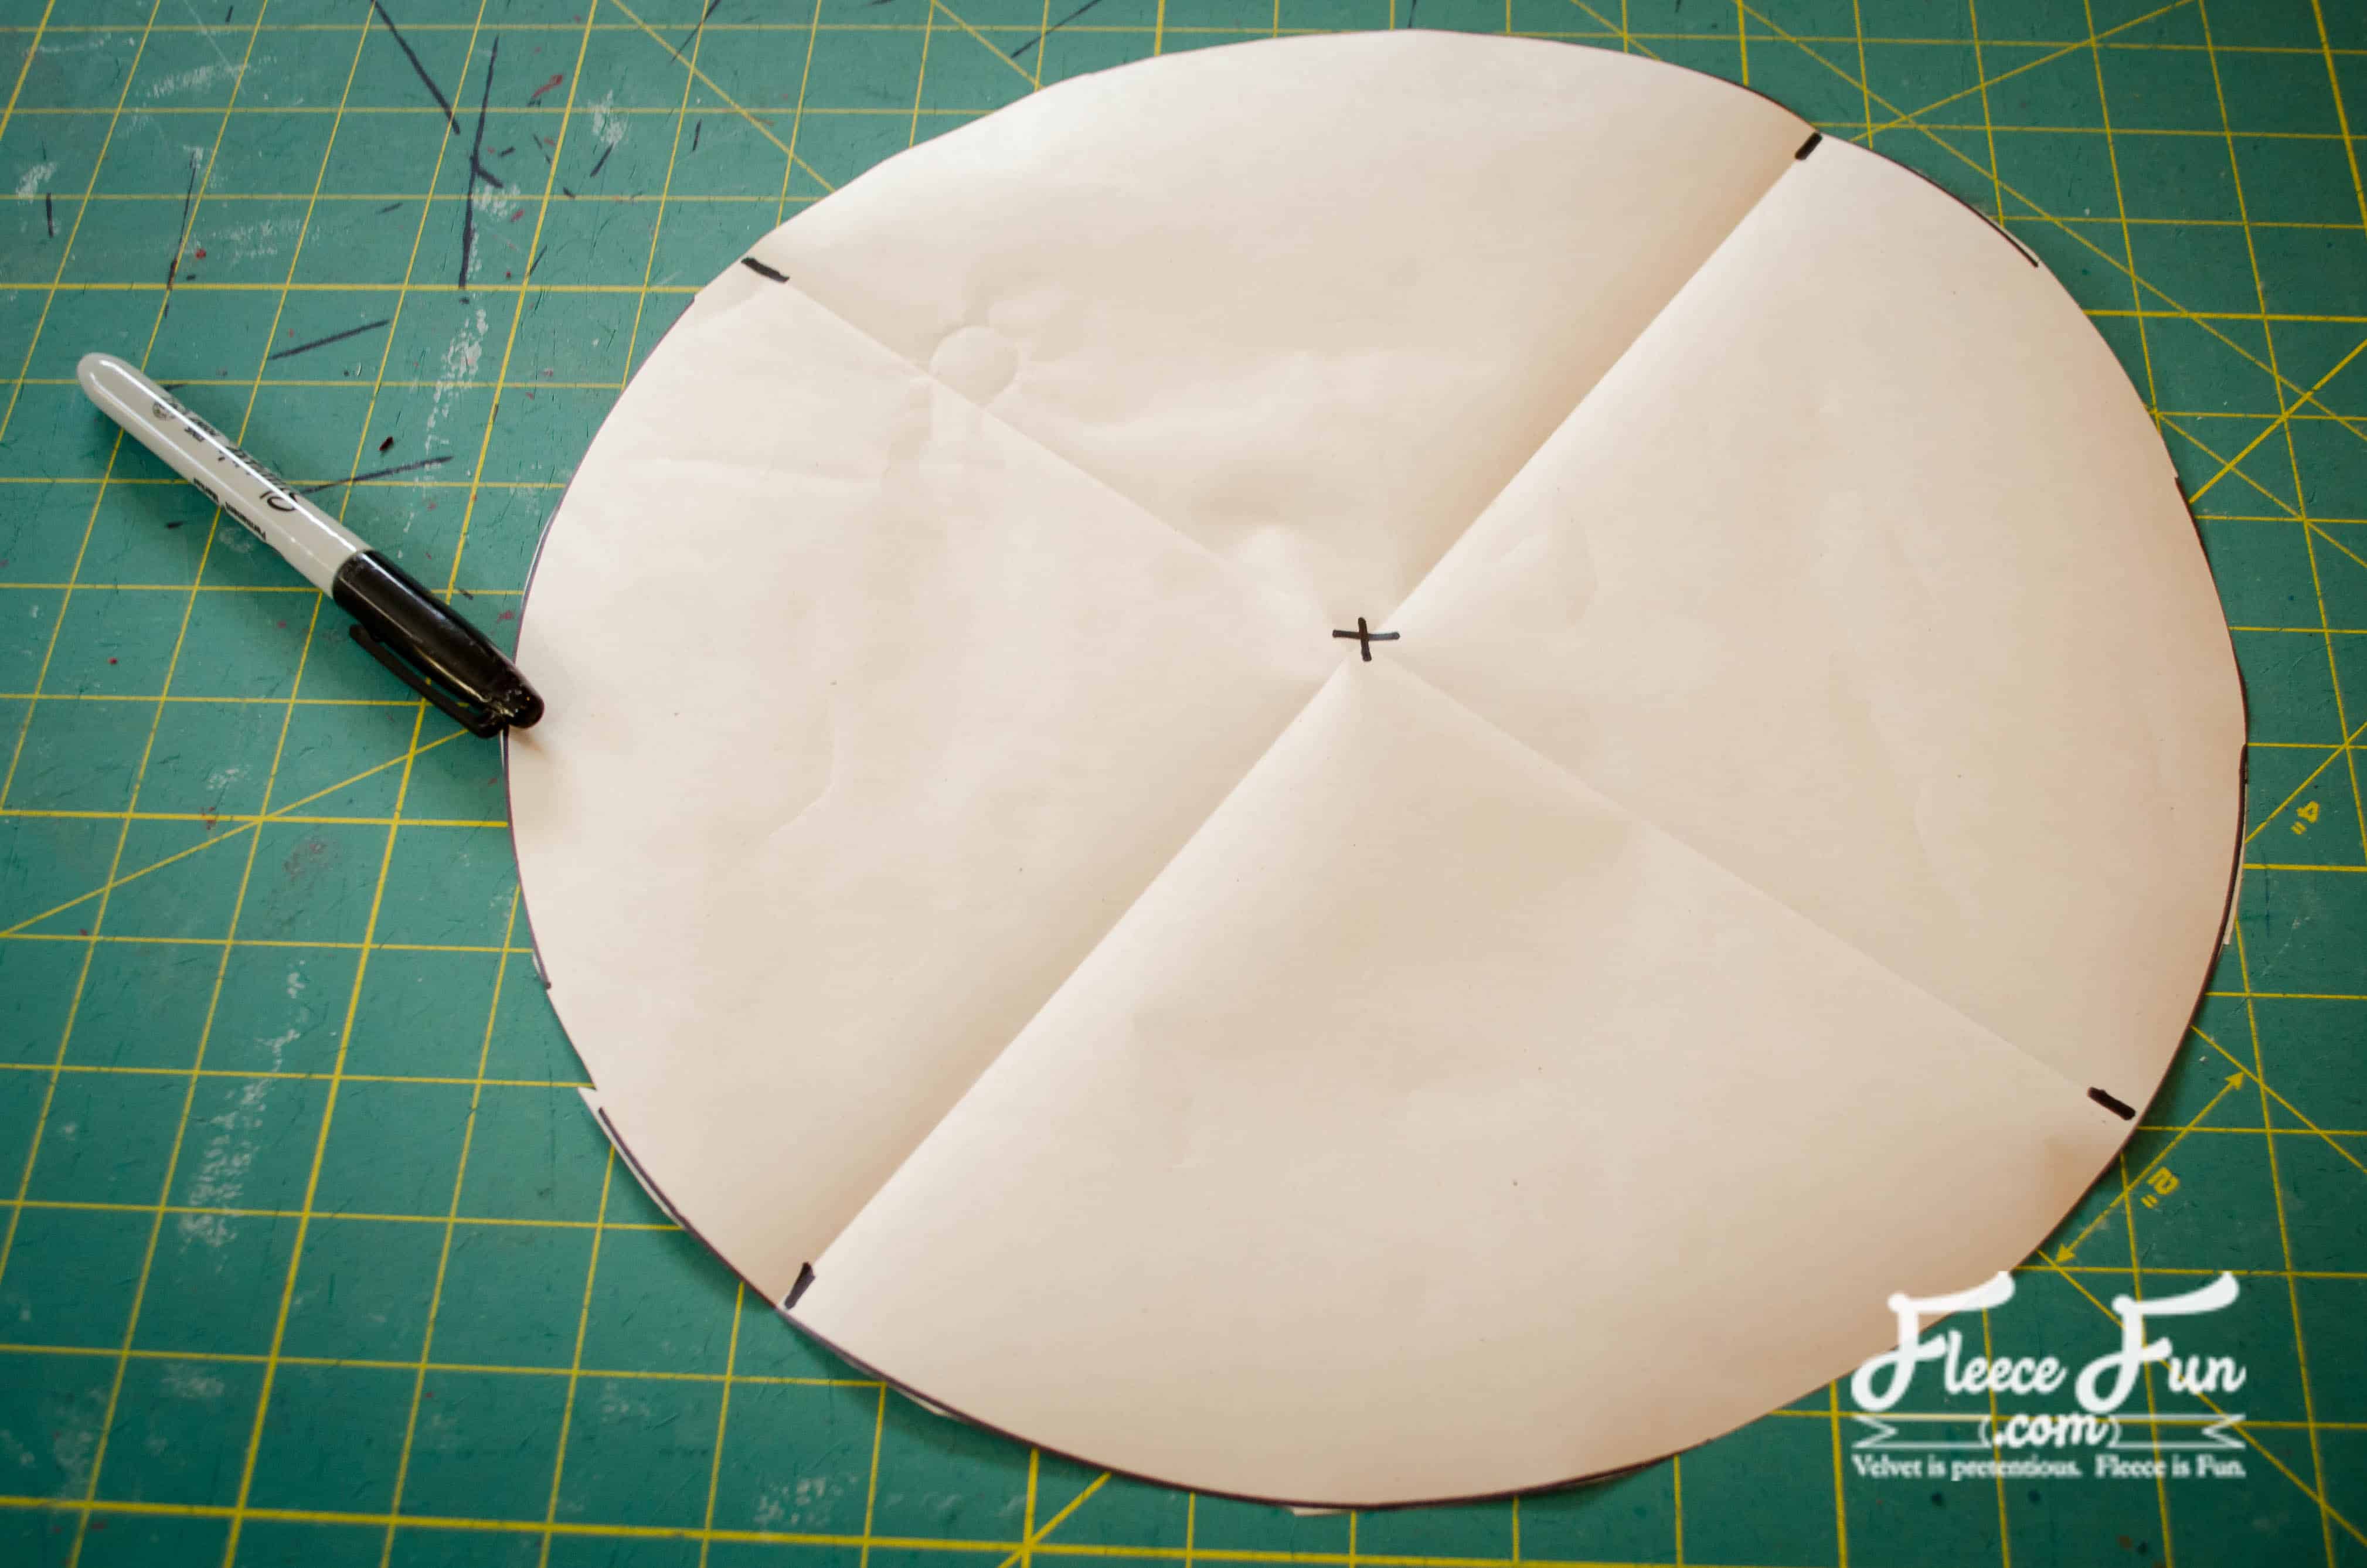
Trace around the top of your stool.
Quick Tip
This is easier to do BEFORE the stool is assembled
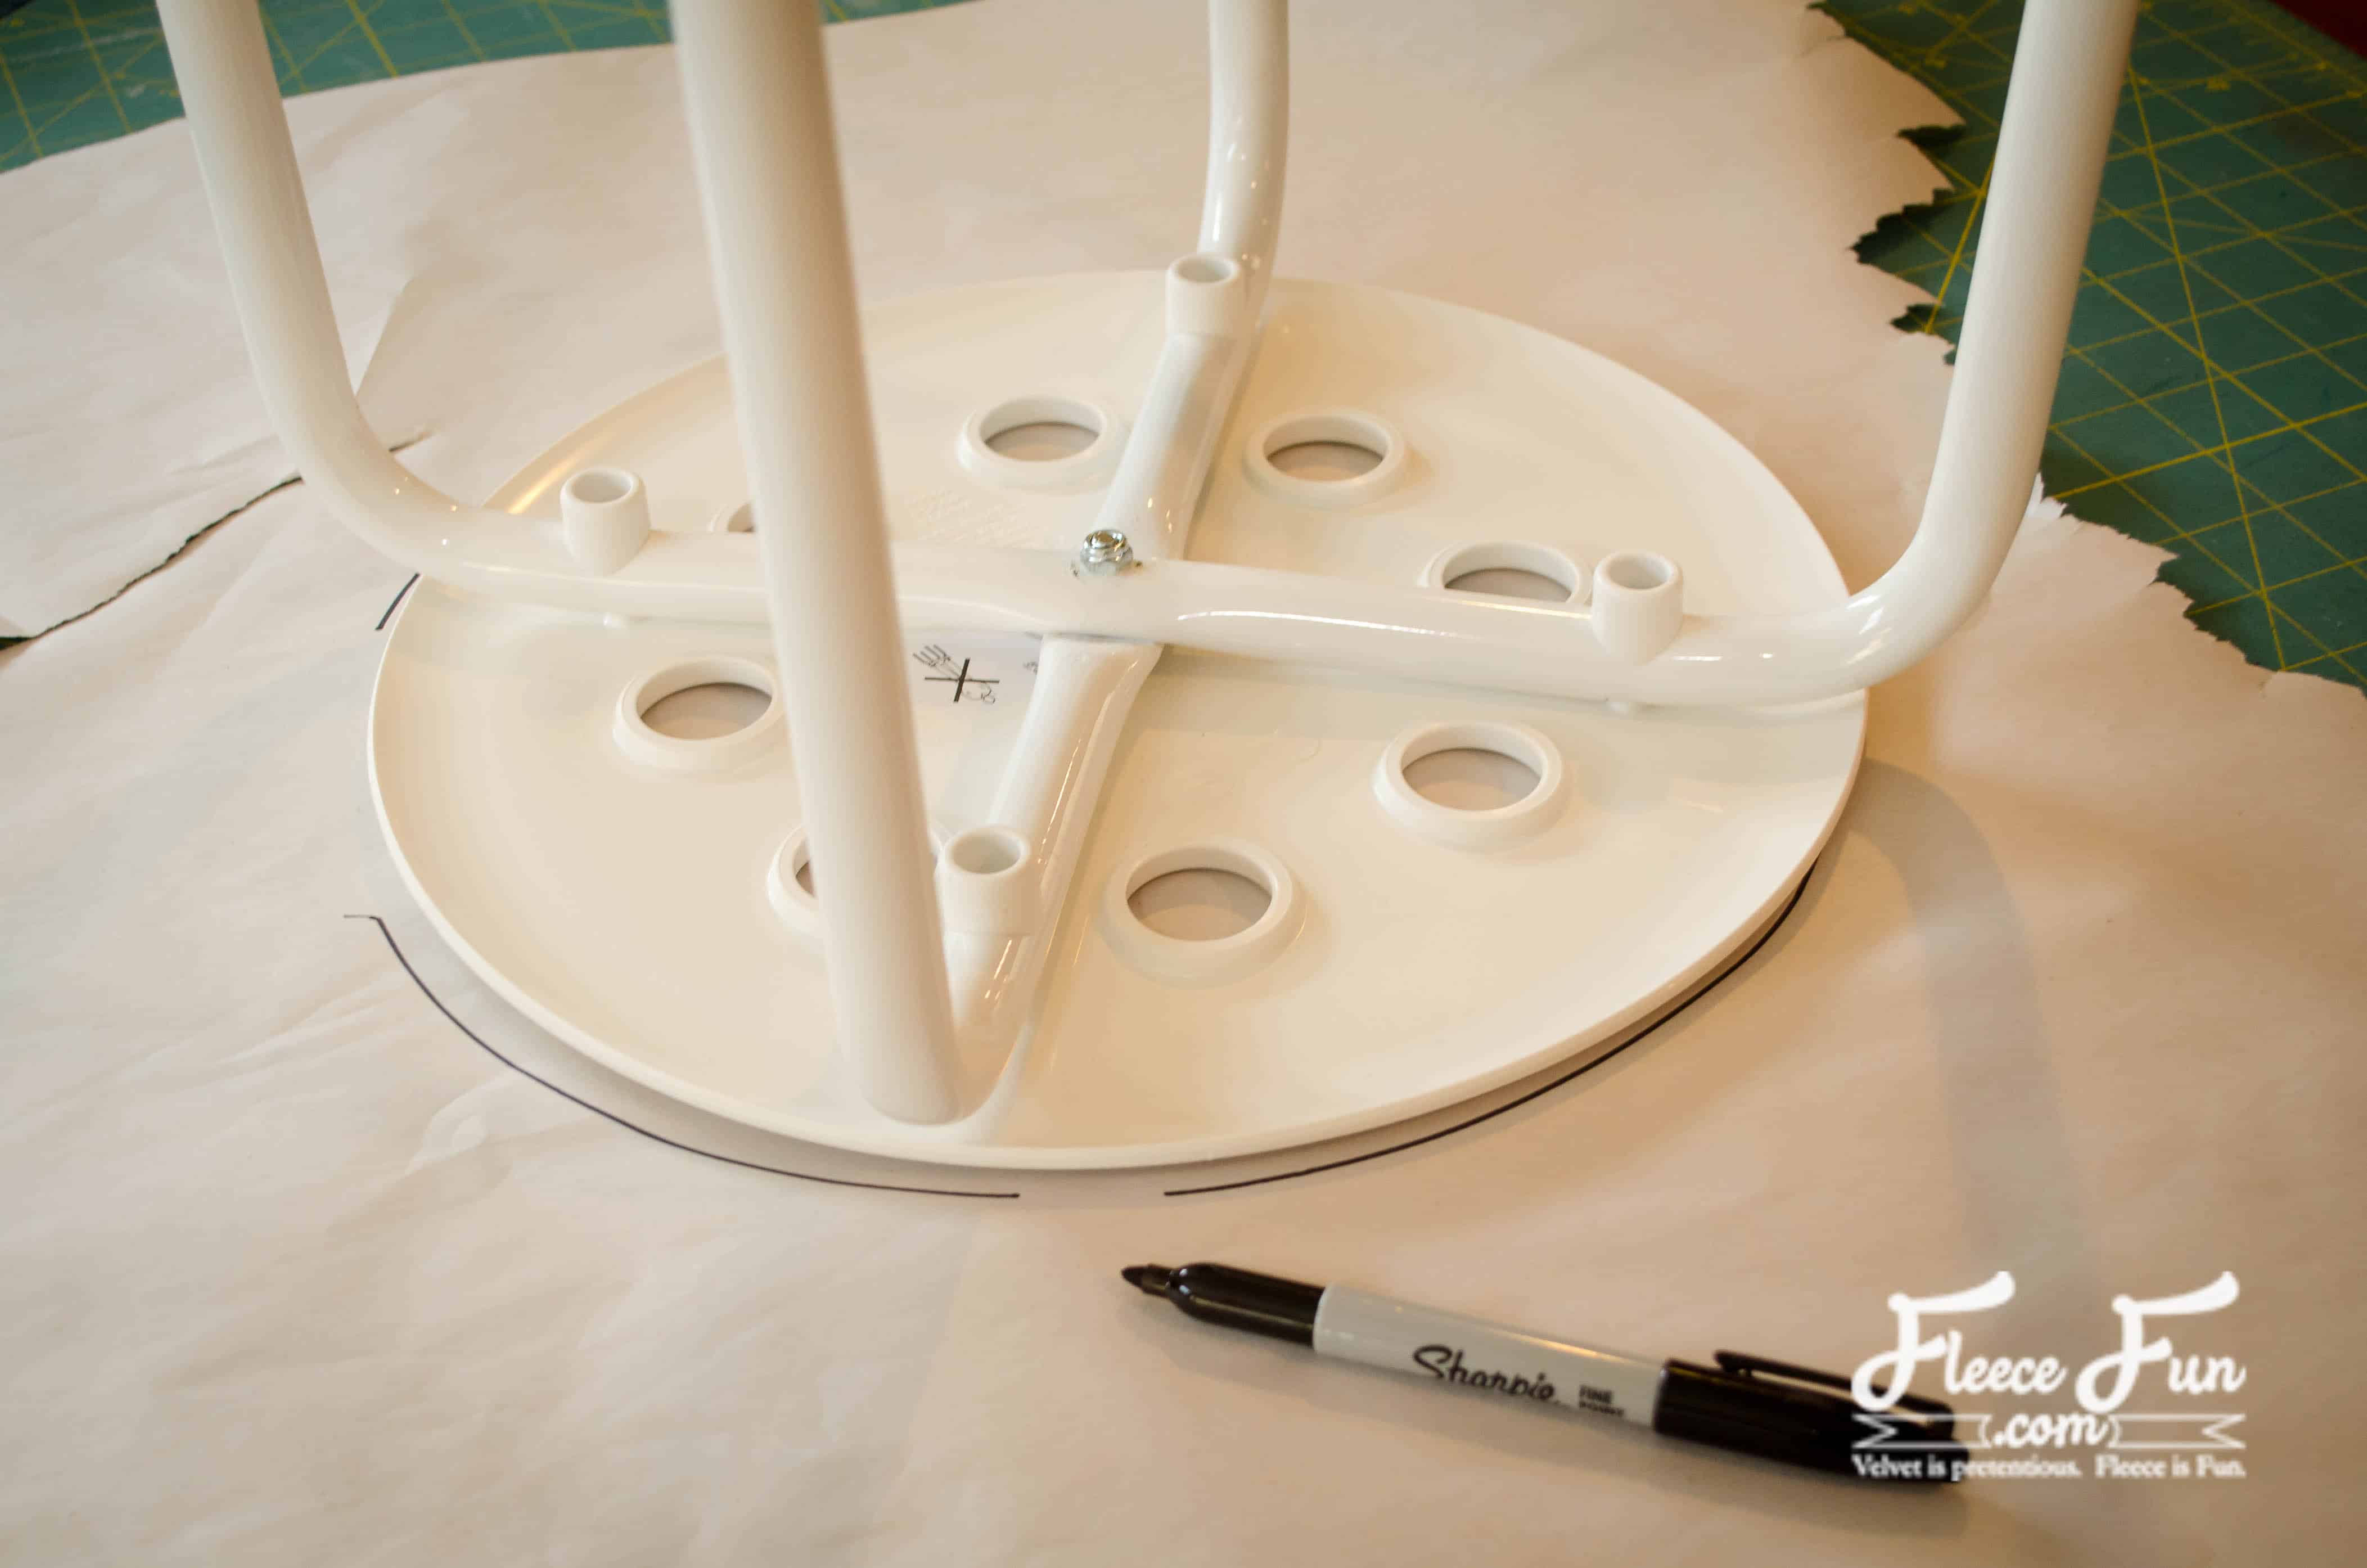
Cut out the traced circle and fold in fourths. Mark the fold lines and the center. These will be your pattern markings for your tie and button placements.
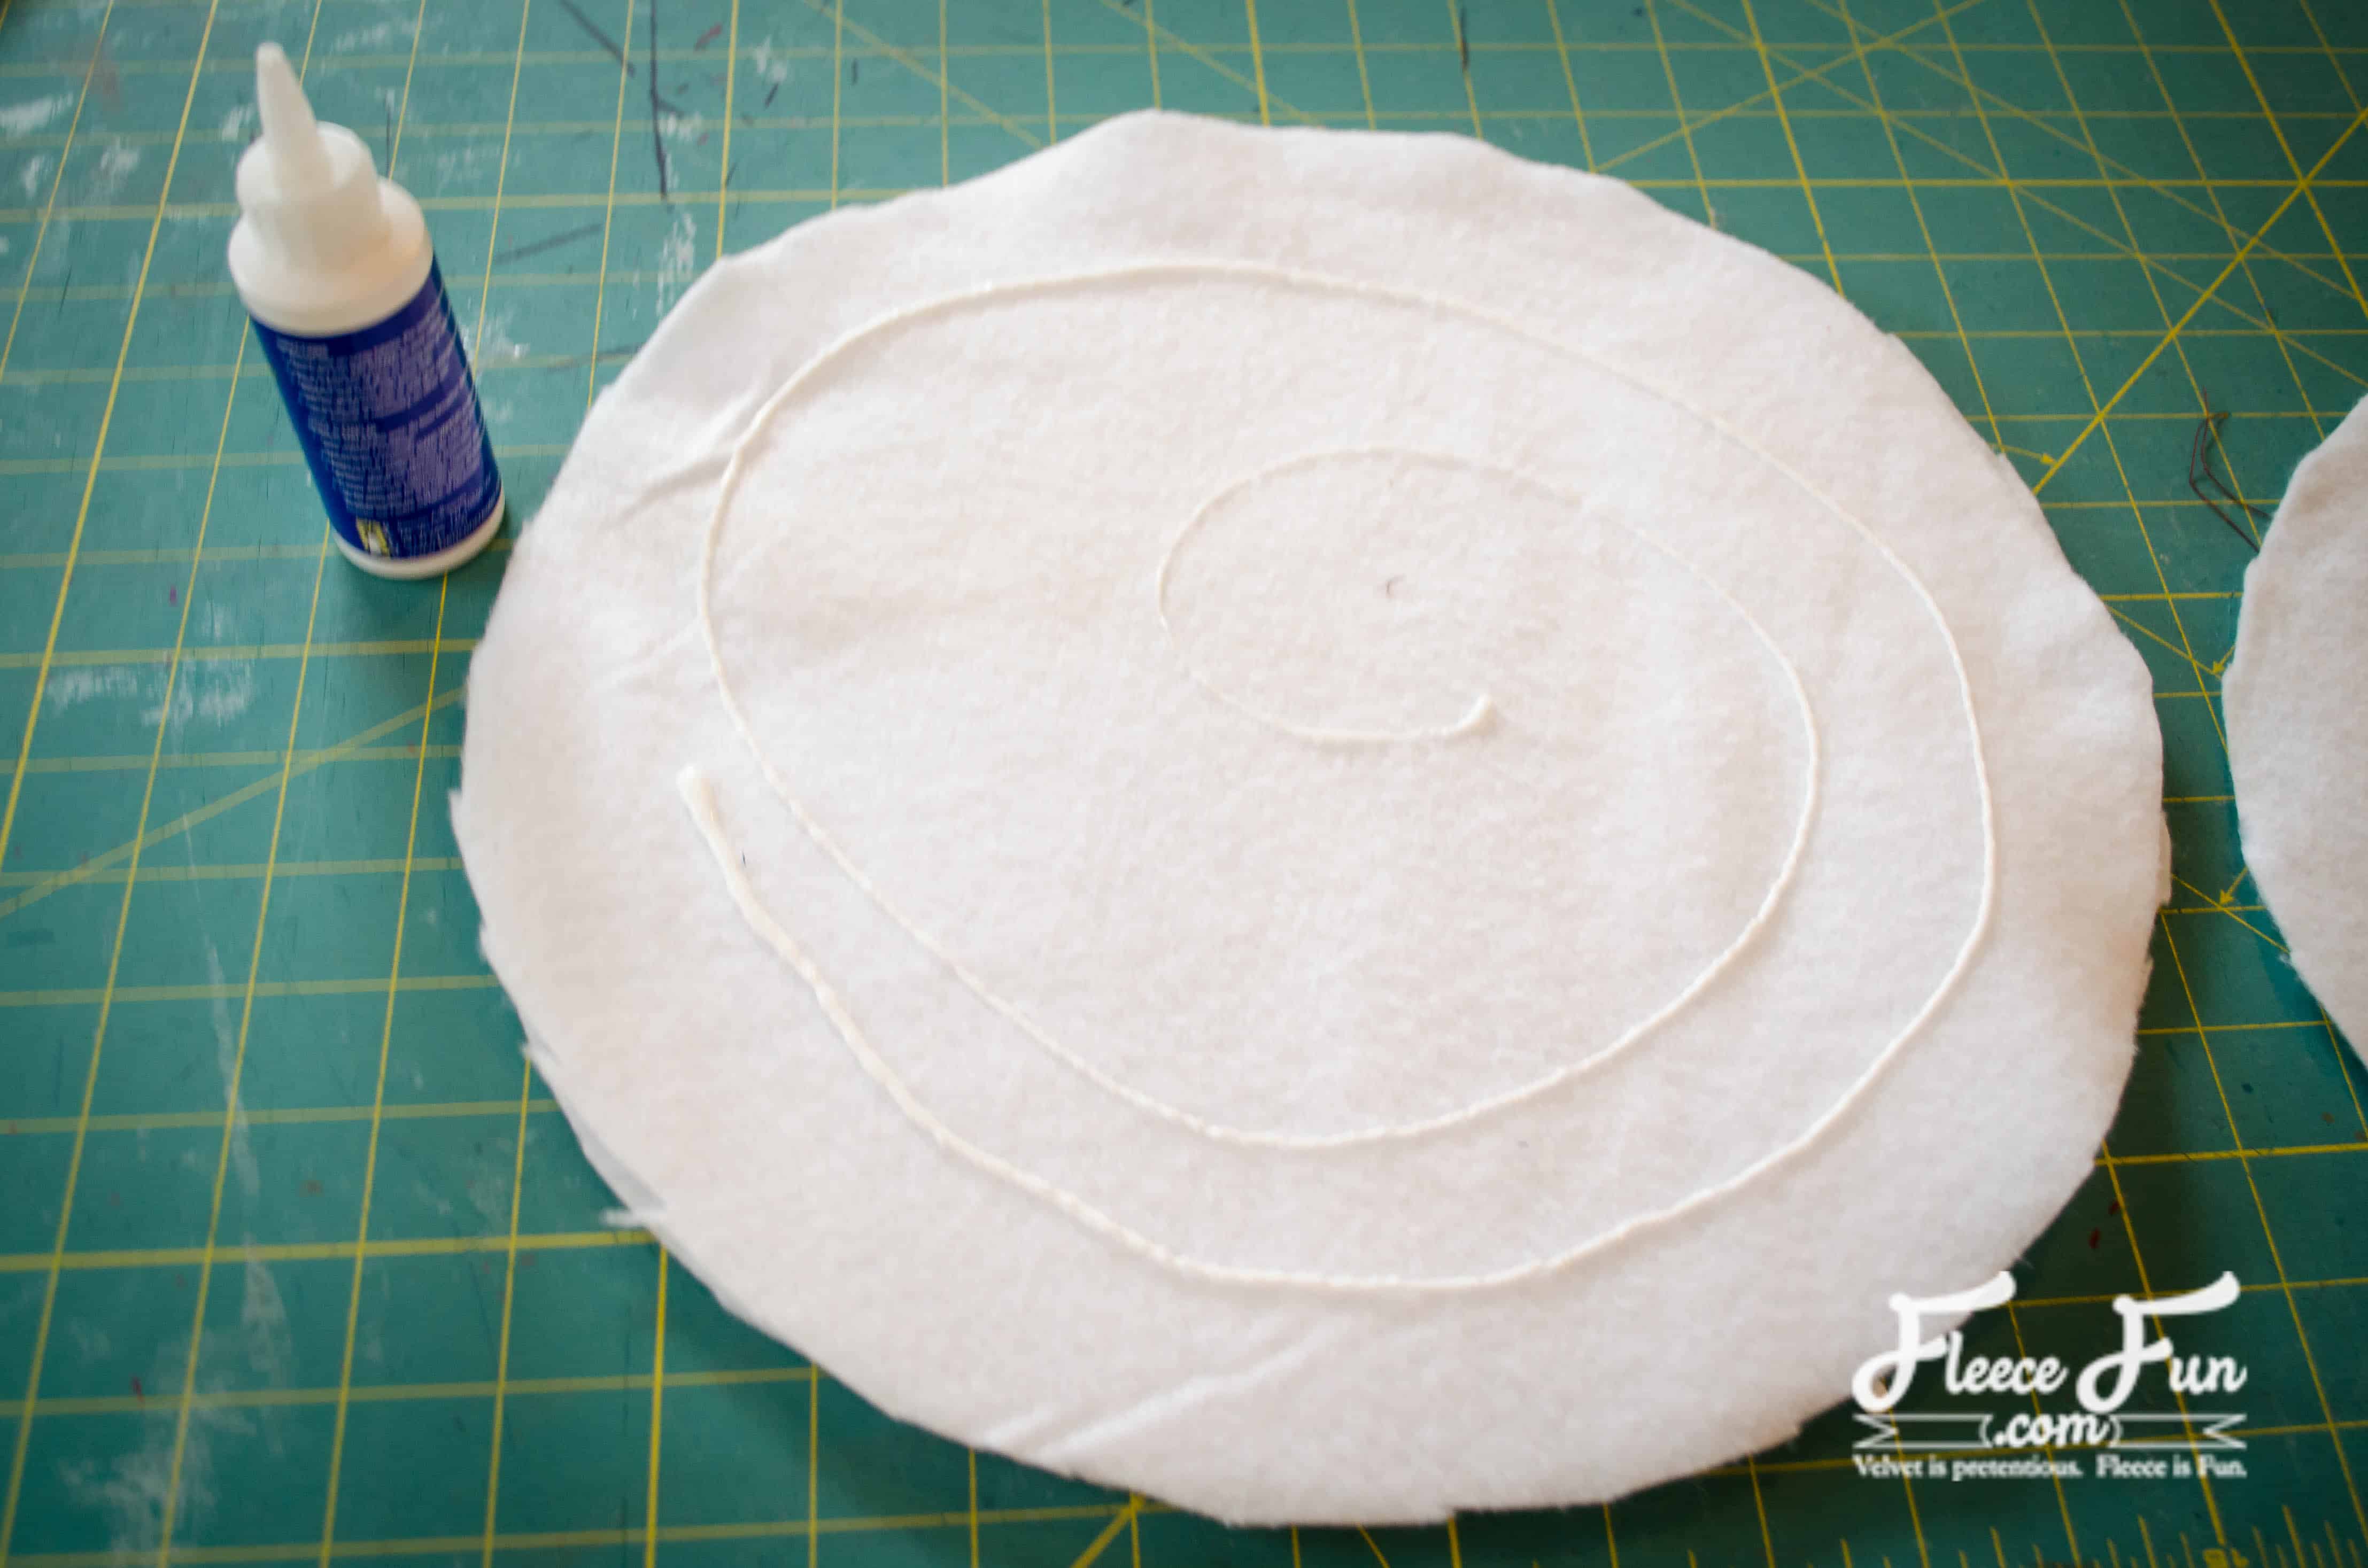
Cut out 3-4 layers of quilt batting. Alternatively, you can use 1 layer of 1/2″ foam.
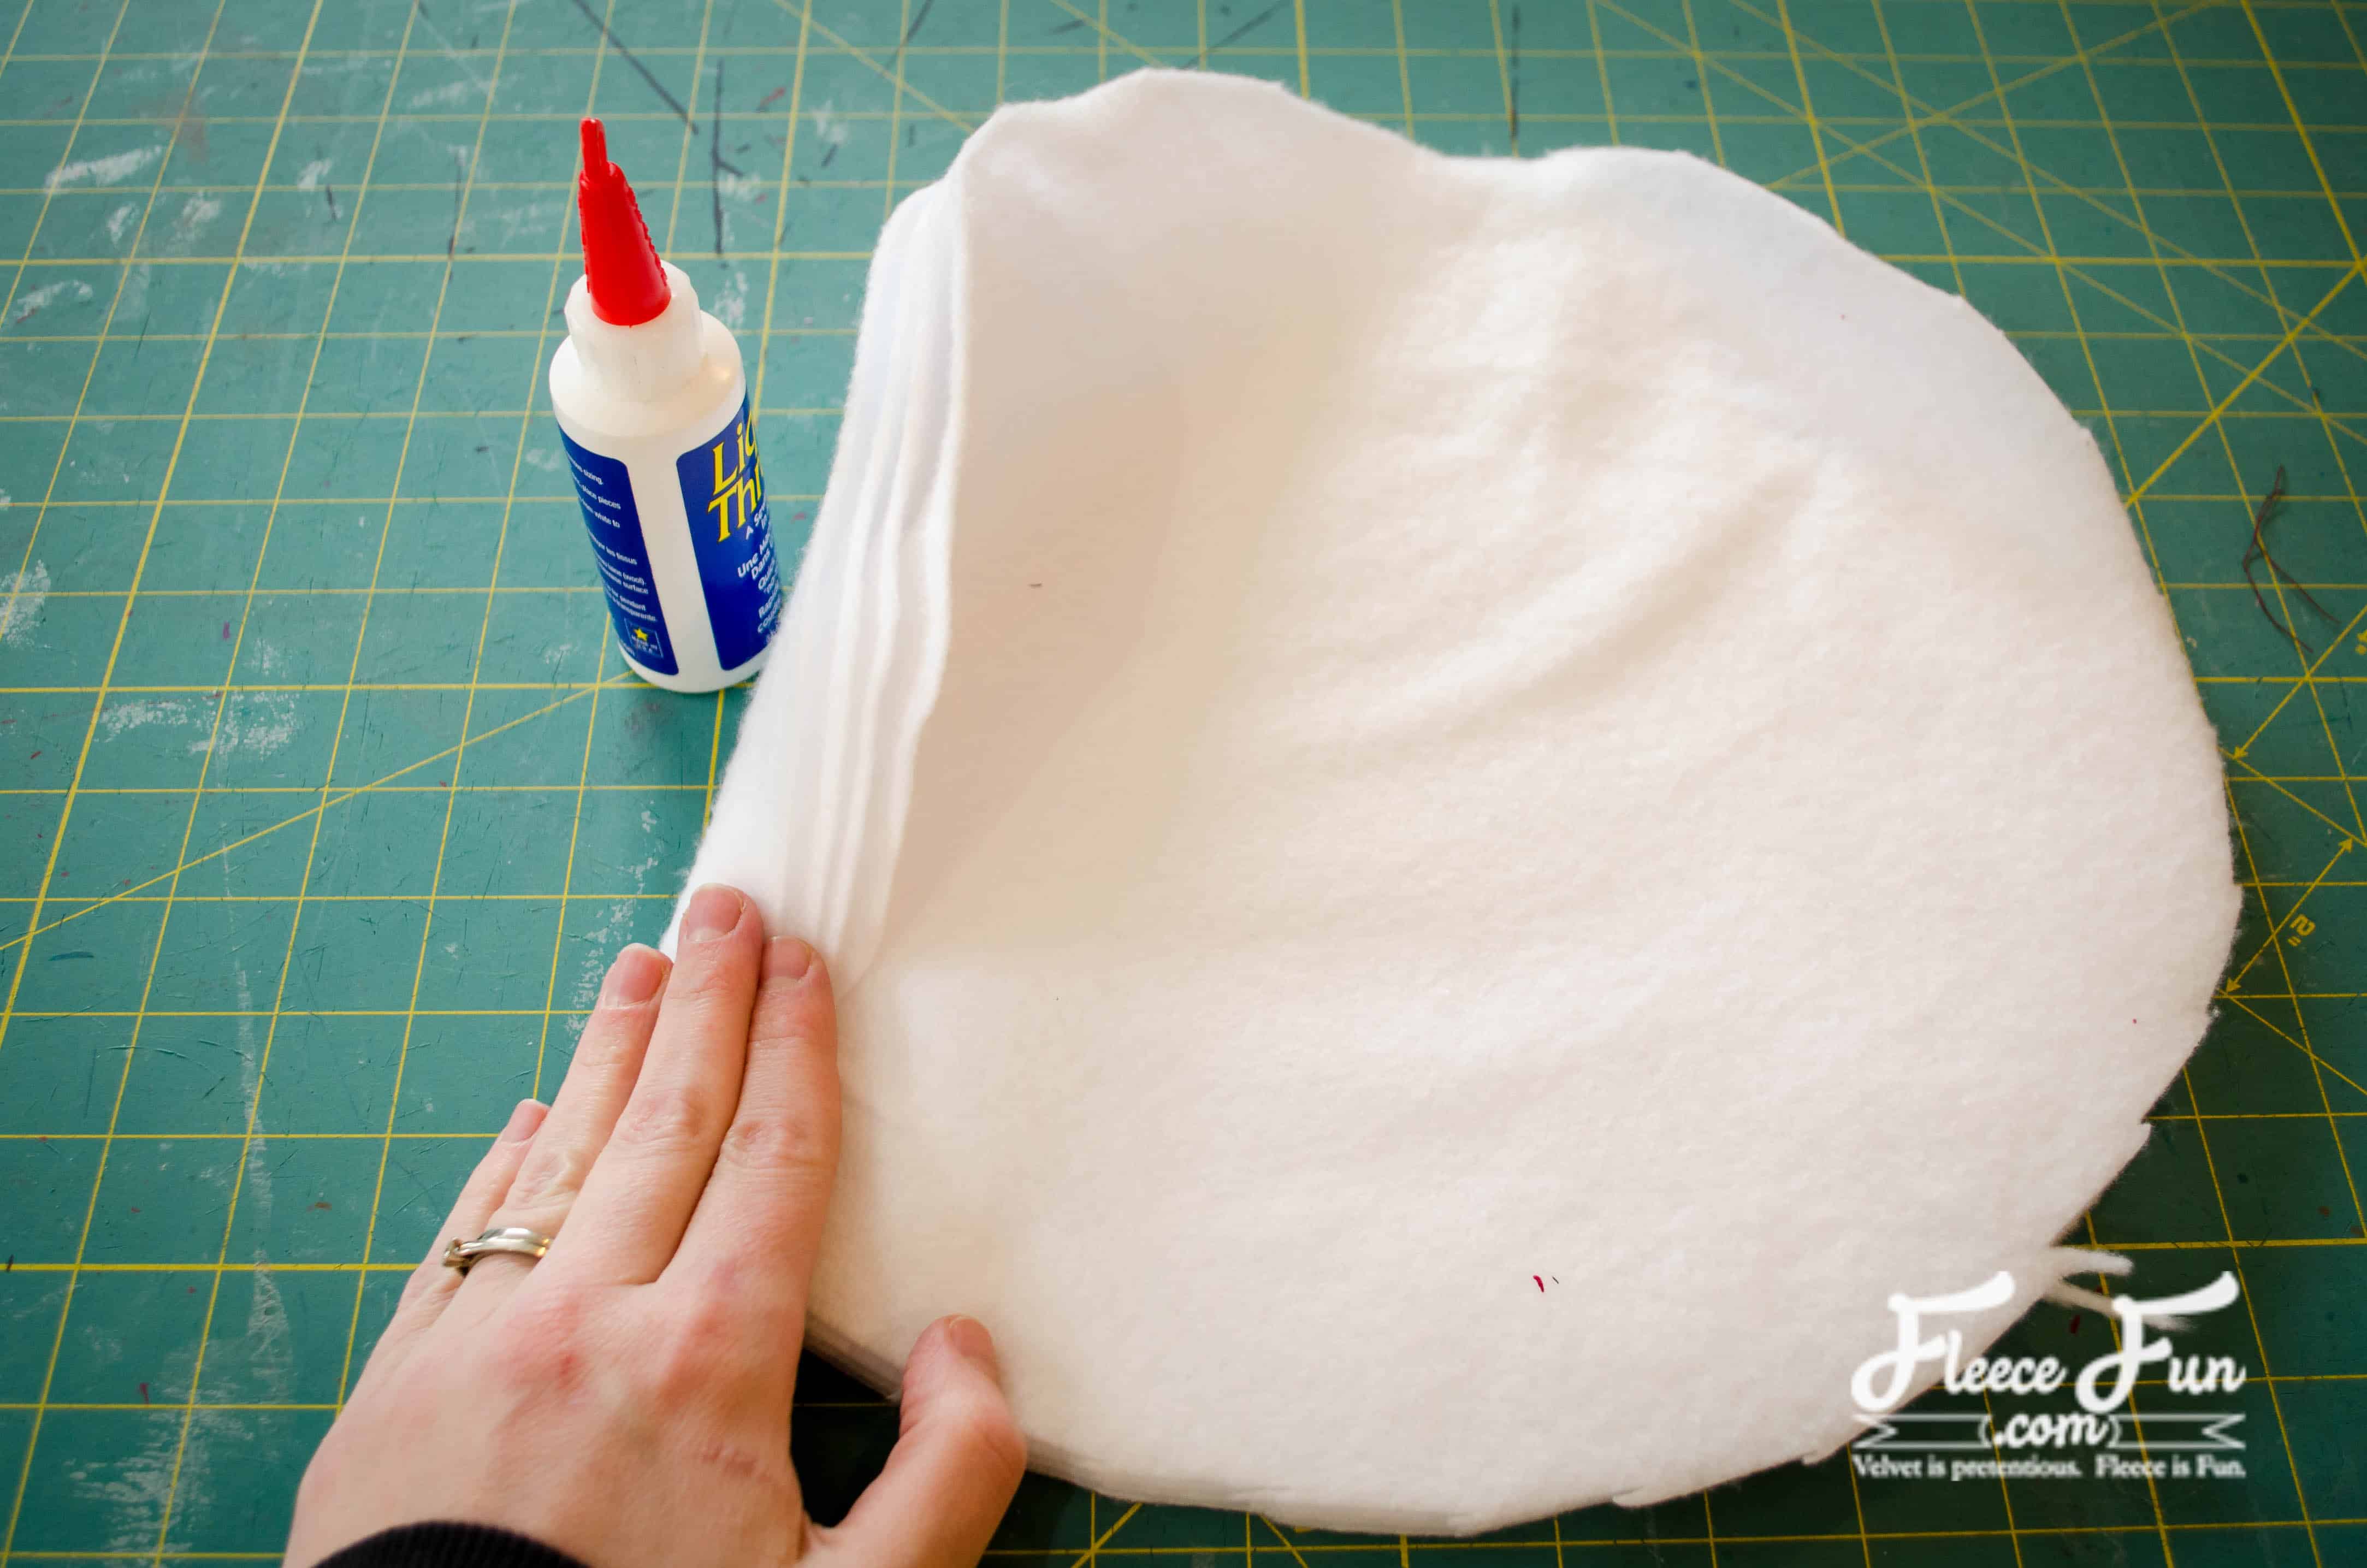
Use fabric glue to glue the layers together if you are using quilt batting.
STEP 2 – SEW THE PATTERN PIECE
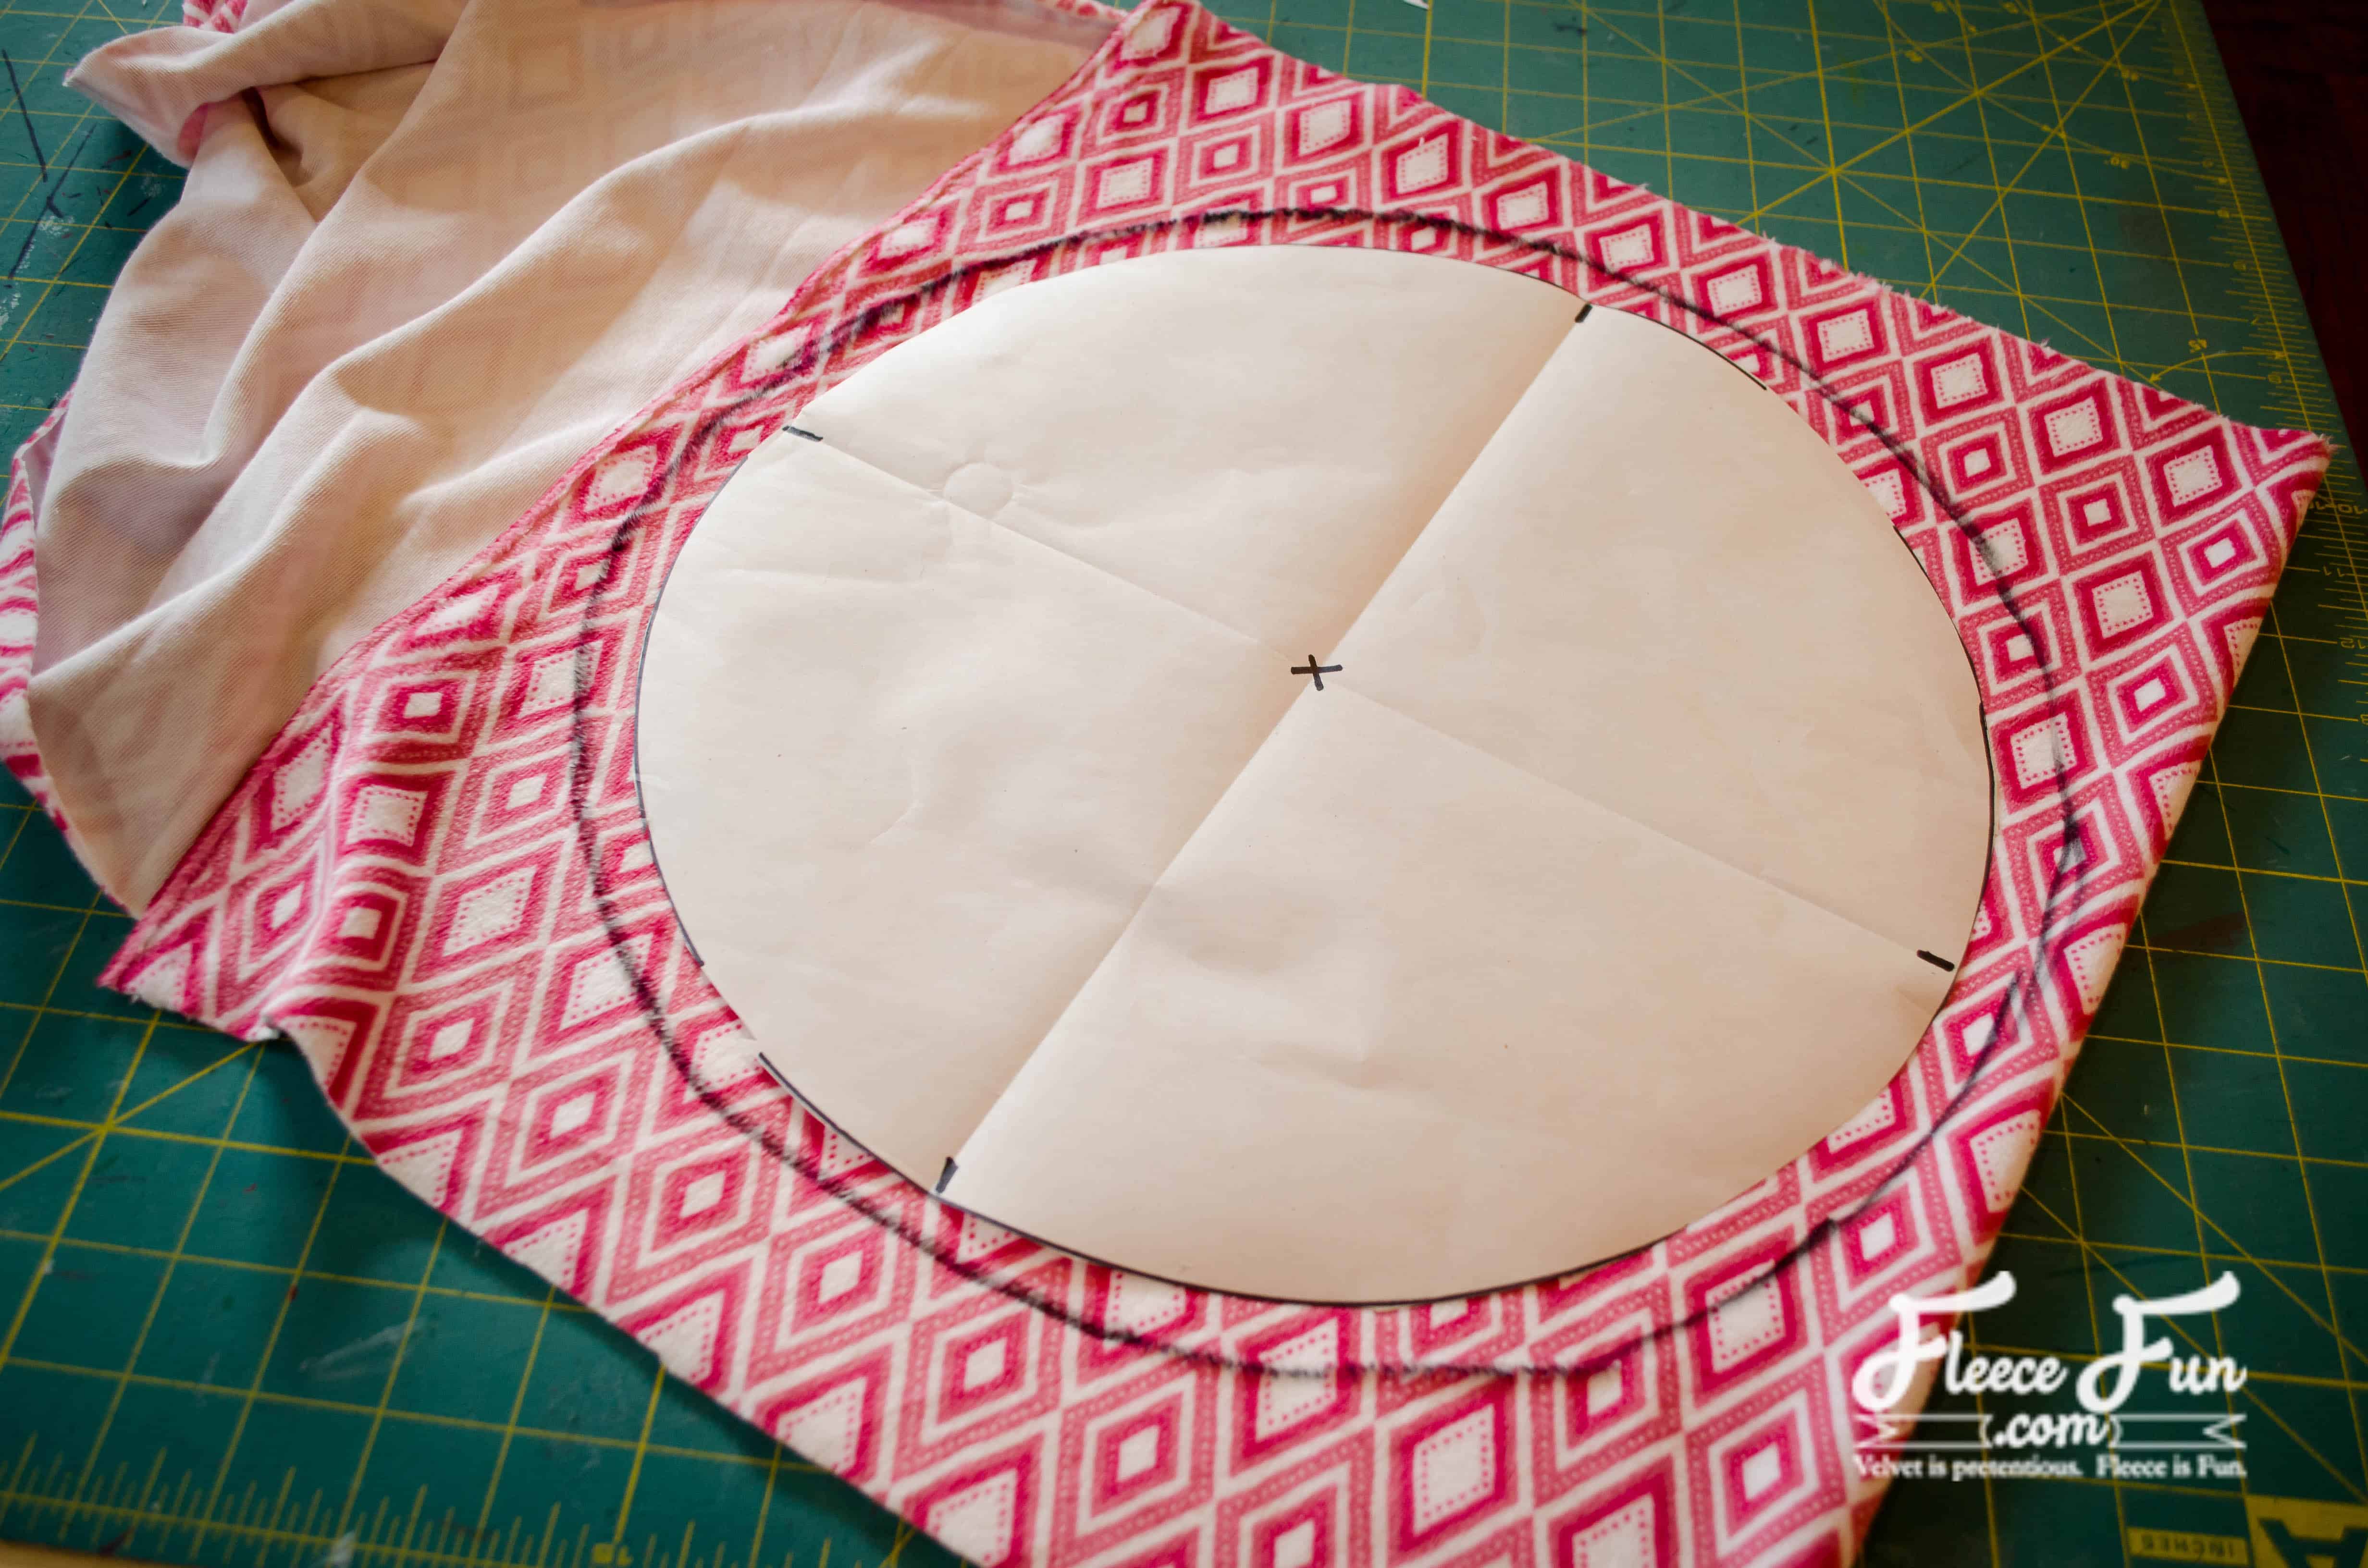
Pin your pattern piece for the Ikea Fabric Stool Cushion to the fleece fabric and trace around a 1/2″ seam allowance. Cut out 2 circles from the fleece.
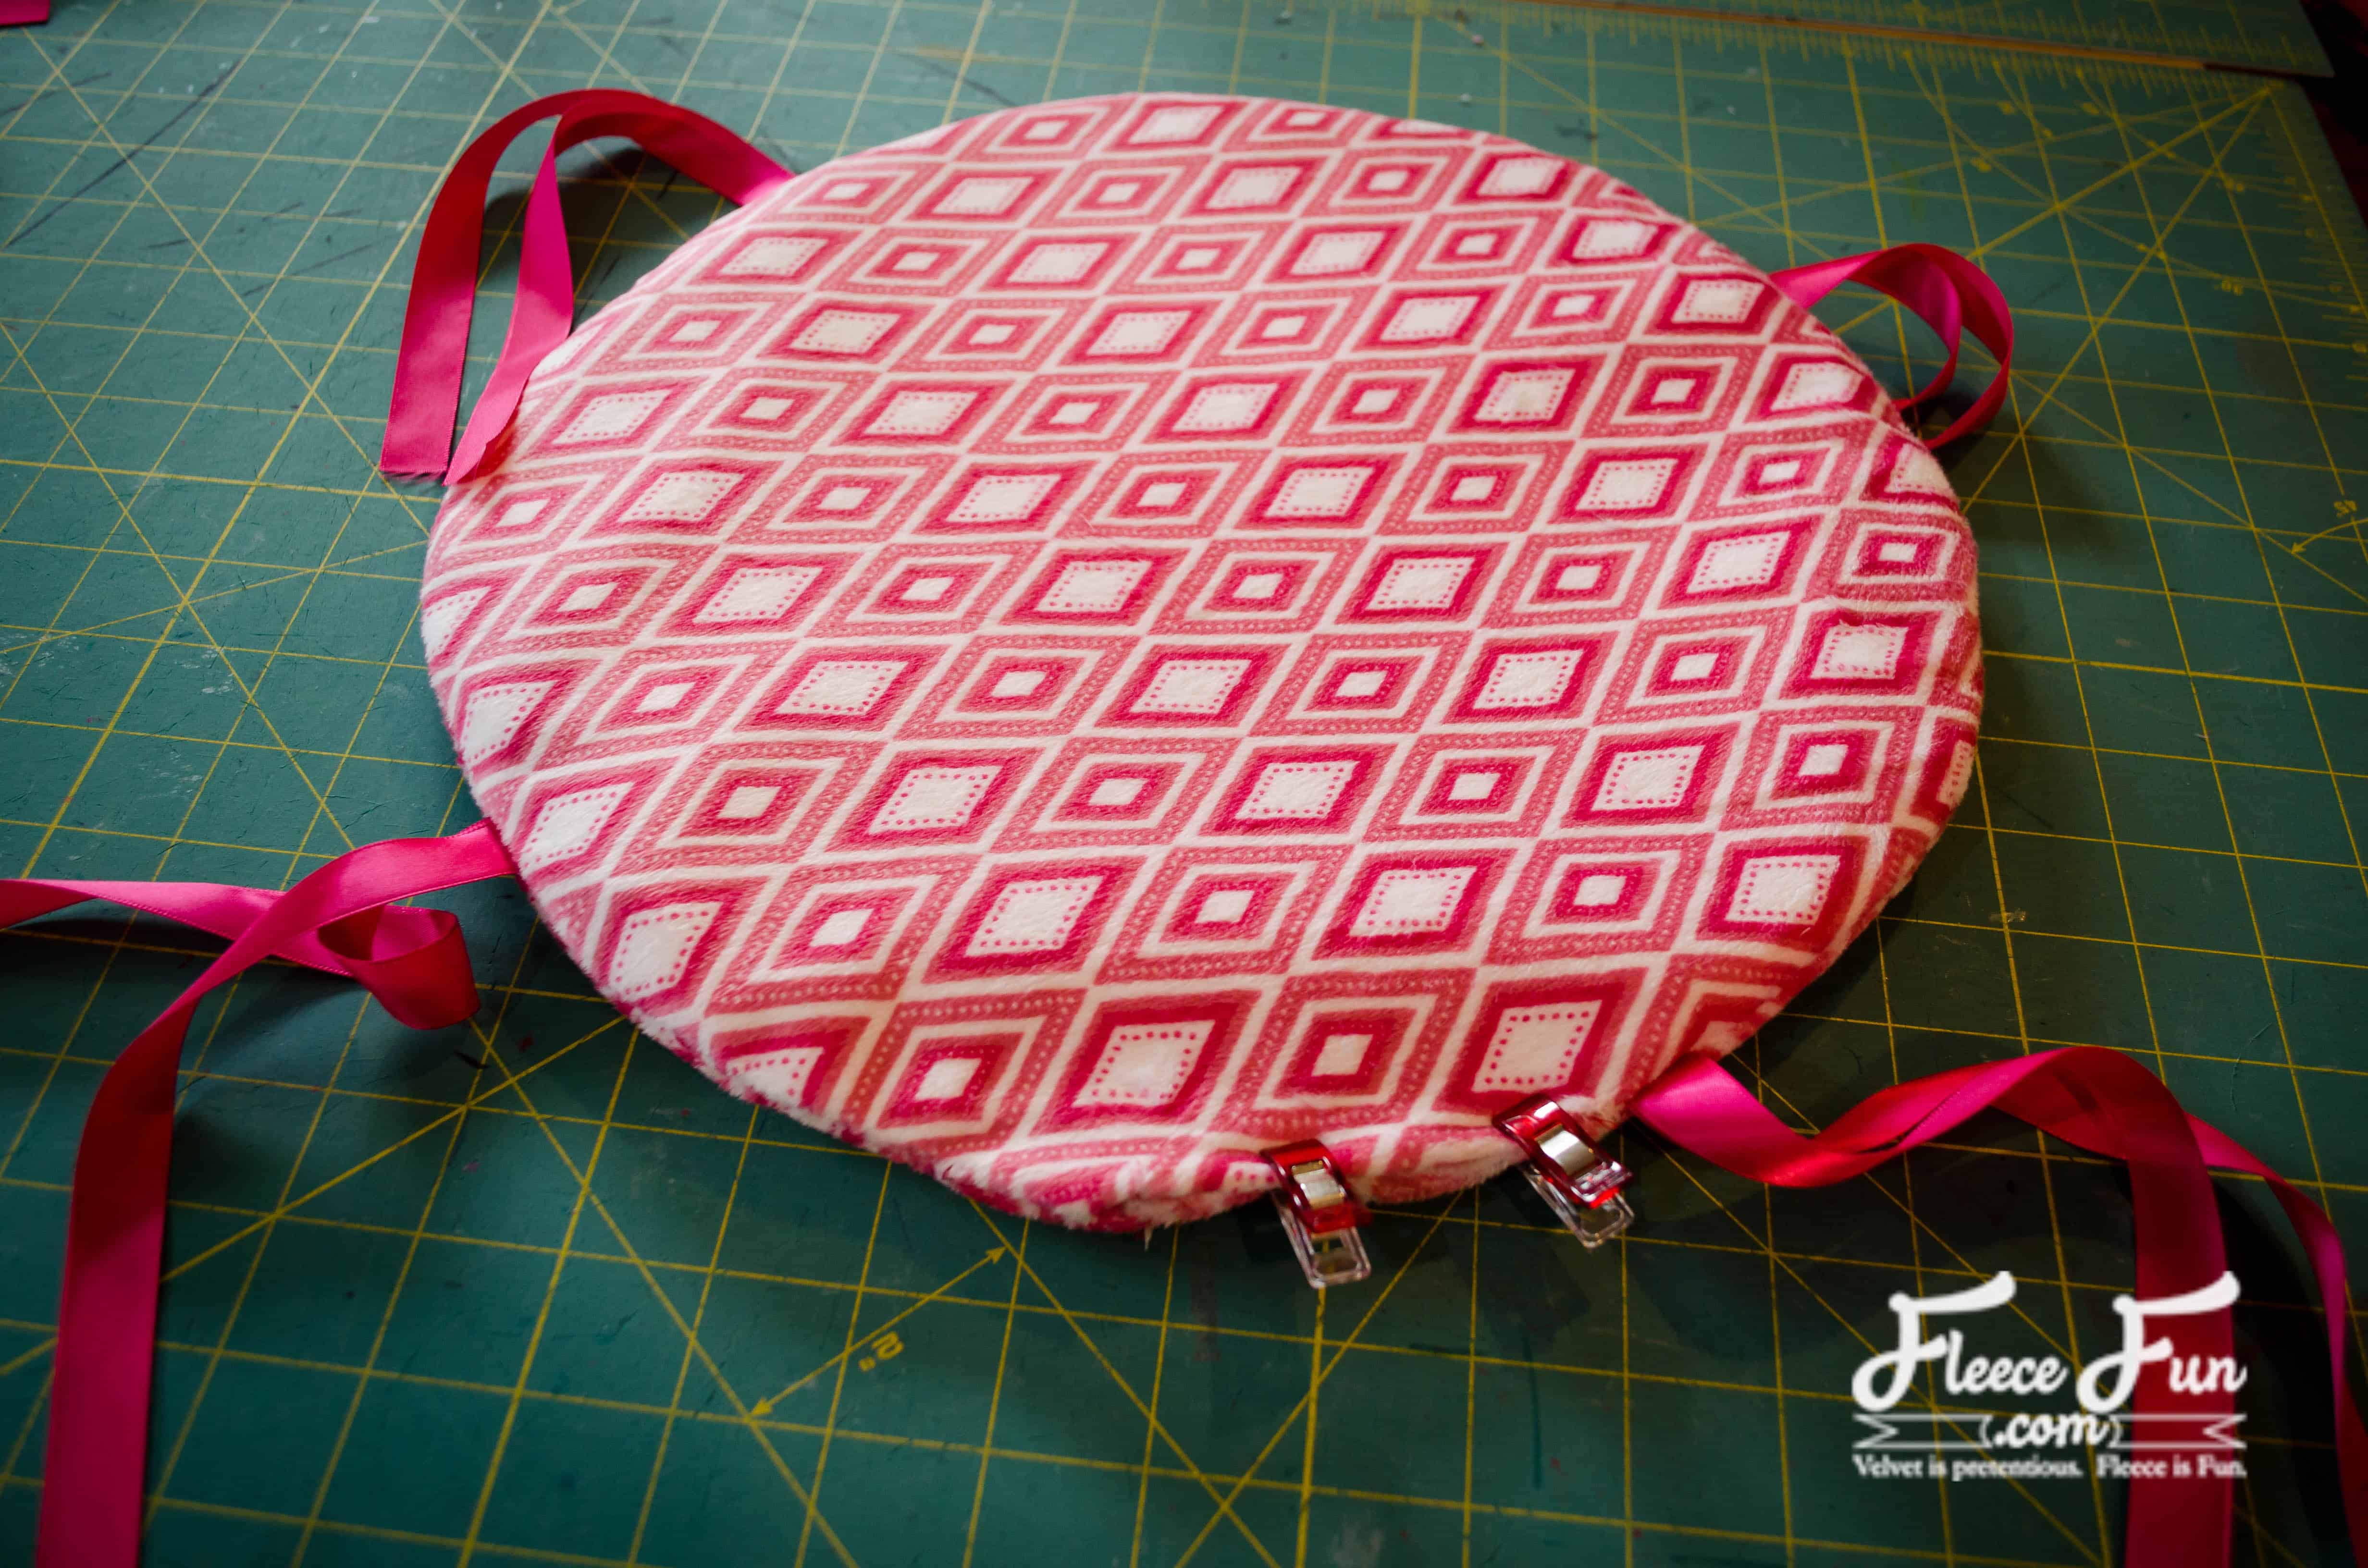
Cut 4 pieces of ribbon, each 18″ long. Fold each piece in half. Use the pattern markings to pin the folded edge of the ribbon to the raw edge of the circle.
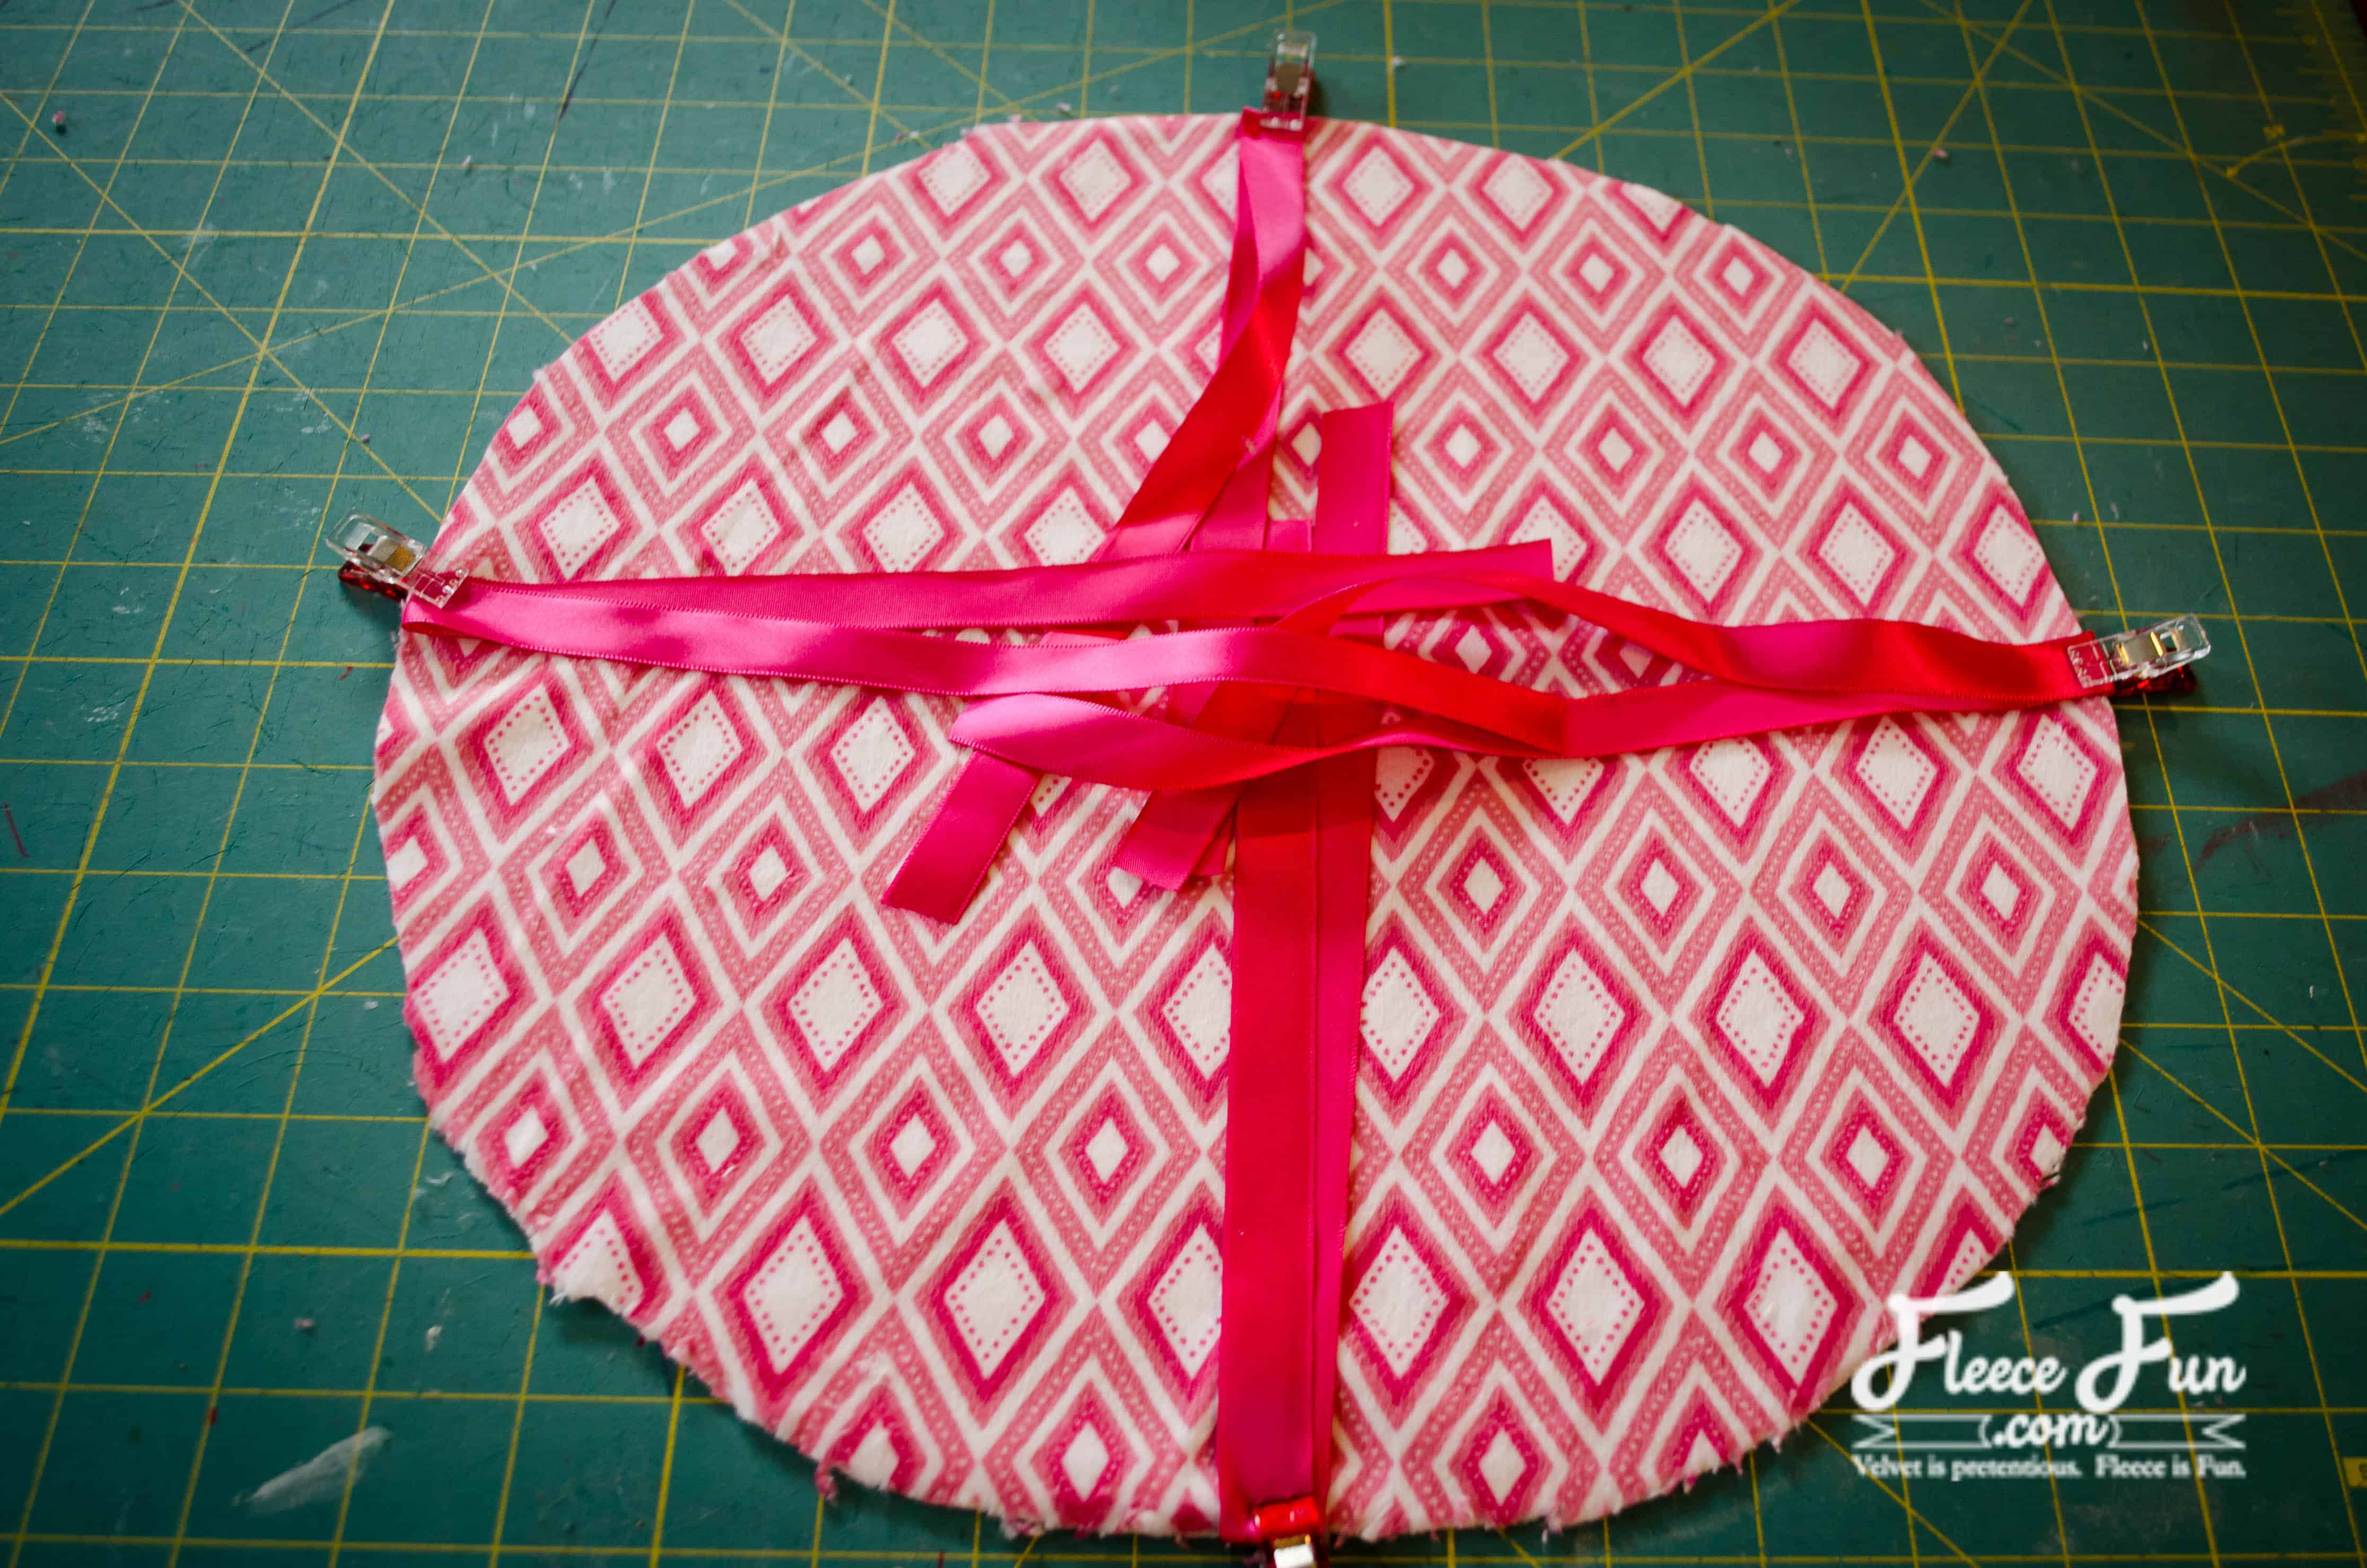
Baste the folded edge of the ribbon in place.

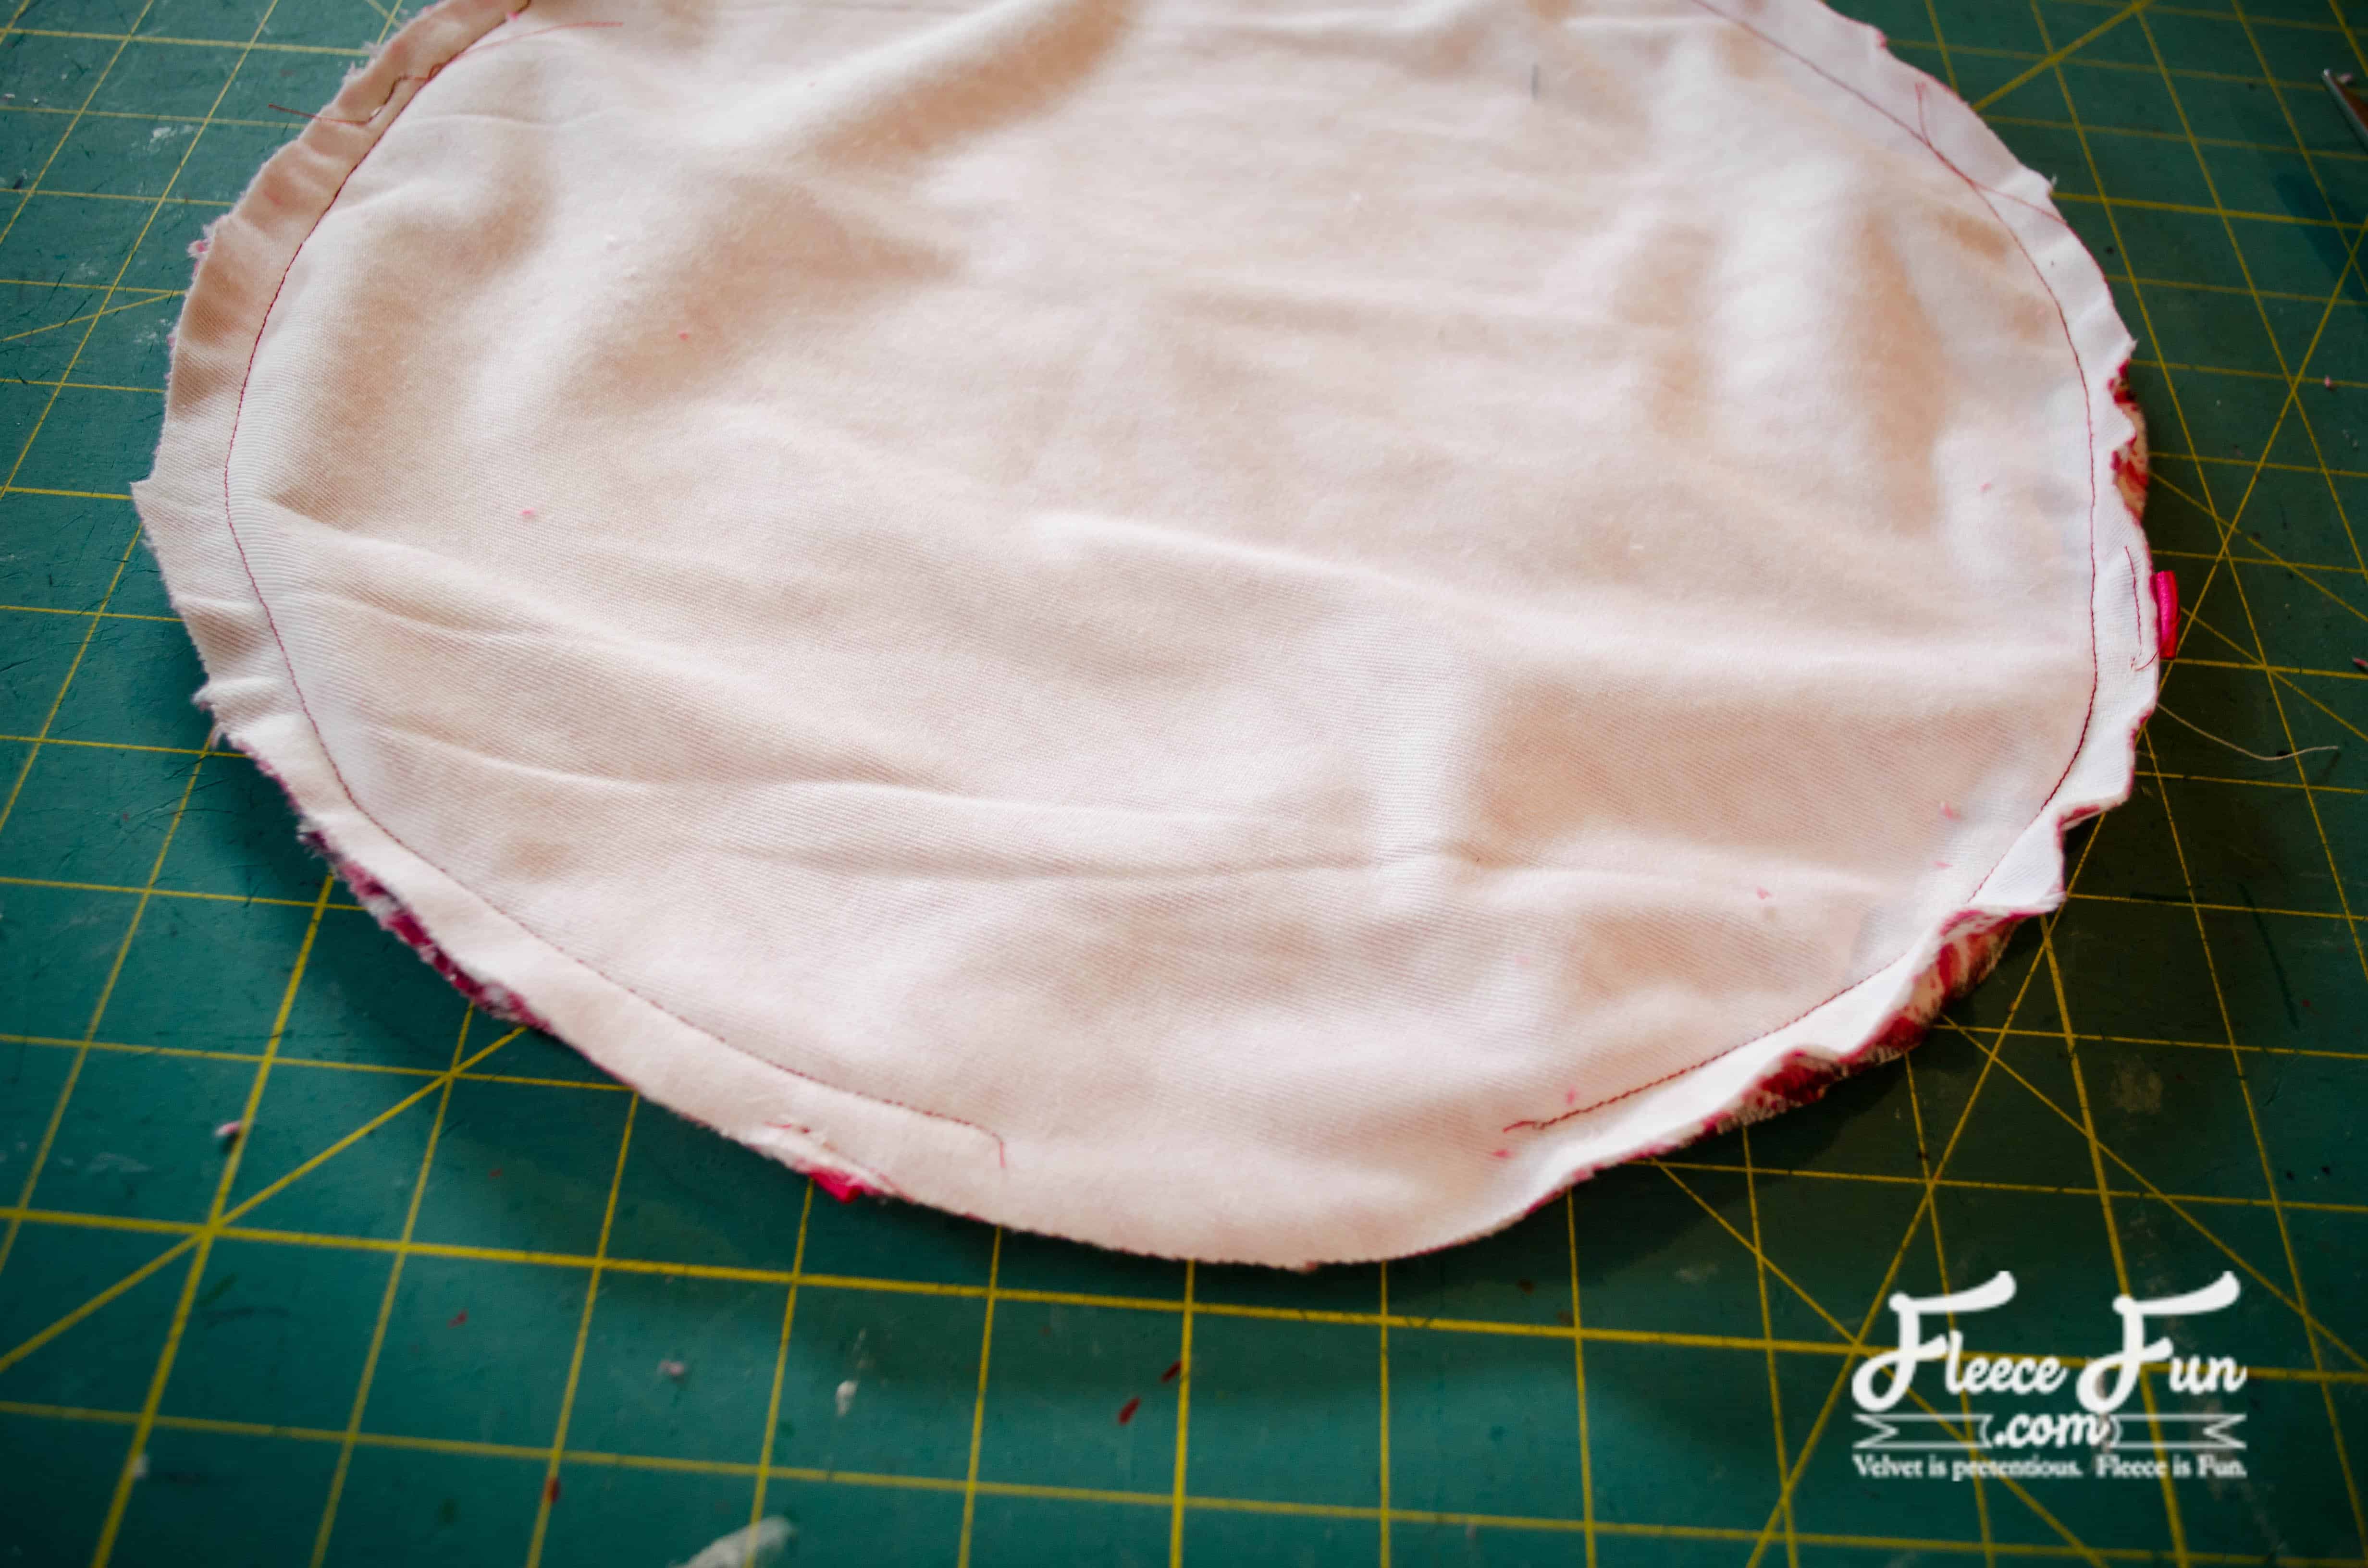
With the ribbons tucked inside, pin the other fleece circle on top, right sides facing.
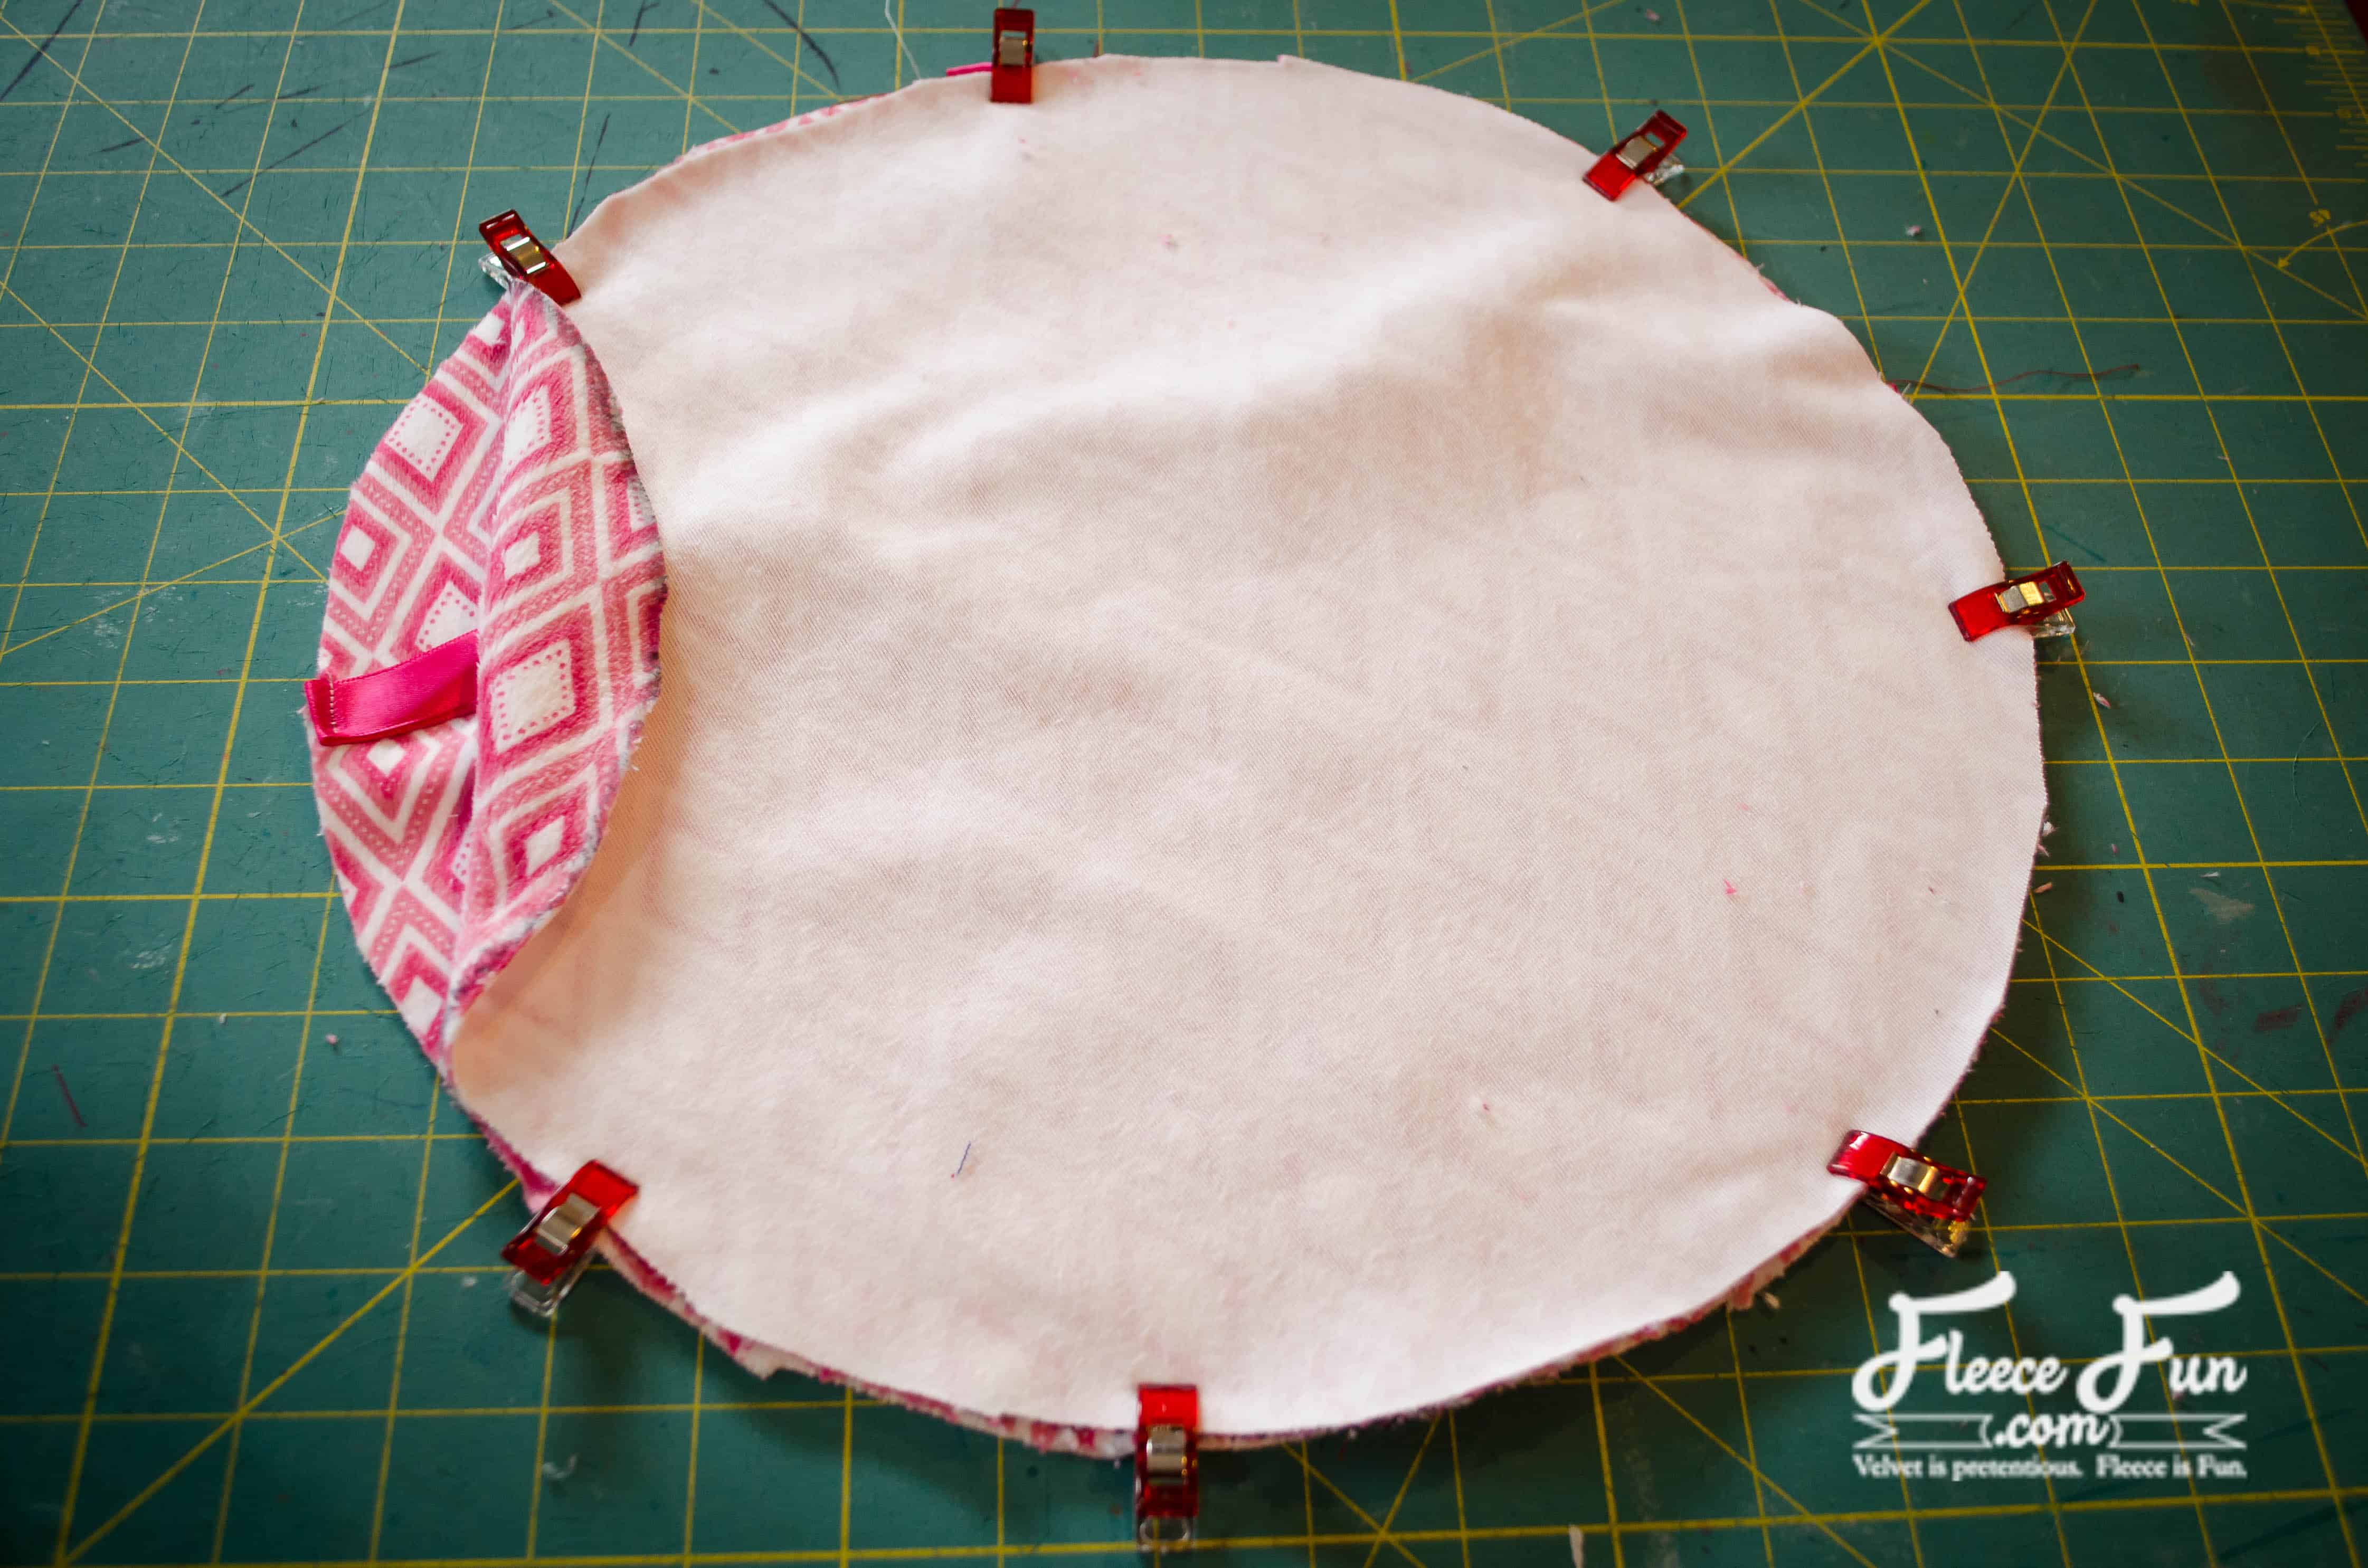
Stitch around the outside edge, leaving a 3″ opening for turning.
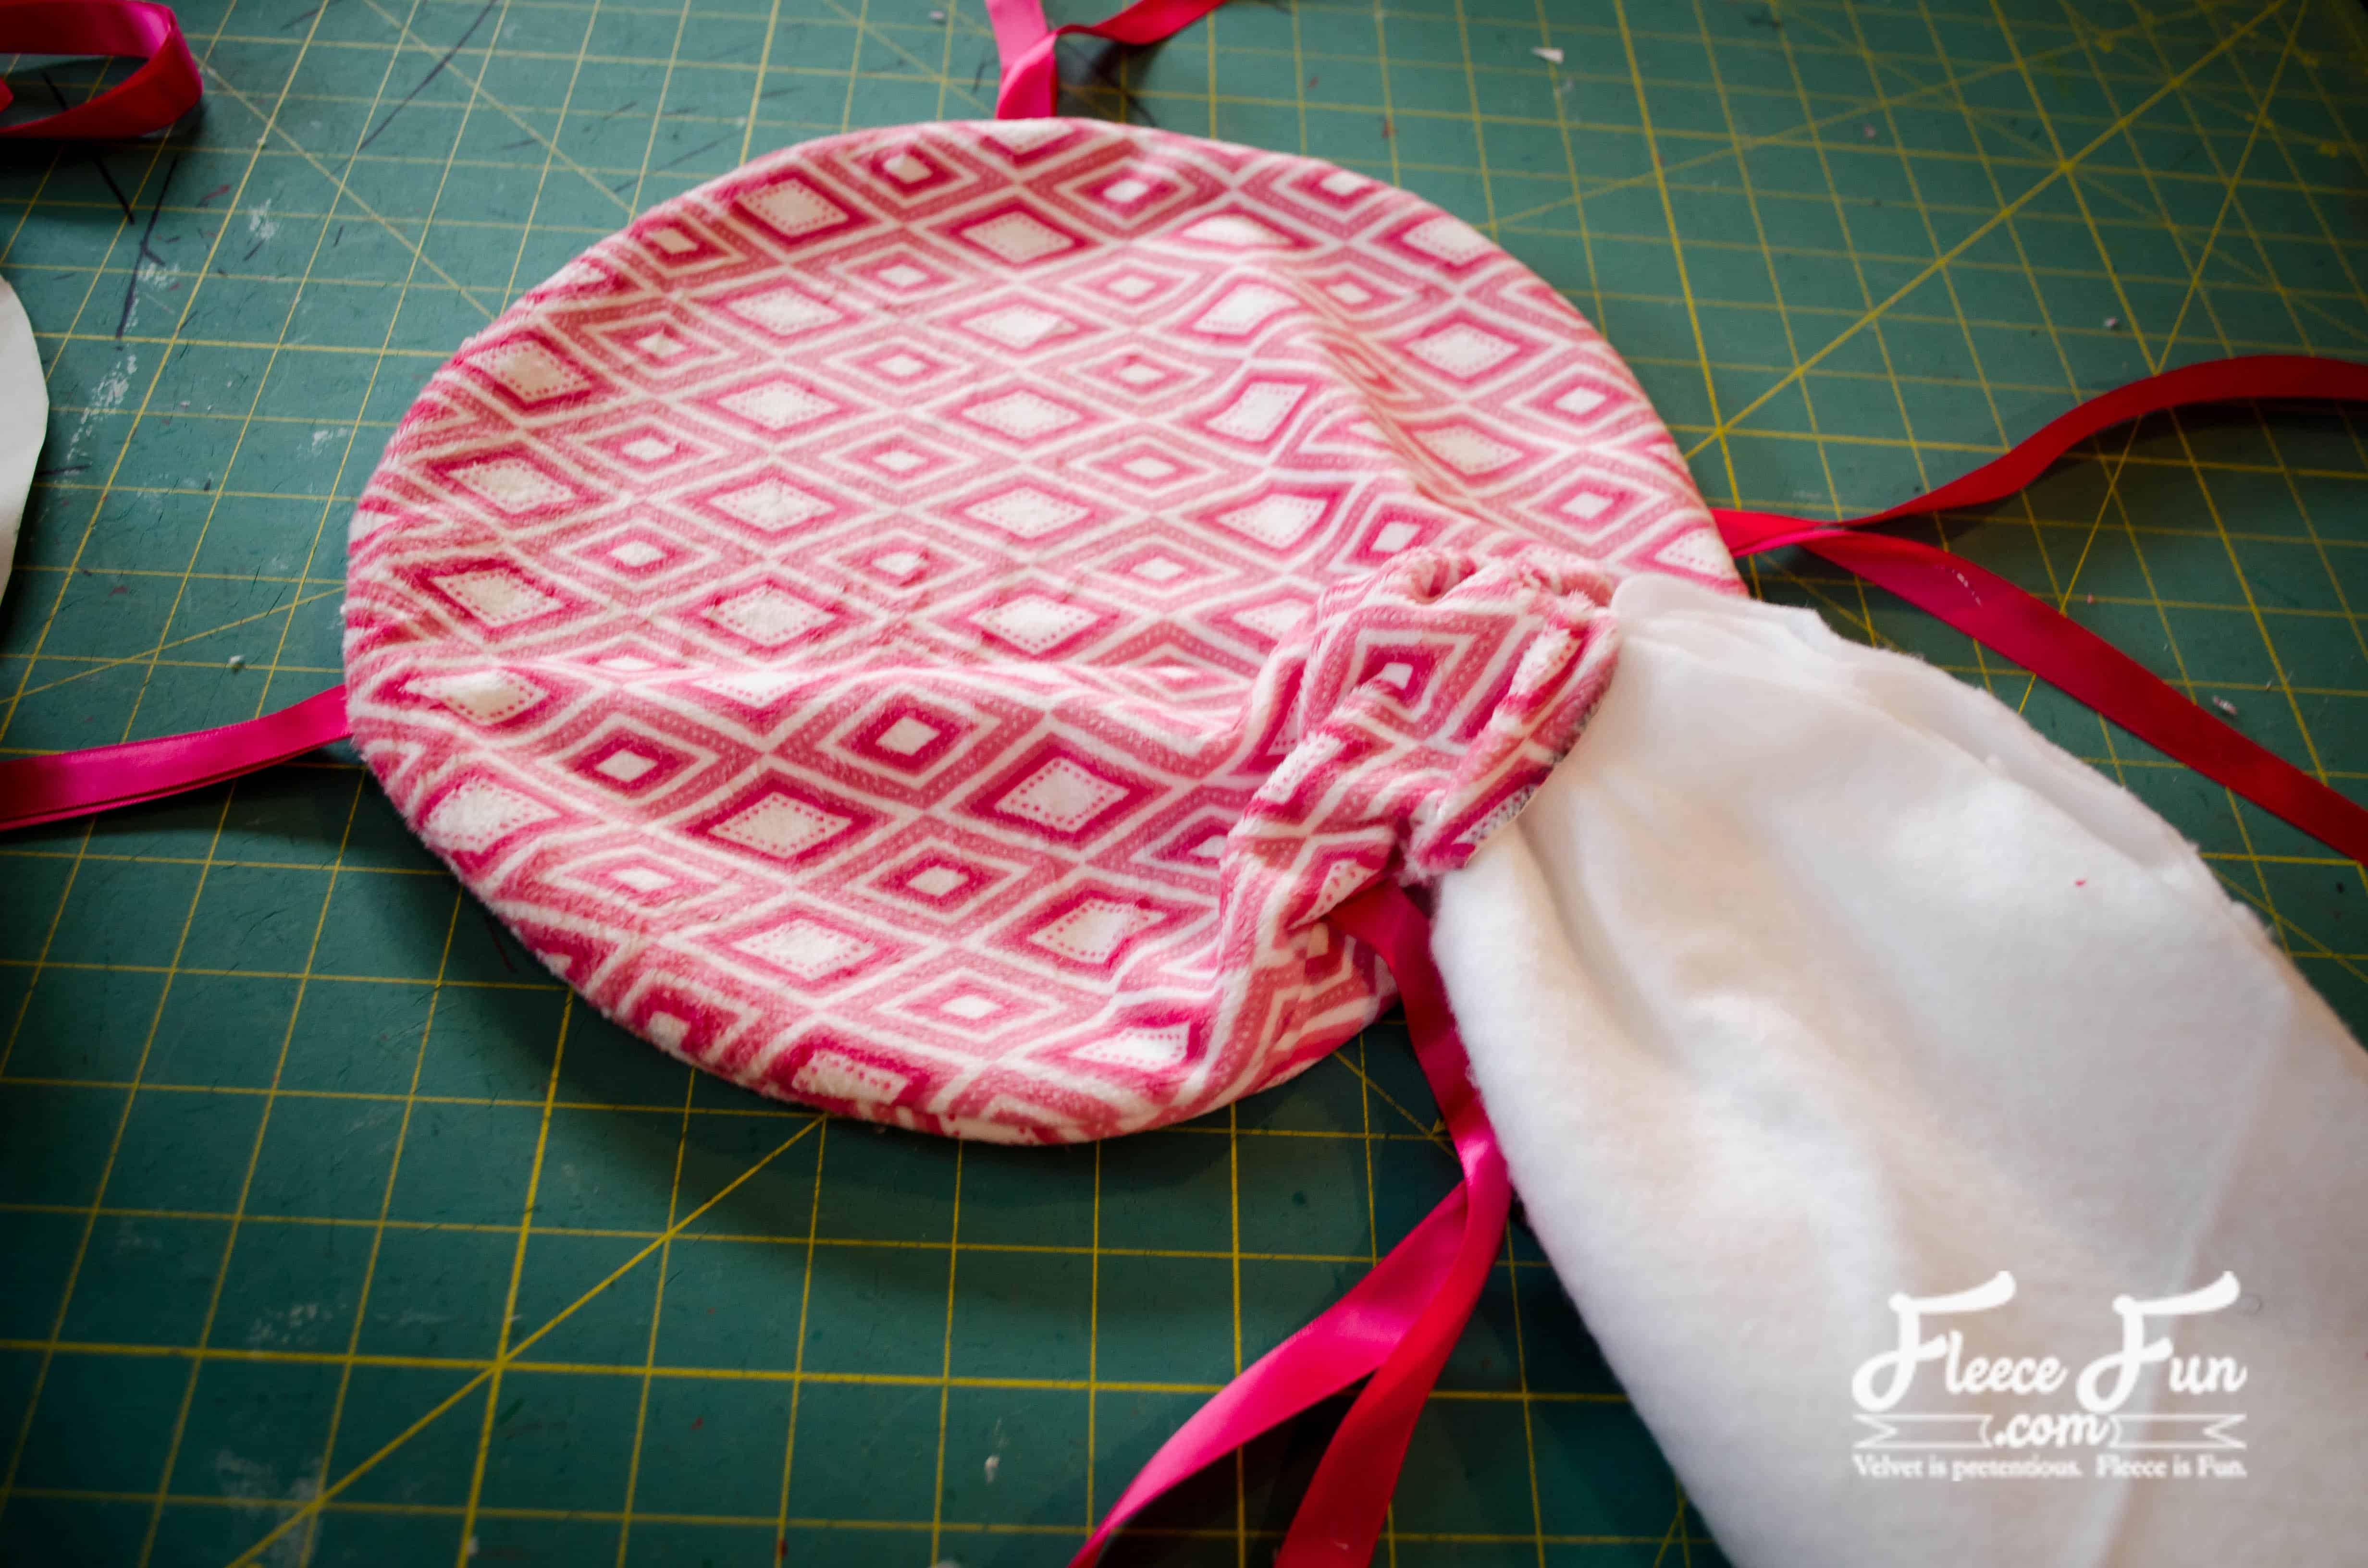
STEP 3 – ADD BATTING AND COMPLETE THE IKEA FABRIC STOOL CUSHION
Turn right sides out and stuff the batting/foam inside.
Pin the opening and hand stitch it closed.
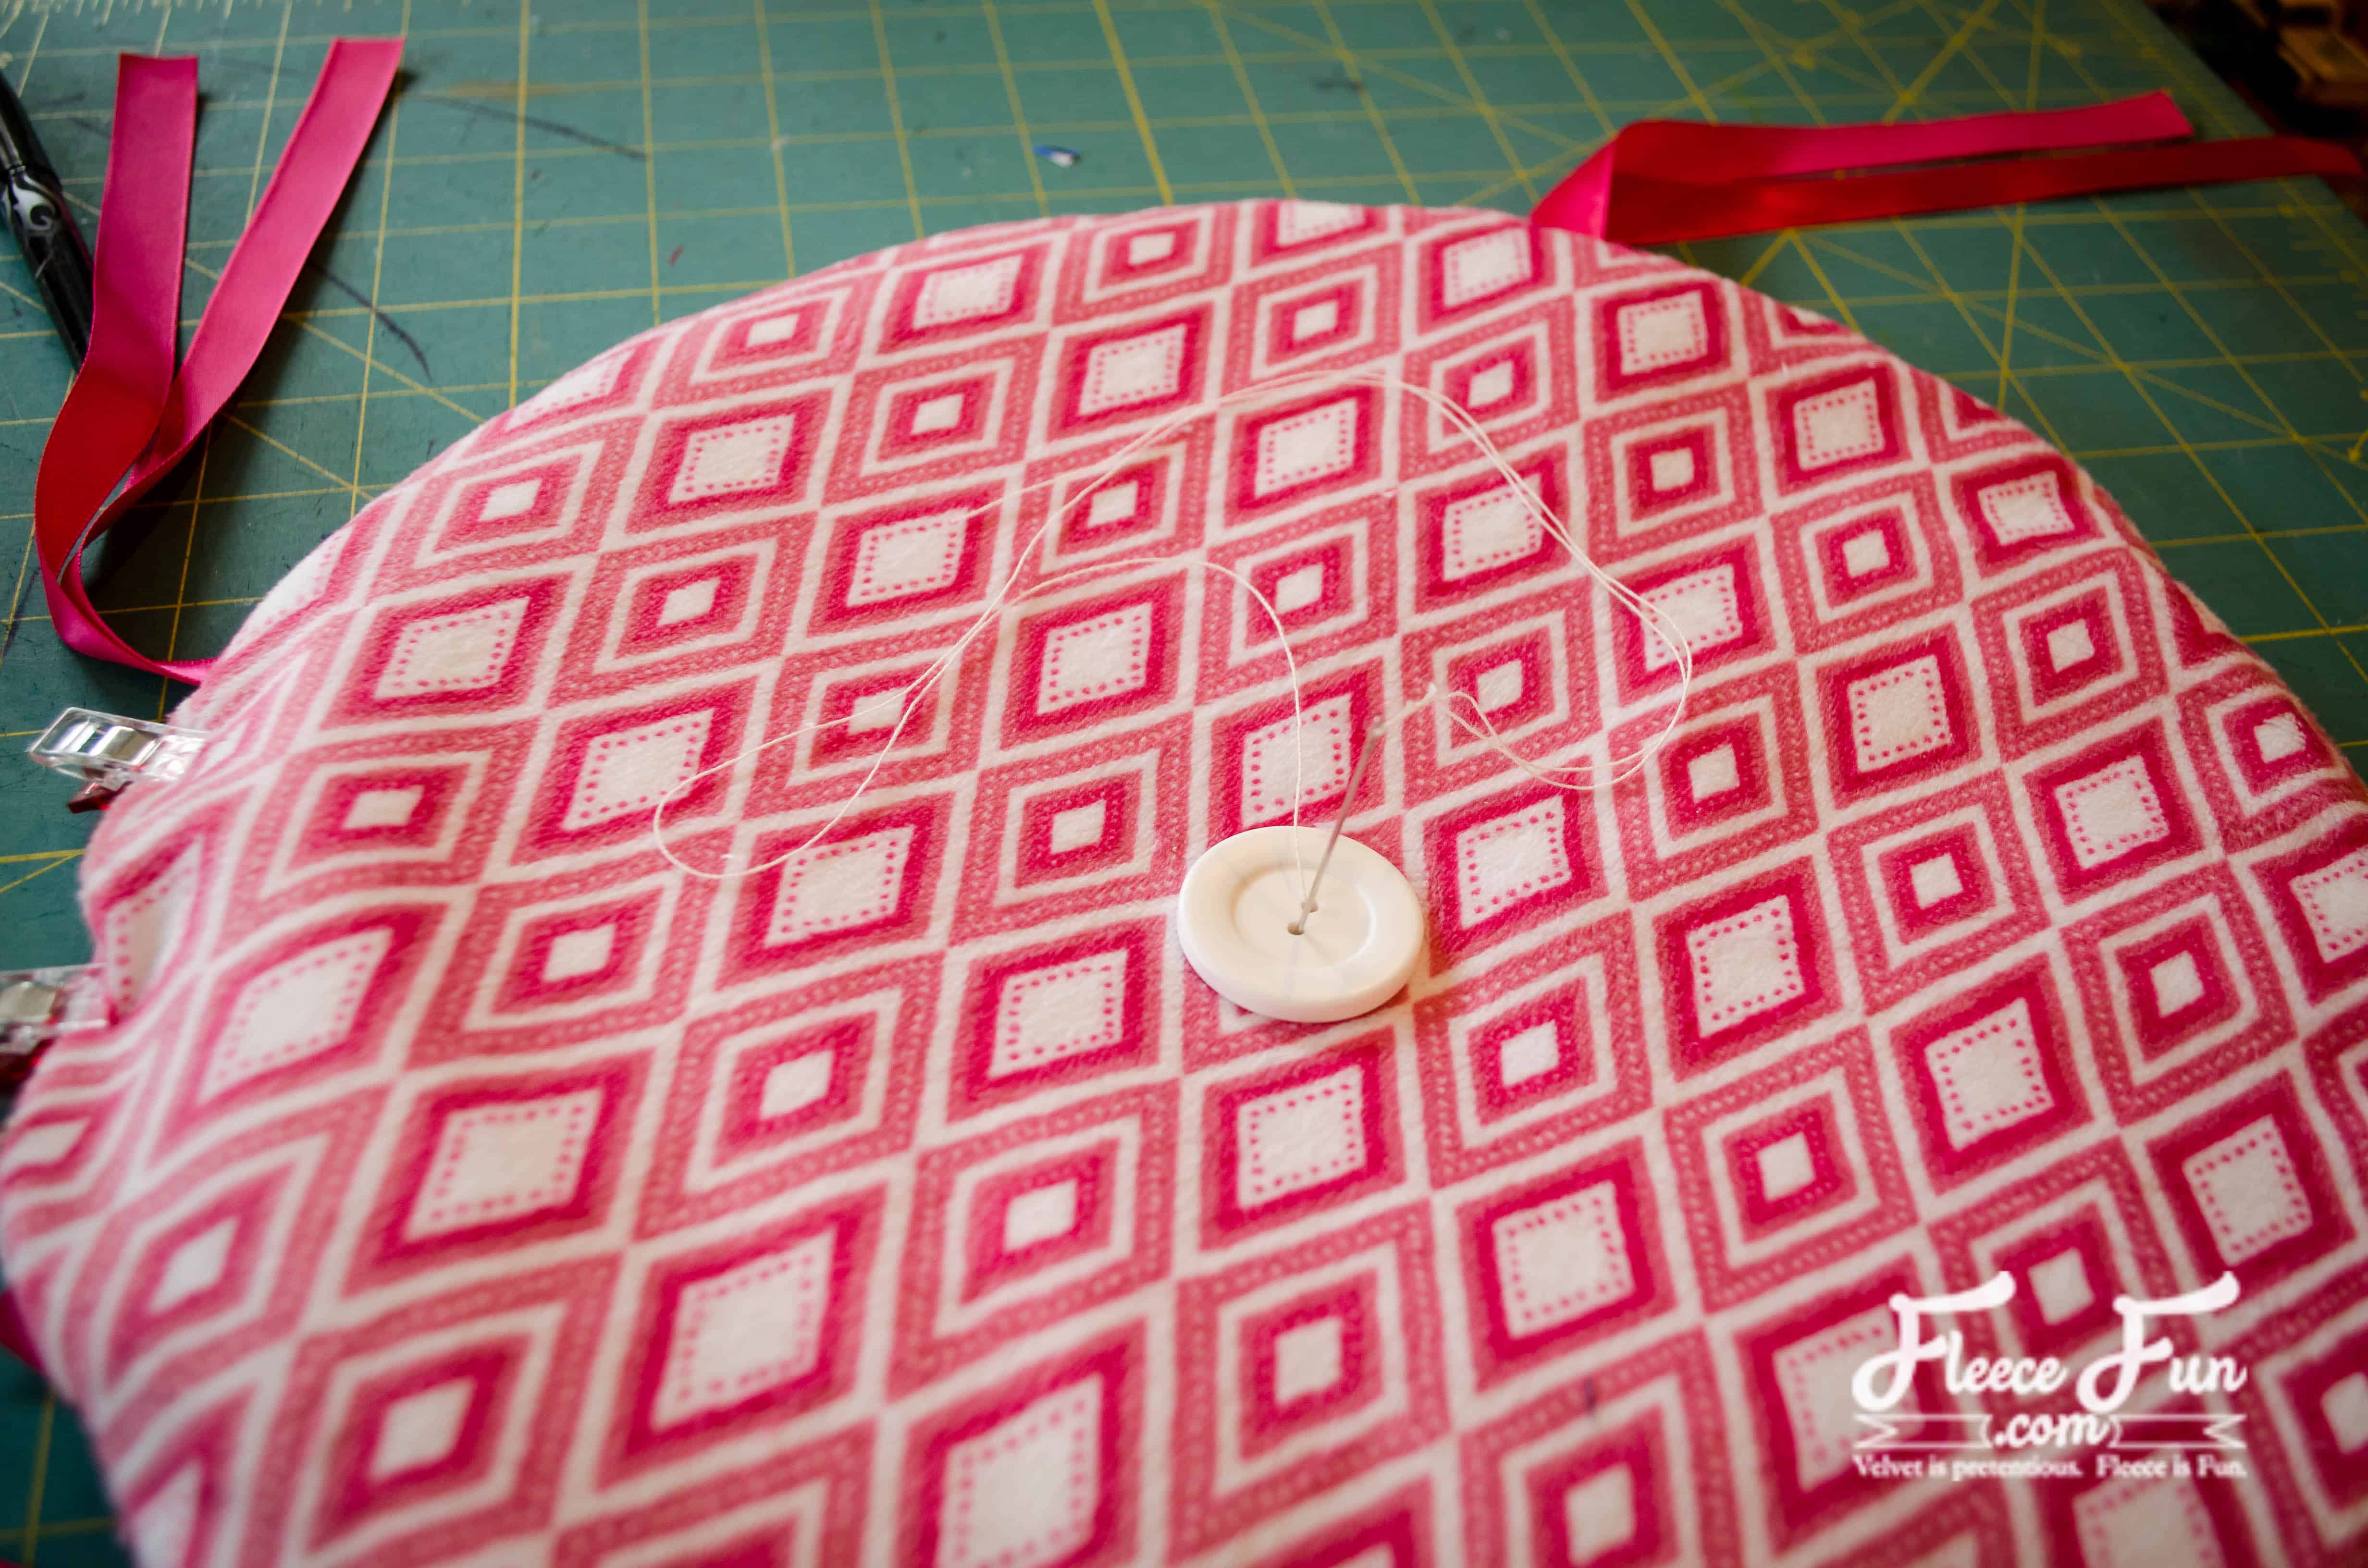
Stitch your button in place. It is helpful to use a heavier thread and needle for this step.
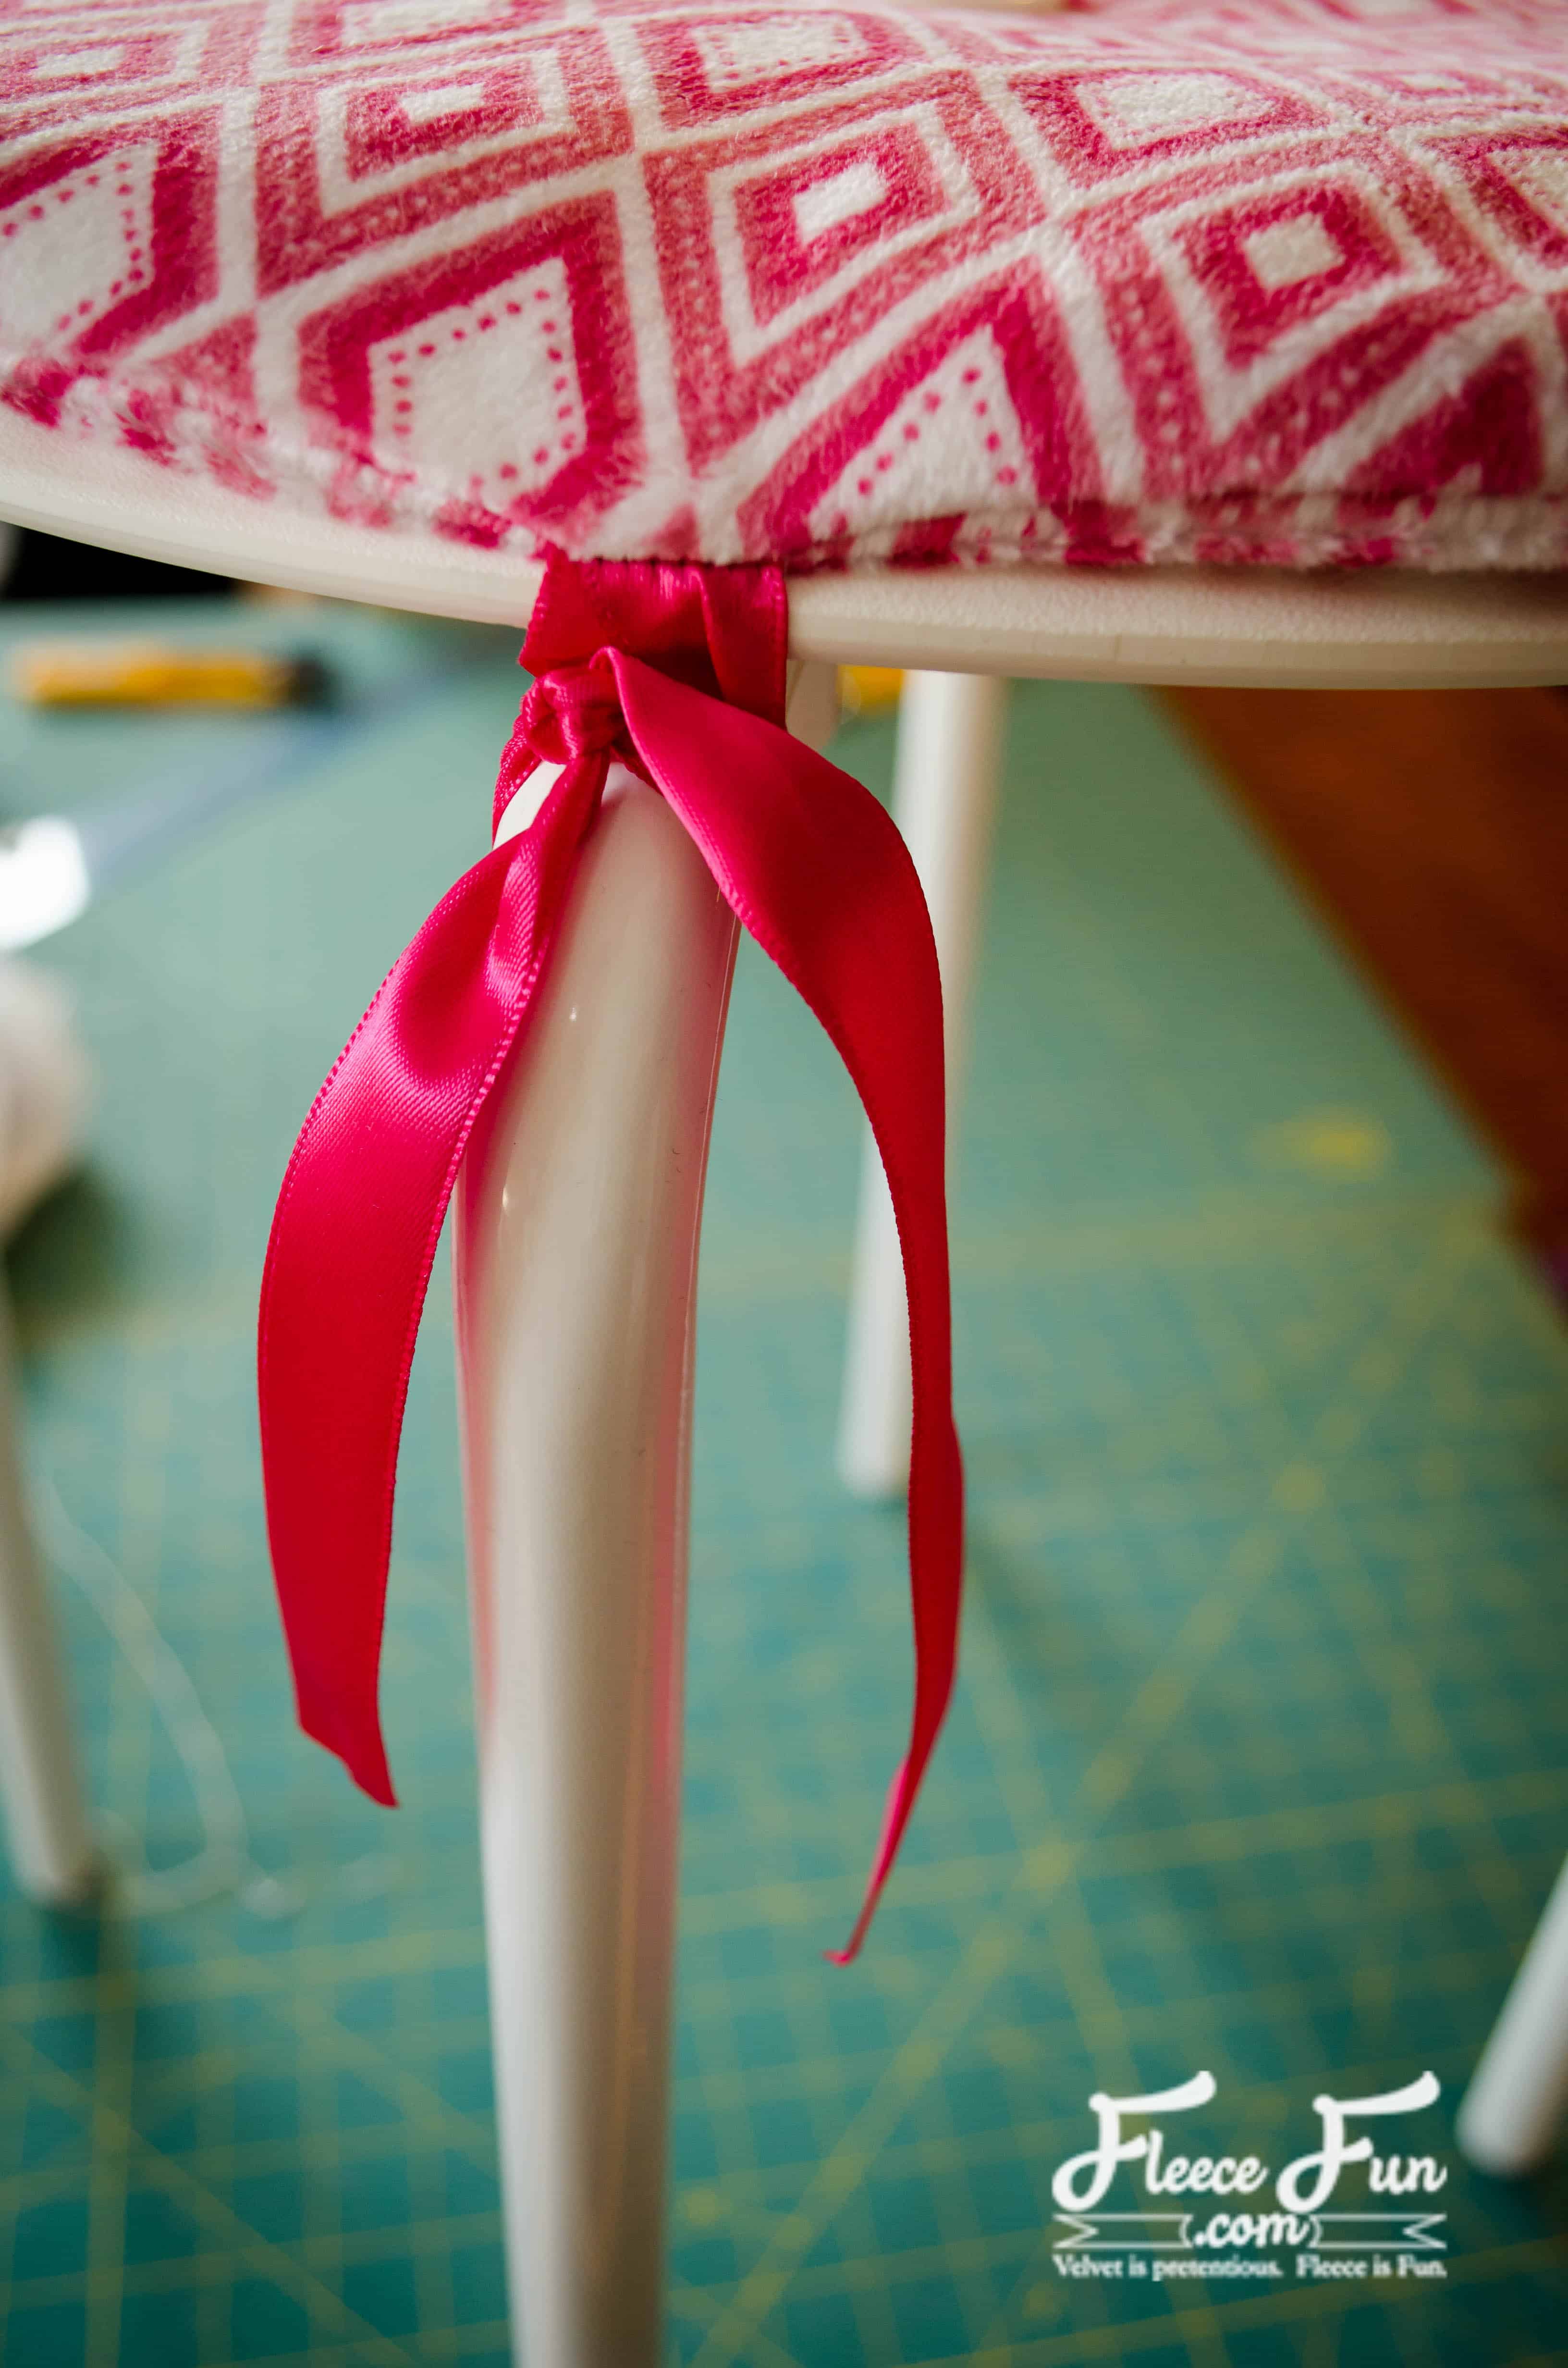
Tie the cushion onto the stool and use a lighter to heat seal the ends of the ribbon so that they don’t fray.
LIKE THIS Ikea Fabric Stool Cushion? SEE More tutorials for Organizers!
- How to Make a Binder Pouch Tutorial
- Origami Fabric Basket Tutorial
- Ribbon Book Mark
- Sewing Machine Mat Tutorial
- Craft Room Hanging Organizer Tutorial
- How to Make a Giant Pegboard for Your Craft Room
- Cricut Maker Cover Tutorial
- How to Make a Pin Cushion Tutorial (Bracelet Style)
- Cute Trash Can DIY Craft Room Decor
- Make Giant Buttons Wall Decor
- Tips on How to Paint Stripes on Walls
- Painting a Chalkboard Wall – 5 Things to Know
- See all of our Organizer Tutorials
Love these Craft Room Makeovers and Decor Ideas!
- Craft Closet Organization: The Ultimate Guide
- Sewing Room Ideas: My Studio Makeover (Part 1 of the Makeover Series)
- How to Choose Colors for Your Sewing Studio (Part 2 of the Makeover Series)
- Sewing Room Ideas: How to Pick Furniture (Part 3 of the Makeover Series)
- Cute Craft Room Decor Ideas (Part 4 of the Makeover Series)
- Craft Room Ideas: Makeover Final Reveal (Part 5 of the Makeover Series)
- Honest Craft Room Tour!
- See all Studio Space and Decor Tutorials!
