
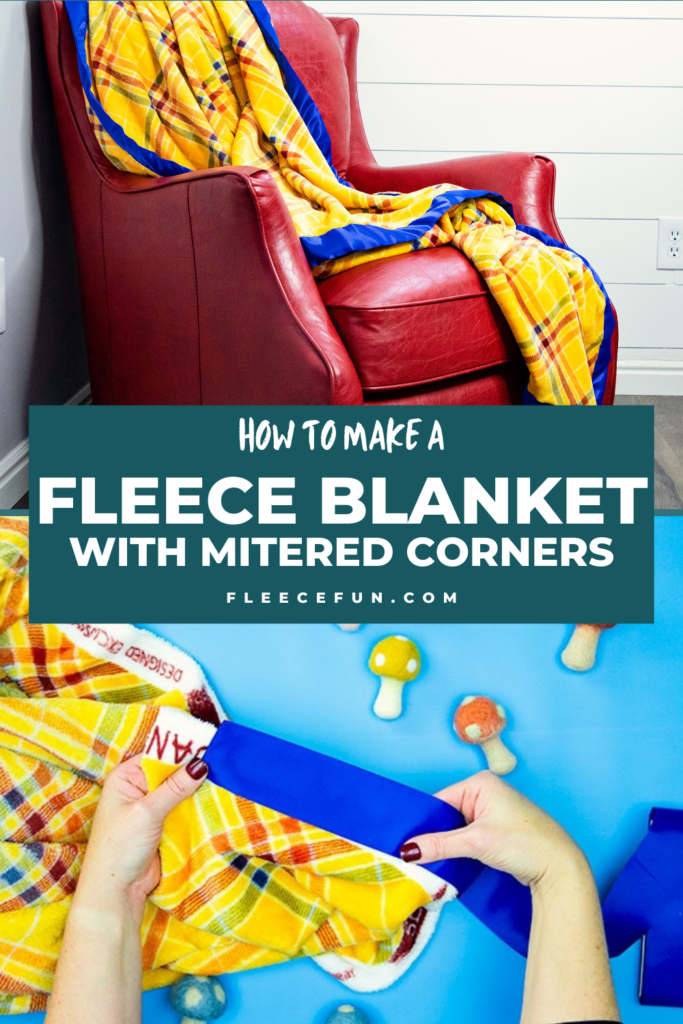
How to make a Fleece Blanket with Satin Binding (Mitered Corners)
This content contains affiliate links or sponsored elements, read our Disclosure Policy.


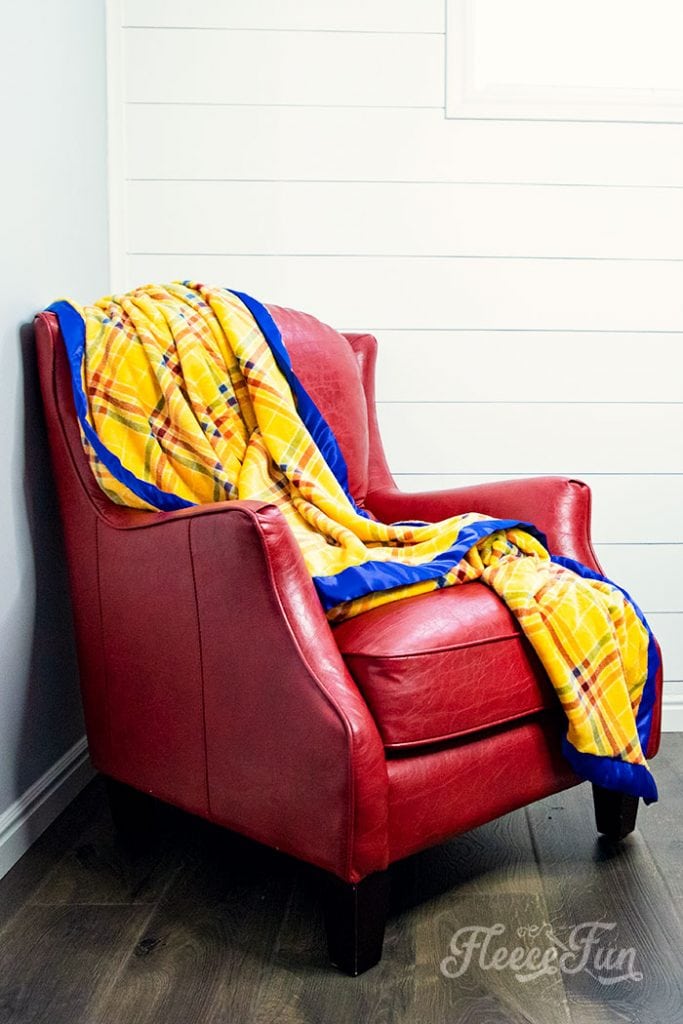
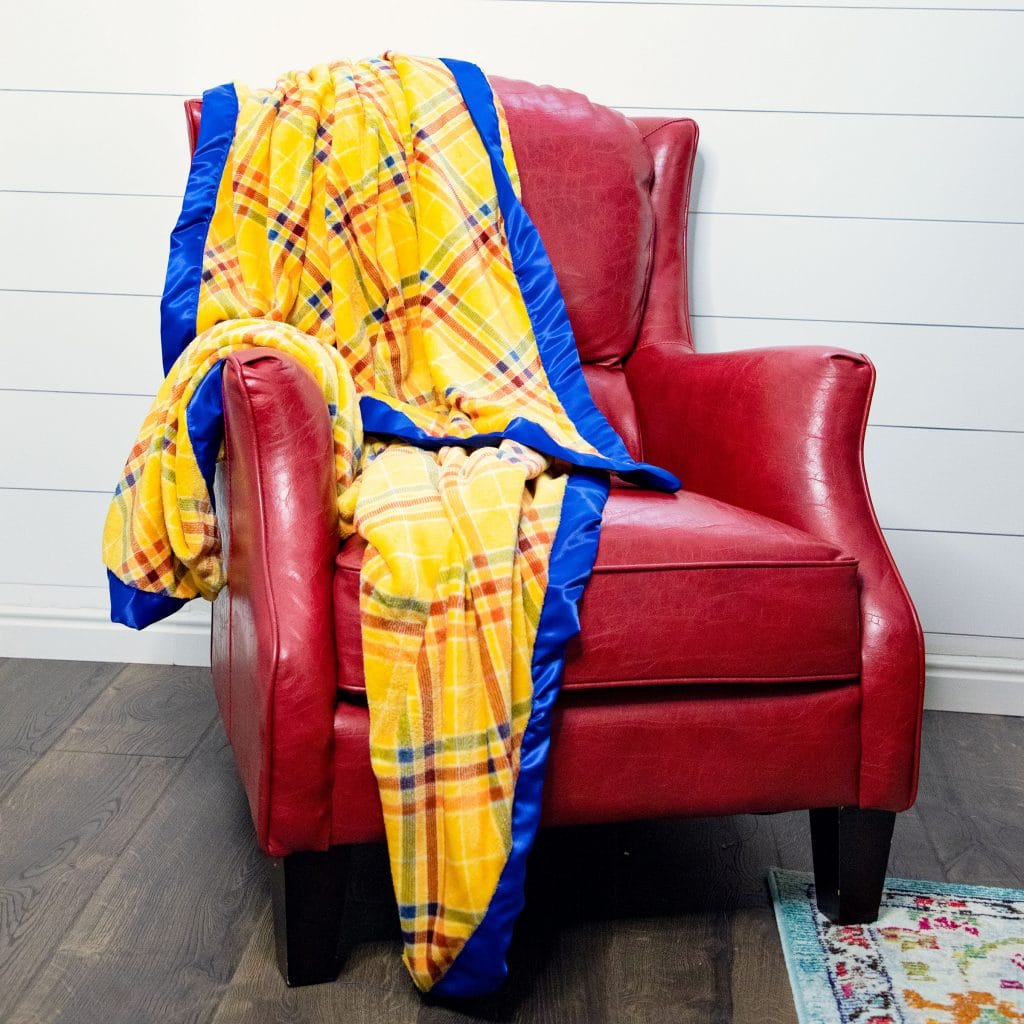
Learn how to make a cozy fleece blanket with satin binding and learn how to make mitered corners. The wonderful combination of warm fleece and slick satin is perfect for baby blankets and luxurious throws.
This blanket is easy to make and because you aren’t losing any surface area to the ties (like in a no sew blanket) is nice and big. It’s a perfect beginner project that teaches basic principles and you have a nice light fleece throw when you’re finished. This fleece sewing project works really well with double sided (or faced) coral fleece. You can easily make this a two layer blanket and bind it together at the edges – minky that only has 1 side to it is good for this. But if this is your first time using satin binding I strongly recommend that you keep it simple and start off with just one layer.
Hate The Ads?
This pattern with video and printable instructions is available in the Makers Studio. The Maker’s Studio is an ad free experience, no video ads, no forms, no zip files, just creating.

YOU WILL NEED:
In the example I used coral fleece. You can use polar fleece or coral fleece – learn the difference between the two here.
- Adult Throw – 2 yards fleece fabric (60 by 72 inches)
- Baby size blanket – 1 yard of fleece in each color (36 by 52 inches)
- Child size blanket – 1 ½ of Fleece in each color for (60 by 48 inches)
- 1 -2 packages satin blanket binding (1 for a baby blanket 2 for child and adult)
- Rotary cutter, ruler and mat (optional if you need to or need to trim your blanket)
- Lint roller (a must if you use coral fleece – the fluff gets every where)
- Thread that matches the binding color
- Sewing Essentials (pins, scissors, etc.)
- Walking foot (optional) or
- Edging foot (both of these feet are optional – nice to have but not absolutely necessary)
How to make a Fleece Blanket with Satin Binding (Mitered Corners) Instructions:

Step 1 – Prep the fleece for sewing a blanket

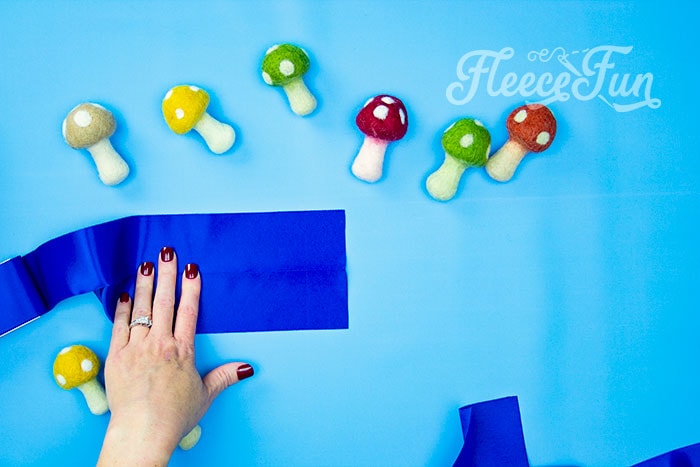
If you are making a baby blanket you will need to cut it down to size. If on your fabric (like mine) the fluffy goodness goes right to the edge – there’s no need to trim off the selvedges. The fat binding will cover it up and you get a little more blanket.

If the fabric changes texture at the edges, cut off the selvages of the fleece. Make sure that all the edges are straight. I also recommend taking the fabric out side and giving it a good shake to get all the excess fluff off the fabric before getting started.
Step 2 – Make the satin binding long enough for the fleece blanket
To make the binding long enough to go all the way around the blanket for the child and adult throw sizes, you will need to sew the two lengths of binding together.

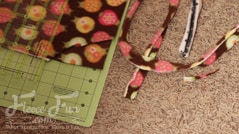
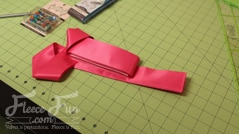
To make this as seamless as possible the binding is sewn together on and angle.
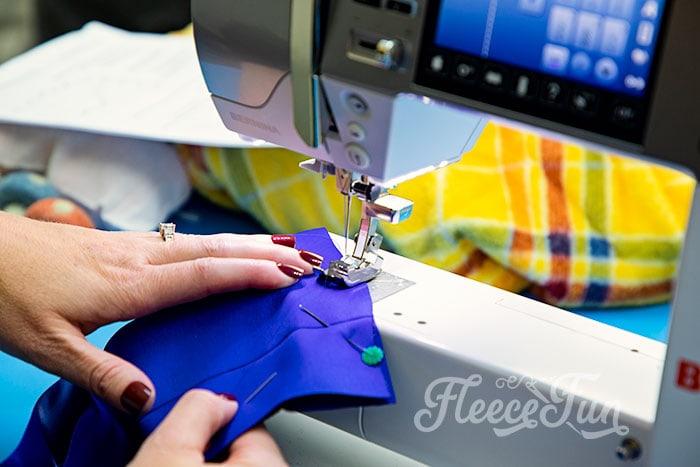
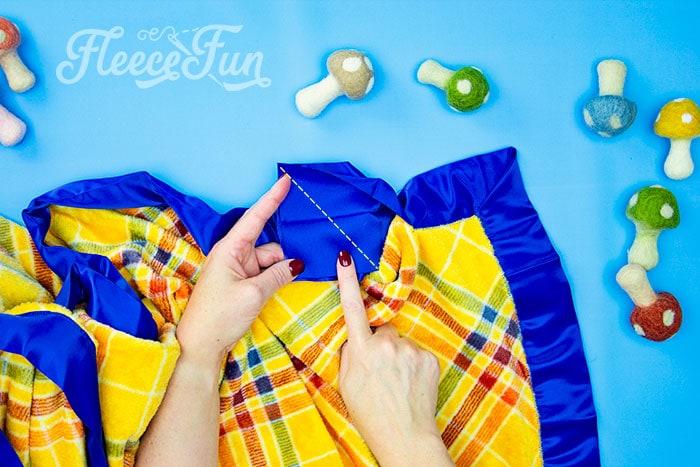
Take both pieces of binding and with right sides (slippery sides) together, sew together at a 45 degree angle across the two pieces. I recommend drawing a line on the binding using a ruler to follow while sewing
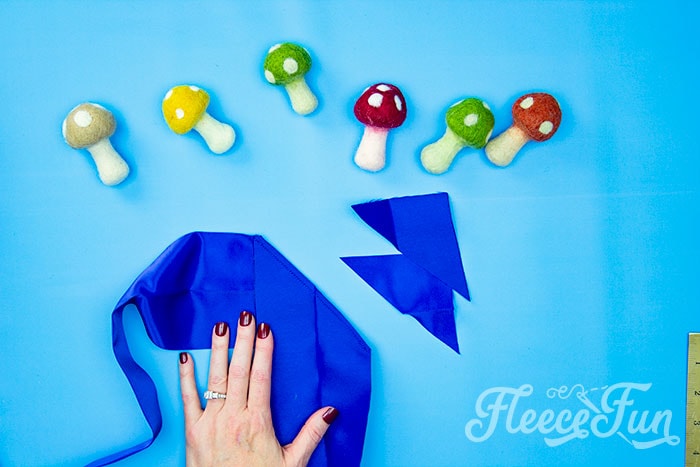
Snip excess leaving about a quarter of an inch.

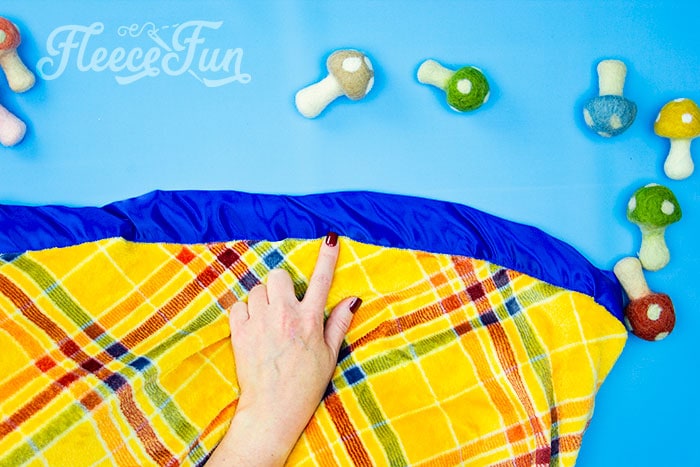
See how when it’s unfolded the satin binding continues on to the neck package.
Step 3 – Sew the satin binding to the fleece blanket
Quick Tip
Satin is slippery so keep this in mind while sewing with it. Something that can help is a walking foot – if you have one I recommend using it. I opted not to use mine in this tutorial as I figure most beginning sewists won’t have one.
Depending on the brand of binding one side might be slightly longer than the other. If you’re lucky enough to have that kind, the slightly longer side will go on the bottom of the blanket.
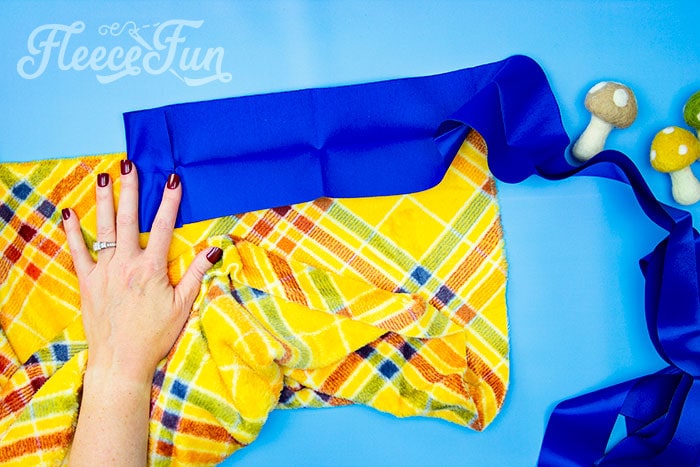
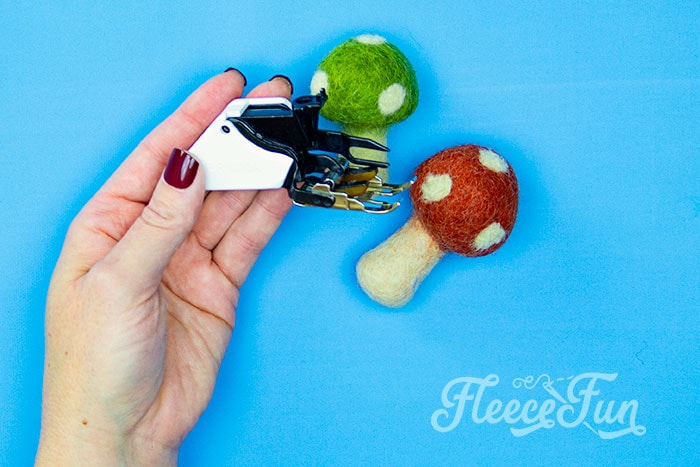
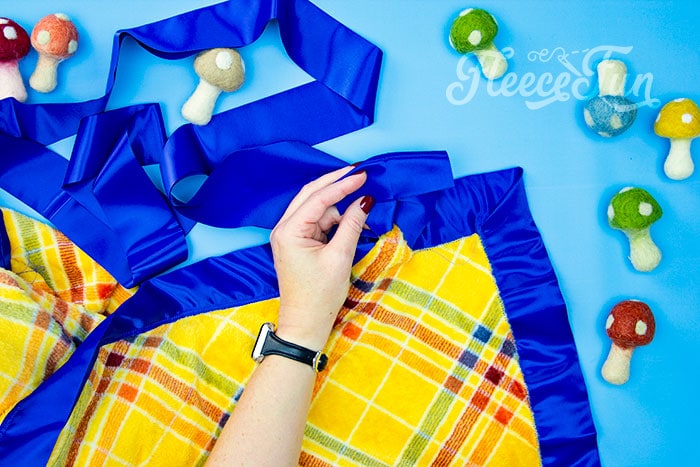
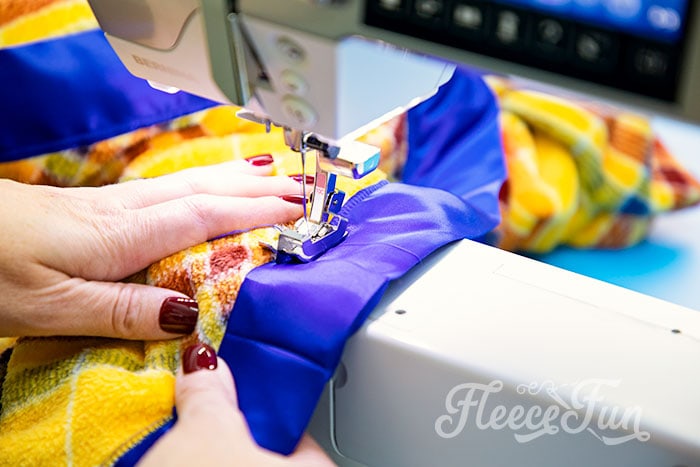
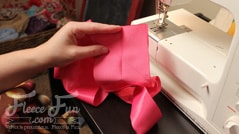
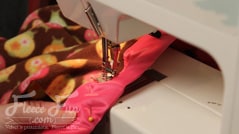
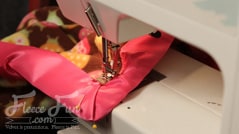
Unfortunately the brand I am using doesn’t have a longer side so I will make sure that my zig zag stitch is on the wider side to be sure to catch it. Starting a quarter of the way from the edge of one side of the blanket begin to set up the satin binding.
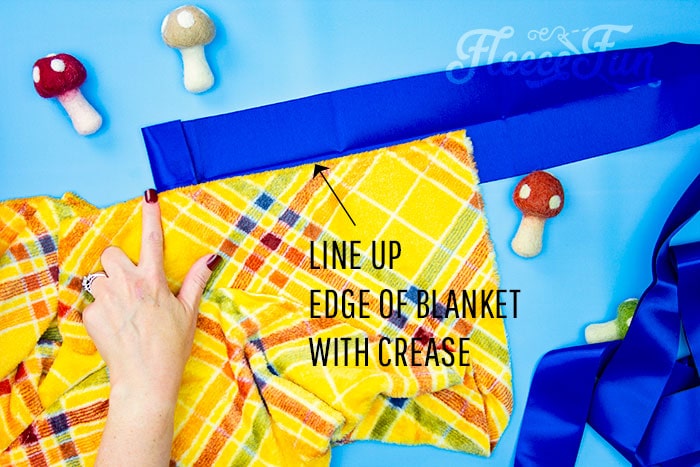
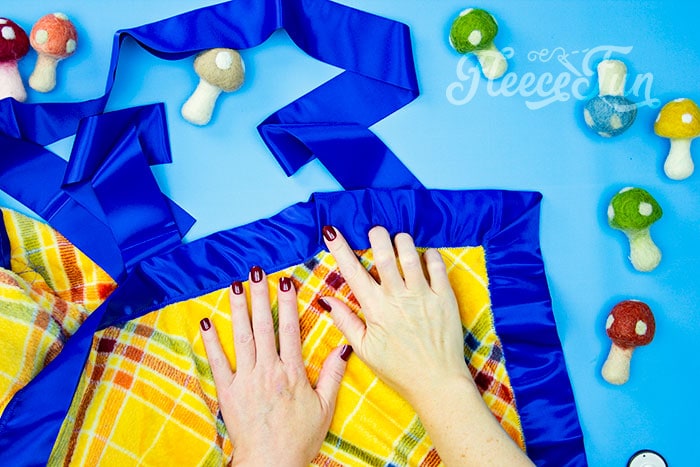
Have the binding pinch (or wrap around) the side of the fleece. Make sure the edge of the blanket is to the crease of the satin binding. I recommend using clips to help with this as pining the binding can cause snags in the satin.

Leave about 4 inches at the beginning unsewn (this will help with finishing the blanket later).
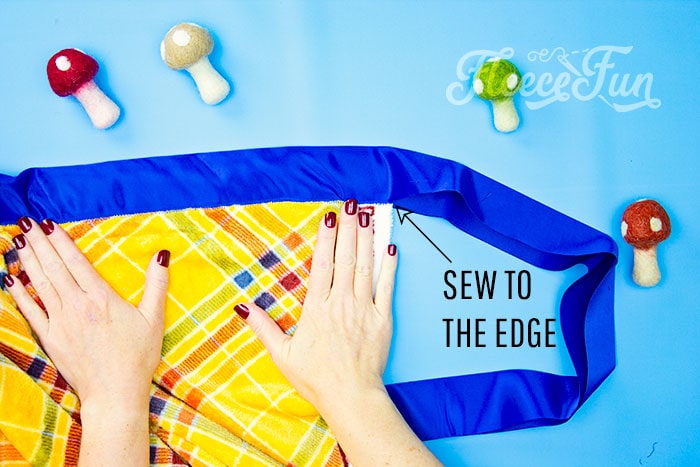
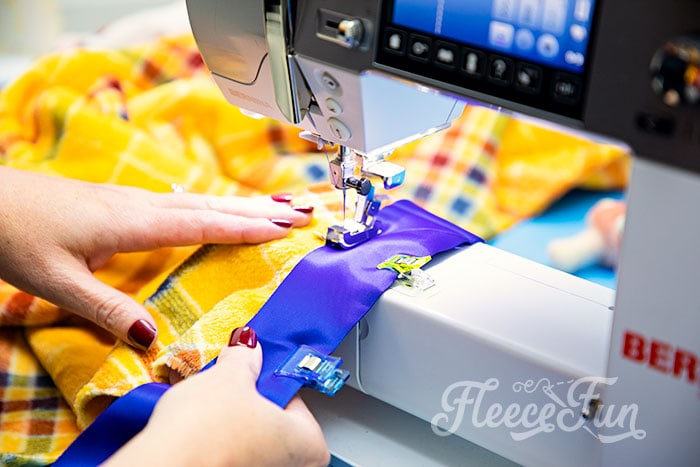
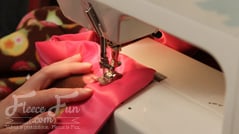
Using a wide zig zag stitch sew along the edge of binding to the edge of the blanket. This is to prevent the slippery satin binding from getting untucked at the corners. Finish the seam.
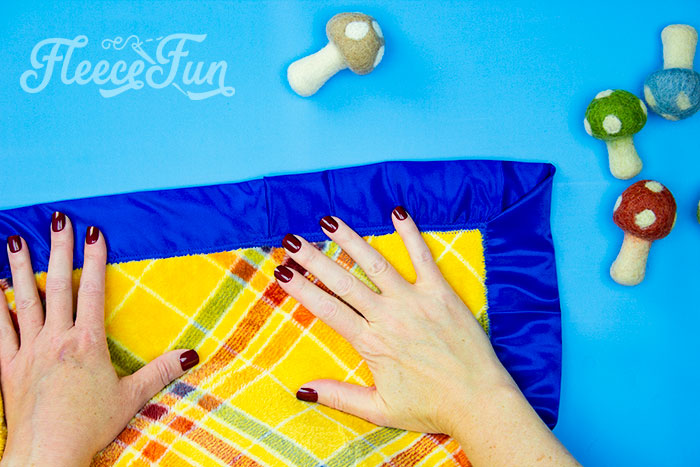
Step 4 – How to Make a Mitered Corner on the Satin Bound Fleece Blanket
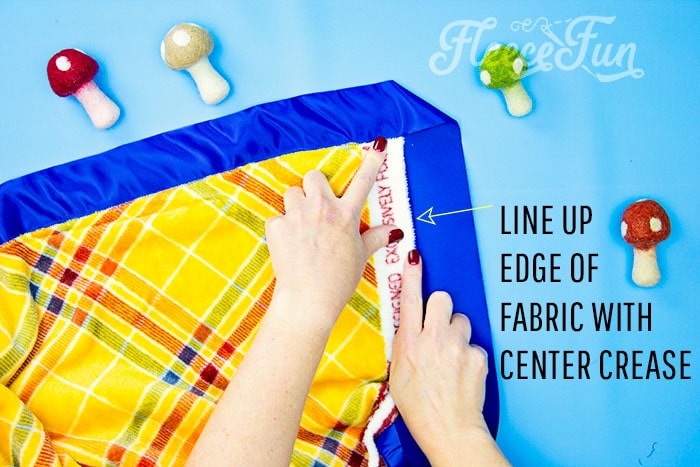
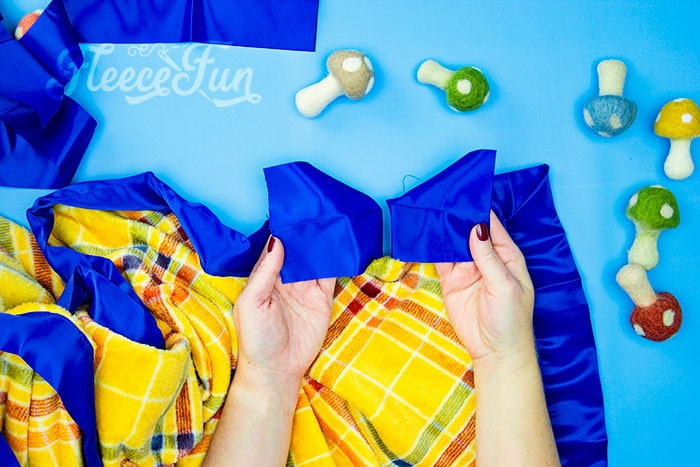
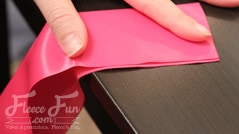
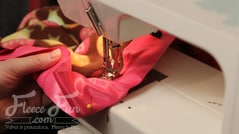
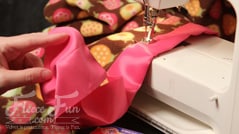
Once you have sewn to the edge of the fleece blanket. Take the binding and turn it and line it up with the next side (placing the fabric at the crease of the sating binding). The binding will naturally form a 45 degree angle where it turns to line up with the other side.

Take the folded corner and edge of the binding and fold it around the new side.

You might need to manipulate the satin binding a bit to fold properly. since it can easily slip out of place.

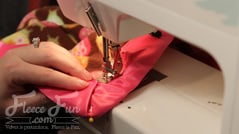
Make sure that the fold makes a right angle at the corner and looks tidy.
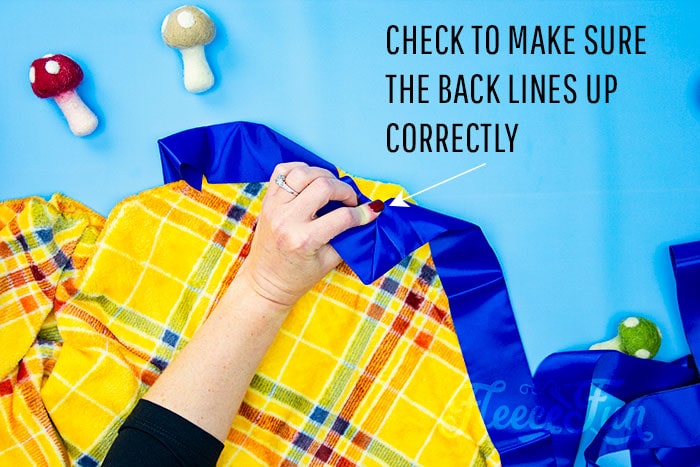
Double check the back to make sure that it also has a 90 degree angle and looks tidy.
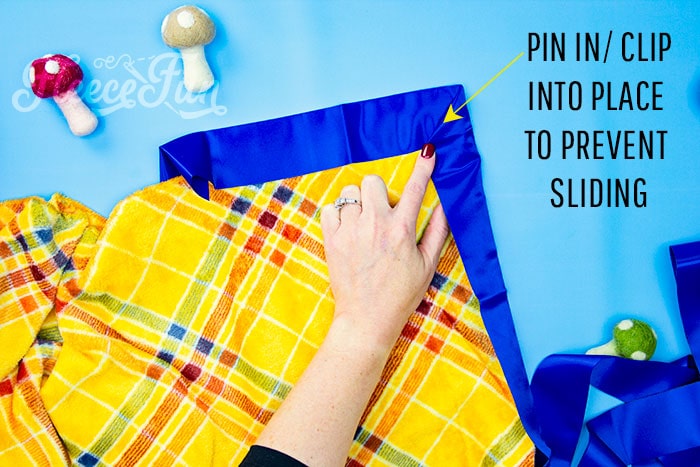
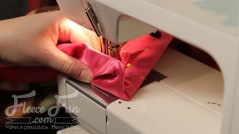
I recommend using pins sparingly in the satin binding – but on the corners it’s a good idea to pin into place to prevent sliding.
Continue to sew the blanket, repeating this process at each corner.
Step 5 – Finish the satin bound blanket

Once you come about 4 inches to the point where you began sewing on the binding, you have a couple of options on how to finish the blanket. There’s the easy version (spoiler: I chose this one) and the hard one (do at your own risk)
Hard version:
Cut off the excess binding, leaving enough to allow for the two ends to be joined ( similar to how we joined the two biding strips earlier).

Place right sides together.
Then sew across at a 45 degree angle and cut off the excess.
Sew the binding into place and it’s finished. My issue with finishing like this you have to get the ends just the right length or you’ll have too much or too little binding. So let me show you the easy way.
Easy version:
Cut off the excess leaving 2 inches to turn under.

Optional: CAREFULLY use a lighter to lightly singe the edge of the binding you just cut to prevent fraying.
The beginning of the binding ( the part that we didn’t sew down) turn the edge under a couple of inches.
Line up the binding so the folded edge wraps around the end of the binding – finishing it.
Sew the remaining unsewn binding into place. Finish your seam and trim your threads.
That’s How to make a Fleece Blanket with a Satin Binding (Mitered Corners).
More Fleece Blanket Tutorials:
- Hooded Fleece Blanket DIY (Child and Adult)
- No Sew Blanket Tutorial (with flannel!)
- How to Make a No Sew Tie Quilt
- How to Make a No Sew Fleece Tie Blanket (better method with templates!)
- Duvet Cover
- Stitch ‘n flip quilt
- Rag quilt (Easy Beginner’s Guide)
- How to crochet the edge of a Fleece Blanket
- Fleece Ribbon Throw
- How to use the Tie Blanket Ruler!
- You can see all of the blanket tutorials here
Additional Fleece Sewing Projects:
- Hooded Fleece Blanket
- Children’s Boutique Style Pants
- Fast Fleece Tie
- Women’s Fleece Vest
- Bow Ear Warmer Headband
- Headband with Ear Flaps
- Fleece Scarf with Pockets
- Red Riding Hood Cape
- Washable Duster
- Warm Mittens
- Quick Sew Hobo
- Child’s Fleece Robe
- Child’s Fleece Pants
- Fleece Vest Tummies and Tails
- Fleece Vest Monster Legs
- Fun Facts about Fleece

Classic version of how to make a fleece blanket with satin binding tutorial:
Step 1 – Prep the fleece for sewing
Cut off the selvages of the fleece. Make sure that all the edges are straight.
Step 2 – Make the satin binding long enough


To make the binding long enough to go all the way around the blanket. You will need to sew the two lengths of binding together. To make this as seamless as possible the binding will be sewn on and angle. Take both peices of binding and with right sides (slippery sides) together, sew together at a 45 degree angle across the two pieces. Snip excess.
Step 3 – Add the binding to the blanket


Depending on the brand of binding one side might be slightly longer than the other. The slightly longer side will go on the bottom of the blanket. Starting in the middle of one side of the blanket have the binding pinch the sides of the fleece. Using a wide zig zag stitch sew along the edge of binding
Step 4 – Make a Mitered Corner

There are two methods you can use on a corner. One is faster than the other. The faster method can have issues if it’s not done properly (the binding can become untucked). The fast way: stop of few inches from the edge fo the blanket, leaving the needle in fabric. Use a straight pin to hold the binding in place as you wrap it to make the turn around the corner. Fold the fabric so it makes mitered corner, pin in place continue sewing on the edge of the binding, turning at the corner and continue sewing. The slower option is sew to the edge of the blanket, finish the seam , then turn the corner. This will prevent the corner from getting untucked.
Step 5 – Finish the blanket


Once you come to the the point where you began cut off the excess leaving and inch to turn under. Continue sewing along the edge of satin to complete the binding. Finish your seam and trim your threads.
I loved this. I am 14 and this took me about 30 mins. to finish. It is in my high school colors and I LOVE IT!
Geneva –
That’s wonderful – keep sewing! It’s a skill that will serve you ( and others) throughout your life. 🙂
– Angel
Angel, thank you for including 2 ways to mitre a corner. I personally prefer the slower way. It seems to give me more control. After seaming a side, I can take the blanket off the machine, lay it out and mitre the corner. It really doesn’t take very long!
A suggestion: I would find it very helpful if your images were larger.
Thanks again!
Thanks for the great tutorial! I pulled the binding trying to attach it to my embroidery machine. It’s not snagged – the threads in the binding have separated and aren’t going back together very easily. Any suggestions for pushing those threads back together besides rubbing my fingernail across it? Thanks again!
Tricia,
I’m so sorry this is the struggle that is Satin – anything. I don’t have a solution – I really wish I did. The only thing can think of is unpicking that section and adding in new binding. Best of luck.