
Monster Finger Puppets Tutorial
This content contains affiliate links or sponsored elements, read our Disclosure Policy.
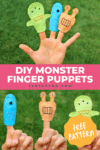
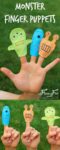


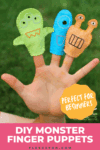
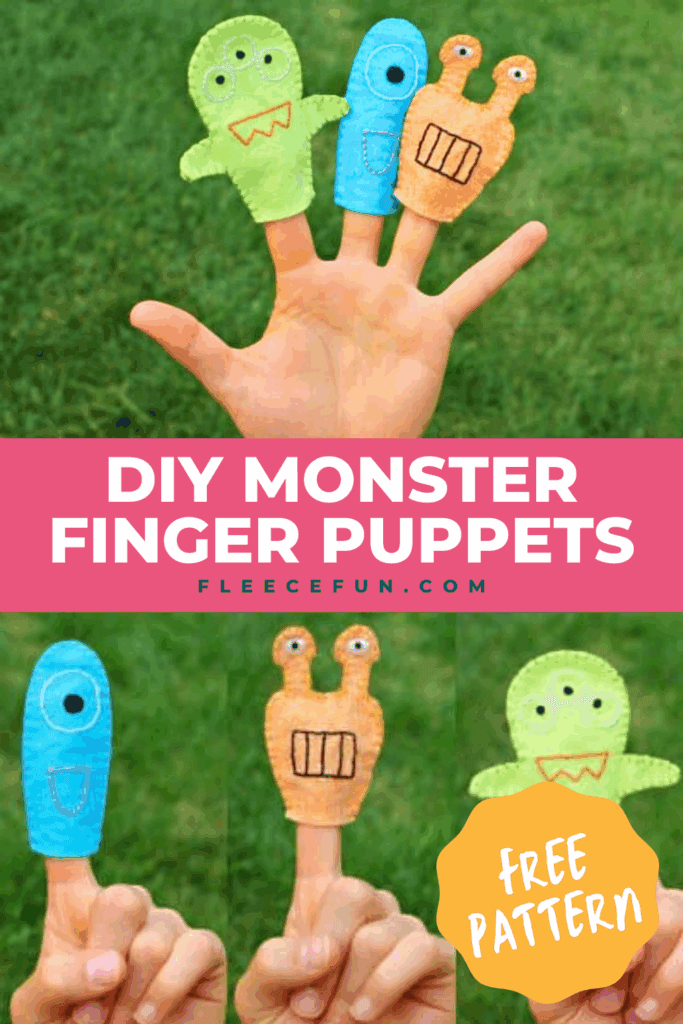
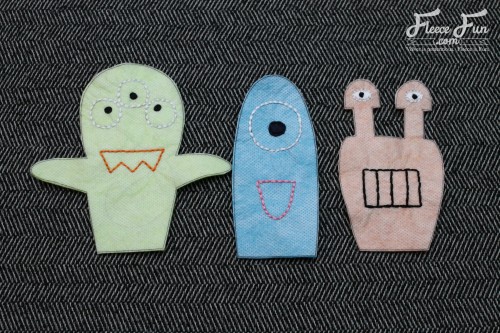
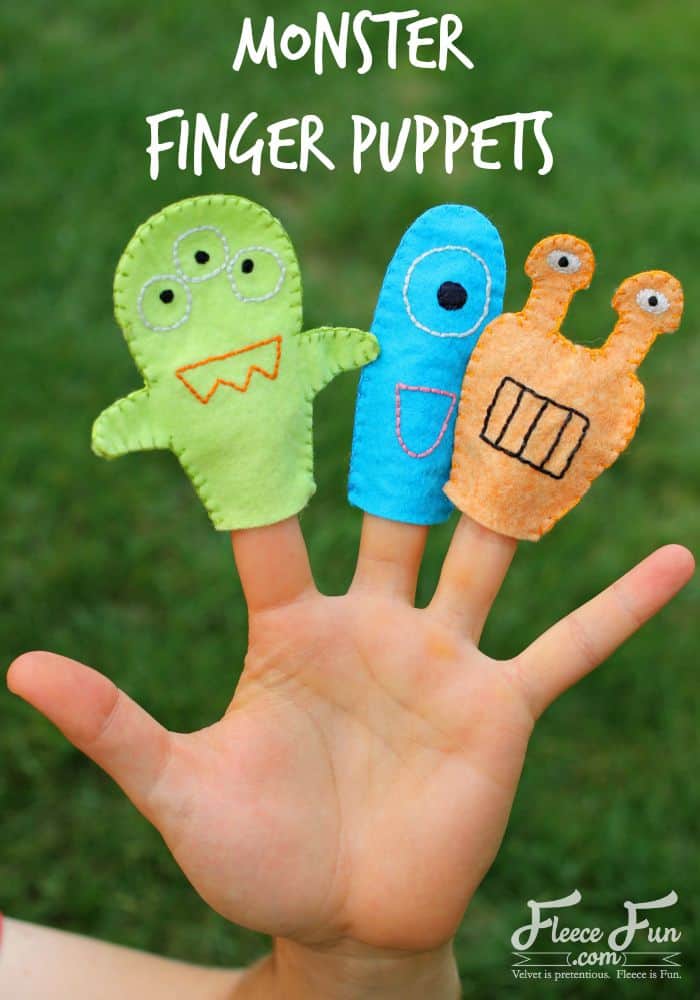
Monster Finger Puppets are quickly becoming a big hit around here; I love that they’re easy to slip into the diaper bag for distraction on the go. If your little one would rather look at the puppets as they make them move, they’re easy to slip on to a pen or pencil too. Making up stories and play-acting are great winter activities when you’re stuck inside, so sew up some monsters and stick them in someone’s stocking this year!
Hi, I’m Stephanie and I blog at Swoodsonsays.com about sewing and crafts for myself and my kids. With two kids, I’m all about short and easy projects that are fun to make. It’s even better when they entertain those kids once I’m done! Handmade toys are my favorite thing to sew; there is something special about seeing kids play with something you’ve made.
YOU WILL NEED:
- Printable Fabri-Solvy Sheets (or other transfer method)
- Printed PDF pattern of monsters. Get it here!
- White, black, orange, & pink embroidery floss
- Embroidery needle
- Scissors
- Fabric marking pen
- 3 different colored felt sheets (I recommend wool-blend felt, it sews up much better than the acrylic, cheap stuff!)
Monster Finger Puppets sewing tutorial:
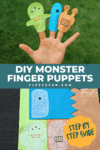
Step 1 – cut out the pattern

Print out the pattern on to the Fabri-Solvy, cut out a rough outline around each monster and stick it to the felt.
Step 2 – embroider the monster puppet faces

Embroider the faces! I used a simple backstitch for all the shapes and a satin stitch to fill in the eyes. Wool blend felt has great body, no need to use a hoop.
Step 3 – cut the monster bodies
Use sharp scissors to cut carefully around the monster bodies. Peel/cut off the excess fabri-solvy where large chunks remain, and then swish the monsters in warm water to dissolve the remaining stabilizer. Let dry. You now have the front piece of the Monster Finger Puppets.
Step 4 – make the back of the monster puppets
Lay the monsters back on the felt sheet and use a fabric pen to trace around it, cut out the second body.
Step 5 – sew and finish the monster puppets
Choose coordinating embroidery floss and lay the monsters wrong sides together, blanket stitch around the edges and you’re done!
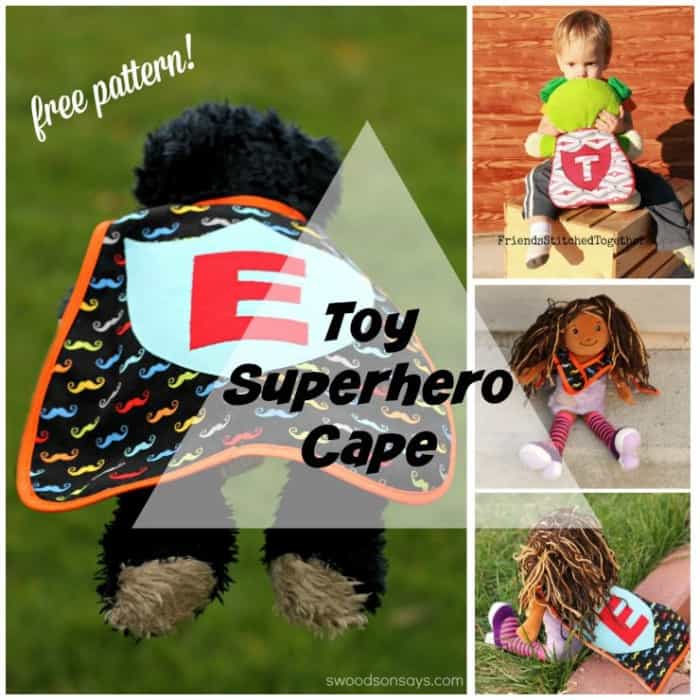
Once you’ve made some monsters, get more inspiration and get busy. I share lots of tutorials and patterns on my blog – you might want to check out my DIY Buckle Toy Tutorial, Toy Superhero Cape, and Little Photographer Camera. Hope you have the opportunity to sew up some fun for the kids in your life this holiday season!
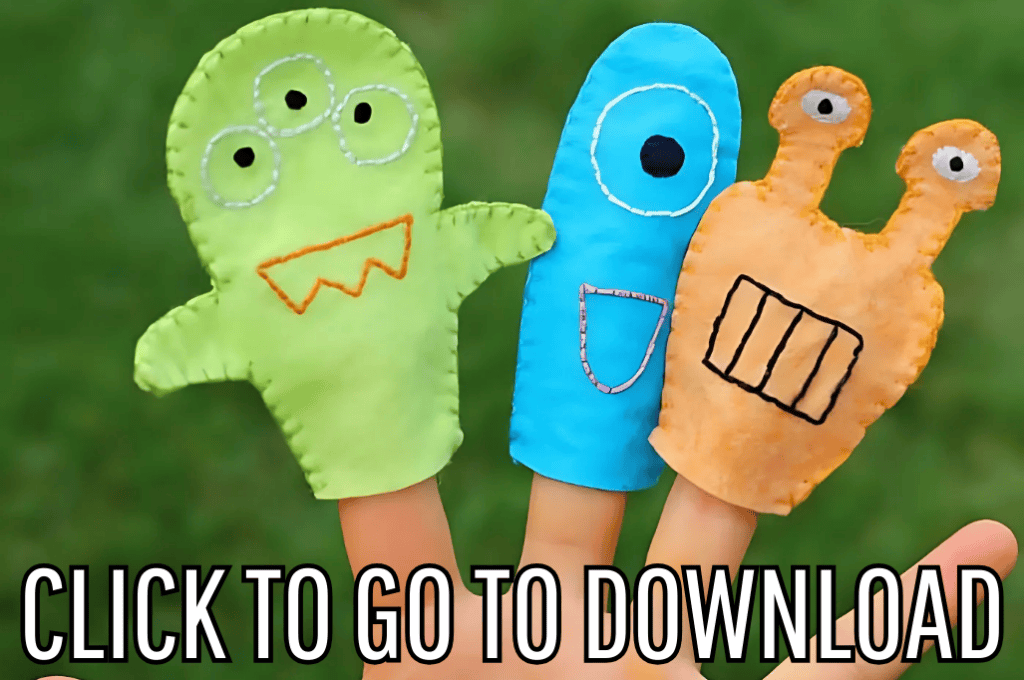
Download free Monster Finger puppets pattern by filling out the form below:
By downloading you are agreeing to pattern terms of use. Click the image below to go to the download form. Or click here.
Fun Baby Softies and Toy Tutorials:
- Monster Softie Pattern (Free)
- Ladybug Softie
- Sunshine Softie – Free Baby Toy Sewing Pattern
- ABC Baby Blocks Free Pattern and Tutorial
- Softie Book Baby Toy Tutorial
- How to Make a Softie Baby Block
- Fun Felt Guitar Softie Toy (Free Pattern)
- Easy Block Pillow Tutorial
- Pumpkin Finger Puppet Tutorial
- Toddler Bean Bags – Handmade Gift Idea by Chrissy from Muse Morning
- Fleece Eggs and Fleece Basket Pattern
- Kawaii Candy Corn Softie
- Reindeer Softie
- My Little Pony Inspired Stick Ponies
- DIY Nursery Wall Hanging – Lovely Rainbow with Cloud
- You can see more of my Doll and Toy Patterns here!
More Adorable Baby Projects!:
- Baby Bib Tutorial – A Handmade Gift Idea by Ula from Lulu Celeste
- Baby Car Seat Cover or Tent with Window How-To
- Waterproof Diaper Changing Mat Tutorial
- How to Make a Child Cape or Car Seat Poncho (Free Pattern)
