
DIY Nursery Wall Hanging Lovely Rainbow with Cloud
This content contains affiliate links or sponsored elements, read our Disclosure Policy.
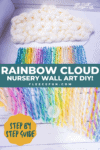
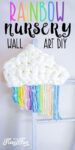
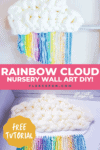


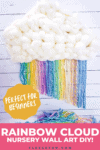
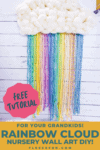
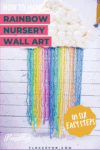
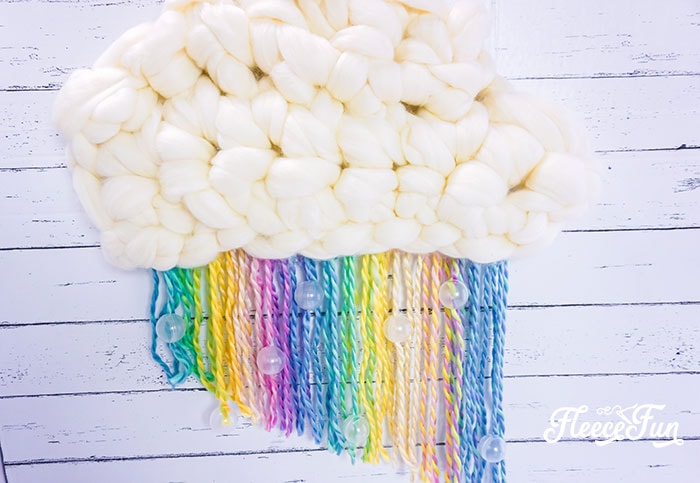
This DIY Nursery Wall Hanging Lovely Rainbow with Cloud comes together with a few supplies. Perfect for a nursery or playroom this adorable piece is perfect for adding texture of color to a wall. This wall hanging is a perfect way to add a little splash of rain and sun into your décor.
YOU WILL NEED:
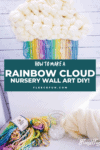
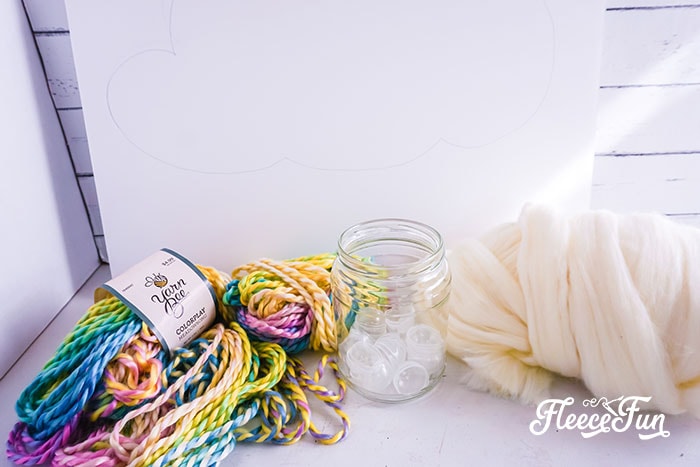
Supplies
- White Foam Core Board
- White Merino Wool Yarn
- Rainbow Colored Yarn
- Clear Plastic Balls
- Floral Wire
Tools
- Pencil
- Hot Glue Gun & Glue
- Exacto Knife

DIY Nursery Wall Hanging Lovely Rainbow with Cloud Instructions:
Step 1 – Make the Cloud Backing
Draw a large cloud shape on your foam core board. Make it as large as you can on one end.
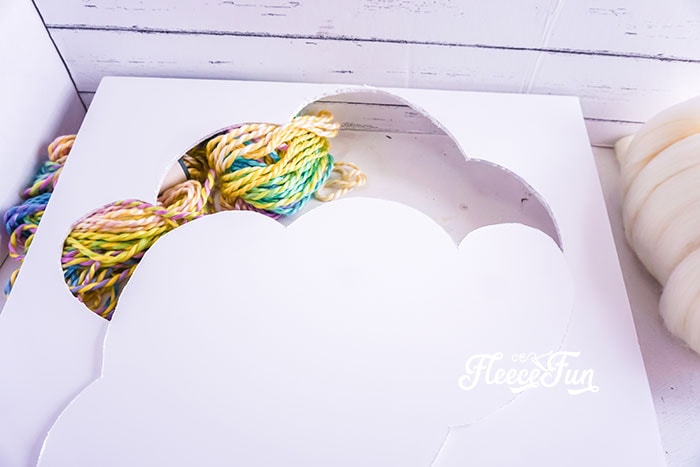
Cut out the cloud shape from the foam core board.
Step 2 – Prepare the cloud for your Nursery Wall Hanging
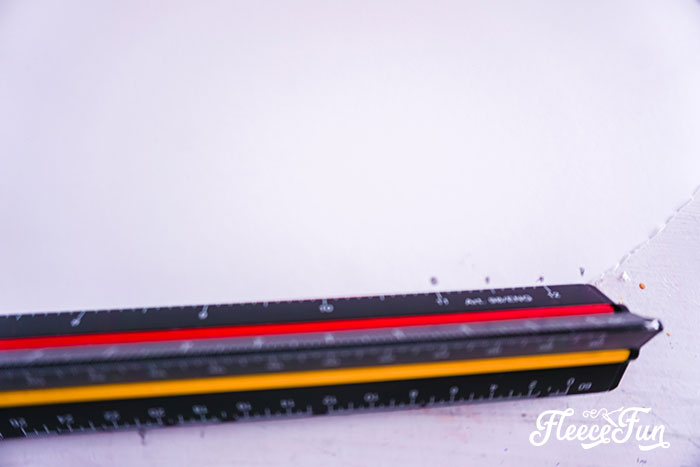
Using your exacto knife, poke 10-15 holes along the top and side edges of your foam cloud shape.
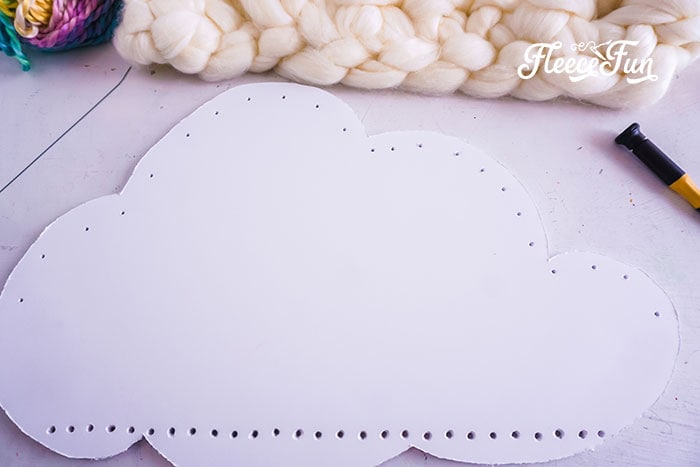
Poke 1 hole every ½ inch along the bottom of the foam cloud shape.
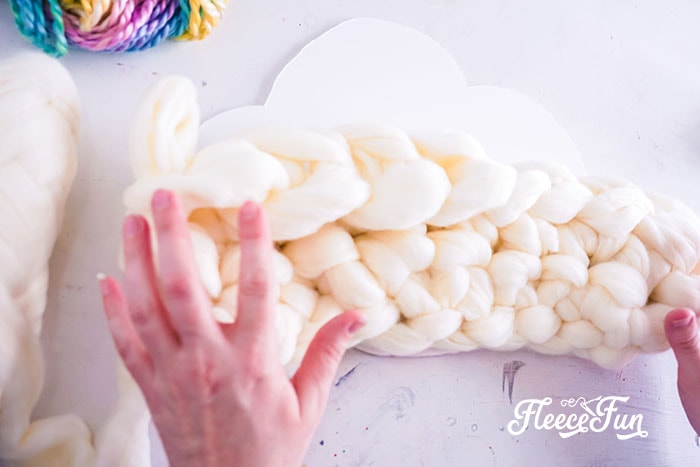
Step 3 – Make the Cloud Crochet Top
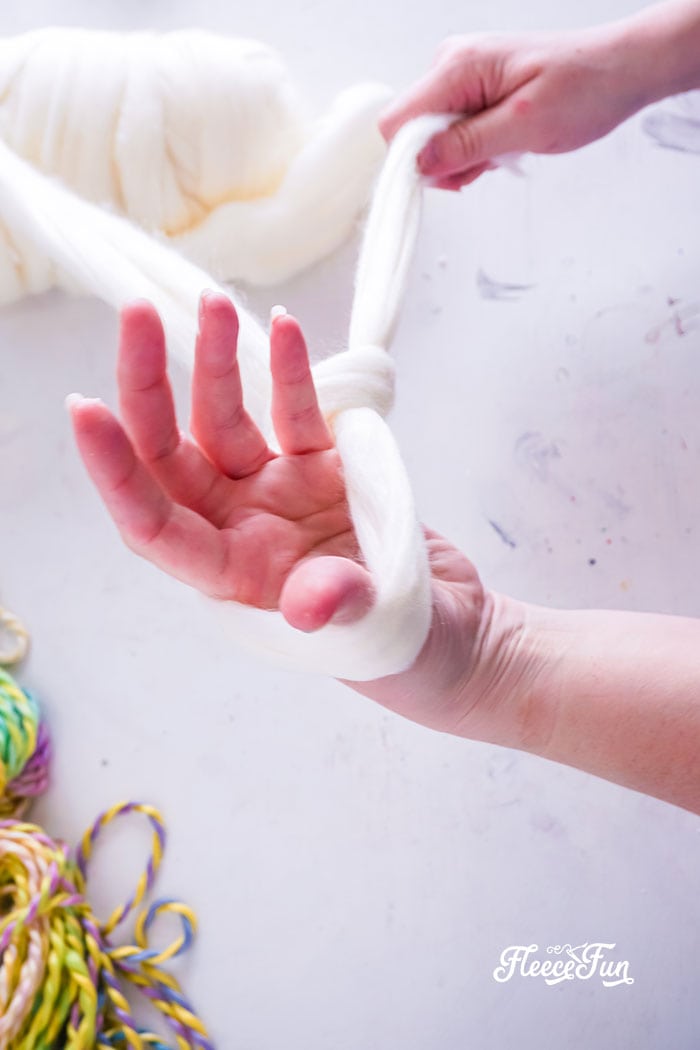
Using the yarn, make a slipknot in one end, with a loop large enough for your hand.
With your hand in the loop, pull through a loop. Repeat 10 times for a total of 11 chains (this is similar to crochet – making a chain , except our hand in the hook!.
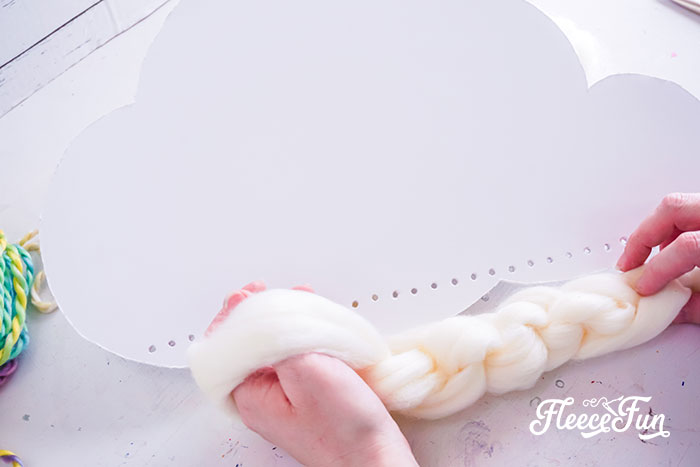
Make sure these 11 chains cover the bottom of your wall hanging. If it’s too long, pull out (frog) enough chains to just fit. If your chain is too short, add loops to the chain.
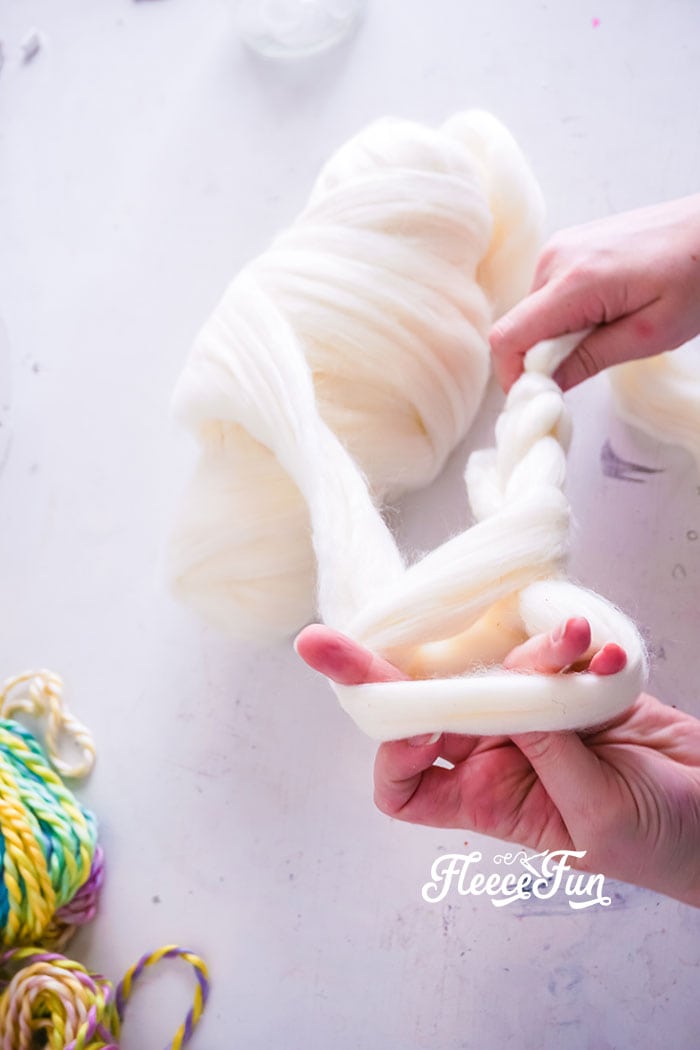
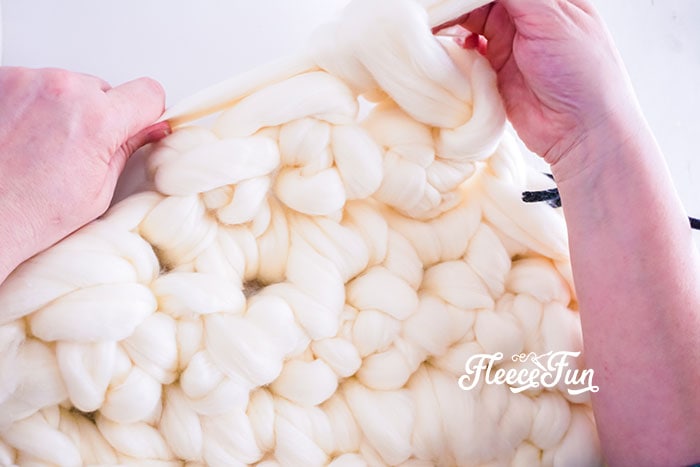
Turn the chain and slip your hand into the next chain from the loop in which your hand already is in.
Pull through the chain, then with the loop still on your hand, plus the one you had before, pull through a loop again, but this time pull through both loops.
Repeat 10 times.
Make sure this is long enough to fit your cloud.
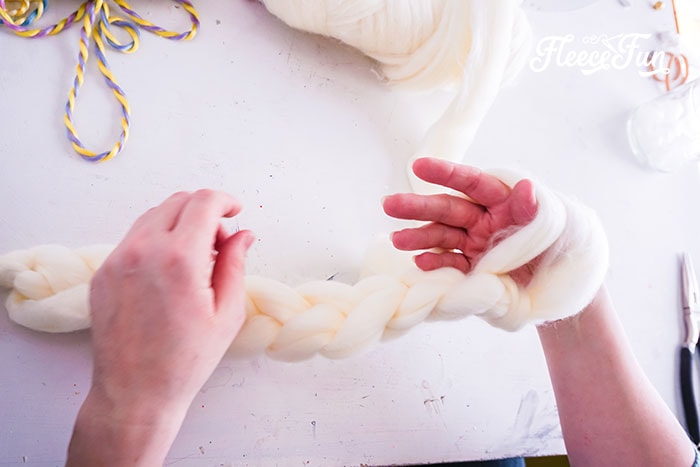
Turn and repeat the last row (set of pull-throughs), reducing by skipping a stitch or ending the chain, increasing by adding a chain to the end of a row, as necessary to fit your cloud shape.
When you have hand-knitted enough to cover your cloud shape, cut the end off of the yarn with about 6-inches of excess length, then pull this through the last loop, making a knot.
Turn the piece and weave-in the tail.
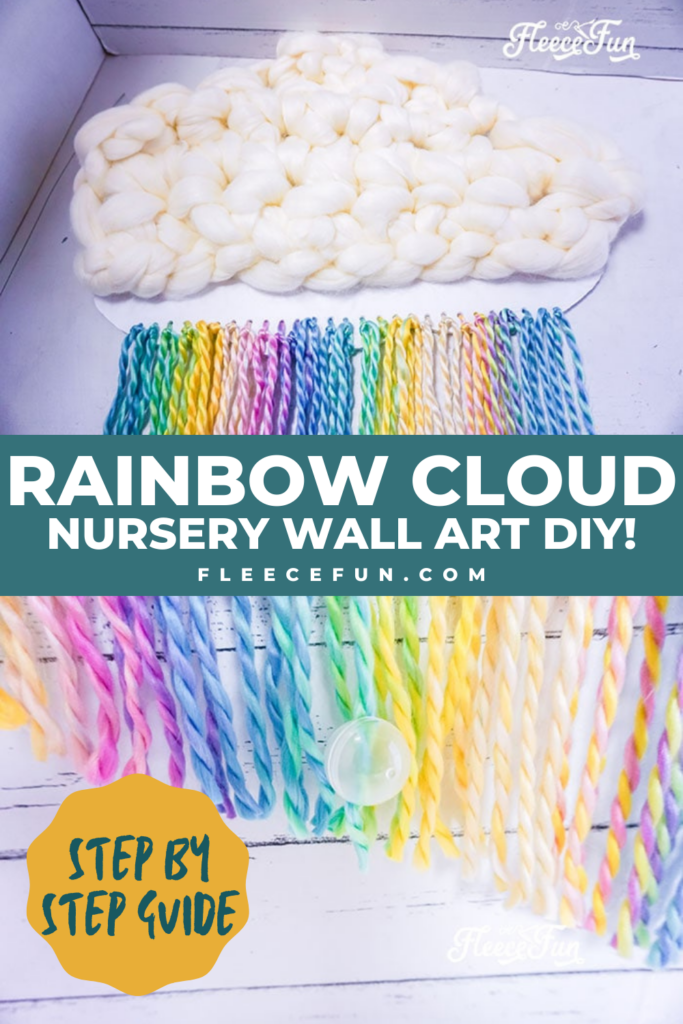
Step 4 – Make the Rainbow for your wall hanging
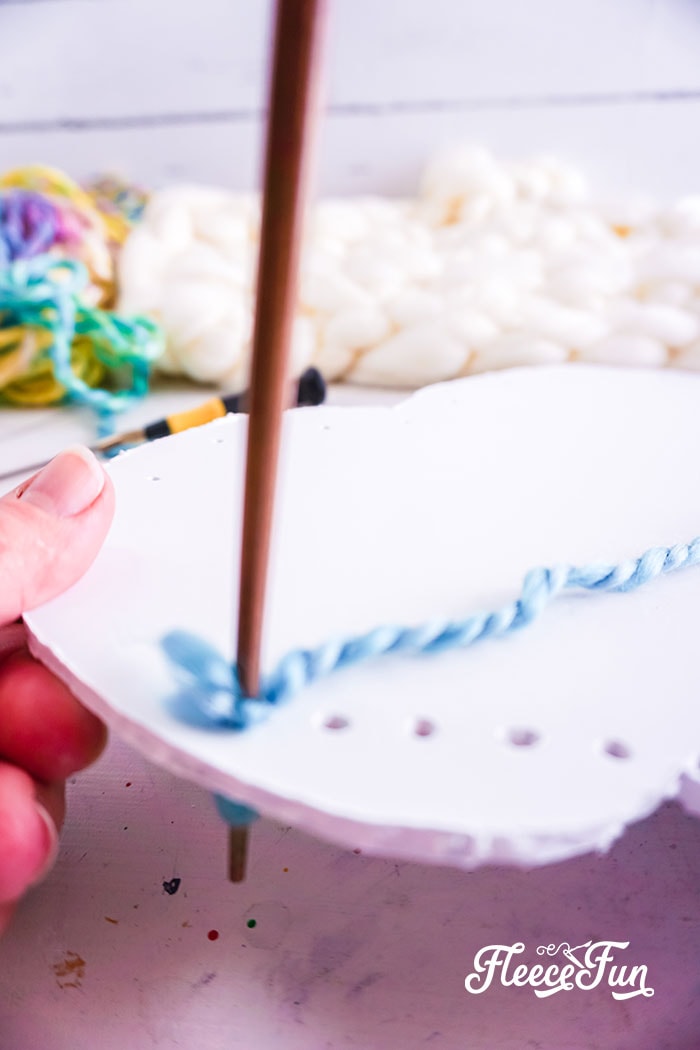
Thread a piece of rainbow colored yarn through each of the holes on the bottom of the foam cloud shape, about 18-24 inches in length, folded in half.

Tie a knot on each side of each piece of yarn, against the foam cloud shape.
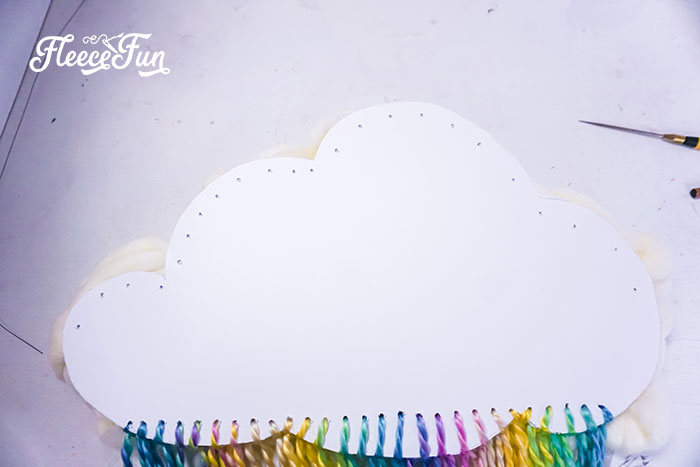
On the backside of the foam cloud shape, hot glue the yarn in place.
Step 5 – Anchor the Cloud
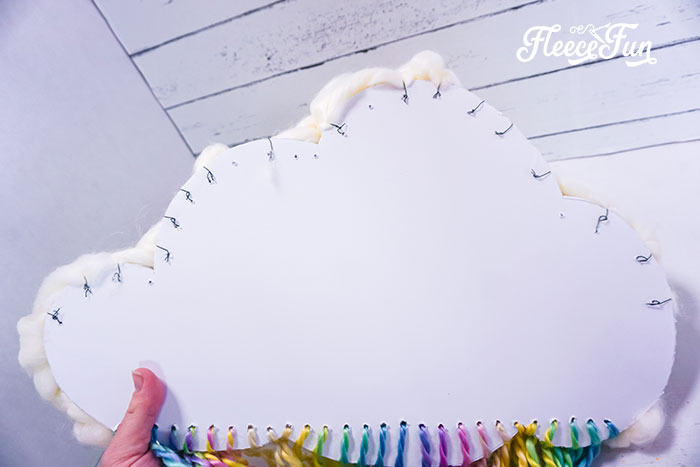
Thread a piece of floral wire through each of the top and side holes, using the floral wire to hold the yarn cloud shape onto the foam cloud shape.
On the backside of the foam cloud shape, hot glue the floral wire in place.
Step 6 – Finish up the diy Nursery Wall Hanging
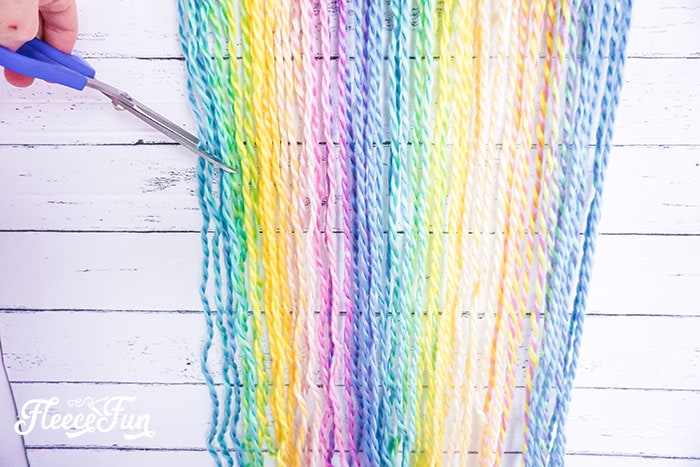
Cut the rainbow yarn in a diagonal line from one side to the other.
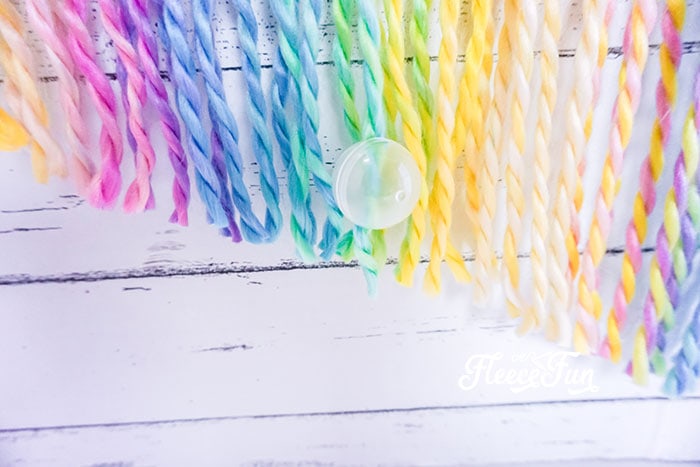
Affix 10-15 clear plastic balls randomly throughout the rainbow yarn.
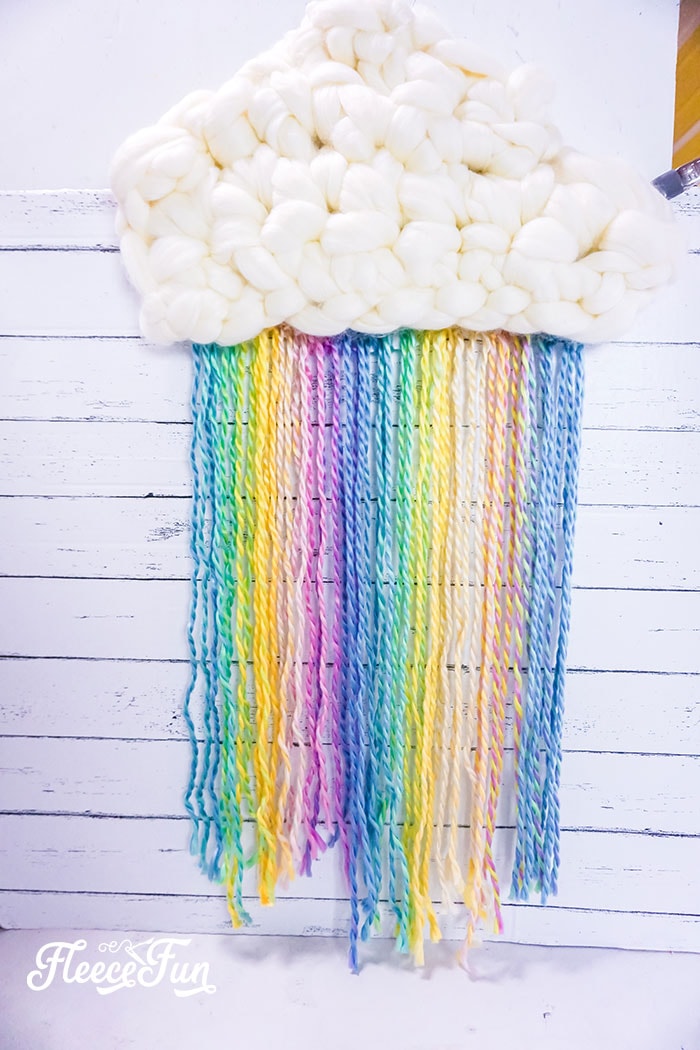
Attach a length of floral wire or yarn to the top of the cloud to hang it and enjoy!
See More of Our Saint Patrick’s Day Crafts
- St. Patrick’s Day Decor: Easy Upcycle Book Craft
- DIY St. Patrick’s Day Decor: Easy Ombre Shadow Box
- Easy Leprechaun Hat Decor
- St. Patrick’s Day Clover Button Art Tutorial
- St. Patrick’s Day Printable Box (Free)
- Free St. Patrick’s Day Printable: One Lucky Coin
- Chic Shamrock Hair Clip
- All of my Holiday Projects: Saint Patrick’s Day
Fun Baby Softies and Toy Tutorials:
- Monster Softie Pattern (Free)
- Sunshine Softie – Free Baby Toy Sewing Pattern
- ABC Baby Blocks Free Pattern and Tutorial
- Softie Book Baby Toy Tutorial
- How to Make a Softie Baby Block
- Fun Felt Guitar Softie Toy (Free Pattern)
- Easy Block Pillow Tutorial
- Monster Finger Puppets Tutorial
- Toddler Bean Bags – Handmade Gift Idea by Chrissy from Muse Morning
- Fleece Eggs and Fleece Basket Pattern
- Reindeer Softie
- My Little Pony Inspired Stick Ponies
like this Nursery Wall Hanging? see More Baby Projects!
- Free Baby Burp Cloth Pattern
- Easy Baby Burp Cloth Tutorial
- Traditional Basic Fleece Baby Car Seat Cover or Tent Tutorial (DIY)
- 7 Tips for a Perfect Printable Fabric Transfer
