Craft Room Hanging Organizer Tutorial
This content contains affiliate links or sponsored elements, read our Disclosure Policy.


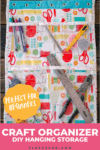
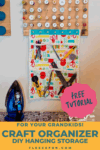
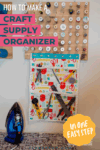
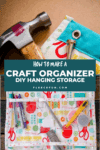
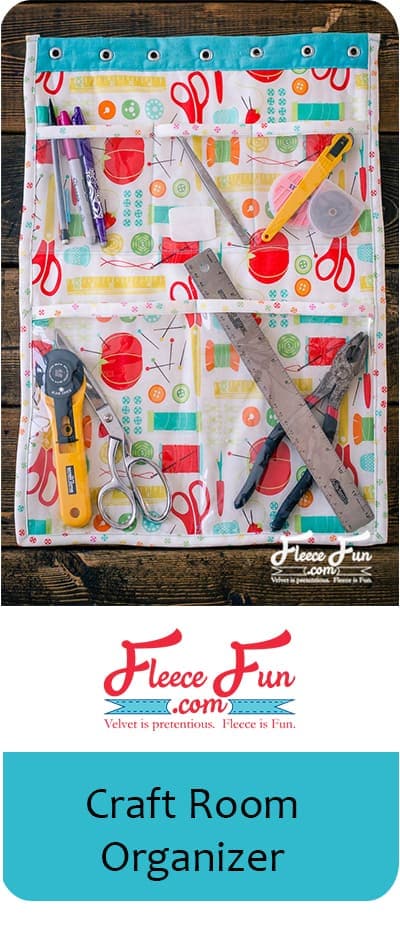
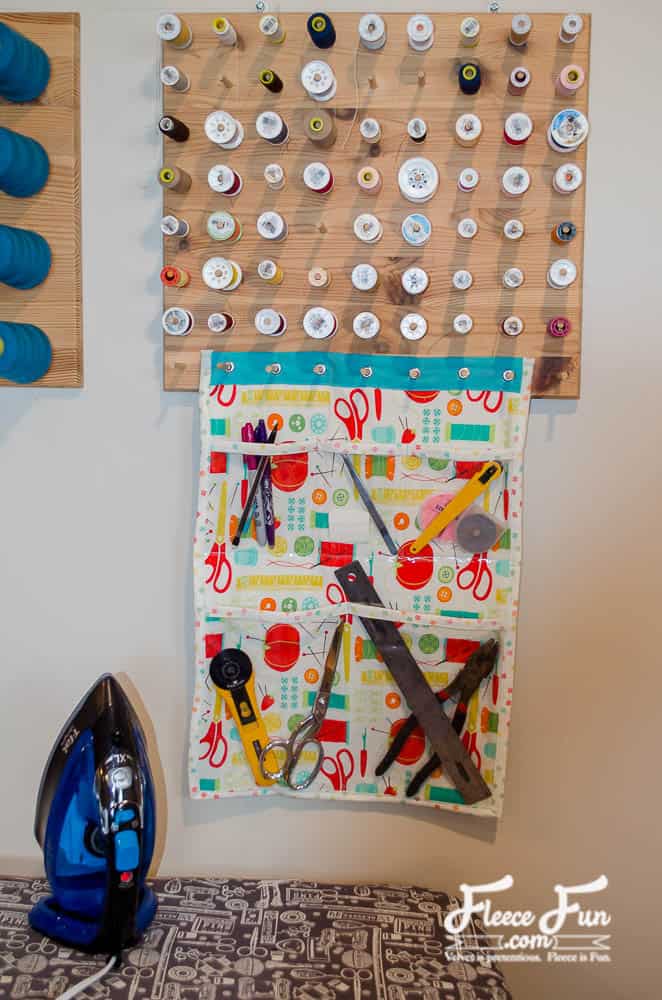
This easy to make craft room hanging organizer tutorial is perfect for storing materials. With clear pockets and cute fabric you can see your tools and decorate your sewing / craft space!
YOU WILL NEED:
- bias tape (make it yourself or buy premade)
- spray adhesive of main fabric
- fat quarter of batting
- spray adhesive of backing fabric
- small piece of medium gauge vinyl
- grommets for hanging
- optional: spray adhesive
- Sewing Essentials (scissors, pins, etc.)
Craft Room Hanging Organizer Tutorial
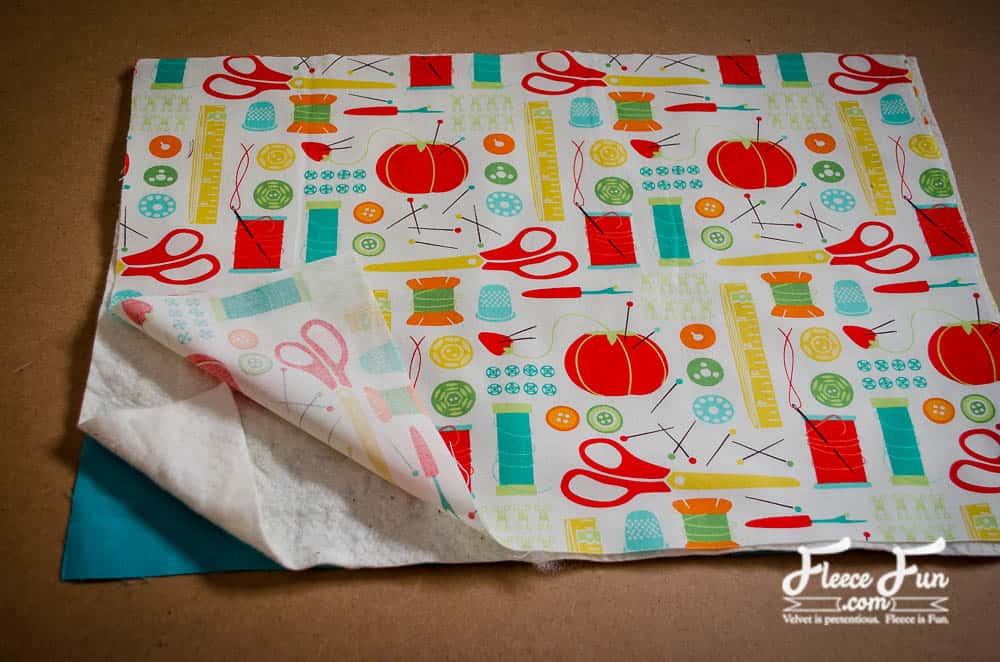
Step 1 – Cut and Layer the Fabrics
Cut a rectangle 14″ x 20″ out of the backing, batting, and main fabric. Optional: use spray adhesive to keep the layers together as you sew.
Cut two rectangles out of vinyl (one 5″x 14″, one 9″x 14″). Finish one 14″ edge with bias tape.

Step 2 – Create the pockets for your Craft Room Hanging Organizer
Align larger vinyl rectangle with the bottom edge of the main panel. Baste it in place along the side and bottom edges to form a pocket. Place the smaller vinyl rectangle 2″ above the lower pocket. Sew around the two sides and bottom.
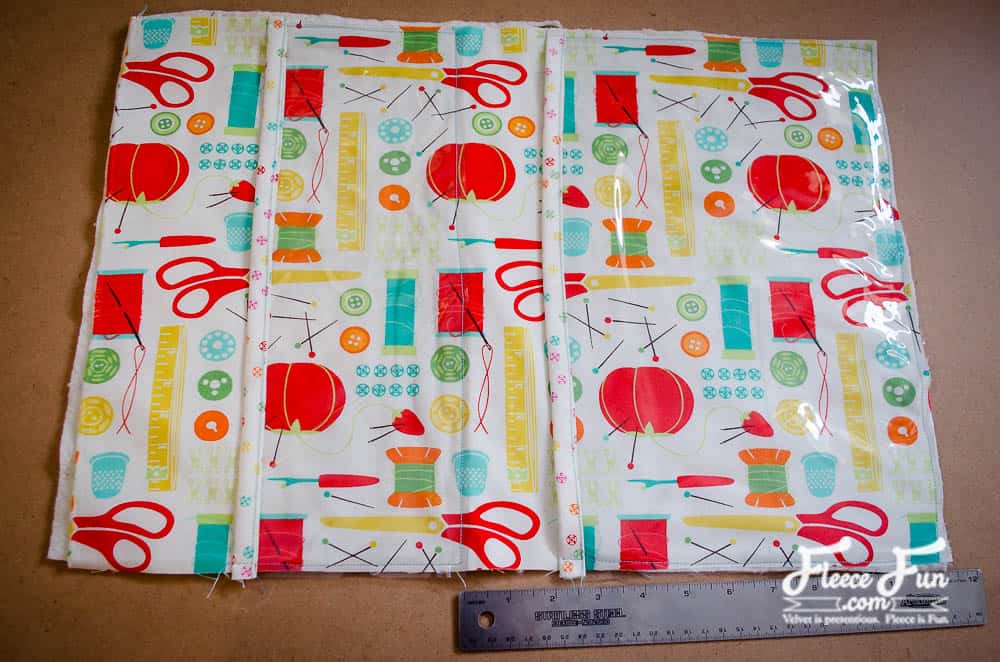
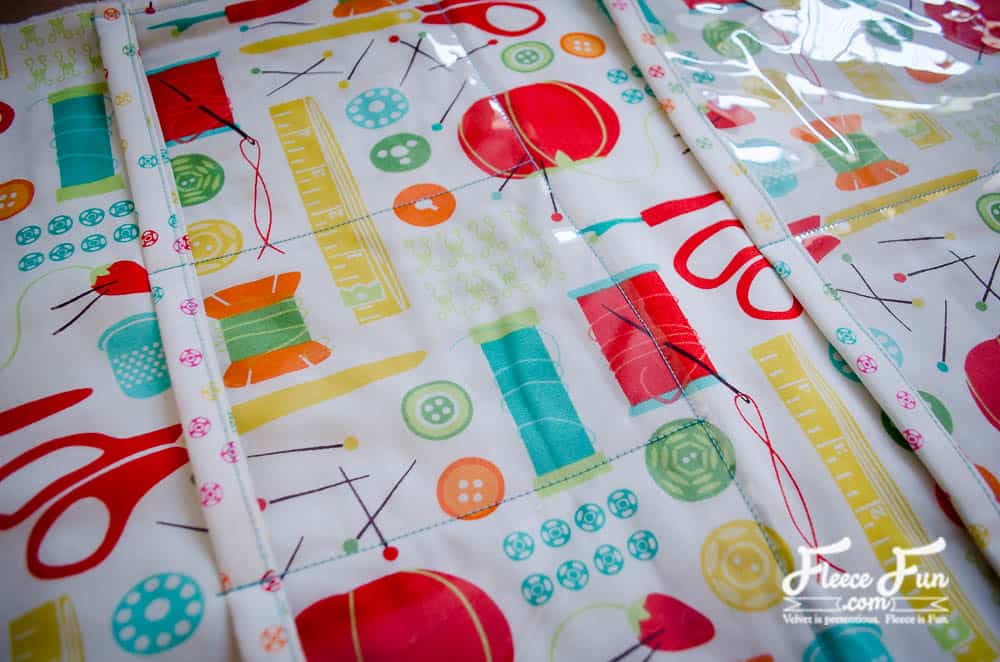
Divide the smaller pocket into three with 2 lines of stitching. Be sure to backstitch well at the top of the pocket. Divide the larger pocket into 2 in the same manner.
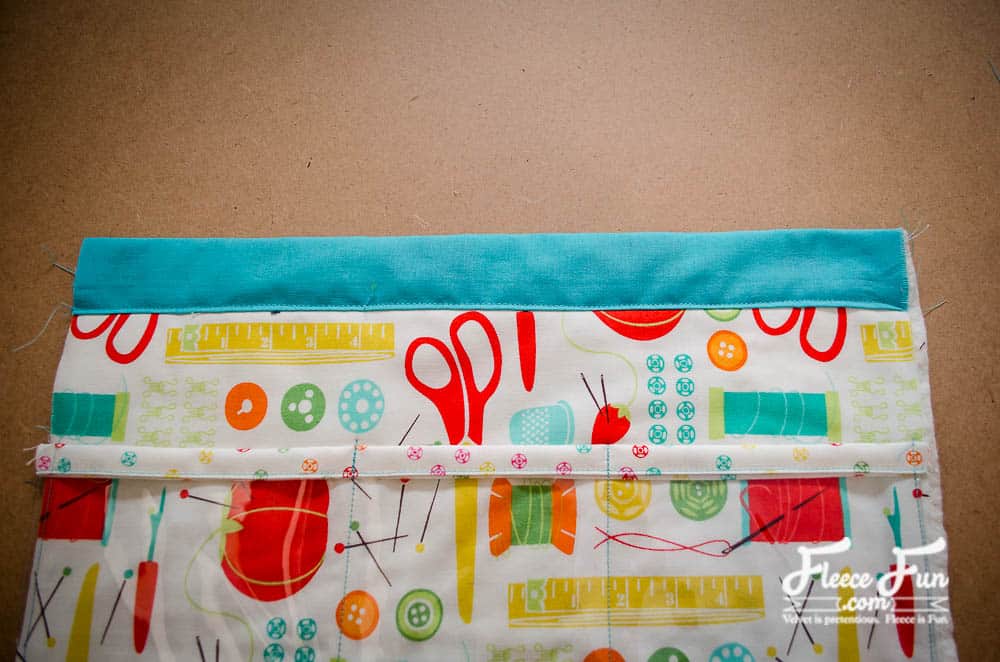
Step 3 – Add the Top Strip and Finish the Edges
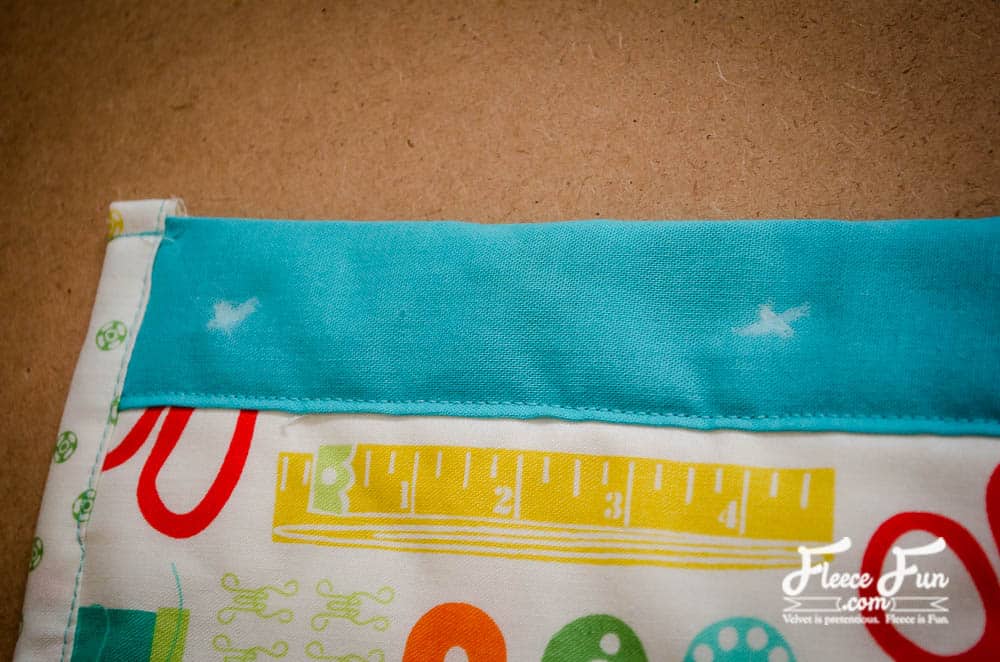
Cut a strip of backing fabric 4″ x 14″. This will be the topper of the organizer. Fold under each long edge by 1/2″. Fold a crease down the middle.

Sandwich the topper over the top of the Craft Room Hanging Organizer. Stitch in place close to the folded edge.
Step 4 – Finish the Edges
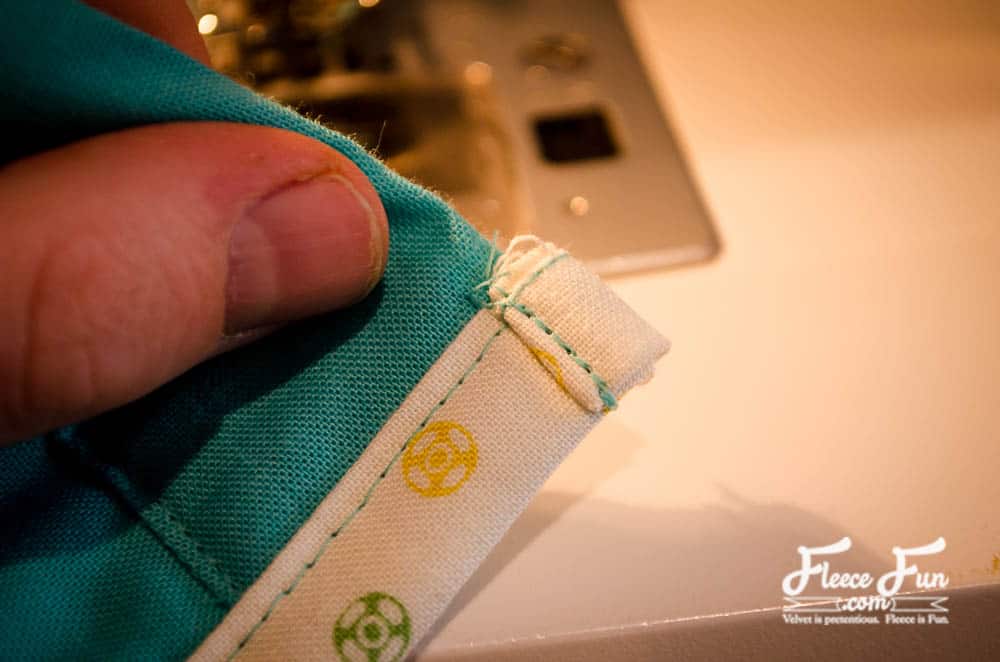
Finish the remaining three raw edges with binding. Leave a 1/2″ tail at the beginning and the end.
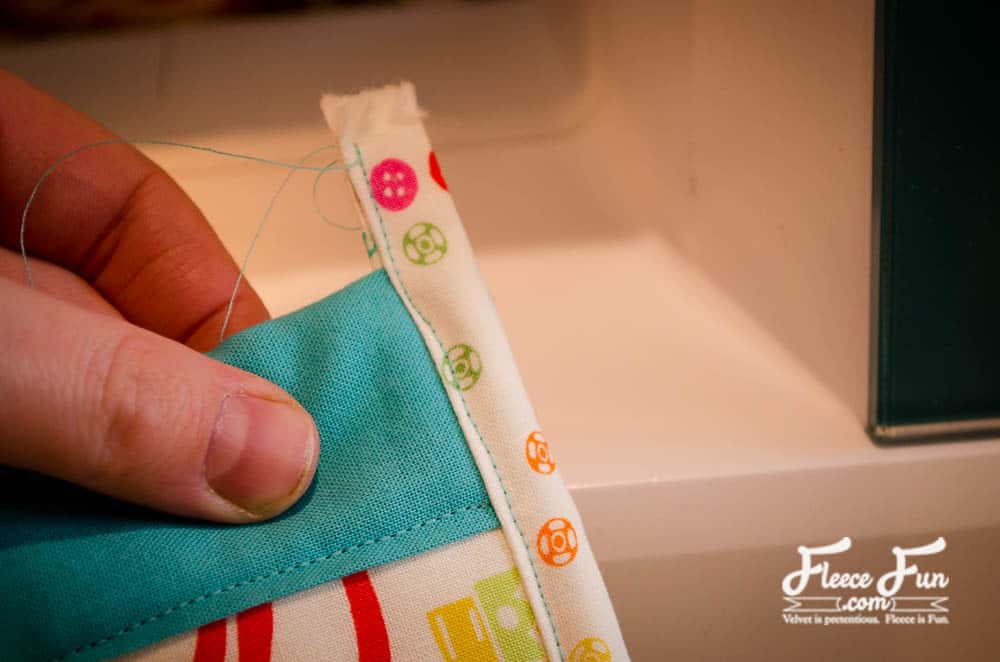
To create a nice mitered corner, stop stitching 1/2″ before the corner.

Fold the binding over to create the angled corner.
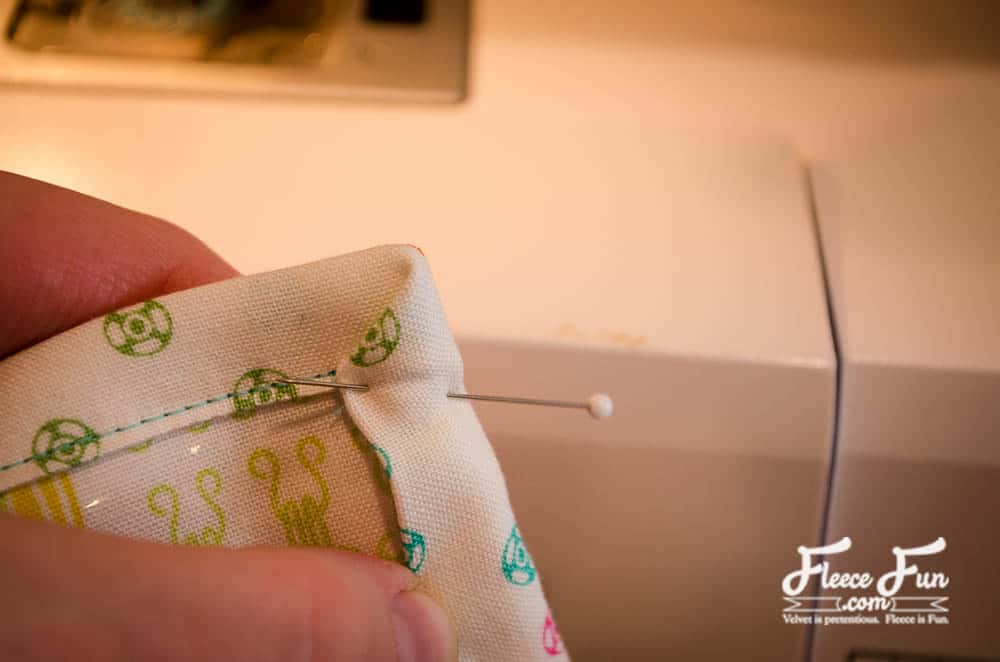
Stitch along the angle and pivot to continue applying the binding. Repeat with the second corner.

Finish the tails by folding over twice to the back side and stitching in place.
Step 5 – Add Grommets or Hanging Loops
Mark the placement of your grommets for the hanging organizer. I chose to do 7 approximately 1.5″ apart to line up with the pegs of my thread holder. Alternatively, you can hang it on peg board, or use command hooks to attach it to the wall.
Apply the grommets according to the manufacturer’s directions. Buttonholes would also work if you do not want to do grommets.

Hang the Craft Room Hanging Organizer up, fill it up, and enjoy!
love this Craft Room Hanging Organizer? see More tutorials for Organizers!
- Origami Fabric Basket Tutorial
- IKEA Fabric Stool
- How to Make a Binder Pouch Tutorial
- Sewing Machine Mat Tutorial
- Ribbon Book Mark
- How to Make a Giant Pegboard for Your Craft Room
- Cricut Maker Cover Tutorial
- How to Make a Pin Cushion Tutorial (Bracelet Style)
- Cute Trash Can DIY Craft Room Decor
- Make Giant Buttons Wall Decor
- Tips on How to Paint Stripes on Walls
- Painting a Chalkboard Wall – 5 Things to Know
- See all of our Organizer Tutorials
Love these Craft Room Makeovers and Decor Ideas!
- Craft Closet Organization: The Ultimate Guide
- Sewing Room Ideas: My Studio Makeover (Part 1 of the Makeover Series)
- How to Choose Colors for Your Sewing Studio (Part 2 of the Makeover Series)
- Sewing Room Ideas: How to Pick Furniture (Part 3 of the Makeover Series)
- Cute Craft Room Decor Ideas (Part 4 of the Makeover Series)
- Craft Room Ideas: Makeover Final Reveal (Part 5 of the Makeover Series)
- Honest Craft Room Tour!
- See all Studio Space and Decor Tutorials!