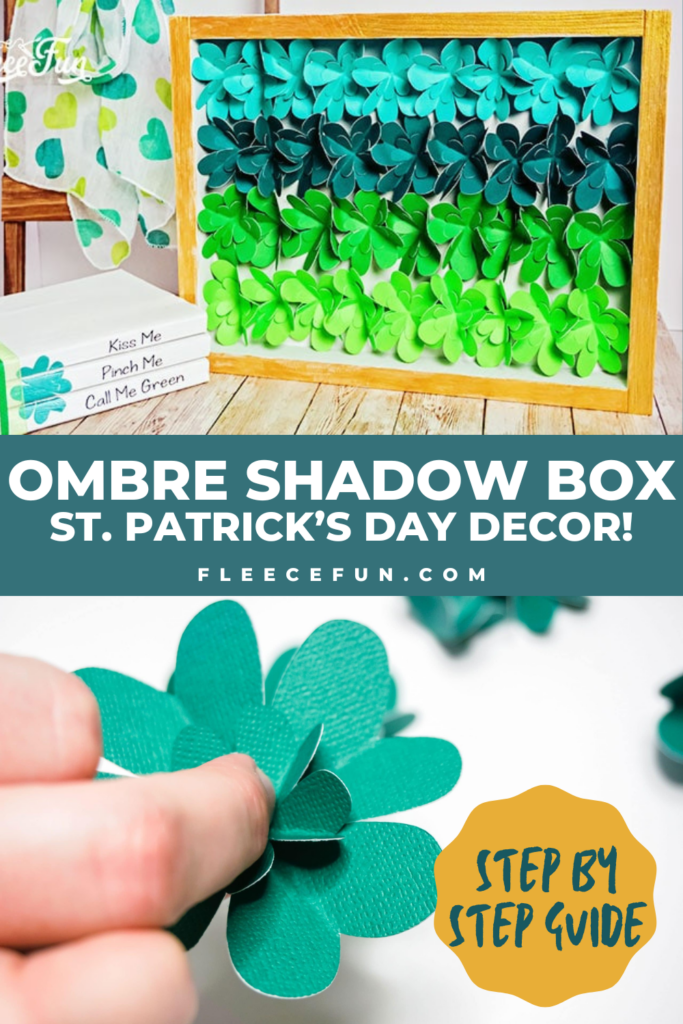
DIY St. Patrick’s Day Decor – Easy Ombre Shadow Box
This content contains affiliate links or sponsored elements, read our Disclosure Policy.


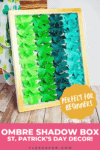
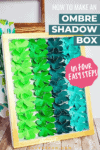
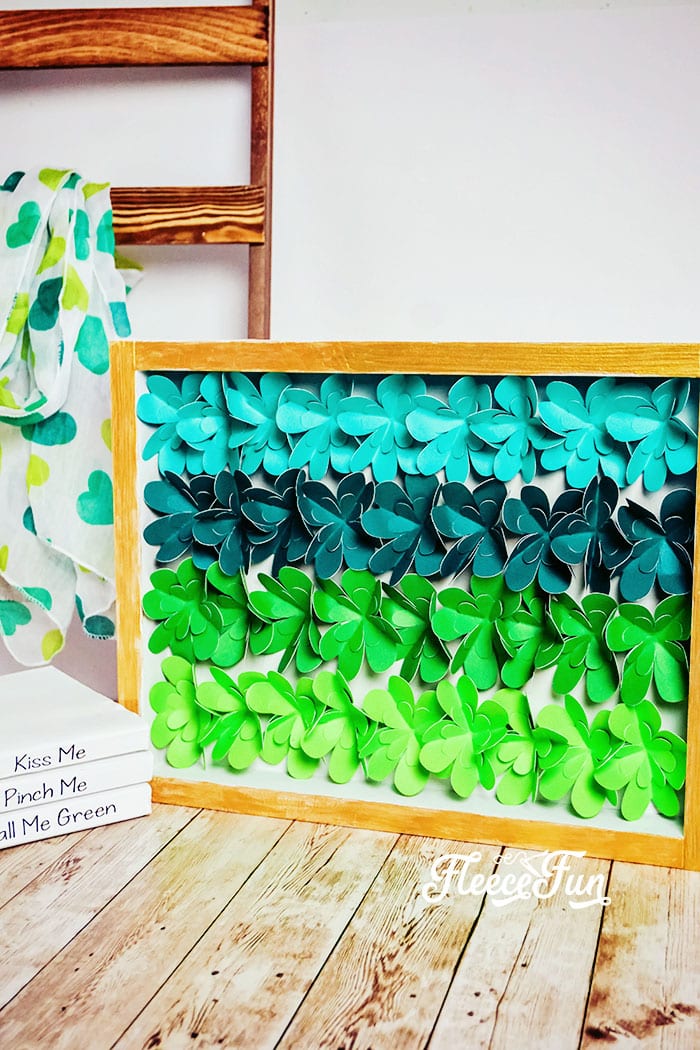
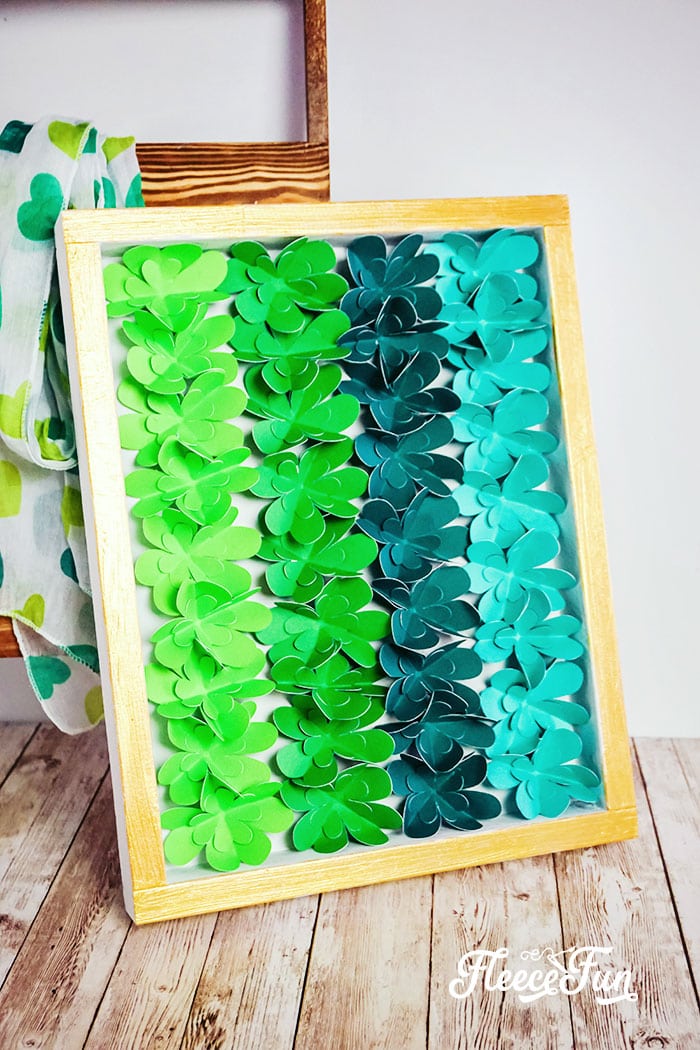
This adorable and easy to make DIY St. Patrick’s Day Décor is perfect for celebrating lucky clovers and green. With a few simple materials this shadow box is perfect for a mantle or front hall piece to celebrate the Irish holiday.
YOU WILL NEED:
Supplies
- Wood Frame with 1-inch deep (or more) inset
- 4 Sheets 12×12 Cardstock Paper in a Gradient of Green Colors
- White Chalk Paint
- Gold Craft Paint
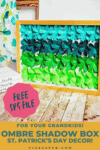
- Get the free SVG file here.
Tools
- Hot Glue Gun and Glue
- Paintbrush
- Cricut
- Light Grip Mat
DIY St. Patrick’s Day Decor – Easy Ombre Shadow Box Instructions
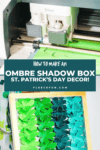
Step 1 – Prep the Frame
Paint the shadowbox with the white chalk paint. Allow paint to dry fully.
Paint the front edge of the shadowbox with the gold craft paint. Allow paint to dry fully.
Step 2 – Cut out the Items on the Cricut
Download the DIY St. Patrick’s Day Décor cut file and upload it to Design Space.
Duplicate the two clover shapes 9 times.
Select “Make It”.
Select cardstock as your material.
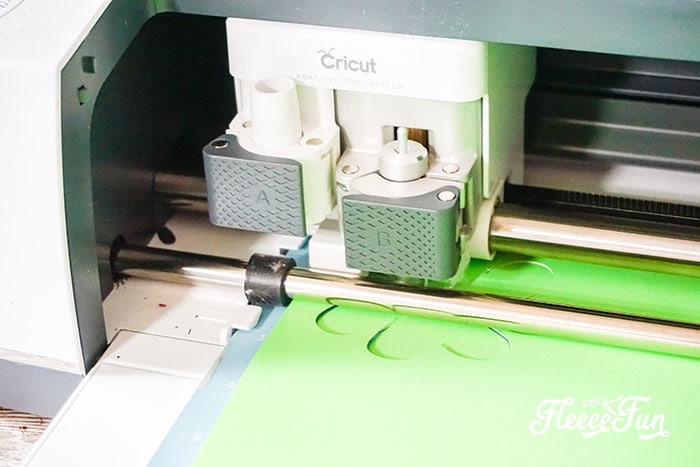
Place first sheet of cardstock on the light grip mat.
Feed light grip mat into the Cricut and tell it to cut.
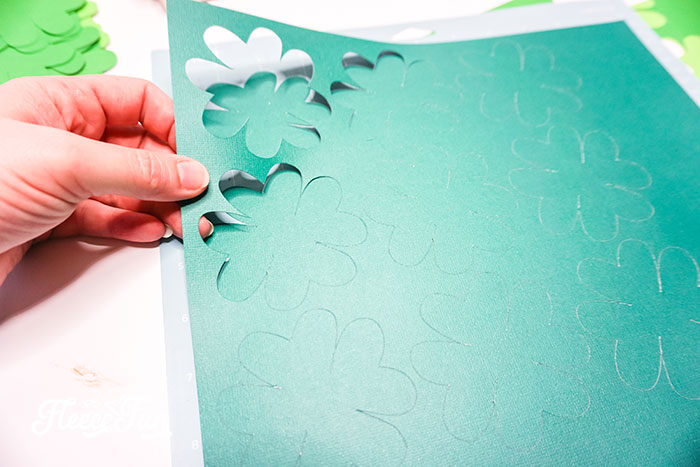
Weed unnecessary paper bits.
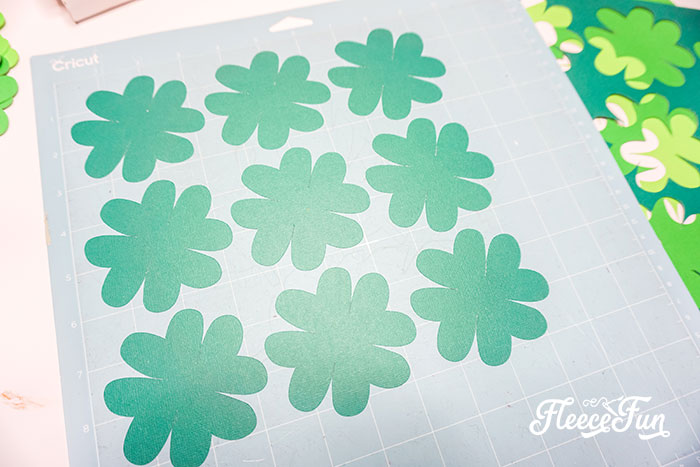
Repeat with all 3 remaining sheets of paper. You should have 9 large clovers and 9 small ones in 4 different colors.
Step 3 – Fold the St. Patrick’s Day Décor elements
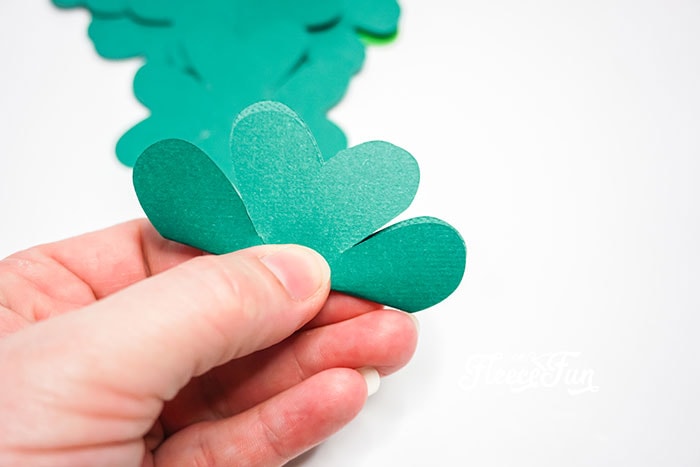
Fold each clover in half, then unfold.

Fold each clover in half the other direction and unfold.
Step 4 – Assemble the Lucky Clovers
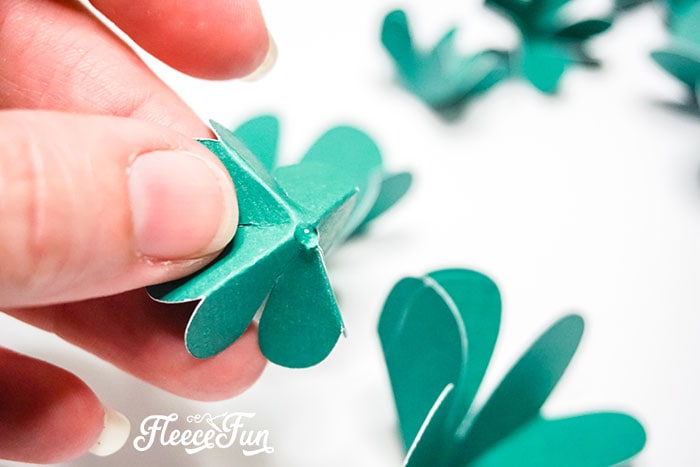
Hot glue each of the small clovers into the center of a big one,
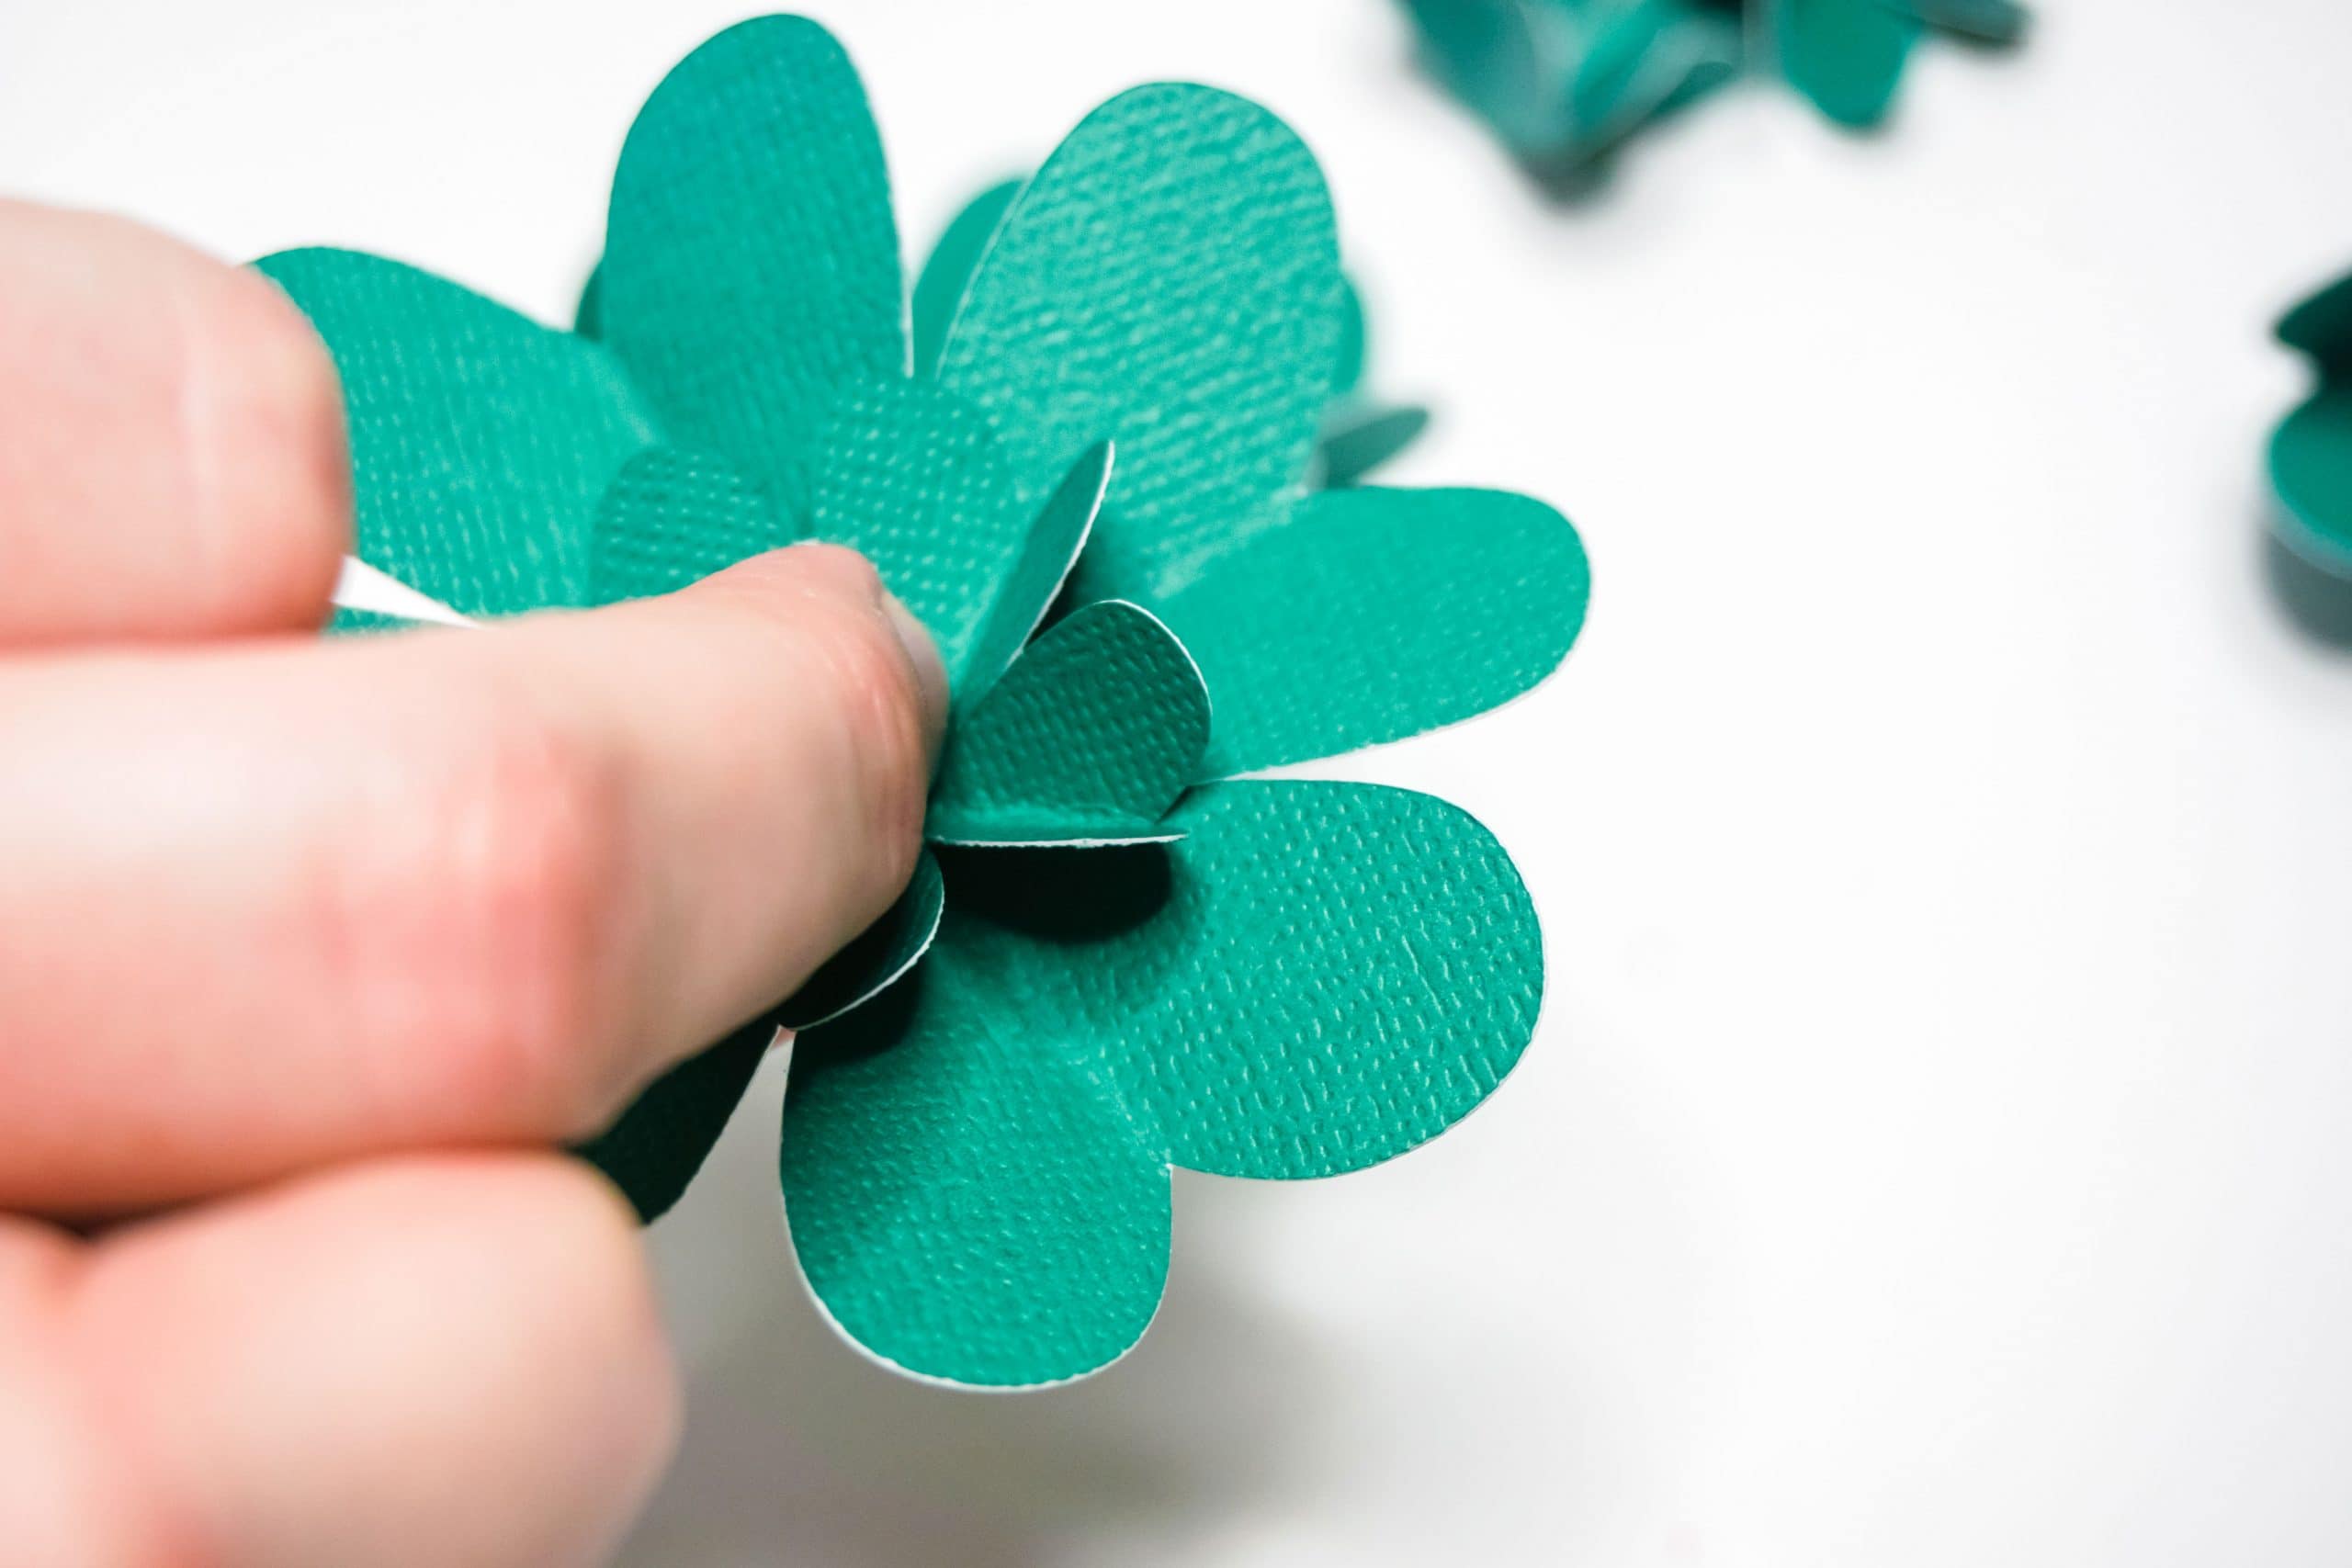
coordinating the shades of green.

Hot glue the darkest green set of clovers in a line on the long side of the shadow box.
Repeat with each of the sets of clovers, in rows, making the colors go from darkest to lightest.
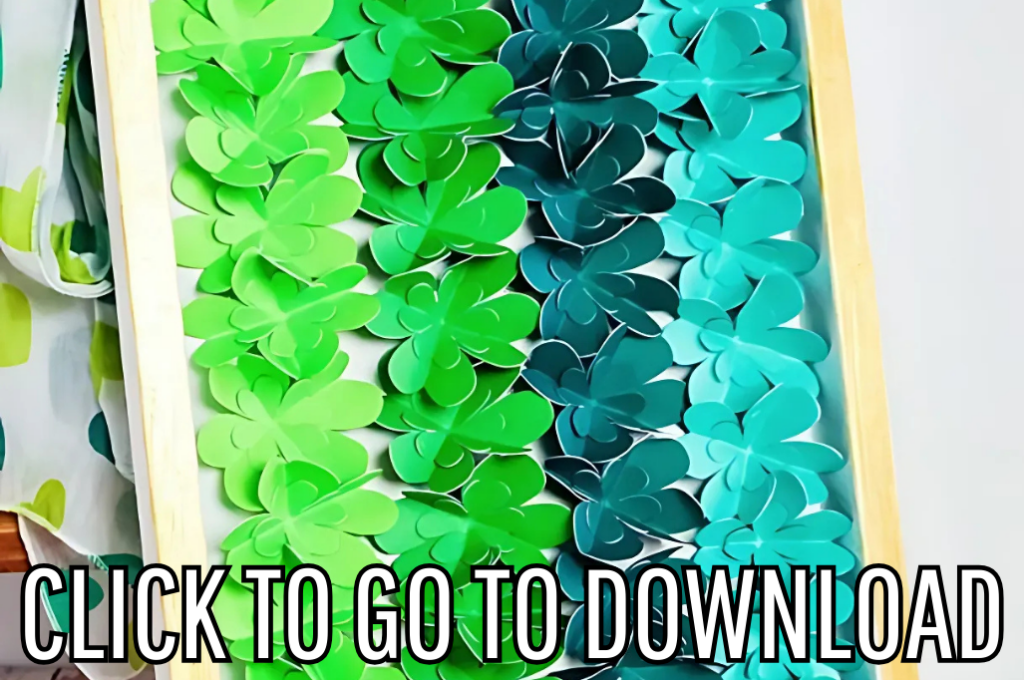
Fill out the form below to get the free DIY St. Patrick’s Day Décor SVG File
By downloading you are agreeing to pattern terms of use. Click the image below to go to the download form. Or click here.
See More of Our St. Patrick’s Day Crafts
- DIY Nursery Wall Hanging: Lovely Rainbow with Cloud
- St. Patrick’s Day Decor: Easy Upcycle Book Craft
- Easy Leprechaun Hat Decor
- St. Patrick’s Day Clover Button Art Tutorial
- St. Patrick’s Day Printable Box (Free)
- Free St. Patrick’s Day Printable: One Lucky Coin
- Chic Shamrock Hair Clip
- All of my Holiday Projects: Saint Patrick’s Day
You might like these fun Cricut DIYs for every room!
- DIY Pineapple Décor
- Cute Craft Room Trash Can DIY
- DIY Felt Flower Art
- Valentine Cozy Home Sign DIY
- St. Patrick’s Day Upcycle Book Craft
- Patriotic Pinwheel Wreath DIY
- DIY Disney Savings Jar
- DIY Sewing Room Décor
More Cricut Projects!
- How to Get Started Cutting a Quilt with Cricut
- How to Get Started Quilting with Cricut
- DIY Birthday Crown (Free PDF & SVG)
- Freezer Paper Stencil for T-Shirts Tutorial
- See all of FleeceFun’s Cricut Tutorials!