
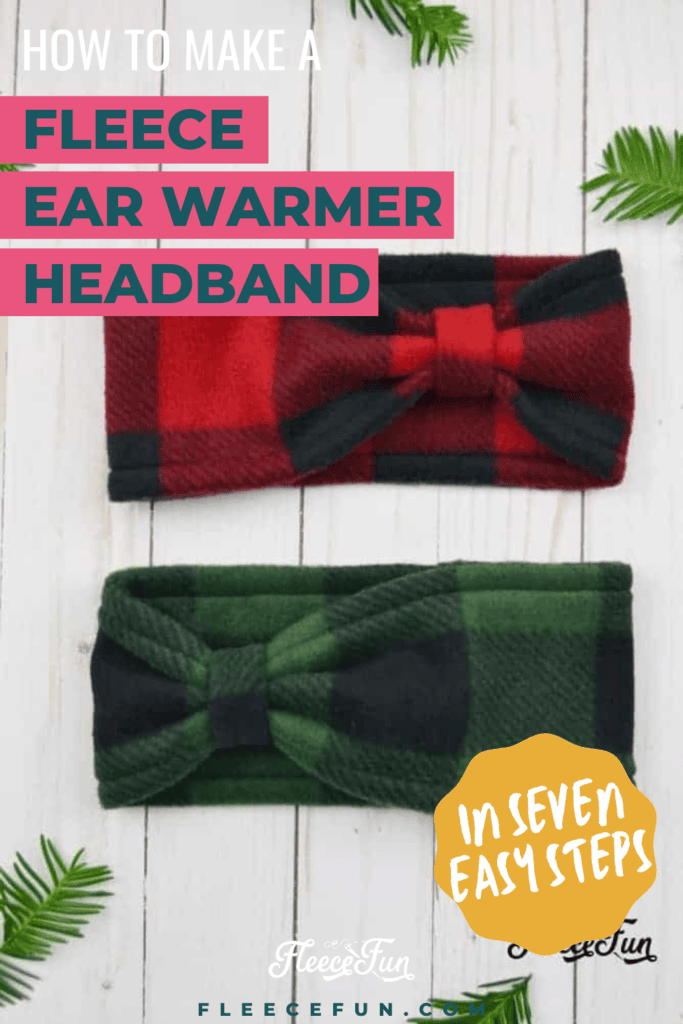
Fleece Ear Warmer Headband DIY (Bow Style)
This content contains affiliate links or sponsored elements, read our Disclosure Policy.


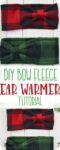
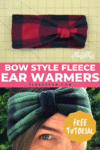

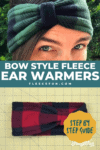
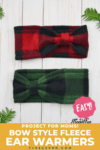
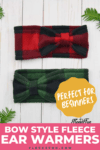
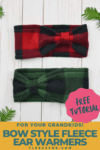

Fleece Sewing Project: Make this cute Fleece Ear Warmer Headband DIY with bow styling. Great step by step instructions with pictures. Makes a great handmade gift.
Hi! I’m Cat and I blog at Mary Martha Mama where I share sewing, crafts, DIY projects, kids’ activities, and my life as a mom. In everything I share I hope to give you a little inspiration and encouragement for your life. I love jumping in and trying new things and I especially love helping others to do the same, particularly when it involves crafts or DIY.
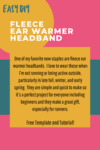
I moved from Virginia to Ohio 9 years ago and let’s just say I discovered the need to add a few items to my wardrobe for the not so mild winters here. One of my favorite new staples are fleece ear warmer headbands. I love to wear these when I’m out running or being active outside, particularly in late fall, winter, and early spring. They are simple and quick to make so it’s a perfect project for everyone including beginners and they make a great gift, especially for runners.
YOU WILL NEED:
- ¼ yard of fleece fabric
- coordinating thread
- scissors or rotary cutting set
- sewing machine
Fleece Ear Warmer Headband DIY Tutorial:
Step 1 – Cut and Sew the Rectangles for Your Ear Warmer Headband
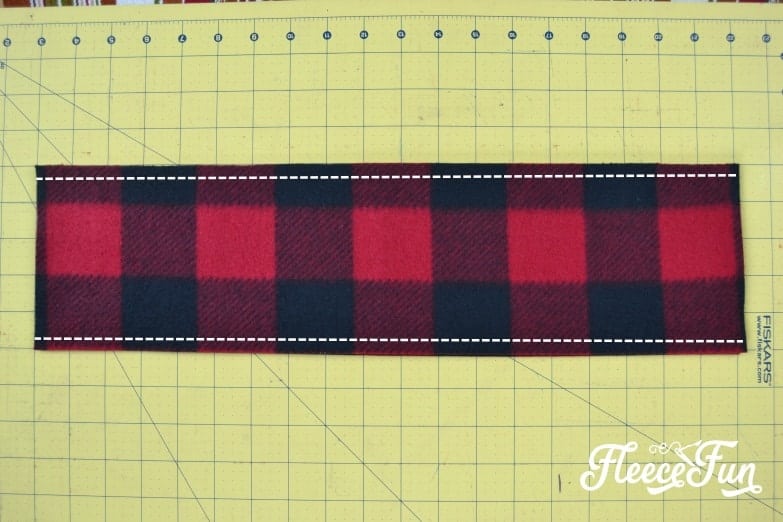
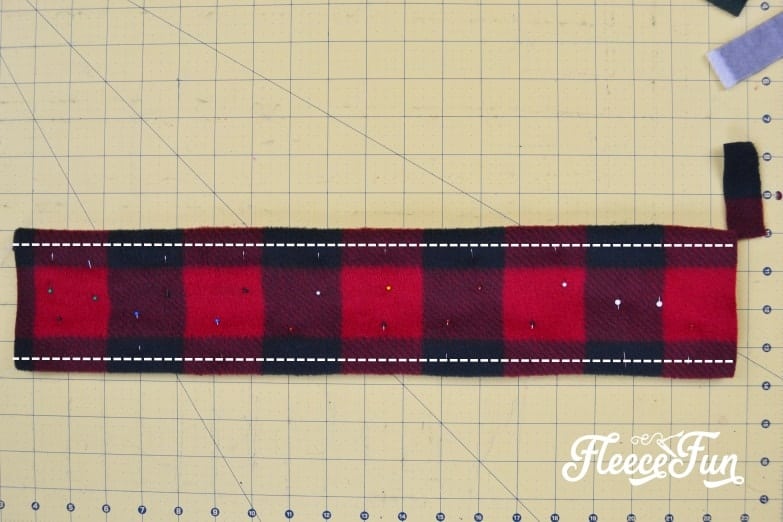
Cut out two rectangles that measure 5 X 21 inches and two rectangles that measure 1 ¾ inches X 4 inches. Lay the two larger rectangles one on top of each other with the right sides together.
Pin and sew along the longer sides, sewing ½ inch from the edge.
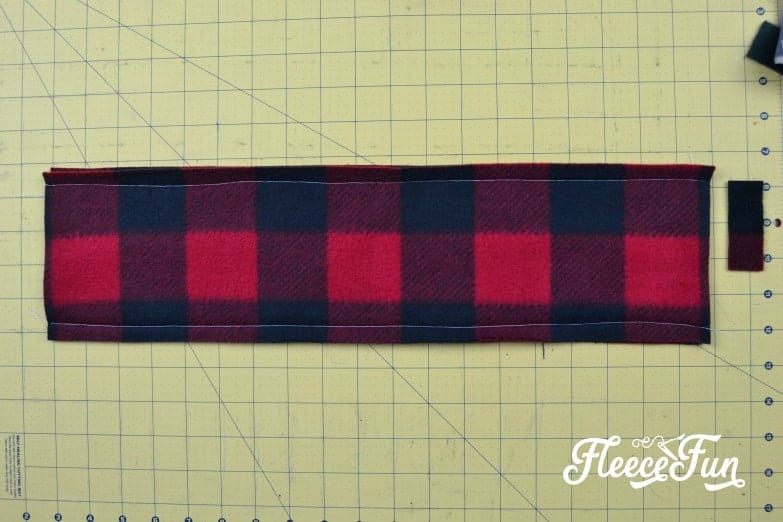
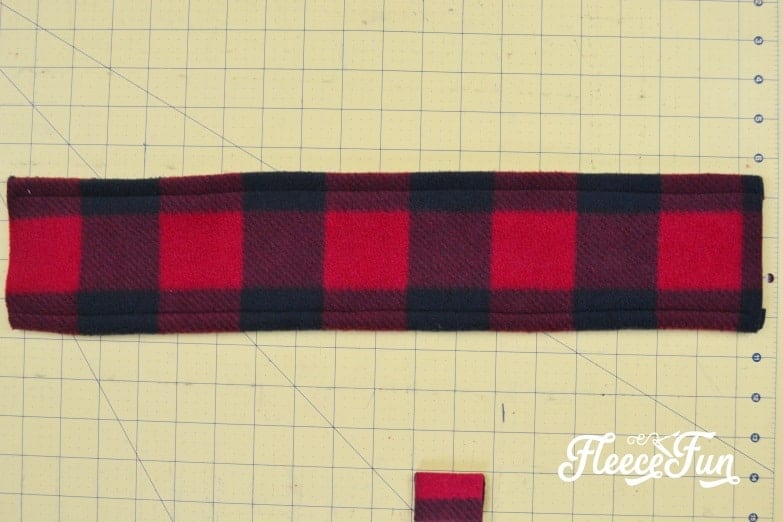
Step 2 – Turn the Tube Right Side Out
Now you have a tube. Turn it right side out.
Pin and sew along the longer sides, sewing ½ inch from the edge.
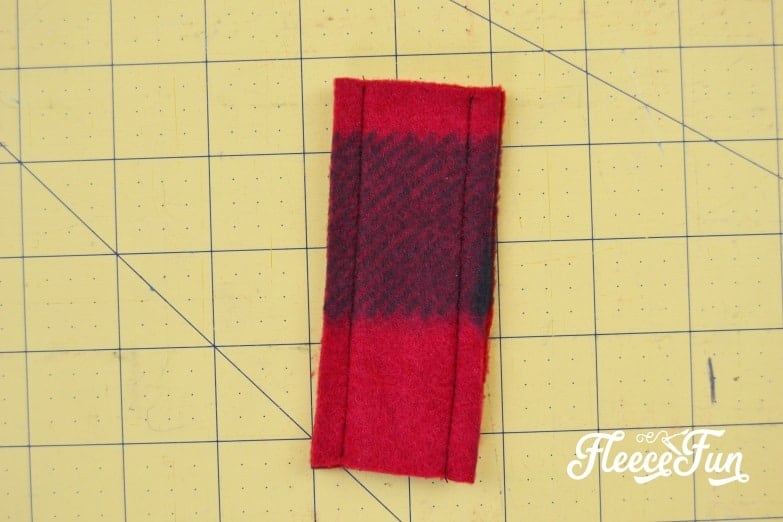
Step 3 – Sew the Small Rectangles to Create a Small Tube
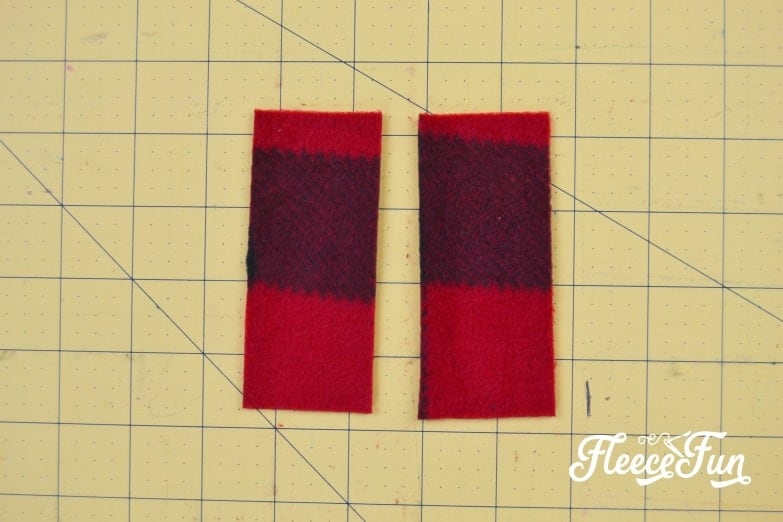
Take the two smaller rectangles and lay them on top of each other with the right sides together.
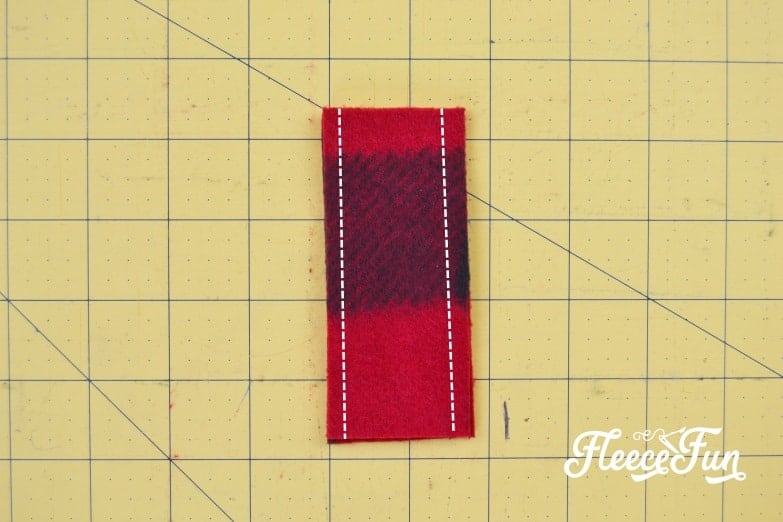
Pin and sew along the longer sides, sewing ¼ inch from the edge.
Step 4 – Turn the Small Tube Right Side Out and Create a Ring
Now you have a really small tube.
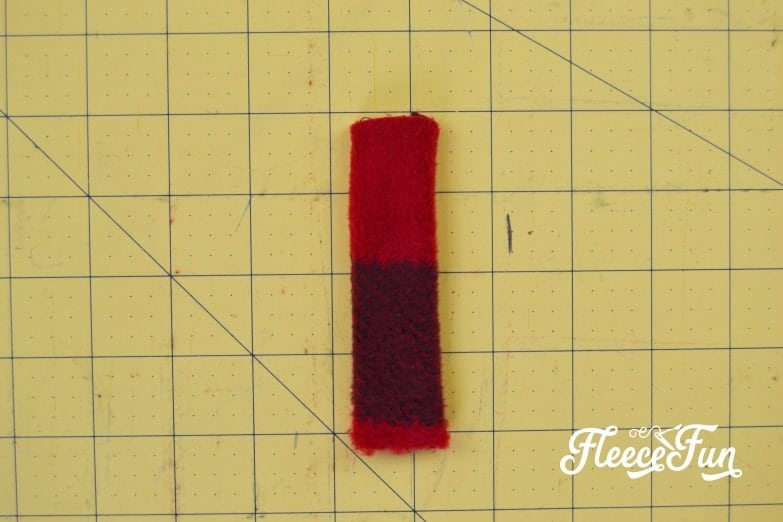
Turn it right side out.
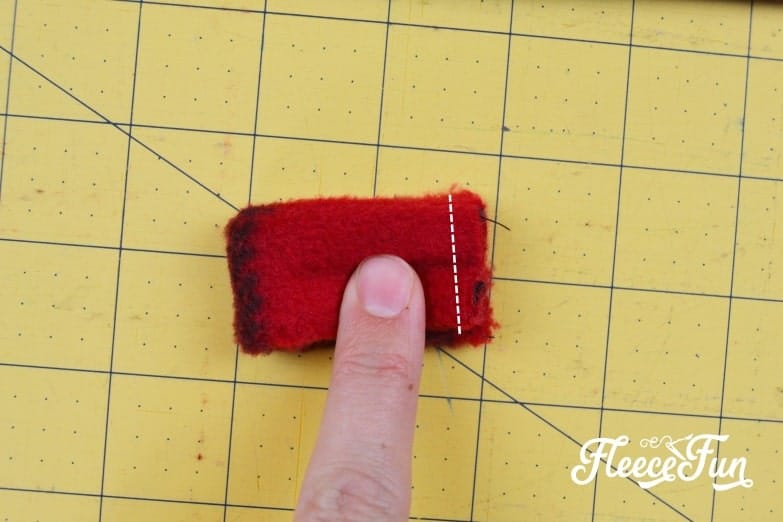
Fold the tube in half, putting the open ends together.
Pin and sew along that edge, sewing ½ inch from the edge.
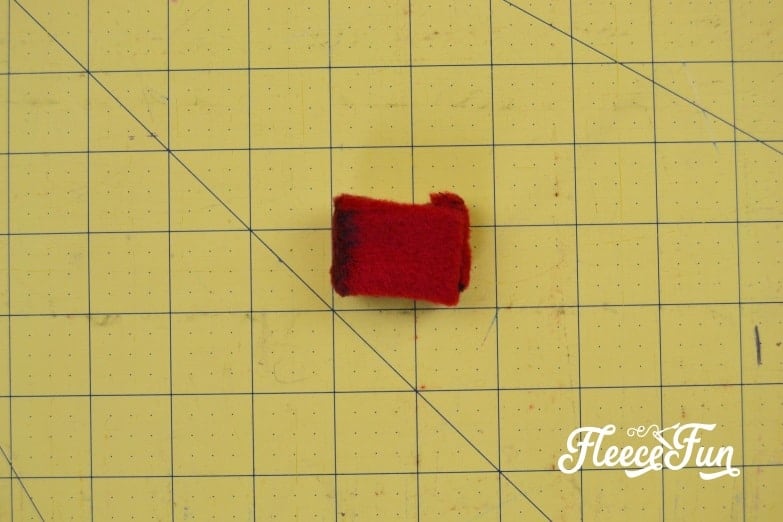
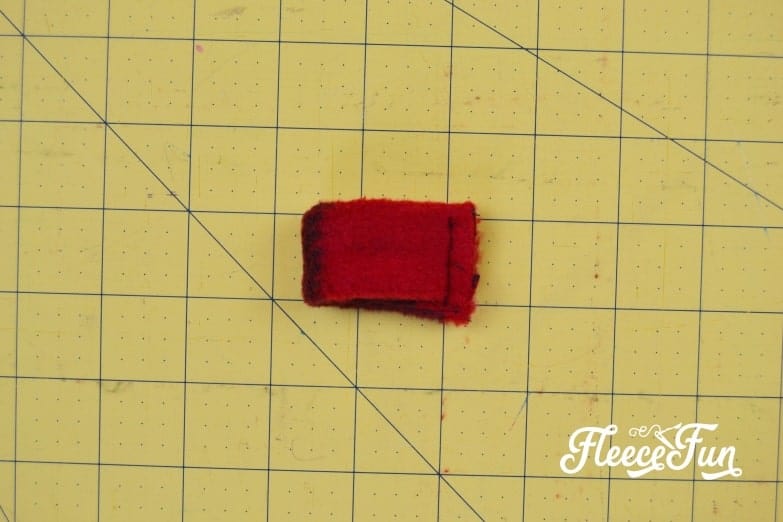
Turn your little ring right side out so that those little ends are inside of the ring.
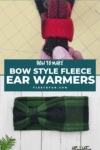
Step 5 – Attach the Ring to Your Ear Warmer Headband
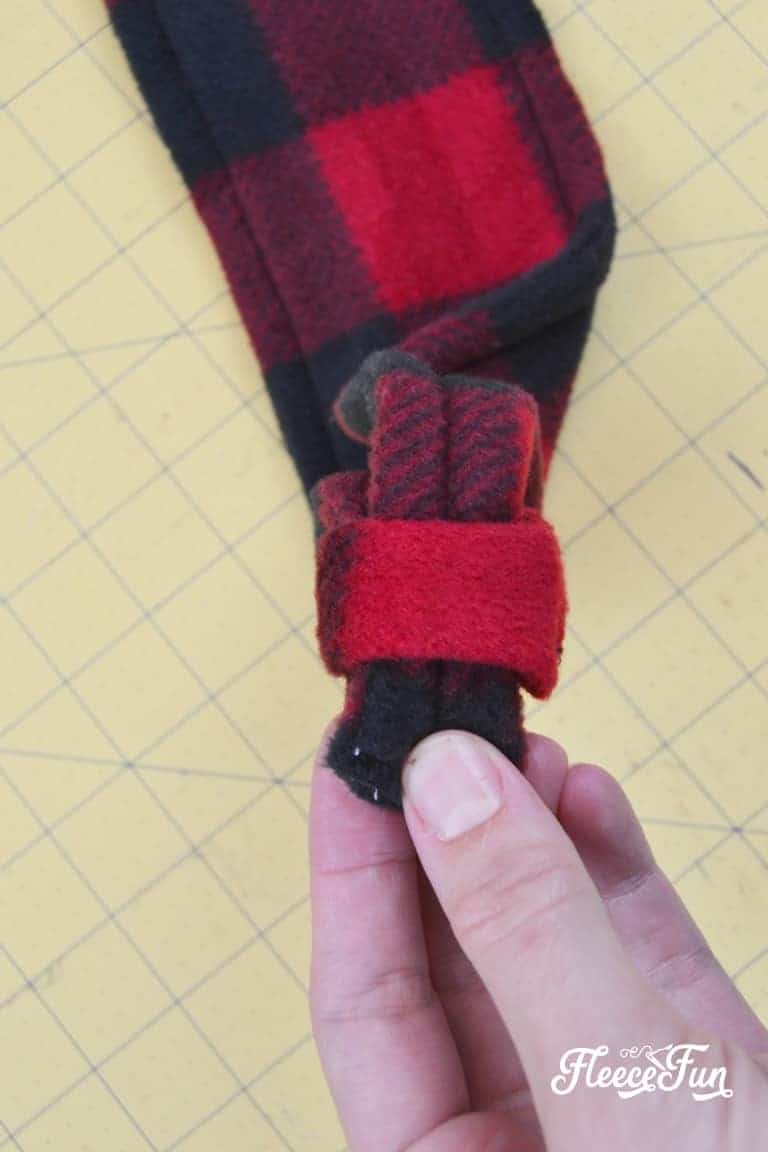
Pinch one of the ends of bigger rectangle piece and slide it into the ring.

Slide it somewhere near the middle of your ear warmer headband. I like to have the middle of my bow be a little off center but you can put it wherever you like it.
Step 6 – Sew the Ends of Your Fleece Ear Warmer Headband Together
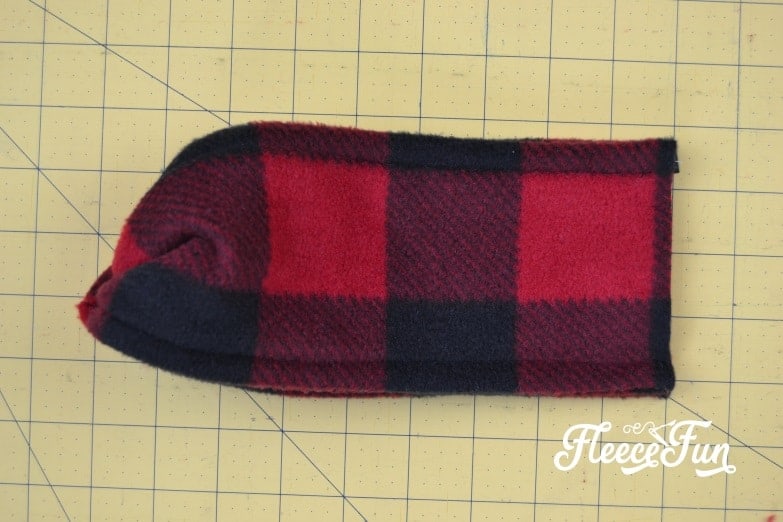
Fold your fleece ear warmer headband over from one open end to the other open end and pin them together.
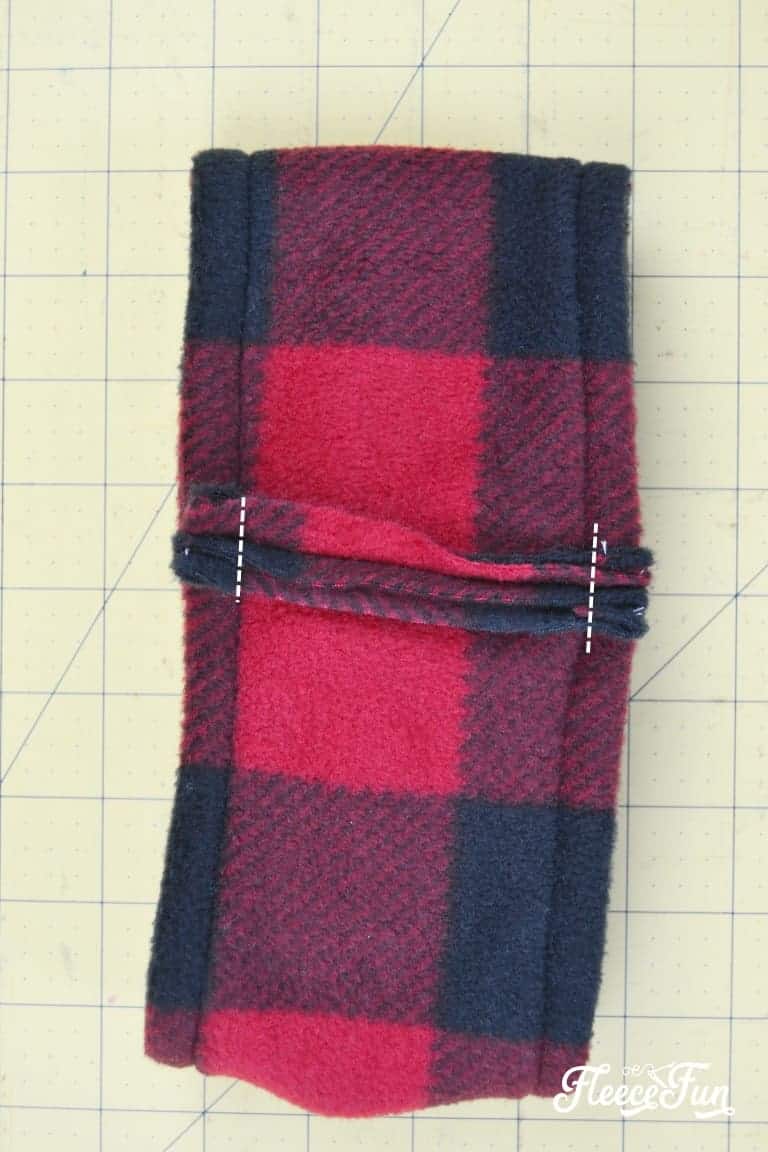
Sew across the open end, sewing ½ inch from the edge. Open it up and pin the seam down so that it lays flat. Sew a short line of stitching across each side in order to make it lay flat. This will all be on the inside of your headband so no one will see this.
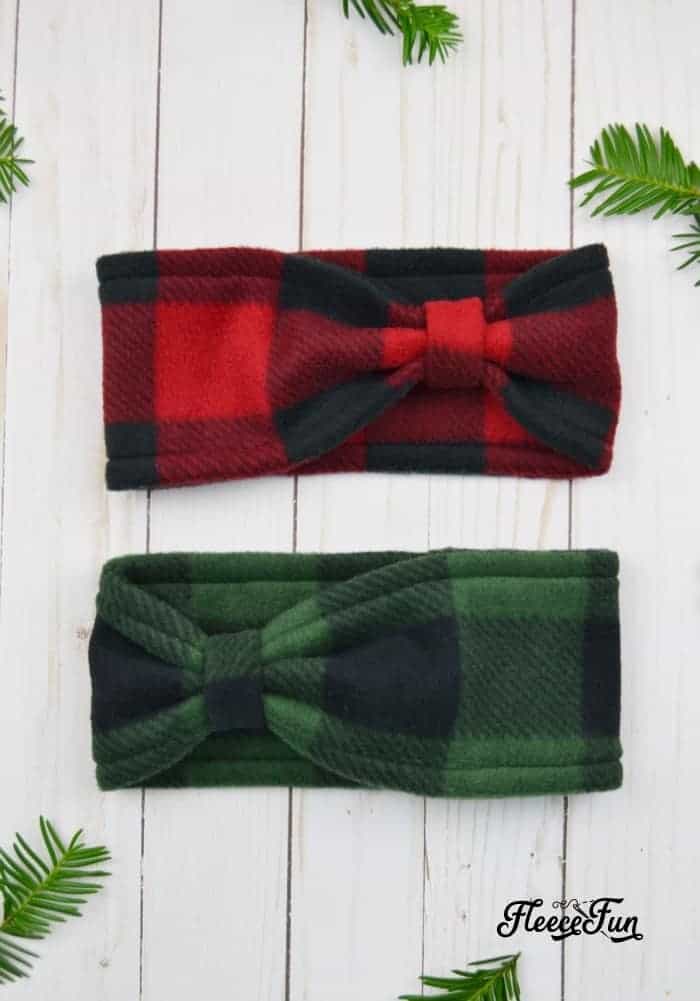
Step 7 – Complete Your DIY Fleece Ear Warmer Headband
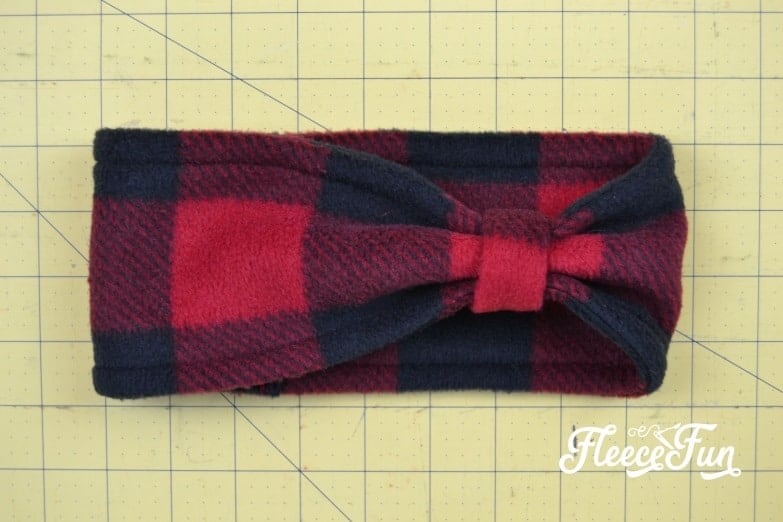
Flip your fleece ear warmer headband over and you’re all done with the Fleece Ear Warmer Headband DIY!
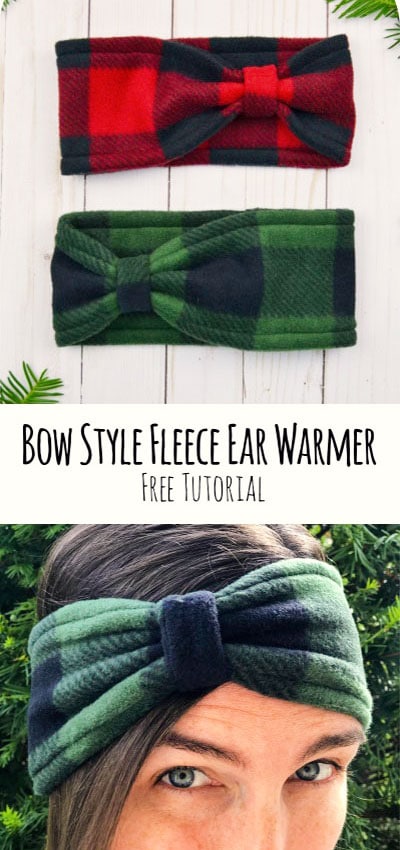
I love picking fabrics that fit the style of my loved ones and making them a personalized gift like these fleece ear warmer headbands. People love to receive something practical that they can use that’s also cute and stylish.
Thanks so much for letting me pop in and share with you today! I’d love to connect with you more so please be sure to stop by Mary Martha Mama and say hello. There you’ll find more sewing projects and tutorials like my popular fabric basket tutorial and my baby bib pattern and tutorial.
More Ear Warmer DIYs:
- Braided Ear Warmer Tutorial
- Wide Ear Warmer Tutorial
- No Sew Ear Warmer Pattern
- Slim Ear Warmer Tutorial
- More Holiday Homemade Gift Ideas
you’ll love these Fleece Sewing Projects:
- Hooded Fleece Blanket
- Women’s Fleece Vest
- Scraper Mitts
- Fleece Scarf with Pockets
- Fleece Ribbon Throw
- Red Riding Hood Cape
- Washable Duster
- Warm Mittens
- Easy Fleece Blanket
- Quick Sew Hobo
- Child’s Fleece Robe
- Child’s Fleece Pants
- Fleece Vest Tummies and Tails
- Fleece Vest Monster Legs
More Fleece Projects!
- Halloween Hat Pack
- Monster Mash Fleece Hat
- Fleece Bunny Hat
- Fleece Dog Hat
- Basic Hat (Adult, Child, and Baby)
- Fleece Winter Hat
- Fleece Hat with Ear Flaps
- Fun Facts about Fleece
- All Warm Fleece Hat Sewing Patterns!
