
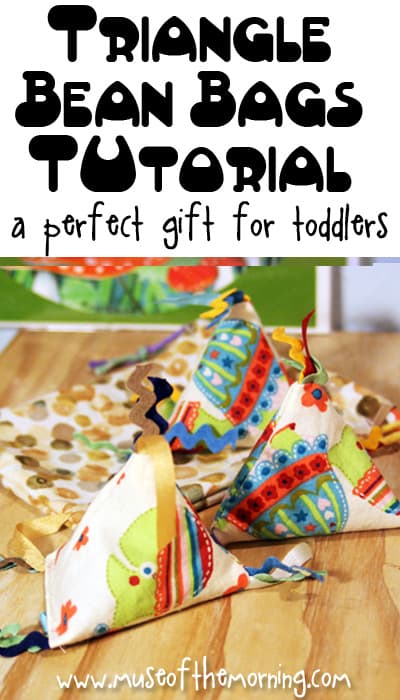
Toddler Bean Bags DIY
This content contains affiliate links or sponsored elements, read our Disclosure Policy.
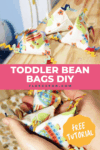

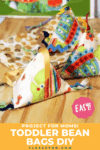
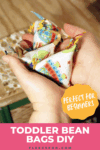
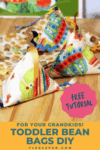
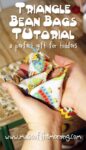
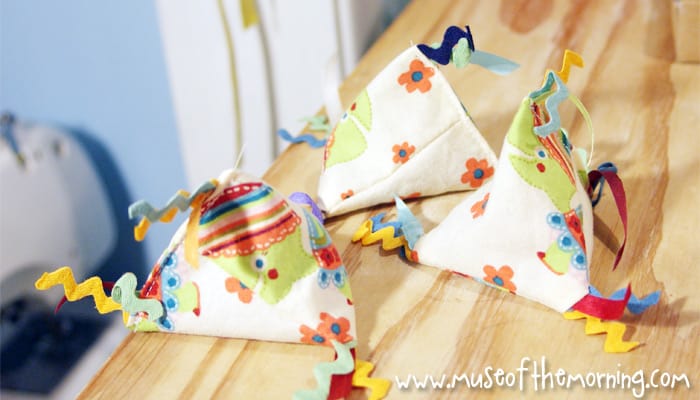
I love these DIY Toddler Bean Bags- they’re a little different than regular bean bags and yet just as much fun.
Hi! I’m Chrissy from Muse of the Morning, where I blog about my adventures in designing PDF sewing patterns, dyeing wool felt and stitching just about anything that I can. Join me there for lots of free tutorials and printables. Don’t forget to check out my etsy shop where I sell my hand-dyed wool felt, sewing patterns, and kits I make from my felt and patterns!
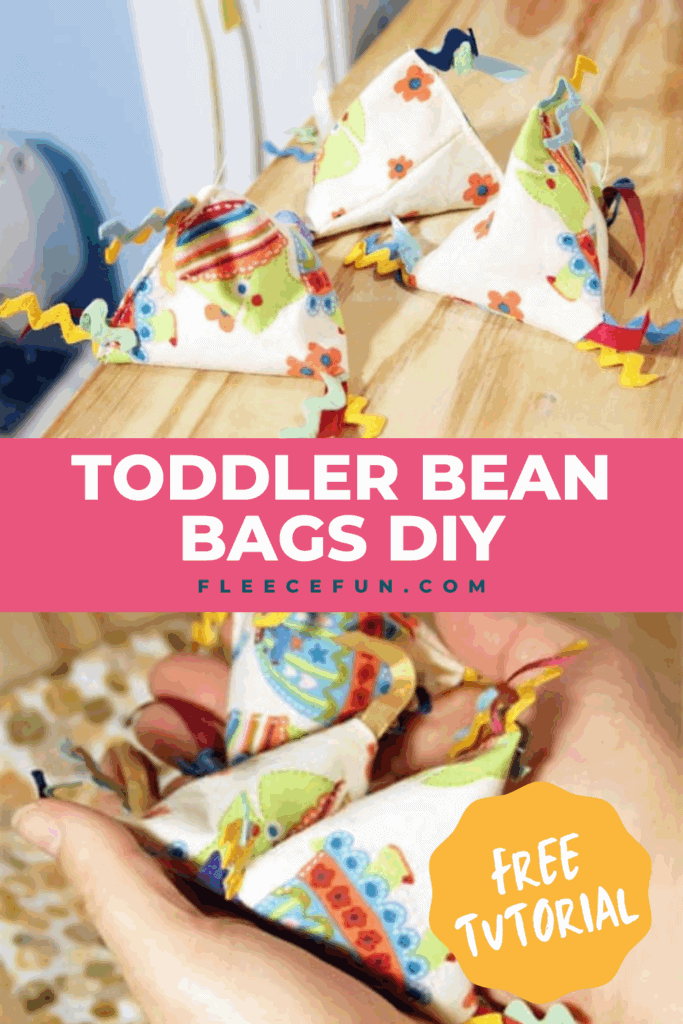
I usually stuff the with some beans (of course) and a little wool stuffing so they stay poofy no matter what position they’re in.
The rick rack and ribbons are fun embellishments, but the beans bags would look cute without them too! I love to package 3 bean bags in a little drawstring sack.
YOU WILL NEED:
- Cotton woven fabric- less than 1/4 yard
- Rick rack in a variety of colors
- 1/4 inch wide ribbons in a variety of colors
- Beans or rice
- A bit of stuffing
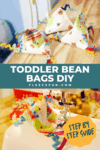
Toddler Bean Bags DIY step-by-step tutorial:
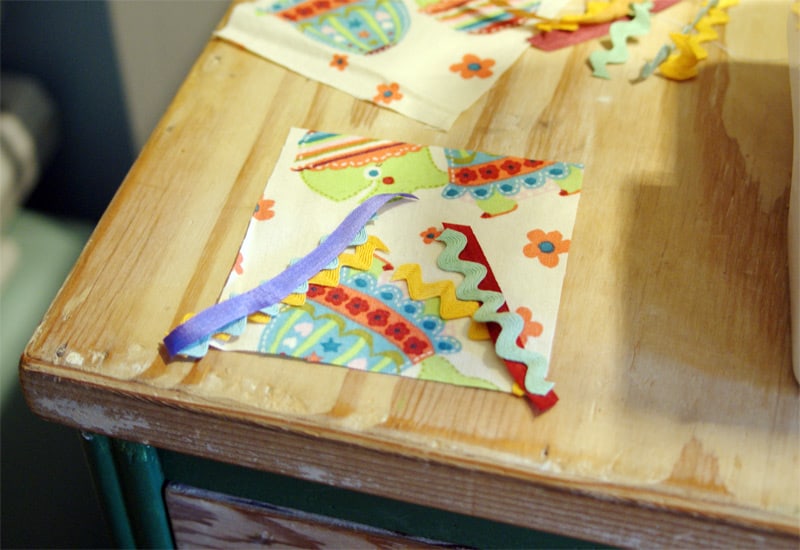
Step 1 – Cut Fabric and Ribbons to Size
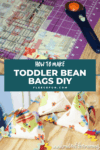
First, clear some work space by shoving everything else to the edges of the table. They’re bean bags, you don’t need a lot of space.
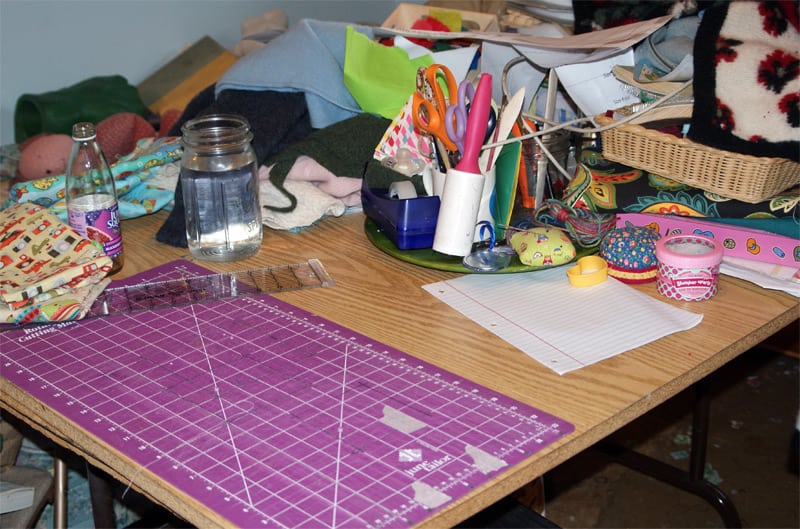
I can’t believe I just shared that picture with you. Ok, just tell me that your sewing area isn’t immaculate either and I’ll feel better.
For each bean bag, cut 2 squares of the cotton woven. I cut them to be 3.5 x 3.5 inches. You might want them a little larger, but I wouldn’t go any smaller.
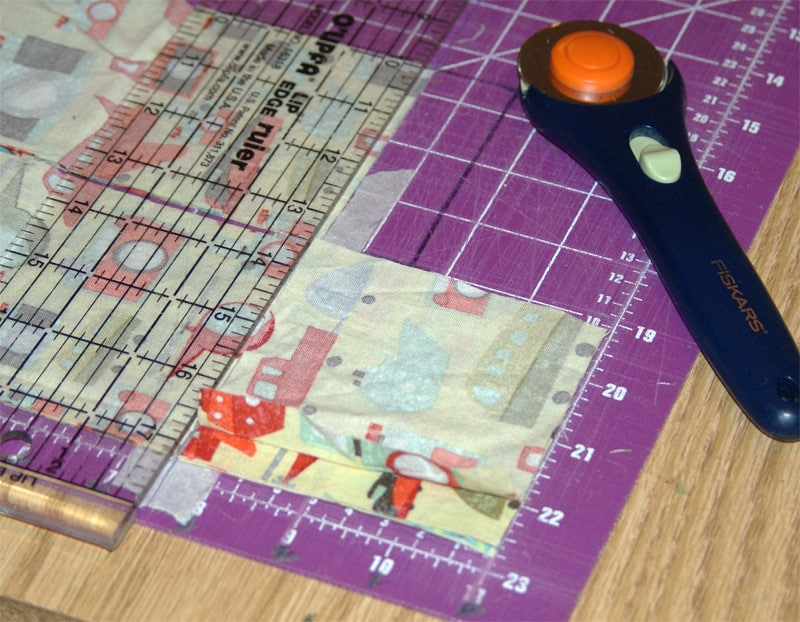
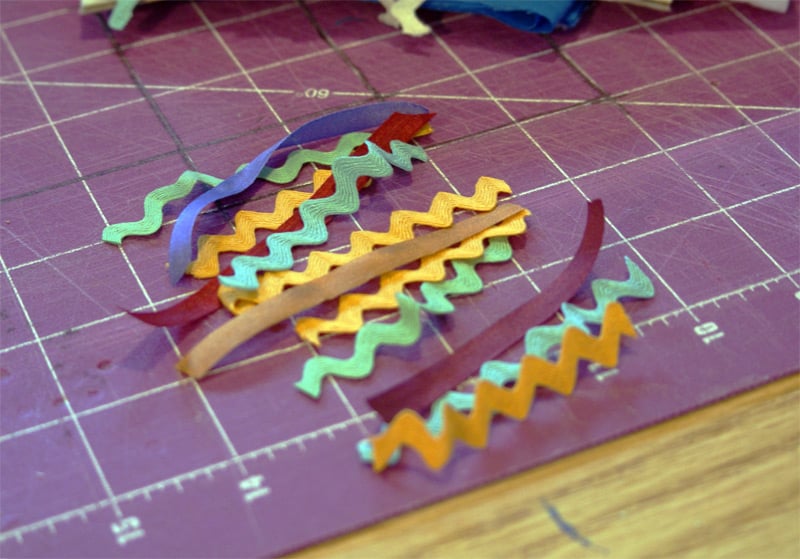
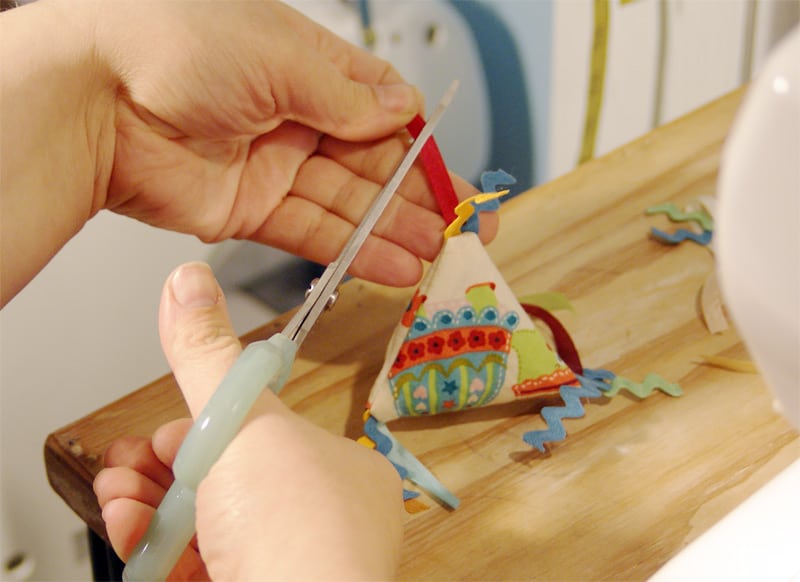
Cut your ribbons and rick rack to about 1.5 inches long. You’ll need 8 pieces of rick rack and 4 pieces of ribbon.
Step 2 – Layer the Corners with Ribbon and Rick Rack
Take 2 pieces of rick rack and 1 length of ribbon and place them in one corner of one of the squares on the right side. Do that also for a corner on the same side.
Step 3 – Sew the Sides of the Toddler Bean Bags
Place the other square on top and pin the corners so that the rick rack and ribbon won’t fall out.
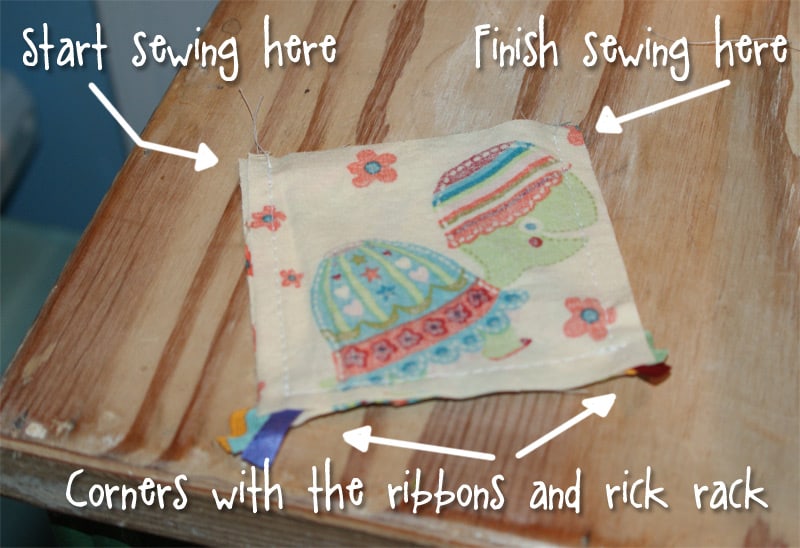
Sew around the square on 3 sides- leaving open the edge WITHOUT the rick rack.
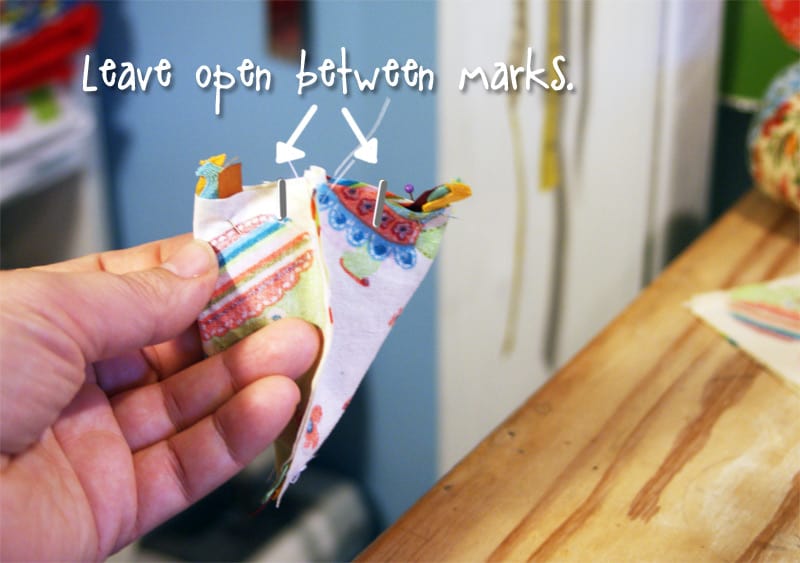
Step 4 – Create the Corner Tabs
Open up the un-sewn edge and match the side seams together in the middle.
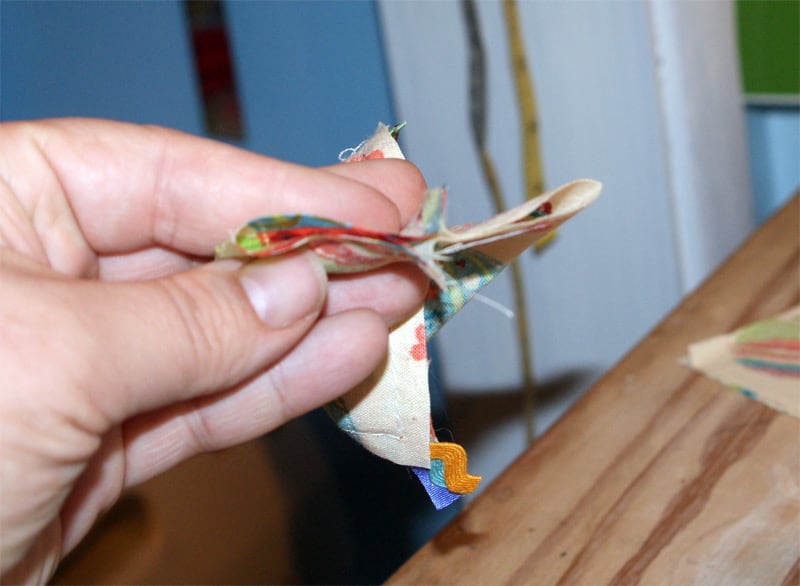
Put together another 2 pieces of rick rack and a length of ribbon and insert them into the new folded corner of the bean bag. Pin in place. Repeat with the other side.
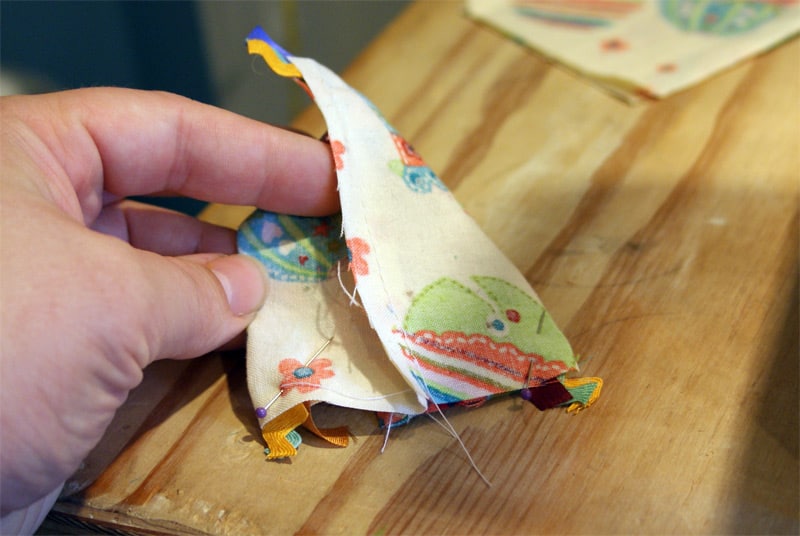
Stitch across, from corner to corner- but leave an opening in the center for turning and stuffing.
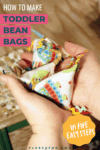
Step 5 – Turn, Fill, and Finish the Bean Bags
Turn the bean bag right side out.
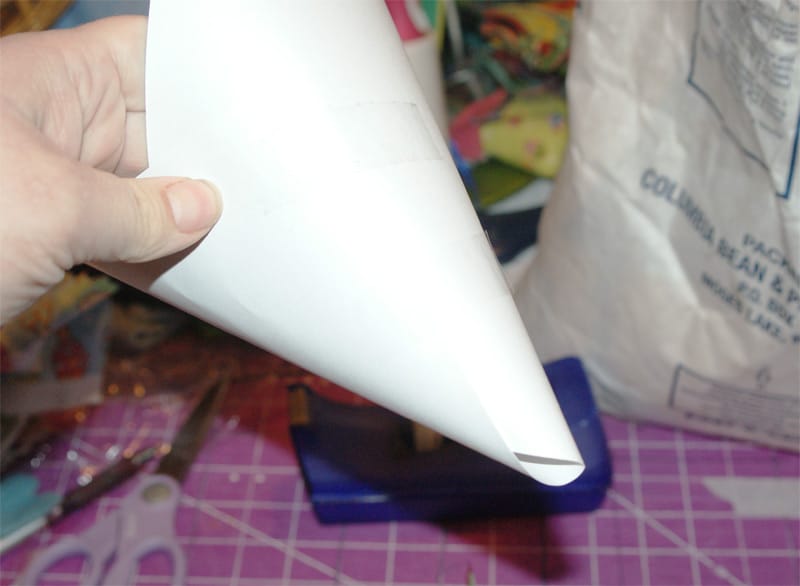
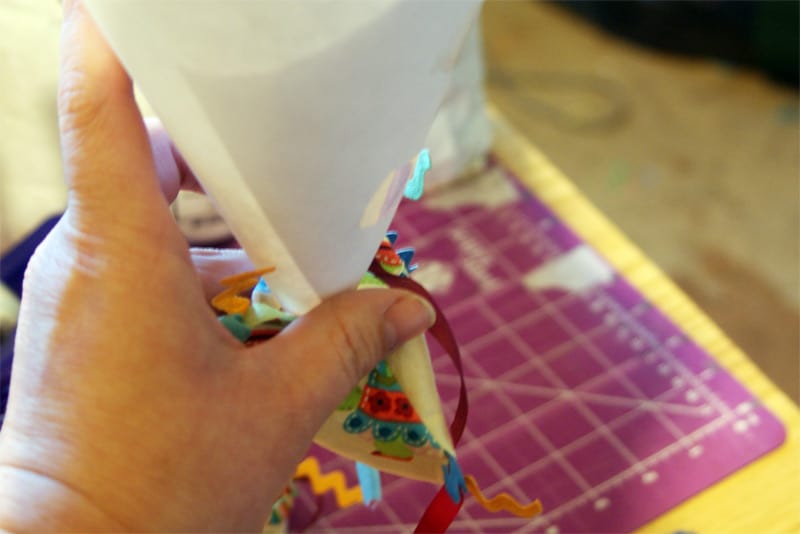
To get the beans in without spilling all over the place, I made a funnel out of cardstock and tape.
Use the funnel to pour a handful of beans into the bean bag opening. Fill the bag about halfway full with the beans. Add a bit of stuffing if you like.
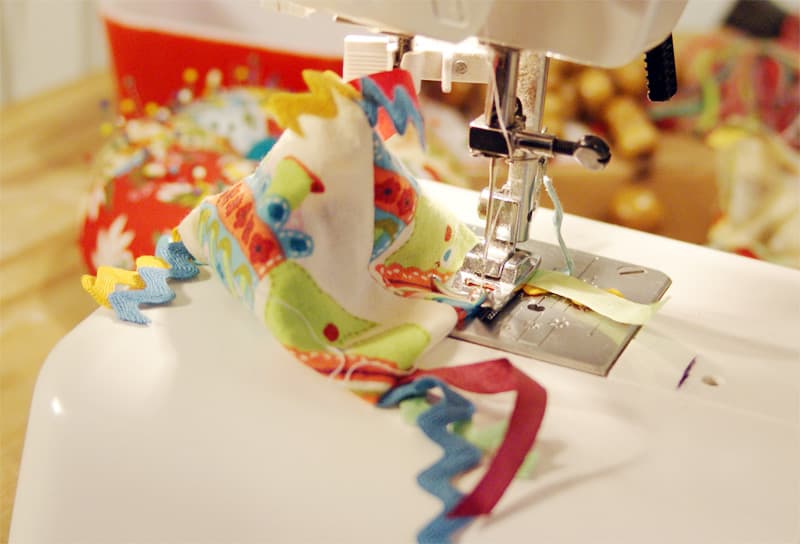
Fold the open edge in and sew it closed. I sewed it on the sewing machine, really close to the edge, but you could also use a ladder stitch to close it up invisibly.
The last thing to do is to cut the rick rack and ribbons if they seem too long. I like them to be about an inch long. Make sure that the ribbons are cut at an angle so they won’t fray.
And that’s it! Stitch up a couple more and you have the sweetest gift set for any toddler on your holiday giving list!
I like to put three of them together in a drawstring sack. One just like the one I wrote a tutorial for just a couple days ago. You can see that tutorial here!
How many bean bags will you be sewing up?
Fun Baby Softies and Toy Tutorials:
- Monster Softie Pattern (Free)
- Ladybug Softie
- Sunshine Softie – Free Baby Toy Sewing Pattern
- ABC Baby Blocks Free Pattern and Tutorial
- Softie Book Baby Toy Tutorial
- How to Make a Softie Baby Block
- Fun Felt Guitar Softie Toy (Free Pattern)
- Easy Block Pillow Tutorial
- Monster Finger Puppets Tutorial
- Fleece Eggs and Fleece Basket Pattern
- Kawaii Candy Corn Softie
- Reindeer Softie
- My Little Pony Inspired Stick Ponies
- DIY Nursery Wall Hanging – Lovely Rainbow with Cloud
- You can see more of my Doll and Toy Patterns here!
love this Toddler Bean Bags DIY? see More Baby Projects!:
- Towel Bibs for Babies – Bandana Style Ultimate DIY
- No-Sew Baby Car Seat Canopy Tent How-To
- Easy Crochet Edge for Baby Blanket
- Free Diaper Bag Tutorial
Thanks Chrissy – LOVE these 0 my little boy would love to play with them!
You might also like to check out these tutorials that I’ve written:
Pom Pom Garland Tutorial
An I Spy Bag tutorial
Fabric Chalkboard Tutorial
Fun project!! I’ve got a Craft Gossip post scheduled for later this evening that links to your tutorial:
http://sewing.craftgossip.com/tutorial-triangle-bean-bags/2014/11/23/
–Anne
Your bean bags are really cute! Thank you for the tutorial 🙂
But what I REALLY like is your messy cutting table and how you clear it for making a project!!! Just like me!!! I called my husband in to show him what “real sewists” work areas look like!! Love it!!
Thank you for posting a picture of your crafting area. I always feel like I’m such a slob… but creativity is messy, thank you for making me feel better!
These bags reminded me of some I made – but instead of beans, I filled them with aquarium rocks and used them for pattern weights. Or you could use rocks from the dollar store. I did sew up the last seam by hand – didn’t want to break a needle.