
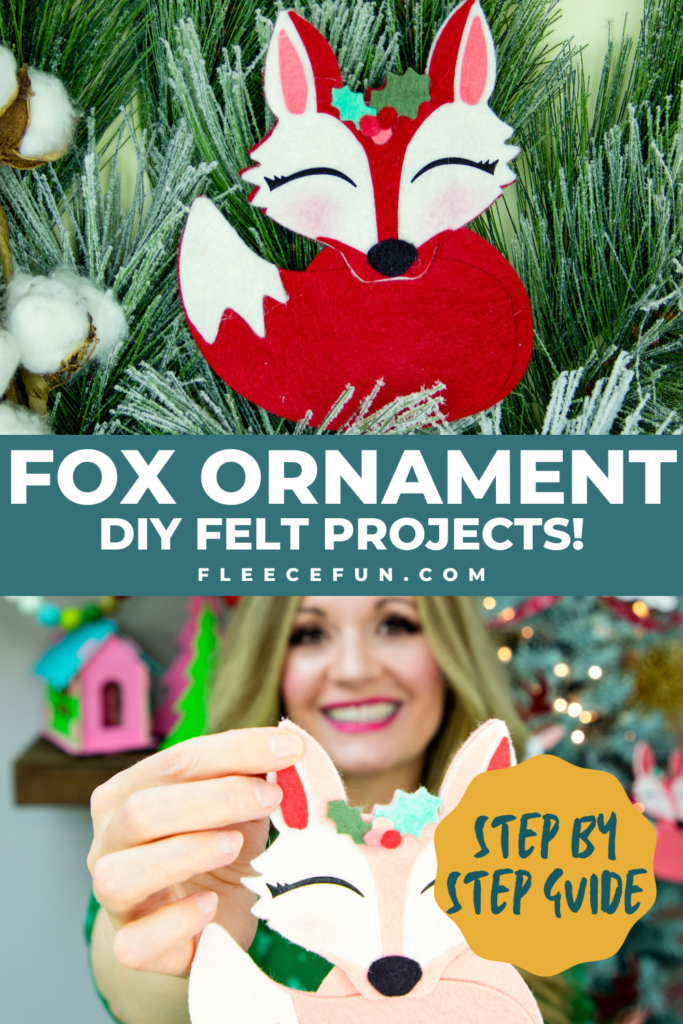
Felt Fox Ornament DIY (Free Pattern)
This content contains affiliate links or sponsored elements, read our Disclosure Policy.
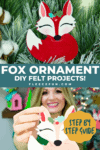

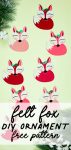

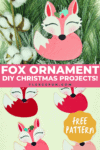

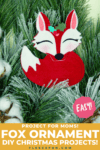
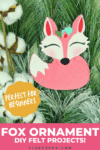
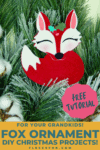
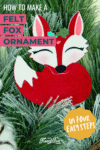
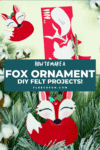
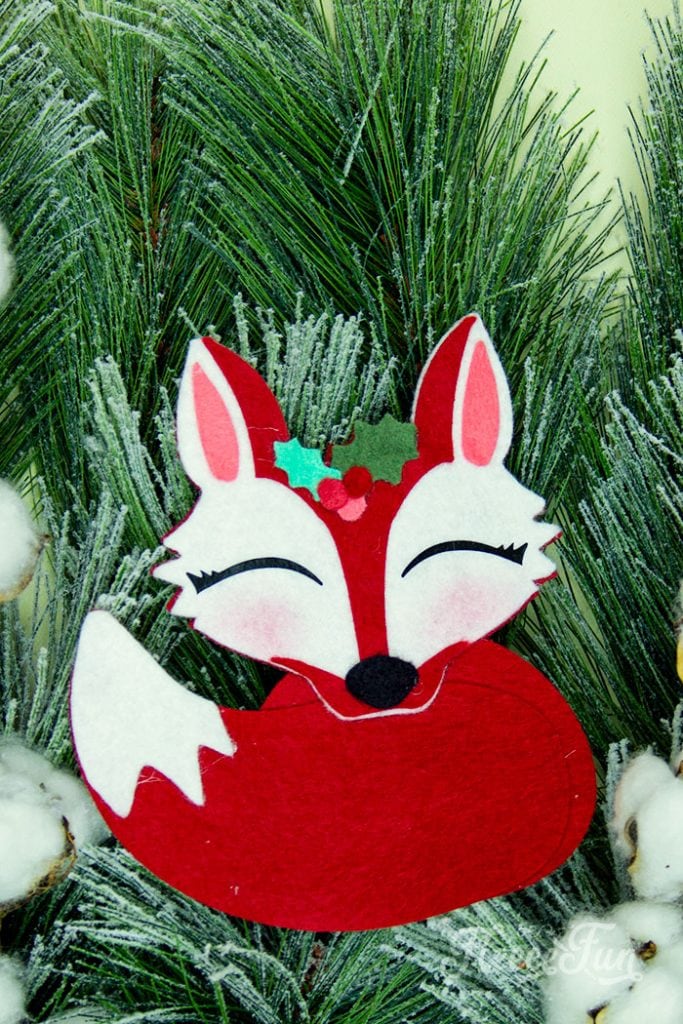
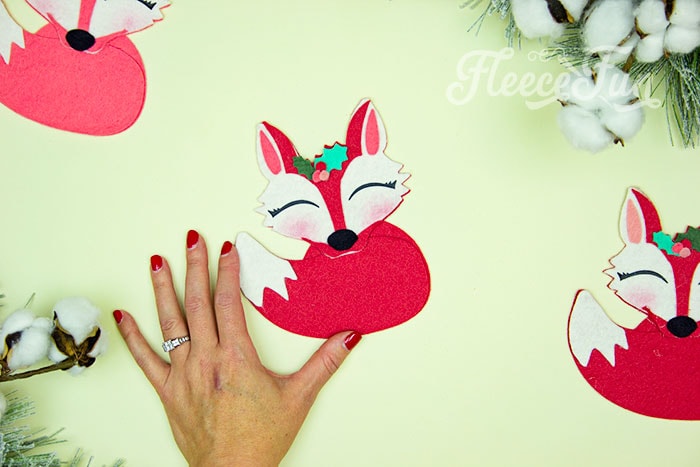
This adorable Felt Fox Ornament DIY (Free Pattern) is a fun addition to your Christmas tree Ornaments! Curled up in it’s tail with a bit of holly on it’s head this fox is the embodiment of merriment. Use for tree decorations or as a fun addition to a wrapped gift. Also makes a wonderful hostess gift or prize at a holiday party.
Hate The Ads?
This pattern with video, SVG Files and printable instructions is available in the Makers Studio. The Maker’s Studio is an ad free experience, no video ads, no forms, no zip files, just creating.

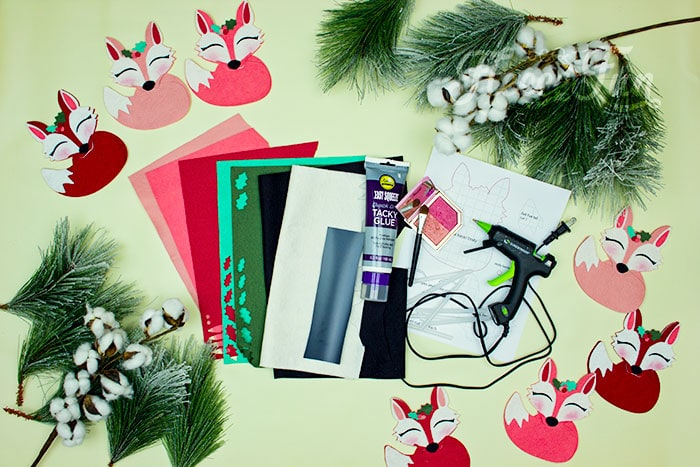
YOU WILL NEED:
- Fleece Fun’s free PDF. Get it here.
- Felt in White, Black, Green, Aqua, Red, Pink and light Pink (I like to get my felt here)
- Hot Glue Gun and glue sticks ( can also use white glue)
- HTV in black
- Blush and a small brush
- EasyPress Mini
- EasyPress Mat
Felt Fox Ornament DIY (Free Pattern) Instructions

Step 1 – Cut out the felt Christmas ornament
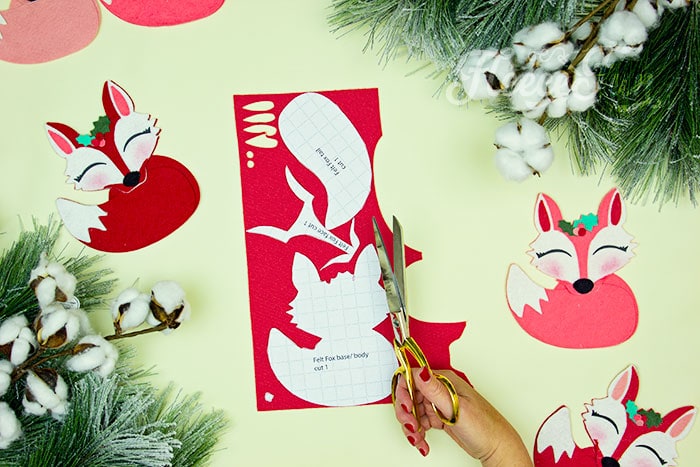
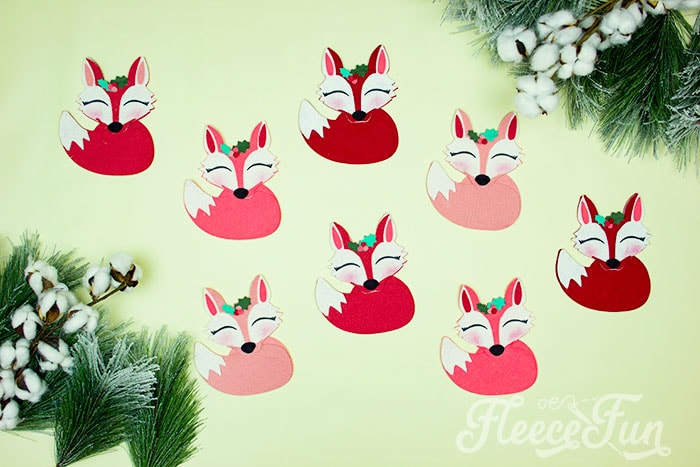
For the main body of the fox cut out 1 of the base, 1 tail and 1 of the face top, and 1 berry ( I’m using red in the example but as you can see you can mix the colors and make different colors of fox).

Then,
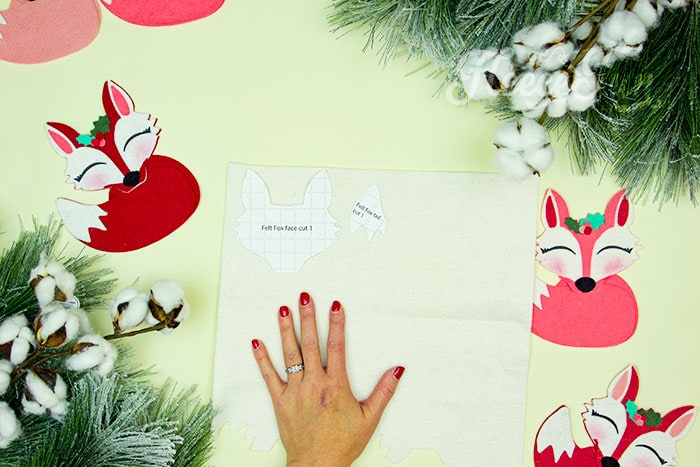
from white cut 1 of the fox face and fox tail top.
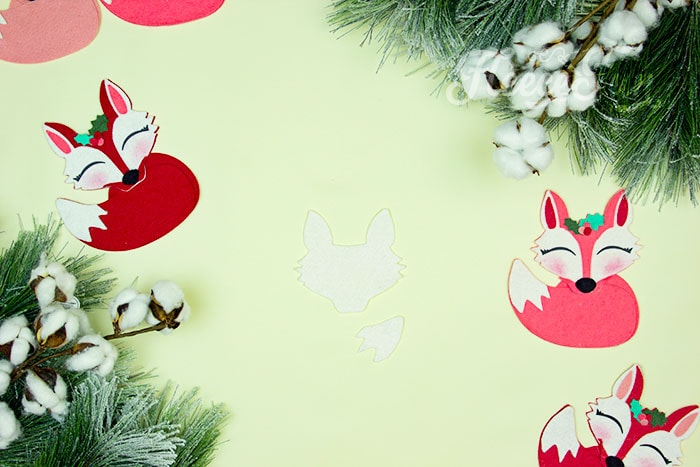
Set aside.

From Pink cut out two ears and 1 berry.
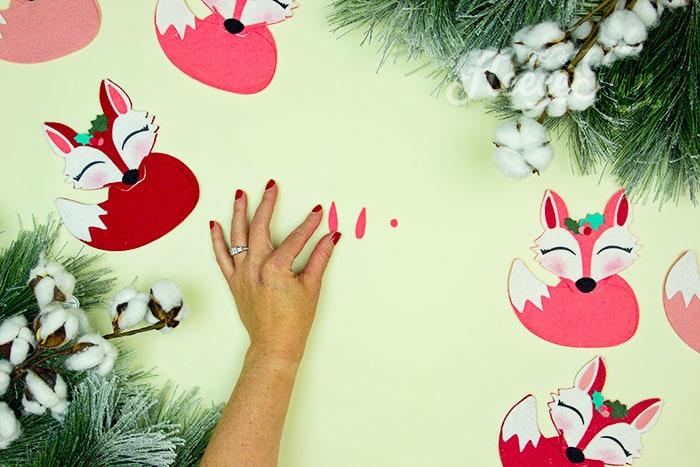
Quick Tip
For the really tiny pieces I like to keep a plastic bag handy to put them in to keep track of them.
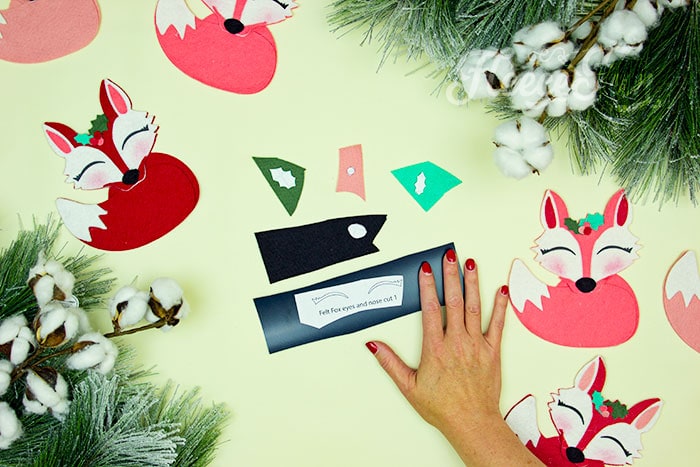
Cut out the leaves from green and light green, 1 berry from light pink, the nose from black and the eyelashes from HTV
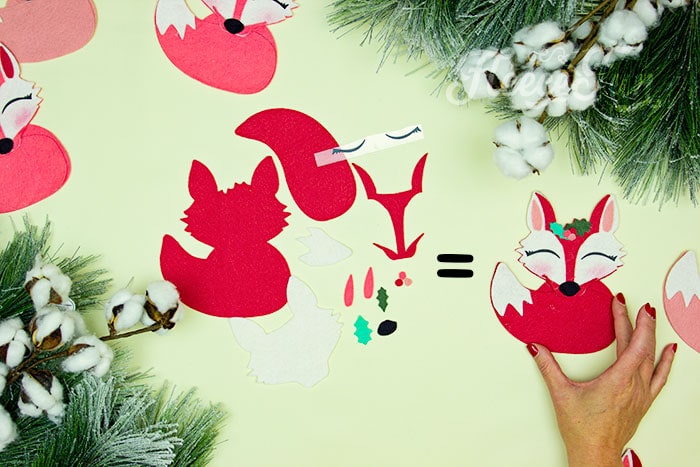
Weed the HTV. Now that you have all the items cut out it’s time to start assembling.
Step 2 – Assemble the felt fox base
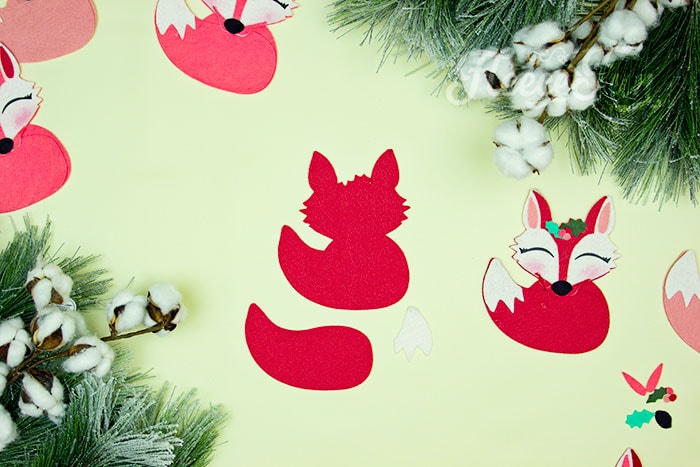
You will need the base of the Felt Fox Ornament. tail and tail topper.
Line up and glue the tail topper to the top of the tail.
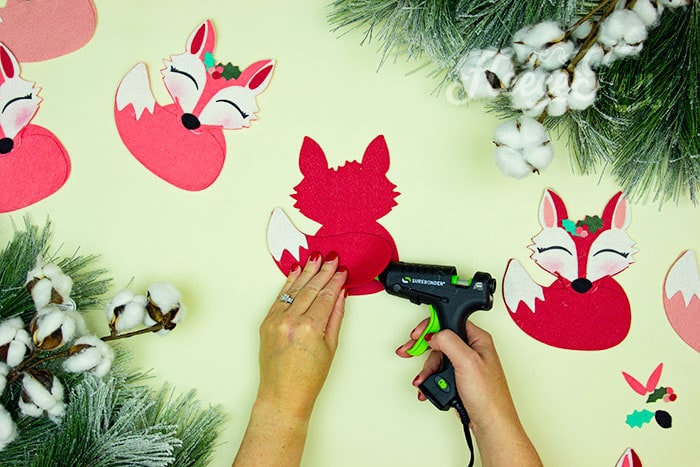
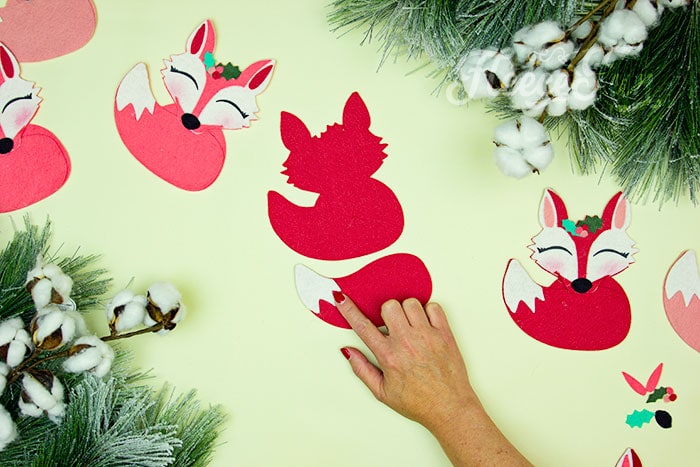
Then, line up the tail with the tail of the base and glue down. Set aside.
Step 3 – Assemble the felt fox face

Line up the eyes on the face.
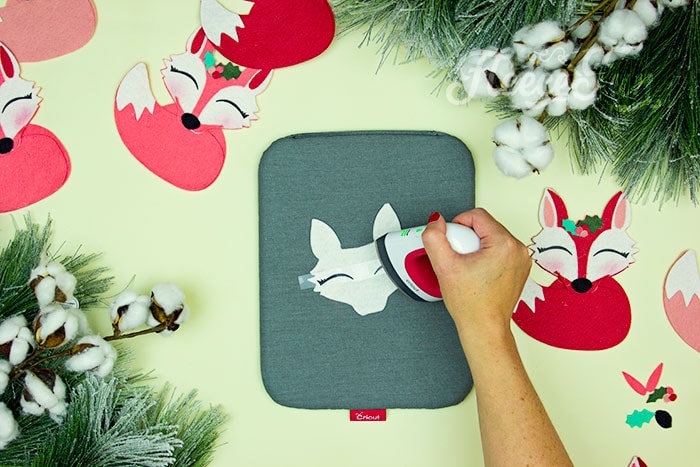
Iron them into place.
Using the blush and brush add a little color to each of the foxes cheeks.
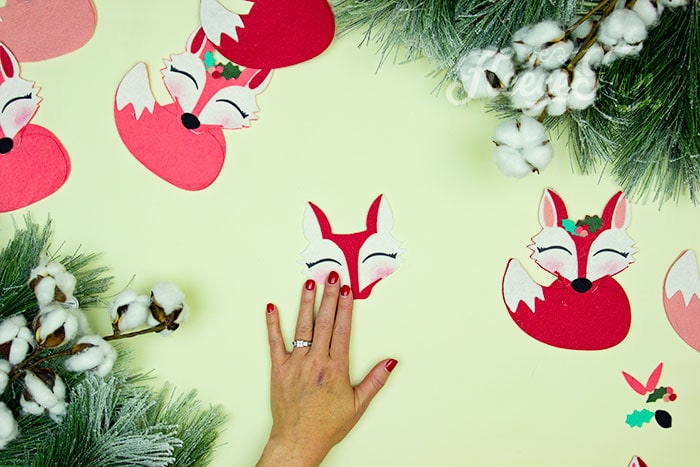
Line up the face top and glue into place.

Next glue the nose into place.
Then glue the inner ears into place.
Step 4 – Finish making the handmade felt ornament
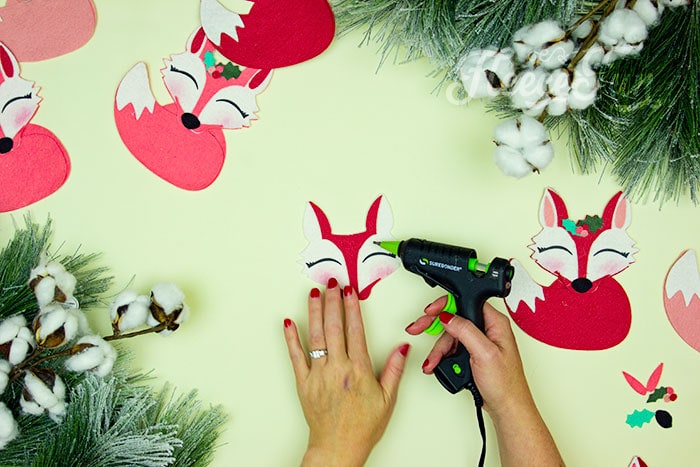
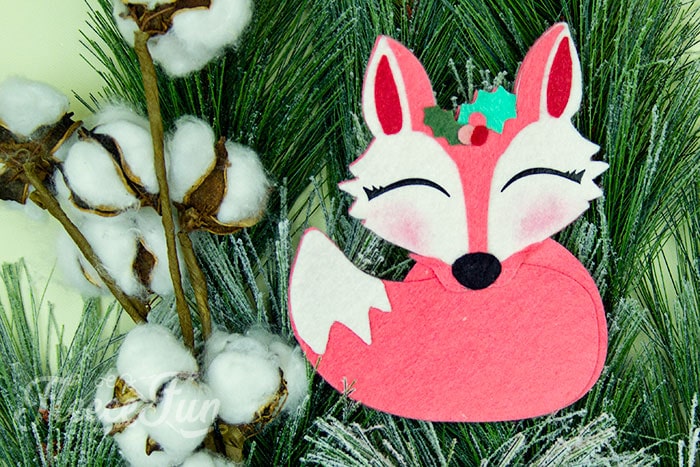
Now it’s time to bring the Felt Fox Ornament together.

Glue the face on to the base – the bottom of the face should overlap the tail a little.

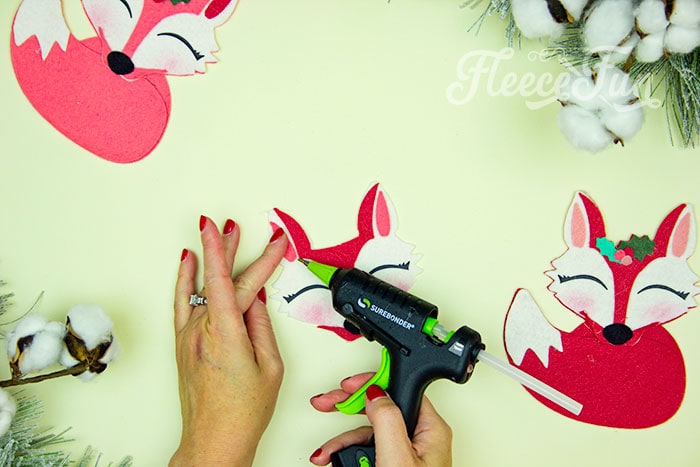
Using the base outline as a guide glue the large holly leaf into place.

Then add the small.
Finally glue all the berries into place.
You can add a hanger to the ornament by gluing a ribbon loop to the back – but I find these ornaments stick fine to the tree without the need for a hanger.
That it! You just completed the Felt Fox Ornament DIY.
DOWNLOAD THE FREE PATTERN HERE.
You can get a free copy of Adobe reader here. By downloading you are agreeing to pattern terms of use. Click on the picture below and fill out the form to get it sent right to you.
Christmas Crafts You’ll Like to Try
- DIY Felt Ornaments Tips, Tricks, and Templates
- Gingerbread House Ornaments DIY
- DIY Felt Candy Christmas Tree Ornaments
- DIY Cloche Ornament
- Felt Gingerbread Man Pattern
- DIY Gnome Ornament
- Mitten Ornament Pattern
- Ice Skate Ornament DIY
- Snowflake Ornament DIY
- Giant Holly Leaves
- See 40 Snow Ideas for Kids!
- You can see all of Handmade Ornament Tutorials on this page
- You can see just my Felt Christmas Ornaments here
Explore More Projects You’ll Love
- Felt Lanterns Handmade Ornament
- Printable Holiday Gift Tags
- Mini Holiday Gift Tags
- Mini Top Hat Ornament Tutorial
- Santa Hat How-To
- DIY Santa Hat Headband
- Quilted Christmas Table Runner Tutorial
- High Heel Christmas Stocking
- Printable Handmade Gift Planner
- 5 Ways to have a Fun Family New Year’s
- New Year’s Printable
