
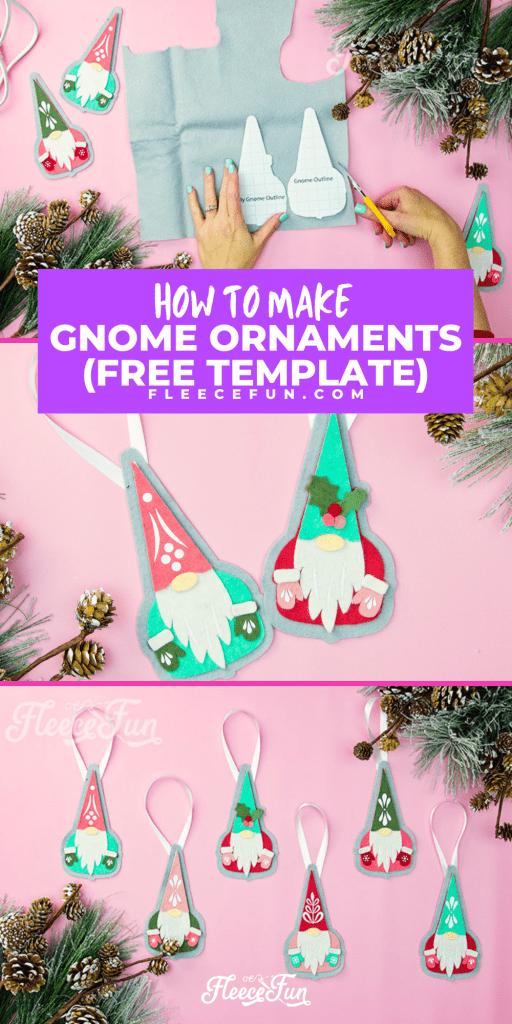
DIY Gnome Ornament (Free Template)
This content contains affiliate links or sponsored elements, read our Disclosure Policy.
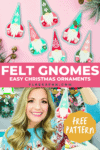
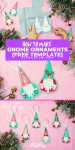

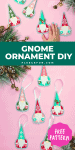

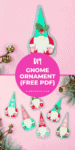

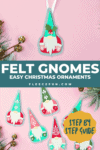
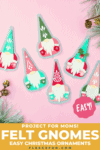

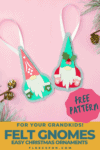
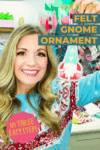
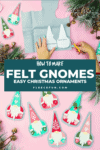
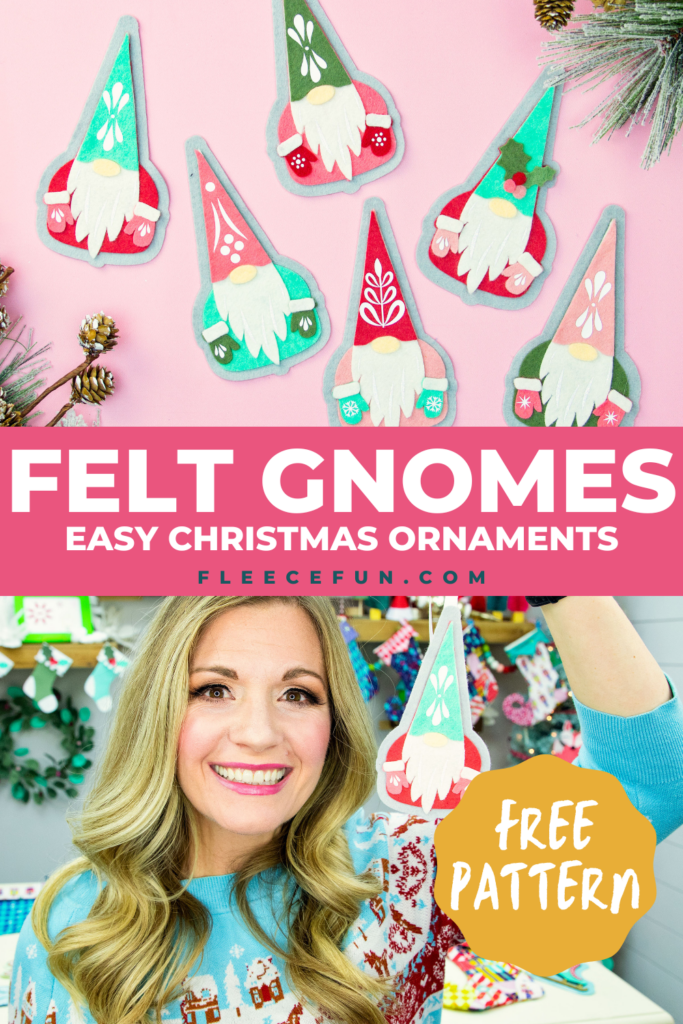
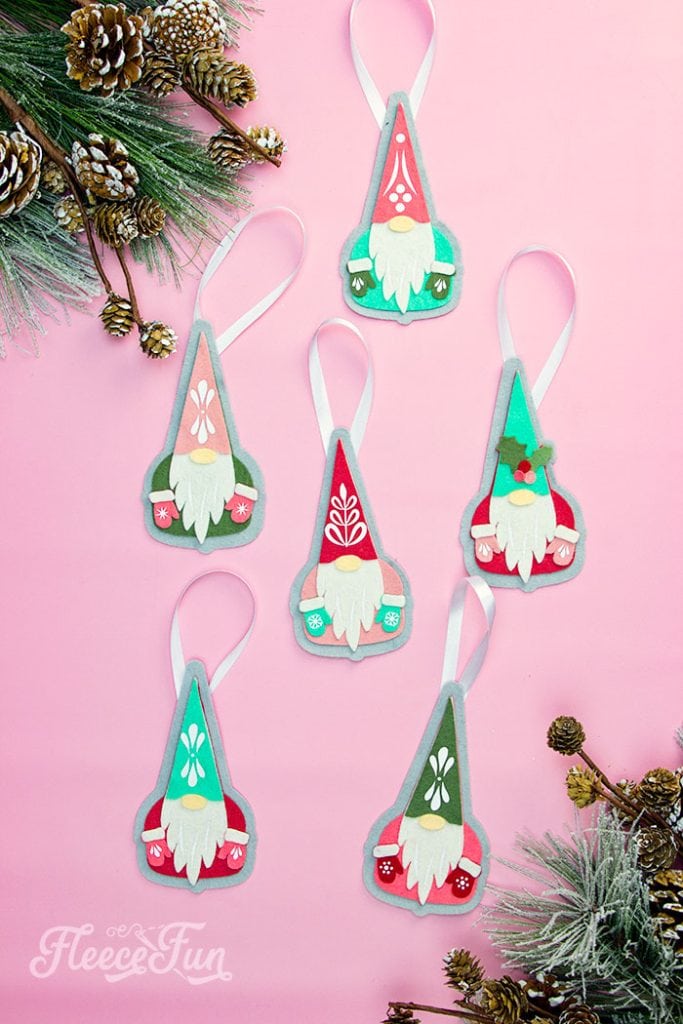
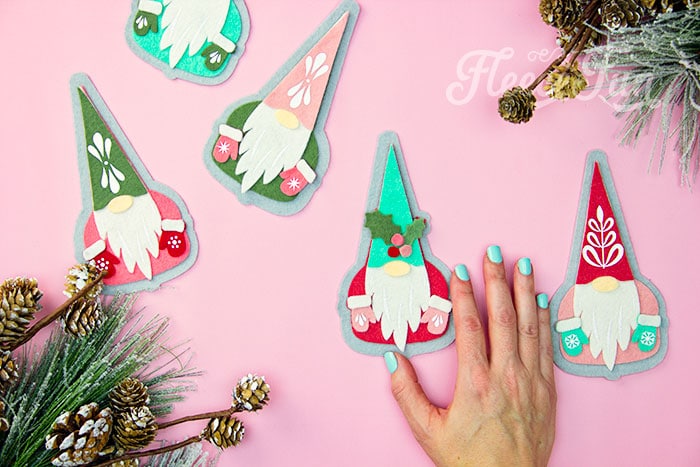
Learn how to DIY Gnome Ornament with this free template or pattern. This cute collection of Gnomes is made from felt and is the perfect quirky addition to your Christmas tree. This pattern come with some variations so each gnome can have his own personality. Switch up the colors of the hats, mitten, and body to add variety. These cute tiny gnome felt ornaments are no sew and cine with a free pdf template or pattern.
If you’re looking for a more 3D gnome ornament I have a great tutorial for you here.
YOU WILL NEED:
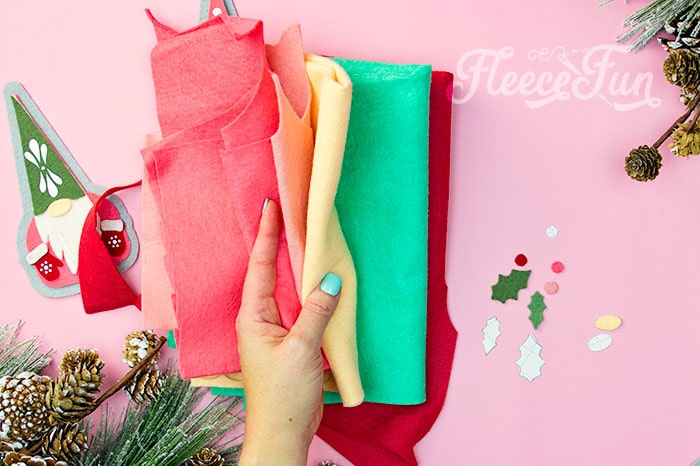
- 4 colors of wool blend felt ( or more if you’re making several different Gnomes – I like to get mine here)
- HTV in white glitter , and plain white
- EasyPress Mini
- EasyPress mat
- Cricut (or other cutting machine to cut the HTV)
- LightGrip Mat
- Glue Gun and Glue Sticks
- Ribbon (optional)
- Fleece Fun’s Free PDF Pattern (Available by filling out the form at the end of the post)
DIY Gnome Ornament (Free Template) Instructions:


Step 1 – Cut out the diy Gnome Ornament Pieces From the Free Pattern

Gather your materials. Decide what colors you want the main elements of the handmade ornament to be.
Notice there are two types of Gnome: one that has holly on the hat, and one that does not have holly but has an HTV decoration instead.
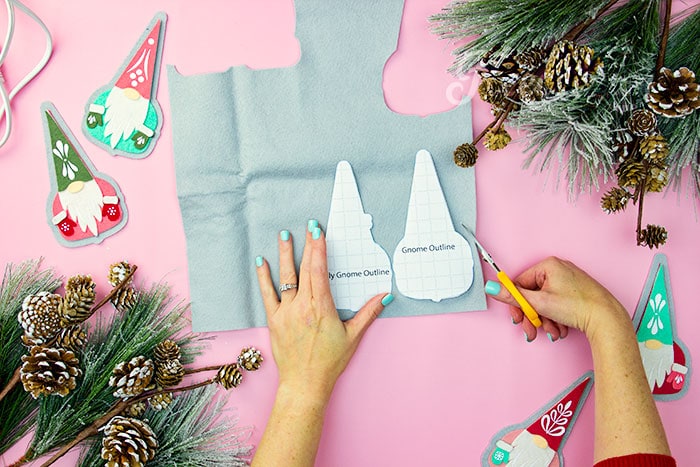
Decide which type you are making and cut out one of the corresponding outline per an ornament.

Set the outline aside.

Next cut one of the Gnome beard per an ornament. (beard is the same for both ornament types)

Set aside.

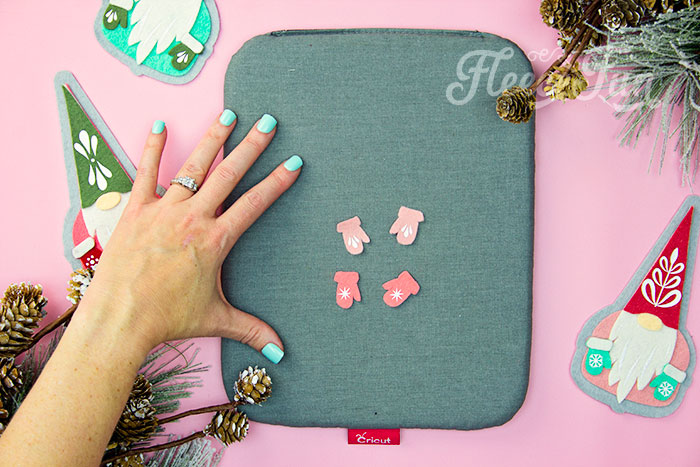
Also from white cut out the little cuffs to the mittens

Set these aside – preferably in a baggy so you can keep track of them.
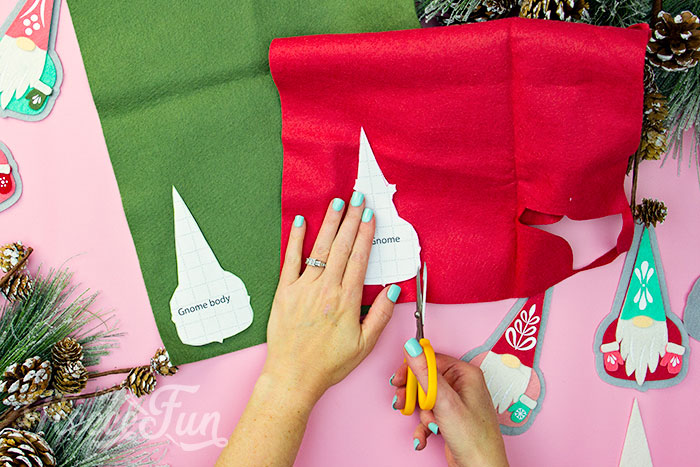
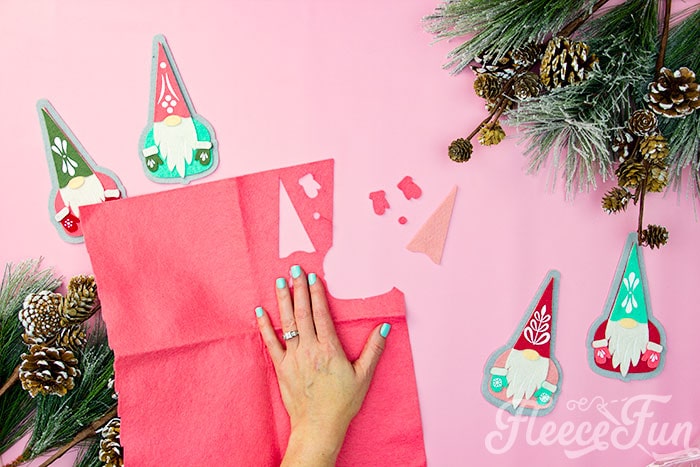
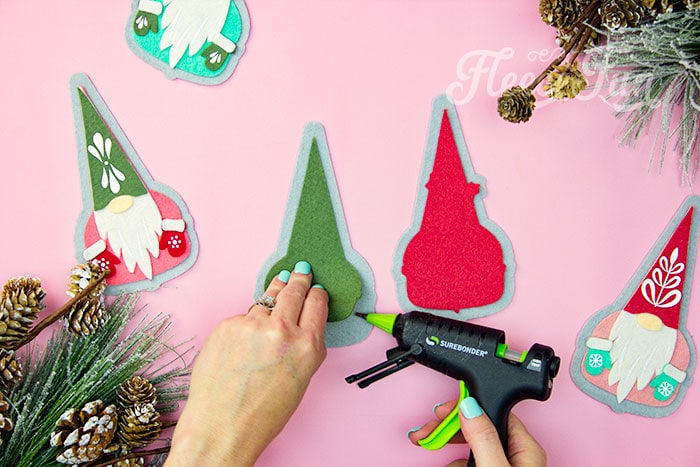
Next cut out one of the Gnome body from your desired color. Note that the body for the holly gnome is different.

Set aside.
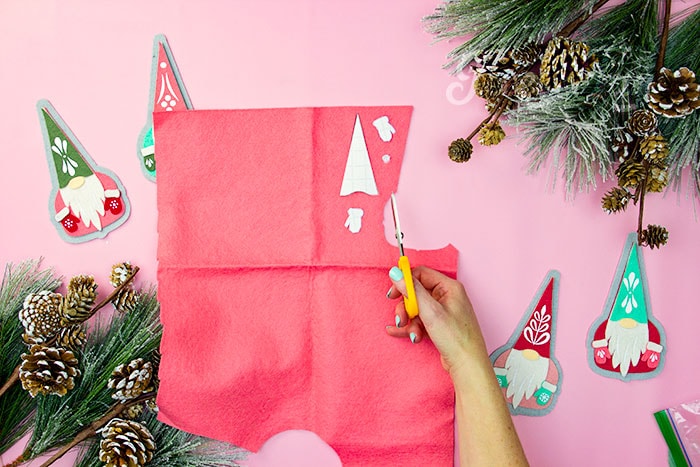
From another color cut out the hat and mittens. If making the holly gnome you can also cut out the berries or leaves.
Set those pieces aside and place into your small things baggy.
note
You can cut out the mittens and hat in different colors to make your DIY Gnome Ornament more colorful.
Finally cut out the holly leaves, berries and gnome nose from the desired colors.

From the HTV cut out the beard lines, hat decorations, and mitten decorations desired for your holiday gnome ornament.
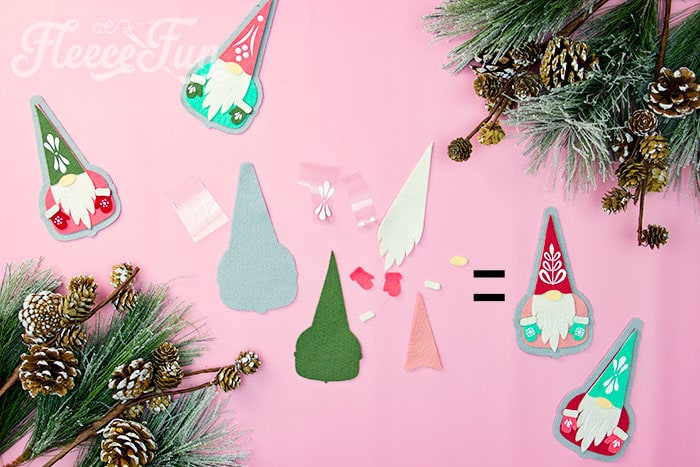
These pieces make a regular no sew DIY Gnome Ornament.

These pieces make a holly gnome Christmas tree ornament.
Step 2 – Add the HTV to the No Sew Felt Ornament
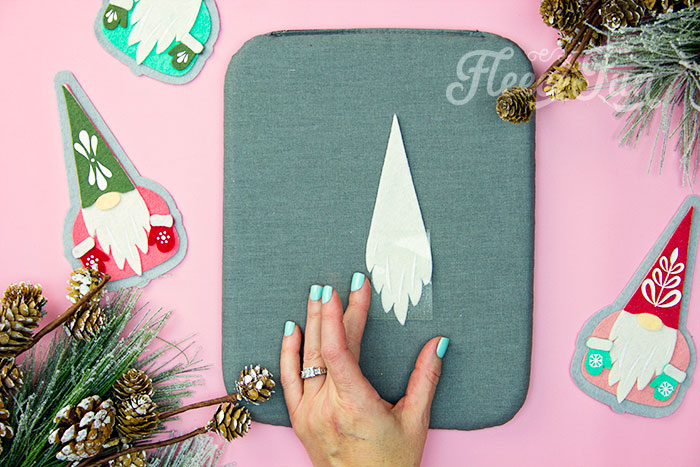
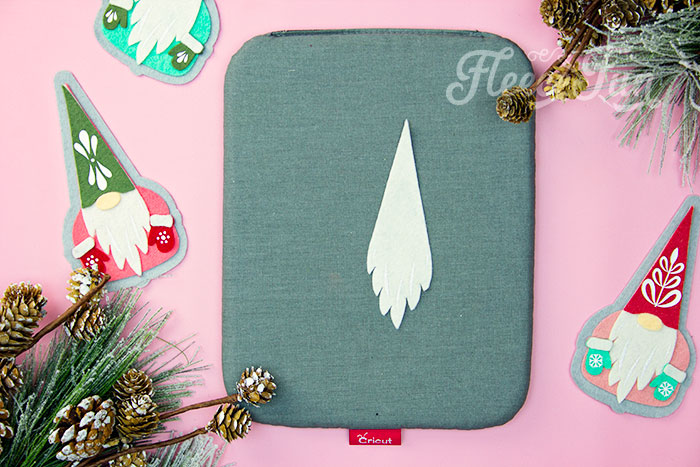
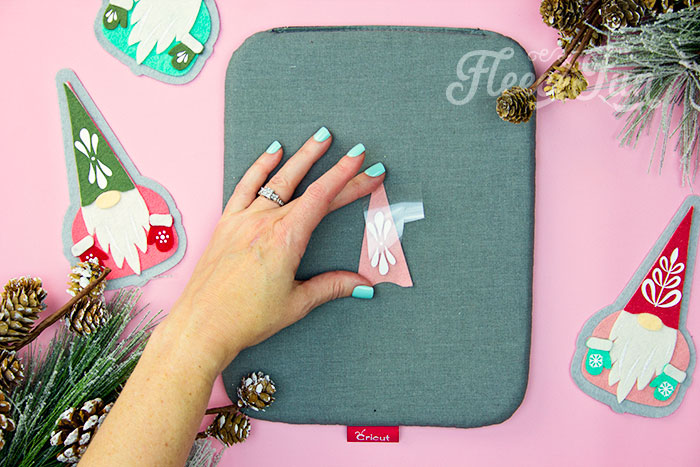
Let’s start with the beard. Place the HTV on the beard and line up as best you can. Notice that the lines don’t go all the way to the bottom of the beard.
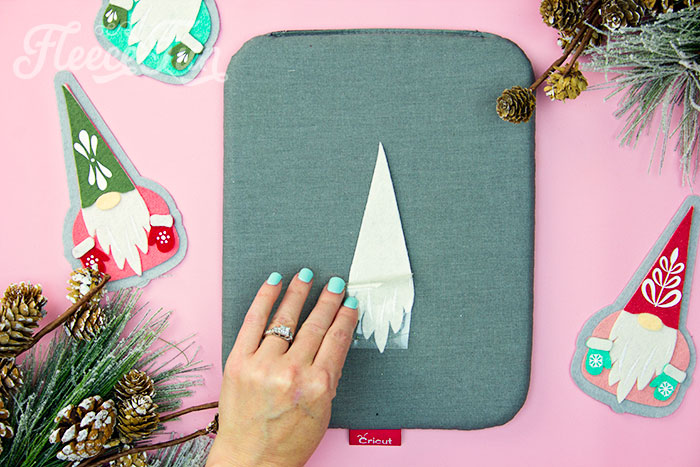
Iron on according to the instructions on your HTV and set aside.
You will need to do this for each ornament.
Next for the non – holly gnomes, select the desired design for his hat and center on it.
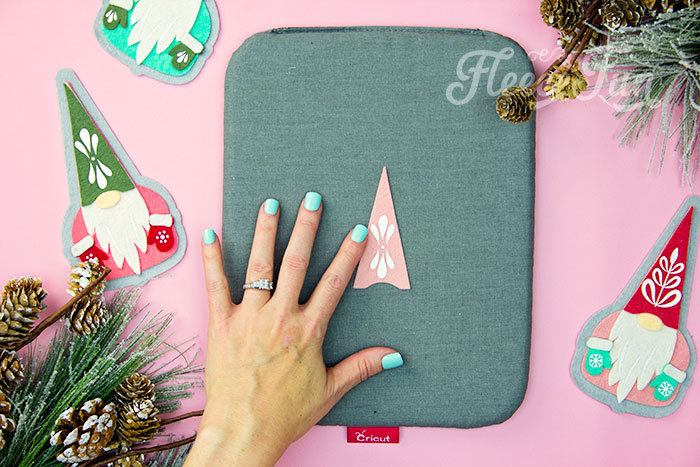
Iron on according to the directions on your HTV, and set aside. For the holly gnome leave the hat blank, we’ll get to it in a later step.
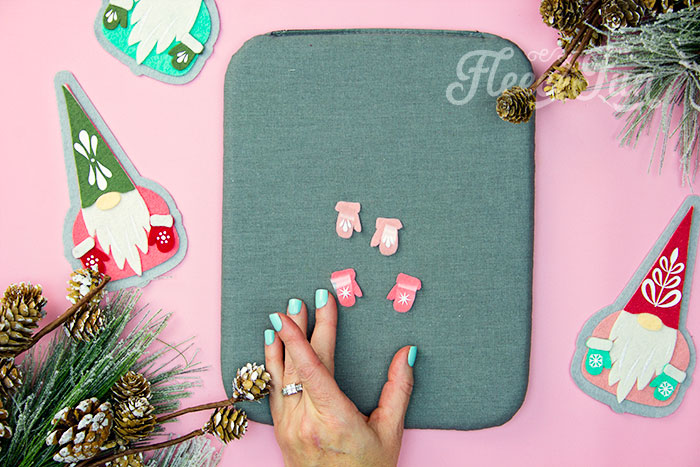
Now iron on the mitten designs. Keep in mind that the pattern needs to be low enough on the mitten that it doesn’t get covered by the cuff when we glue it on later.
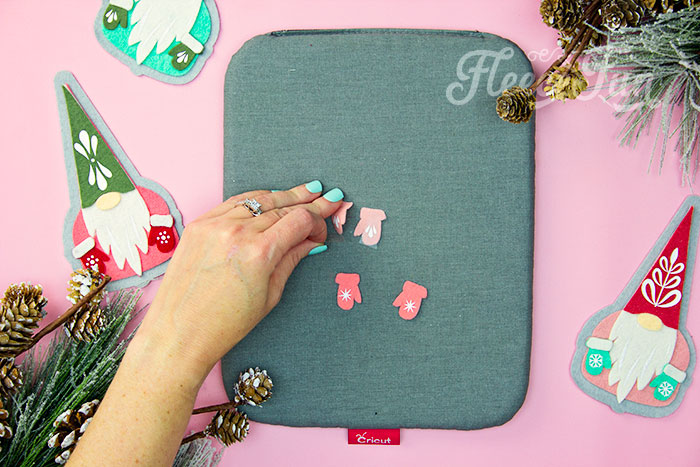
Iron on. By the way for tiny stuff like this – the MiniPress is really handy.
Set those tiny pieces back into the baggy.
Step 3 – Glue the DIY Gnome Ornament Together
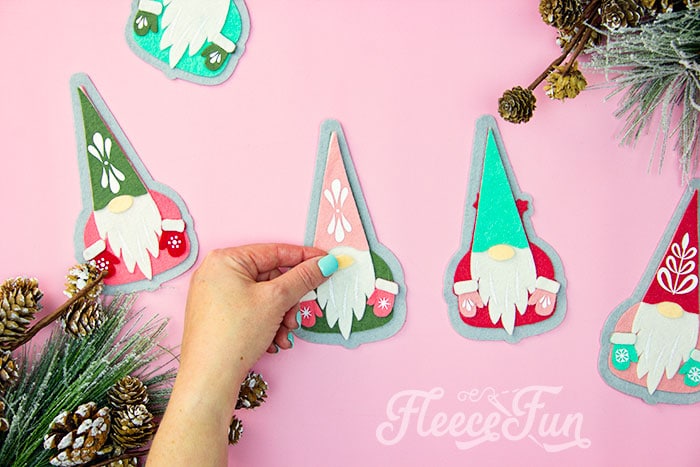
Well start with the base and work our way to the front. Center the body of the gnome on the outline. Glue into place.
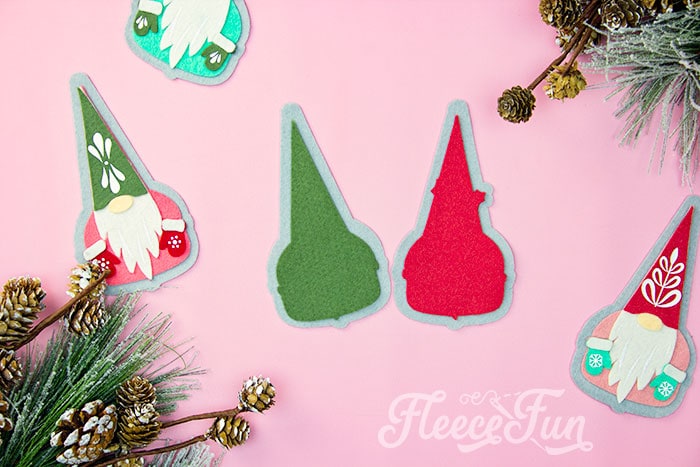
This process is the same for both types of ornaments.
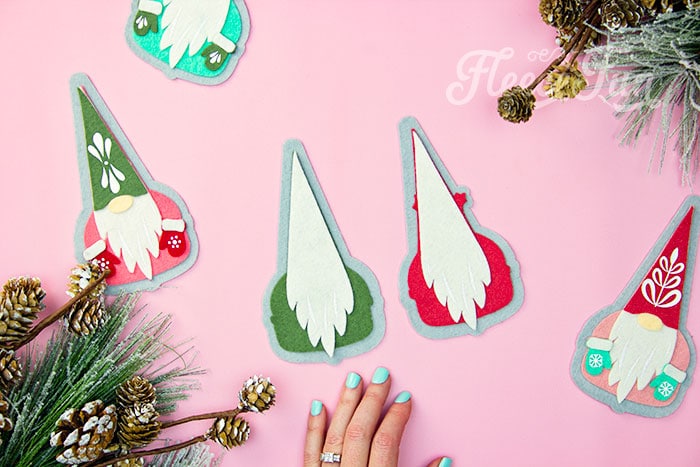
Now glue the beards into place. Start by aligning them at the top – this will help them fall into place.
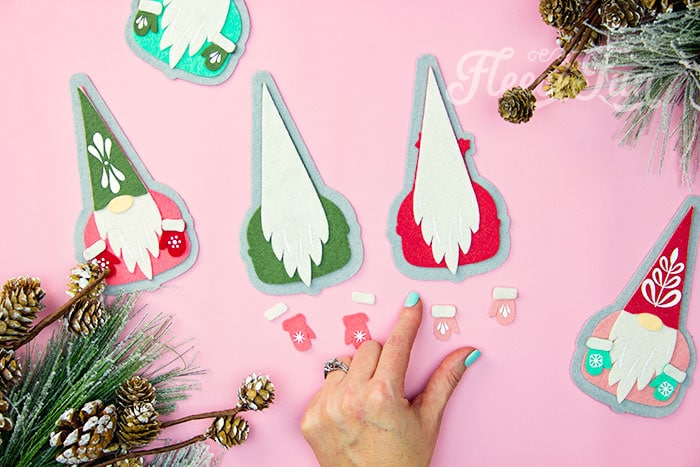
Now glue the cuffs to the tops of the mittens.

Then using the body to help you find the placement (there’s a little bump on the lower side where the mitten cuff will align,) glue the mittens into place.
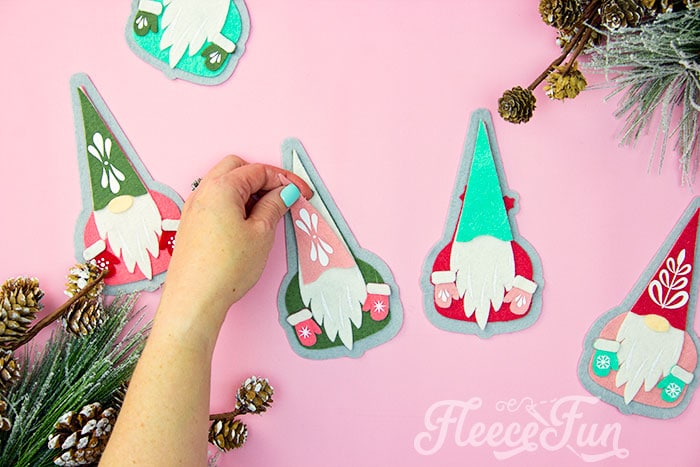
Next, glue on the hat, aligning the top to help it fall into place.
Add the nose so it sits just under where the brim curves up and center it there. Glue down. The DIY Gnome Ornament without holly is almost finished.
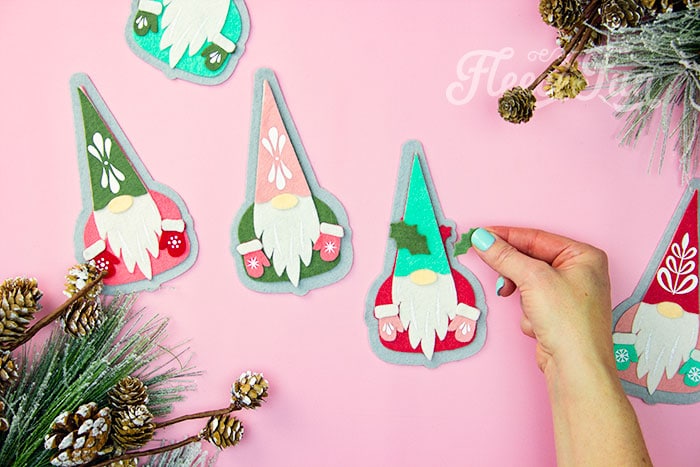
For the Gnome with holly, place the large holly leaf on the left, using the body as a guide. Then place the smaller holly leaf on the right again using the body a s guide.
Finally figure out how you want to place the berries between the two leaves and glue down.
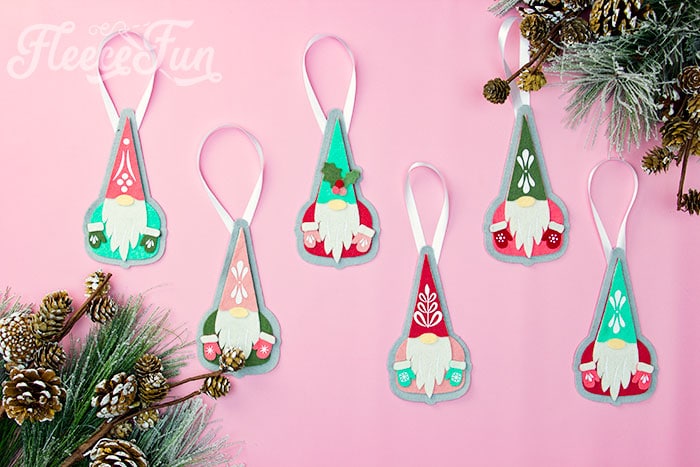
If desired add a 8 inch loop of ribbon to the back for hanging. Make a bunch for a full lawn of gnomes.
DOWNLOAD THE FREE PATTERN HERE.
You can get a free copy of Adobe reader here. By downloading you are agreeing to pattern terms of use. Fill out the form to get it sent right to you.
Christmas Crafts You’ll Like to Try
- DIY Felt Ornaments Tips, Tricks, and Templates
- Gingerbread House Ornaments DIY
- DIY Felt Candy Christmas Tree Ornaments
- DIY Cloche Ornament
- Felt Gingerbread Man Pattern
- Mitten Ornament Pattern
- Ice Skate Ornament DIY
- Snowflake Ornament DIY
- Felt Fox Ornament DIY
- Giant Holly Leaves
- See 40 Snow Ideas for Kids!
- You can see all of Handmade Ornament Tutorials on this page
- You can see just my Felt Christmas Ornaments here
Explore More Christmas Projects You’ll Love
- Santa Ornament DIY
- Ballet Slipper Handmade Ornament
- DIY Homemade Ornament with Gnomes
- Christmas Embroidery Designs Noel Hoop Ornament DIY
- Angel Handmade Ornament DIY
- Christmas Advent Calendar DIY
- Homemade Christmas Tags
- Cozy Christmas Tall Tree Pillow Tutorial
- Holiday Bath Bombs DIY
- Christmas Tree Pillow
- Christmas Terrarium DIY with Cricut Maker
- Free Christmas Printable Joy World
- Free Christmas Printable for Hot Chocolate
- Free Christmas Printable for Apron
Super cute, thanks for the template! Too bad there isn’t an svg for the whole gnome.
LOVE THE TEMPLATE!
I love a Chrissy gnome, have them in all shapes and sizes.
Thanks