
Ice Skate Ornament DIY (Free Pattern)
This content contains affiliate links or sponsored elements, read our Disclosure Policy.
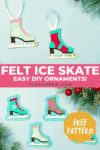

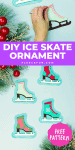
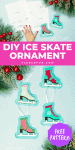
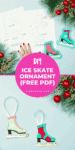

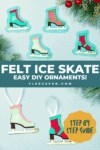


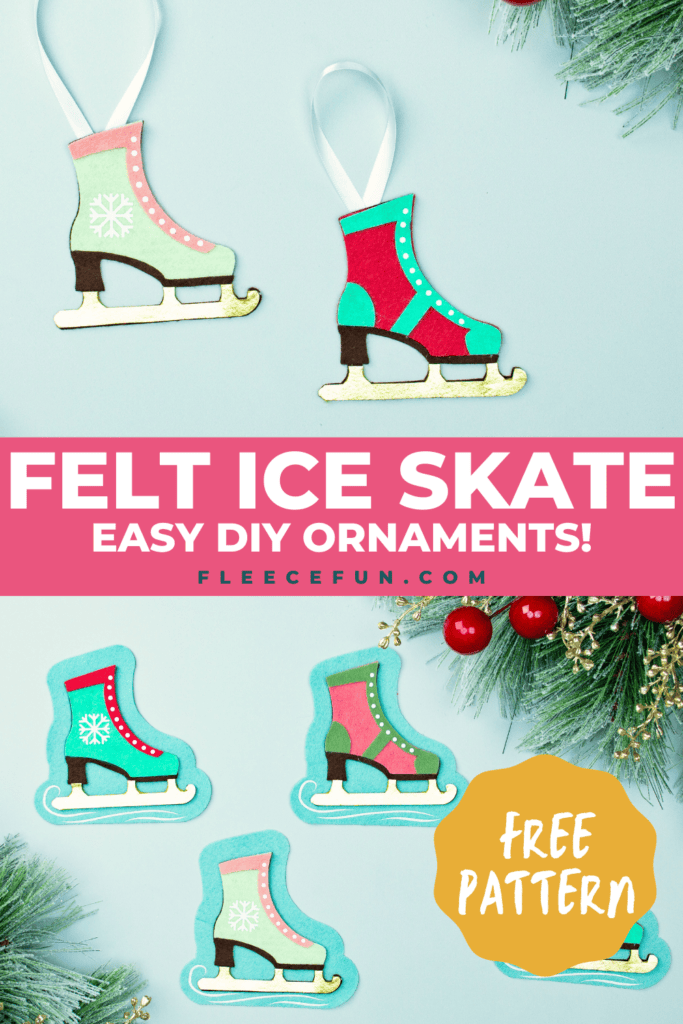
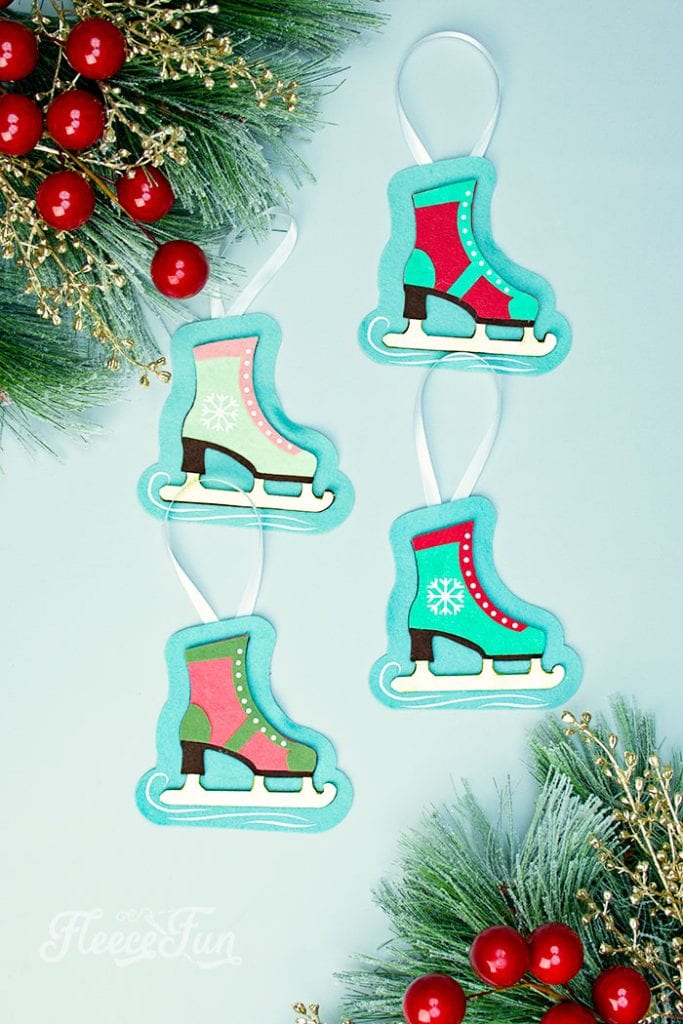
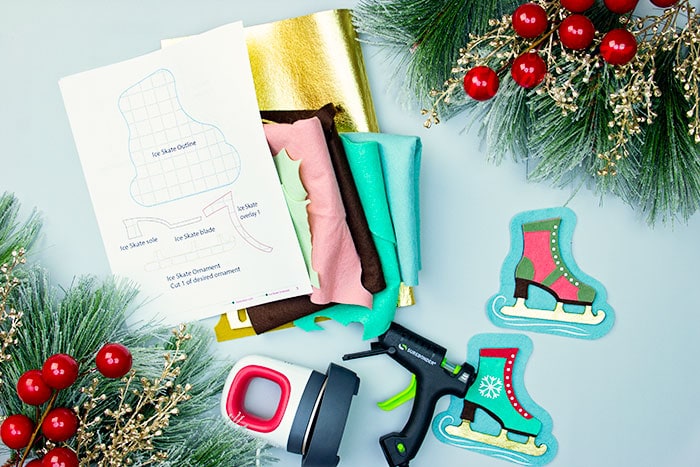
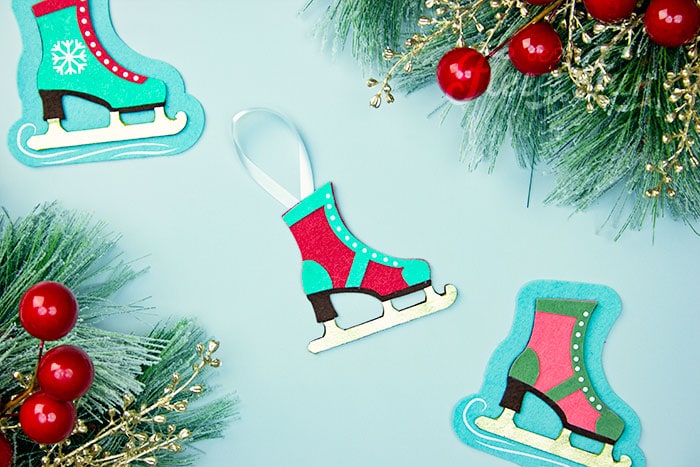
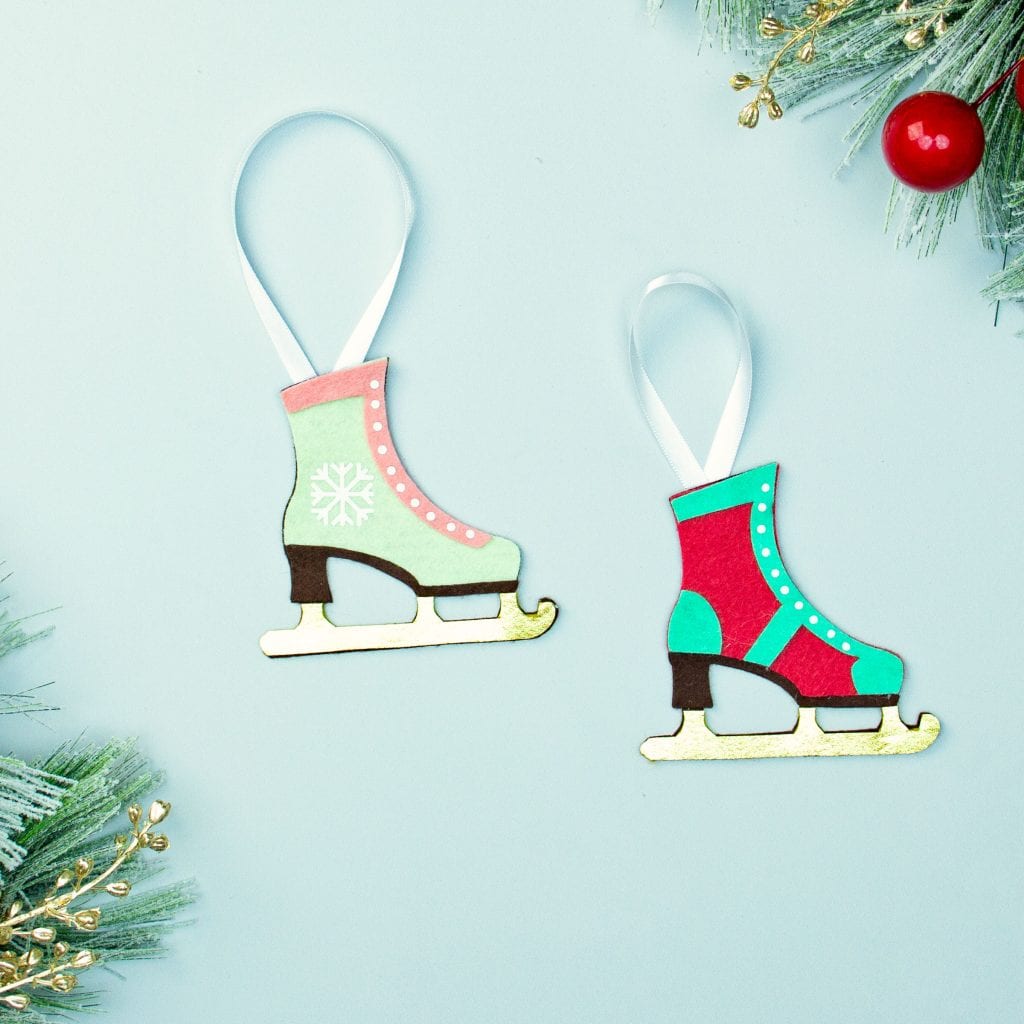
You can make this homemade Ice Skate ornament DIY (free pattern). With a few materials, this no sew felt ornament can be a wonderful addition to your Christmas tree. It also makes a lovely handmade gift for a loved one. This free templates comes with two versions of the skate: one spats shoe style and one with a snowflake on the side. You can also modify the pattern and eliminate the blue background if you wish.
Hate The Ads?
This pattern with video, SVG Files and printable instructions is available in the Makers Studio. The Maker’s Studio is an ad free experience, no video ads, no forms, no zip files, just creating.

YOU WILL NEED:
- 5 colors of wool blend felt ( or more if you’re making several different skates I like to get mine here)
- HTV in white glitter and regular white
- EasyPress Mini
- EasyPress mat
- Cricut (or other cutting machine to cut the HTV)
- LightGrip Mat
- Glue Gun and Glue Sticks
- Ribbon (optional)
- Fleece Fun’s Free PDF Pattern.
Ice Skate Ornament DIY (free pattern) Instructions:

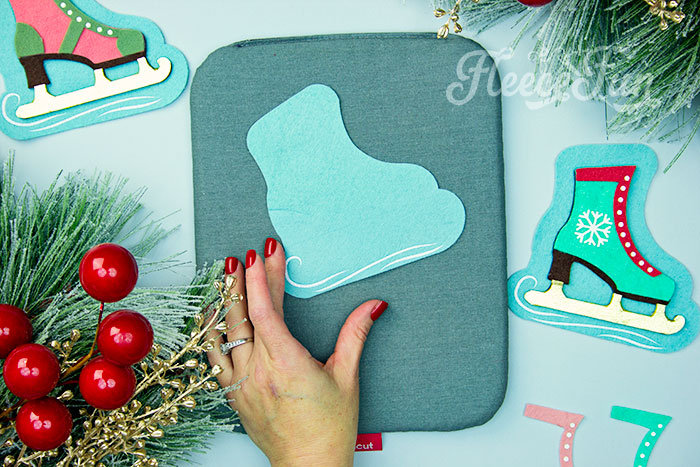
Step 1 – Cut Out the Free Ice Skate Ornament Template
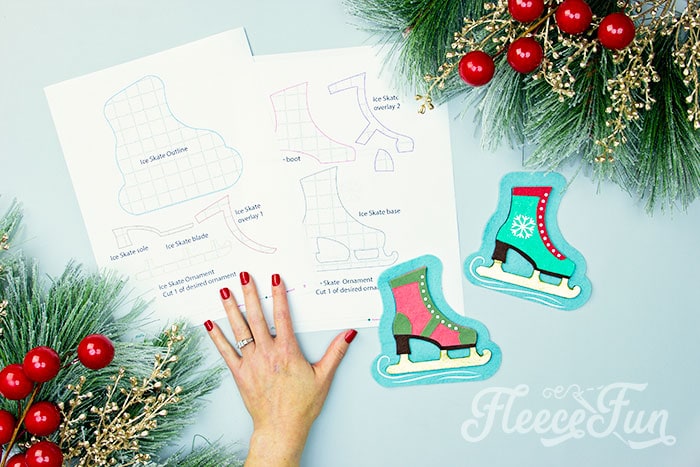
Decide on the style of ice skate ornament DIY that you’re making. There is a spats shoe style and a snowflake style.
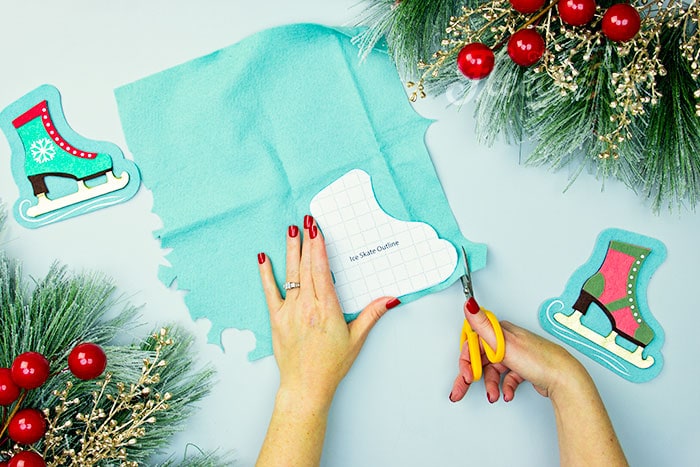
You have the option of eliminating the blue background / outline if you wish. If you’re making it with it – cut 1 per a handmade ornament.
Set the outline aside.
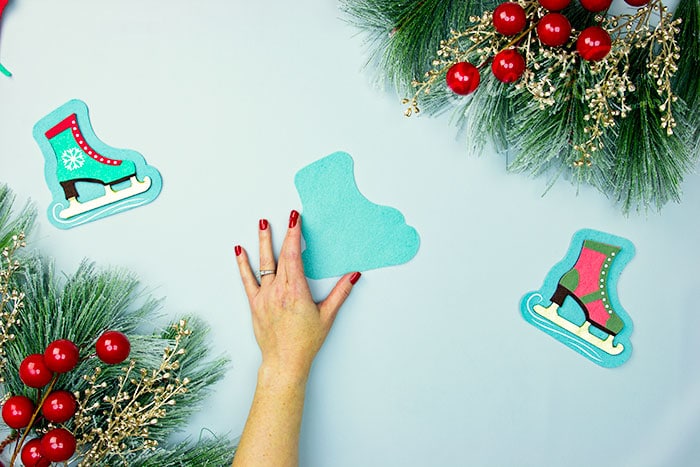
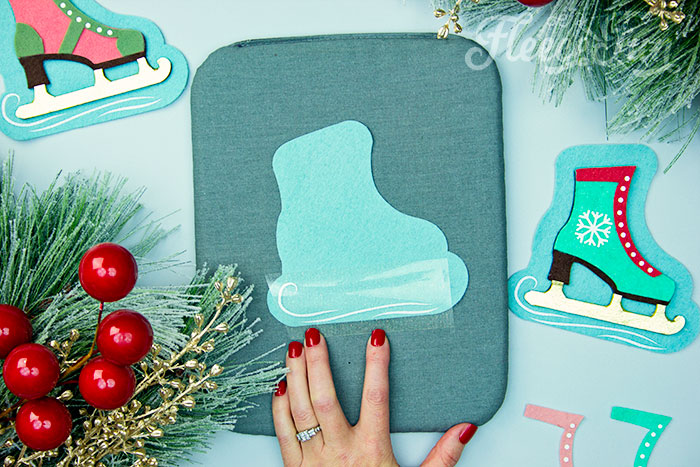
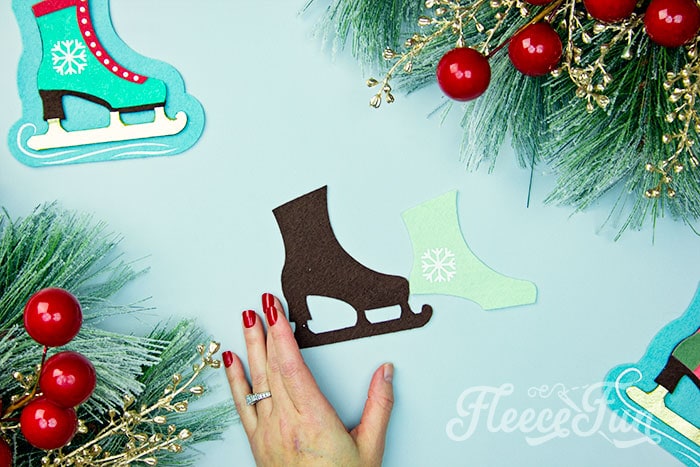
Next cut 1 of the Ice skate Base and 1 of the sole per an ornament.

While these don’t have to be the same color – I find it helpful that they are when putting together the Christmas Tree Ornament. Set aside.
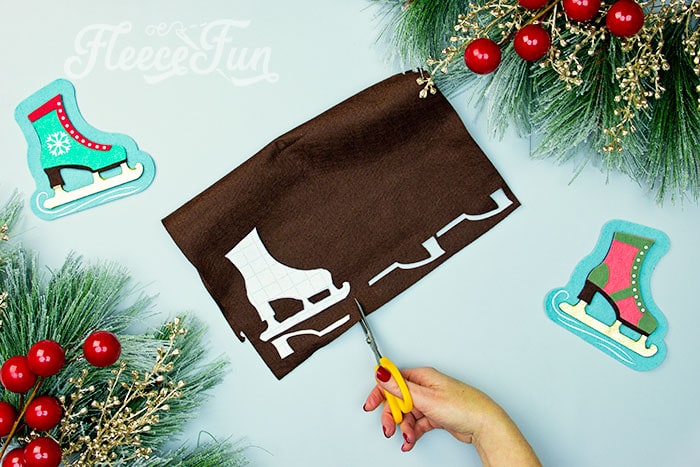
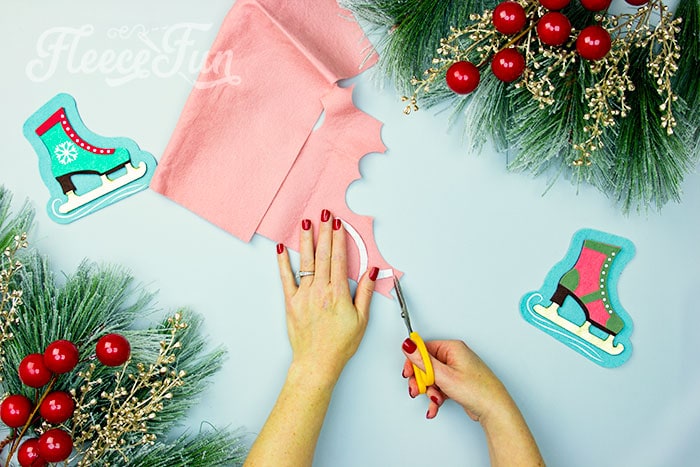
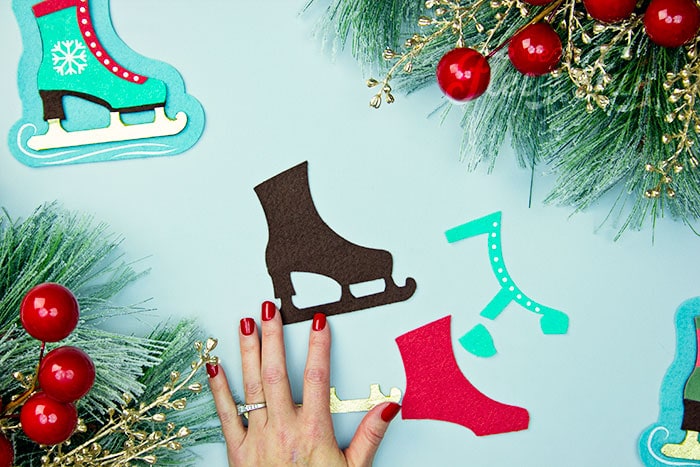
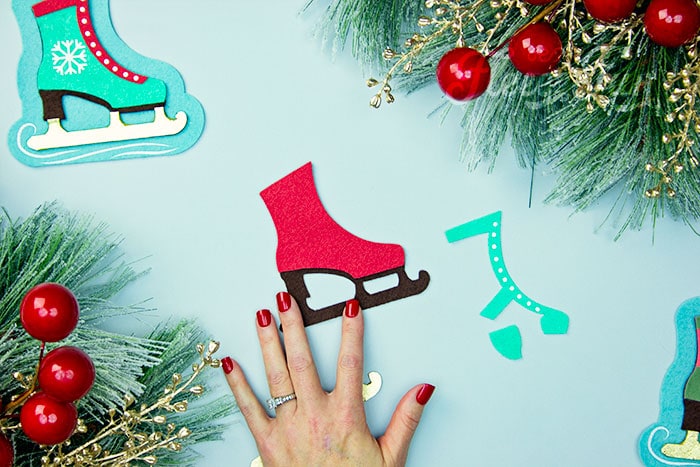
Now it’s time to cut out the Ice Skate Boot.
Since I’m making one of each design I’ll cut another boot from a different color. Set the cut out boot aside.
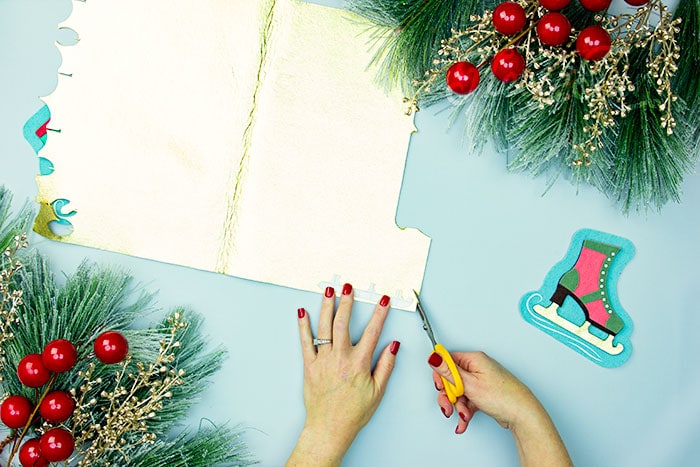
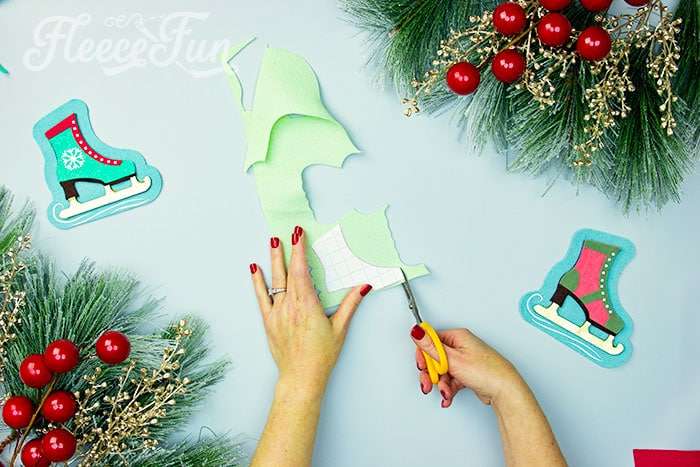
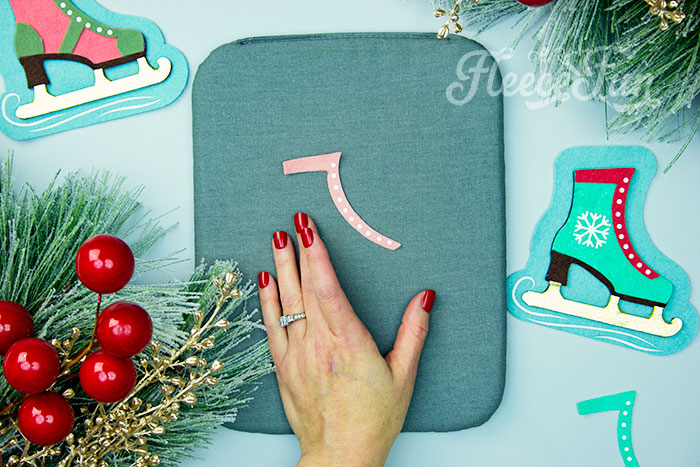
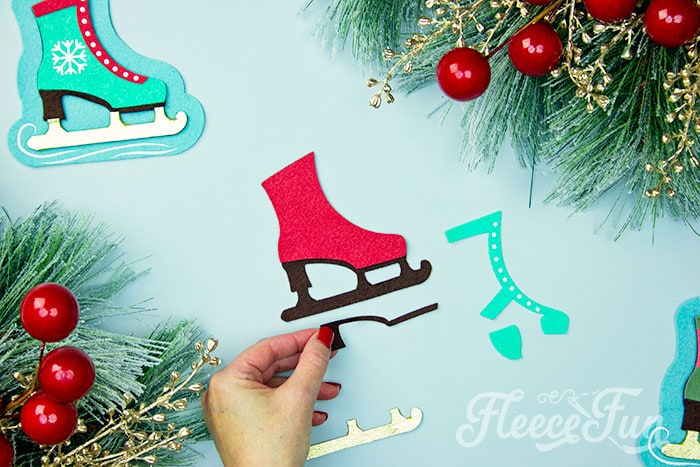
Next I’m going to cut out the blade to the ornament. In the photos I’m using the pattern but when it comes to cutting out the really small bits you have some options: You can trace the pattern onto the felt and then cut, or you can use the freezer paper technique discussed in this tutorial.
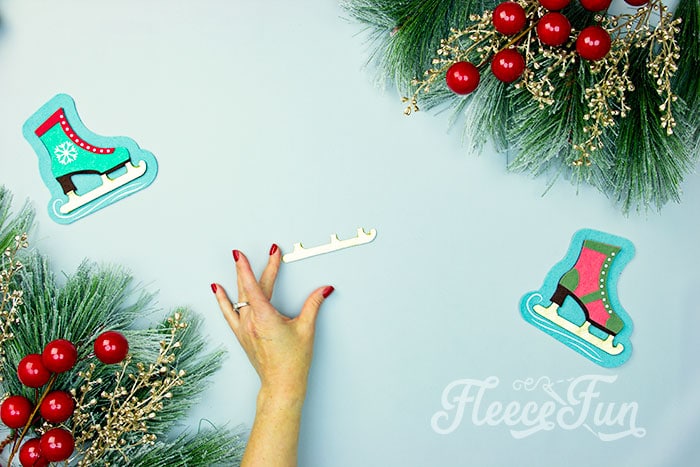
I used foil felt for the blades – you can make your own felt like this using this tutorial or you can buy it (like this one here).
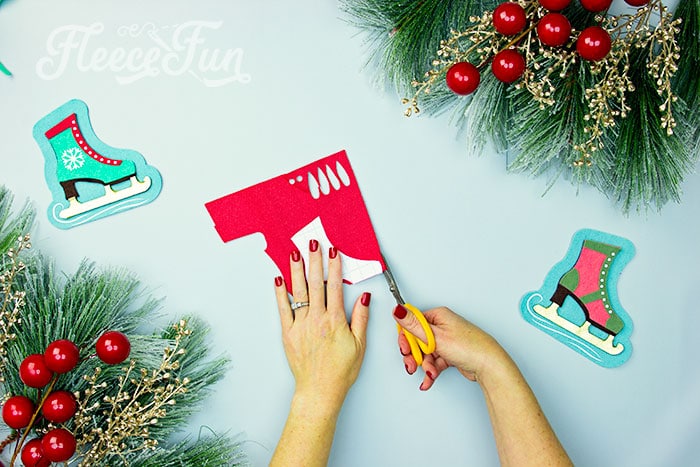
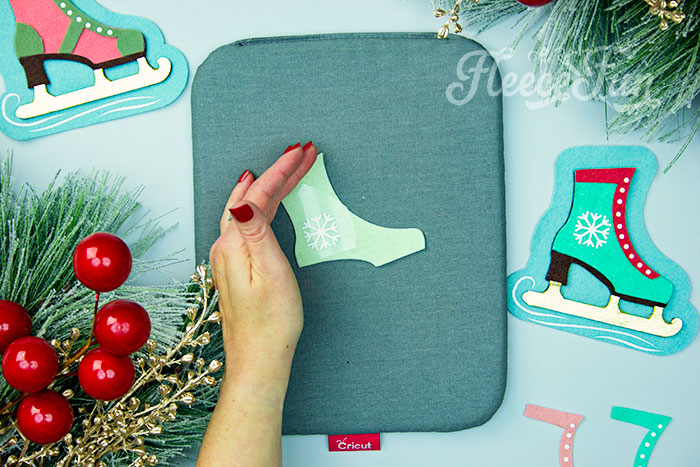
Cut out 1 of skate overlay 1 (if this is the style of ice skate that you’re making.

This is for the style that has the snowflake on the side.

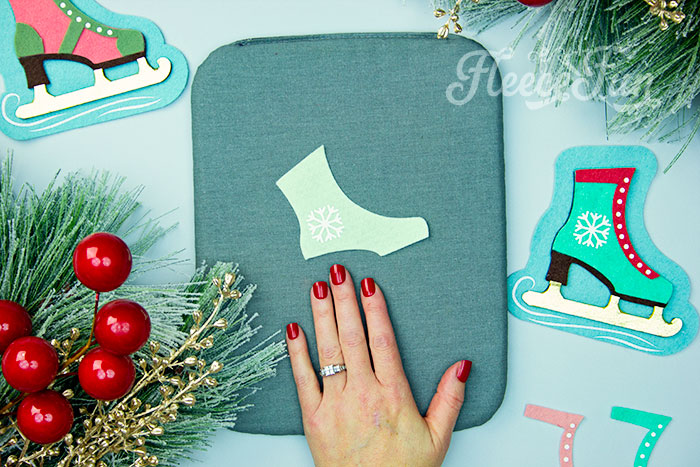
Or if you’re making the spats shoe version (style 2) cut out that overlay.
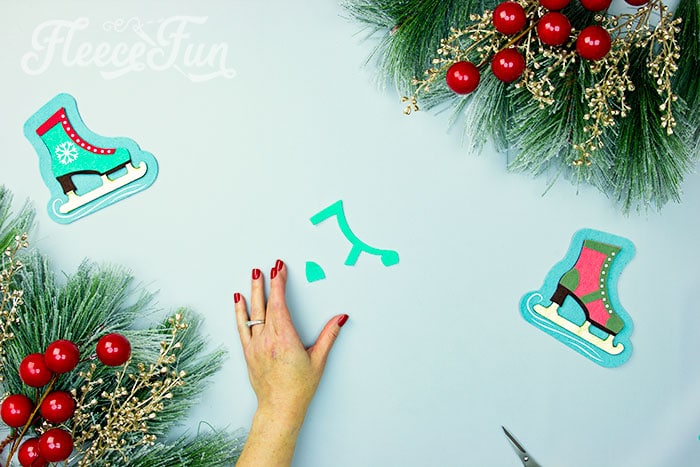
Be sure to keep track of that little heel piece.
Quick Tip
Keep little bits in a small baggie so they don’t get lost!
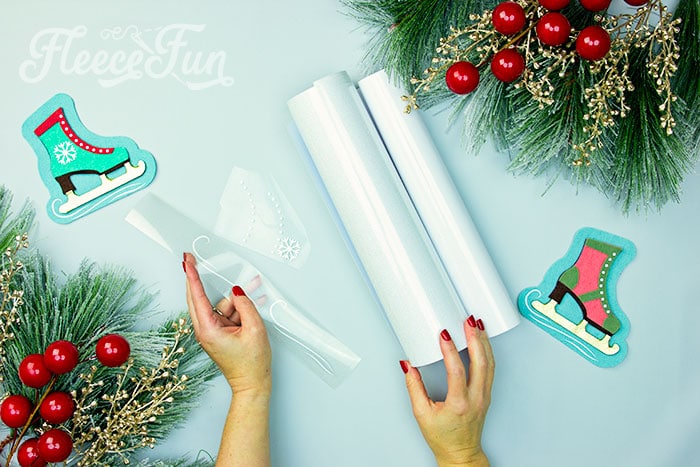
Finally from the HTV and the machine of your choice cut out the shoe lace holes, ice swish and snowflake. Weed the vinyl.
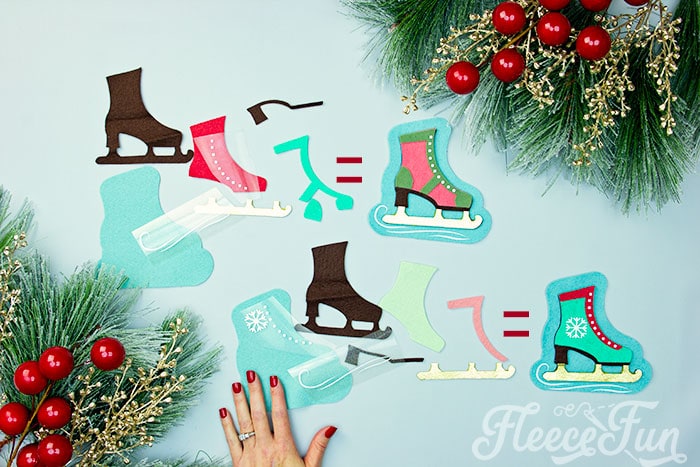
These are all the pieces you need to make each style of ornament.
Step 2 – Add the HTV to the Handmade Ice Skate Ornament
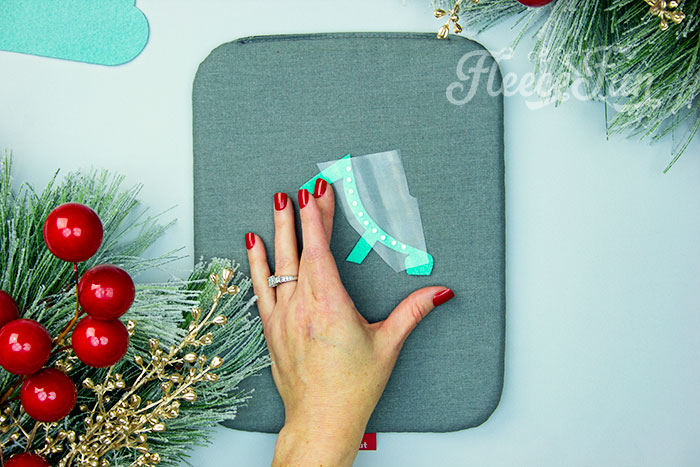
Add the shoe lace eyelets to the overlay pieces.
Iron it on.
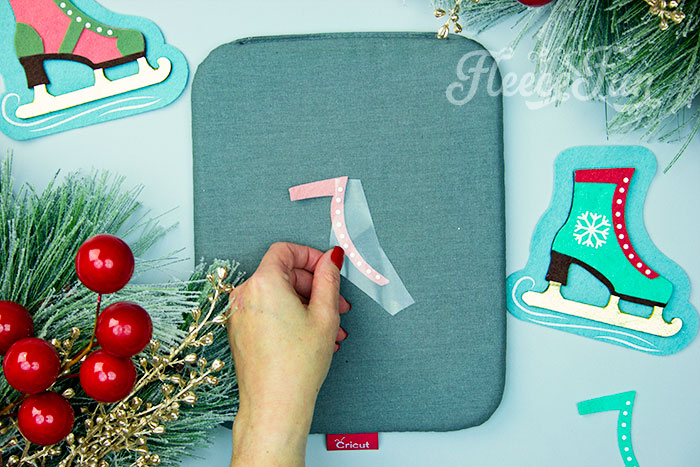
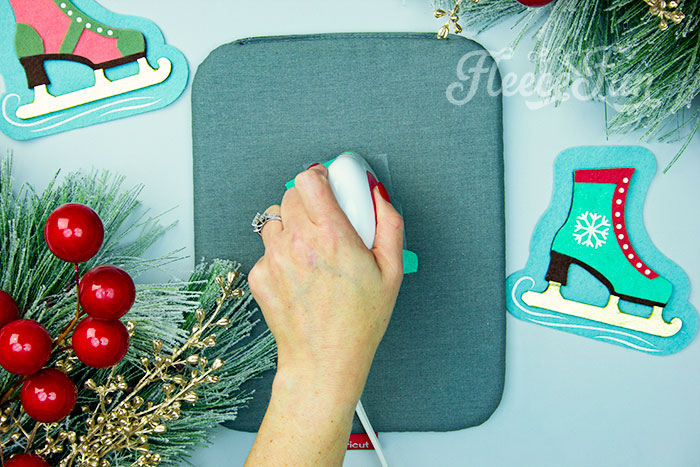
If making style 2 the process is the same.
Iron on the eyelets using the suggested settings for your vinyl.
If making the style with the snow flake iron on the snowflake to the boot at this time.
Make sure that it’s sitting in a spot that allows for the overlay to be glued on without covering it up.
Finally if you’re adding the outline to the skate, iron on the “swishes”.
Notice that they are close to the edge.
Step 3 – Assemble Your Handmade Ice Skate Ornament
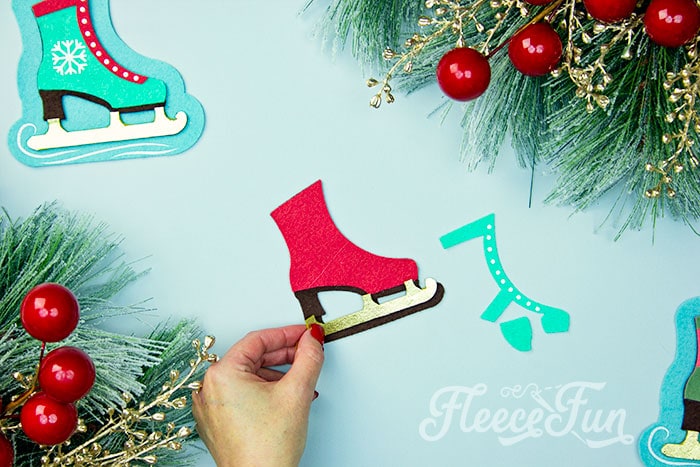
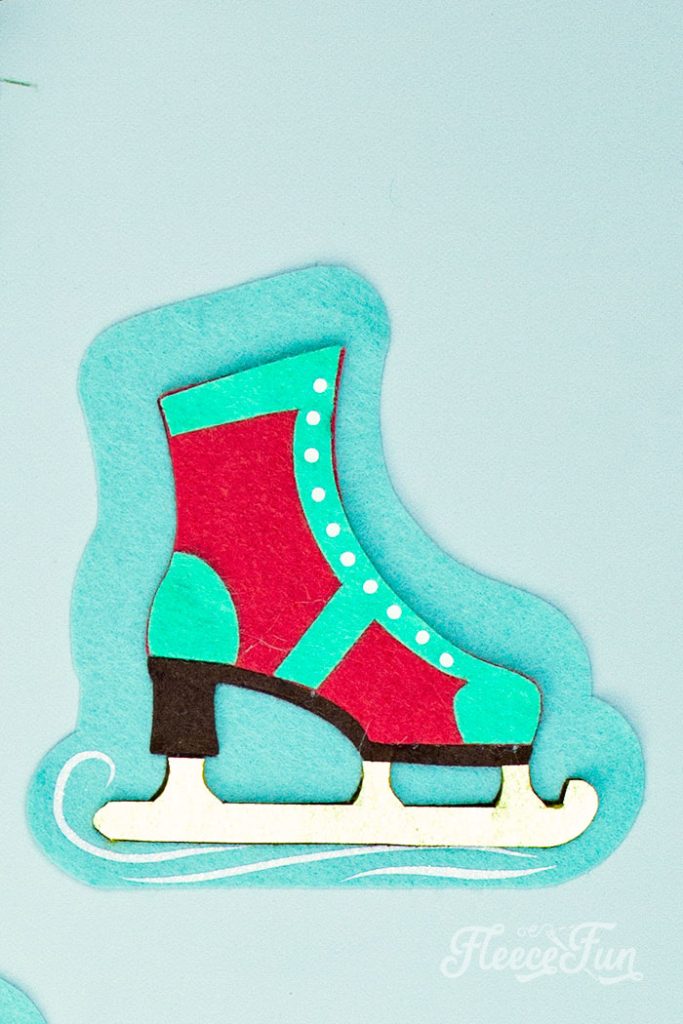
Let’s start with the spats style of ornament (style 2).
You’ll need the base, the boot, the sole, the overlay and the blade.
Start by gluing the boot into place. Be sure to line up the top of the boot with the top of the base – there should be a gap at the bottom for the sole.
Now glue the sole into place lining up the heels and bottom of the ice skate boot.
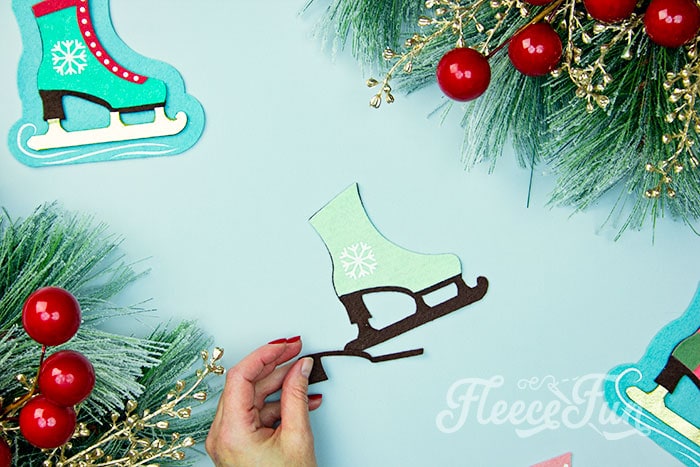
Now glue the blade in place, lining it up with the base.
Next glue the overlay into place. The heel section will line up with the heel, and the toe and ankle will line up with the boot.
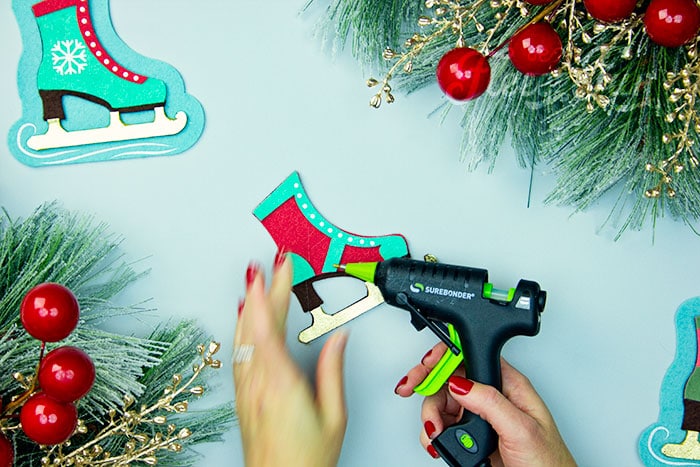
A this point you can add a loop and call it finished or you can glue the entire thing to the outline.
For style 1 the process is similar. start by gluing the boot section into place. lining it up at the top – leaving a gap at the bottom for the sole section.
Next glue the sole into place, lining up at the heel.
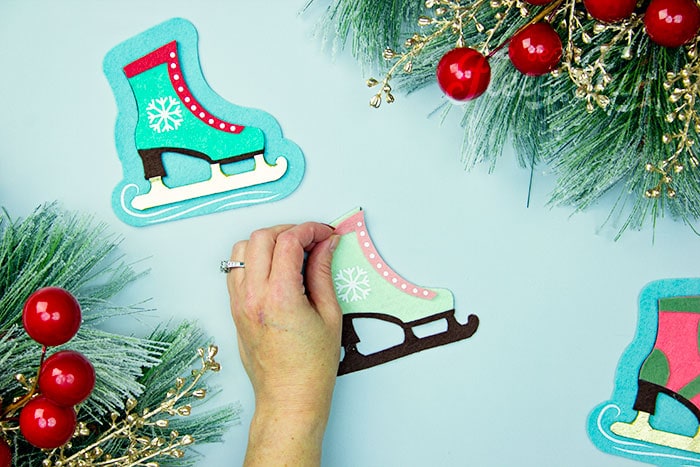
Glue on the overlay, lining up at the top.
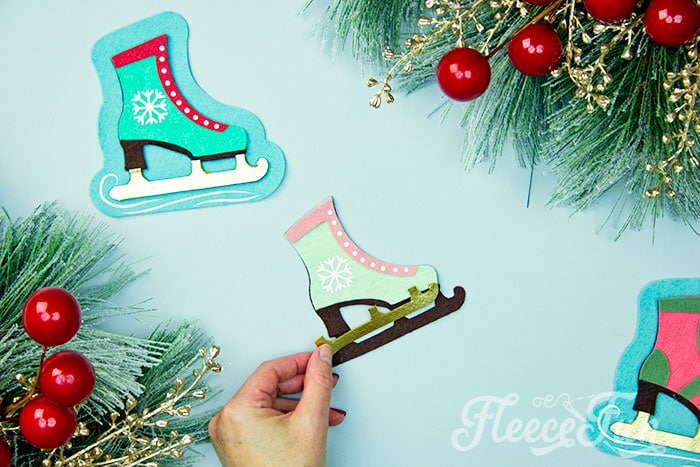
Finally, add the blade to the base.
Again you can leave it as is or glue it to the outline.
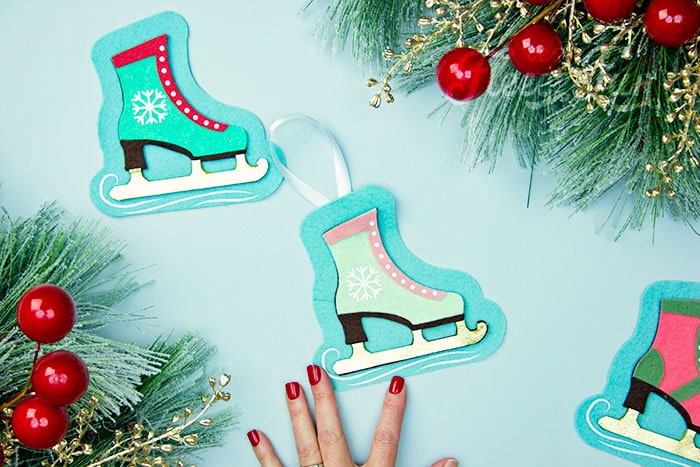
To finish cut 6 inches of ribbon, join together at the ends and glue to the back of the ornament.
Or you can skip the ribbon and use these for garland, tags and more! I also find that these ornaments stick to my artificial tree just fine without the ribbon.
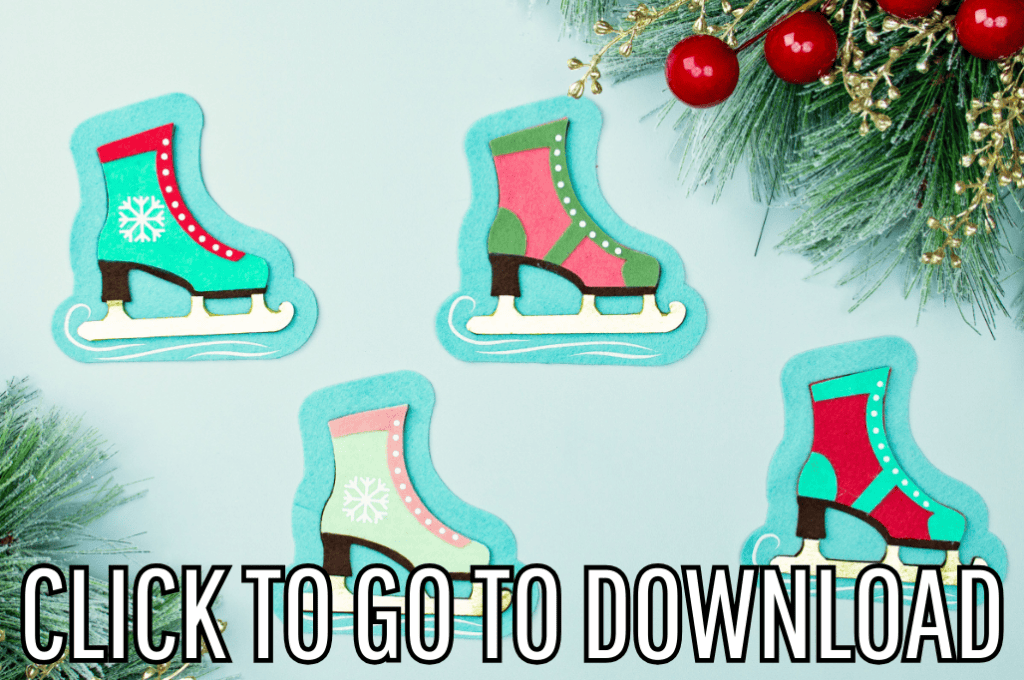
Download the Free Ice Skate Ornament Pattern Here
You can get a free copy of Adobe reader here. By downloading you are agreeing to pattern terms of use. Fill out the form to get it sent right to you. Can’t see the form? Try here.
Christmas Crafts You’ll Like to Try
- DIY Felt Ornaments Tips, Tricks, and Templates
- Gingerbread House Ornaments DIY
- DIY Felt Candy Christmas Tree Ornaments
- DIY Cloche Ornament
- Felt Gingerbread Man Pattern
- DIY Gnome Ornament
- Mitten Ornament Pattern
- Snowflake Ornament DIY
- Felt Fox Ornament DIY
- Giant Holly Leaves
- See 40 Snow Ideas for Kids!
- You can see all of Handmade Ornament Tutorials on this page
- You can see just my Felt Christmas Ornaments here
Explore More Projects You’ll Love
- Wooden Christmas Ornament DIY
- Printable Holiday Gift Tags
- Mini Holiday Gift Tags
- Nutcracker Ornament DIY
- How to Make a Snowman Ornament
- Felt Elf Tutorial
- 6 Ways to Engage Kids This Christmas
- 5 Tips for Outdoor Christmas Decorating
- Christmas Ideas
- No-Bake Christmas Wreath Cookies
- Perfect Stocking Stuffers for Sewing Lovers
- Mad Hatter Tea Party Paper Chandelier
- 5 Ways to have a Fun Family New Year’s
- New Year’s Printable
