
Felt Lanterns Handmade Christmas Ornament Tutorial
This content contains affiliate links or sponsored elements, read our Disclosure Policy.
Handmade gift ideas: This Felt Lanterns Handmade Christmas Ornament tutorial is easy to make and a wonderful addition to your tree. With straightforward instructions you’ll be able to make this holiday decor easily.
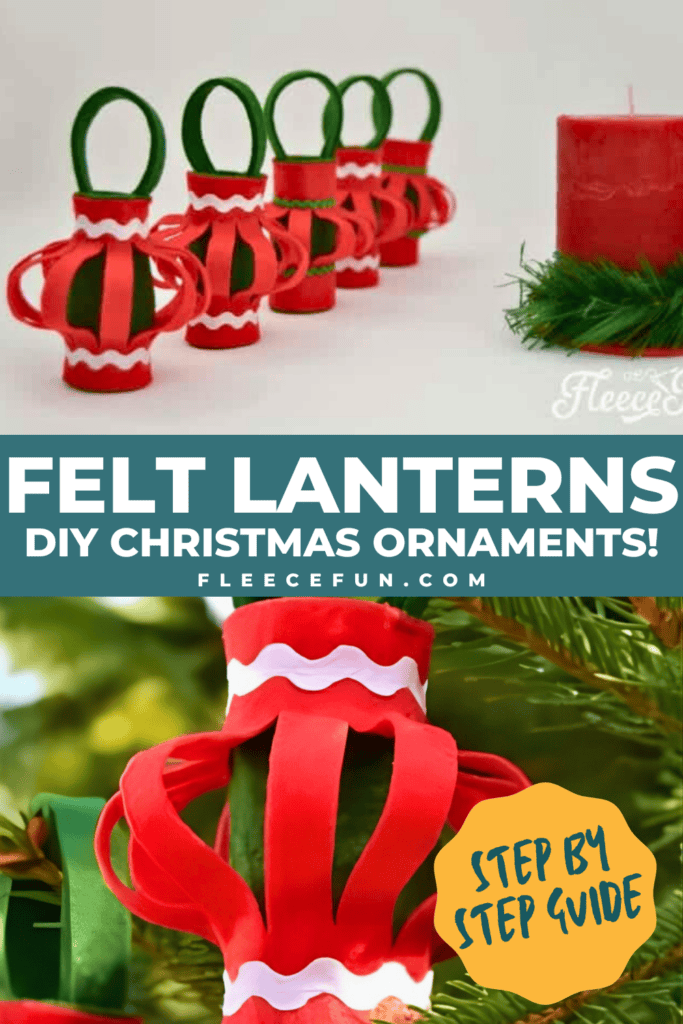
Hi, this is Damjana from applegreencottage.com, and I’m happy to meet you! Here’s a tutorial to make tiny felt lanterns for your Christmas tree.
These lanterns are easy to sew, and make great little handmade gifts for your loved ones. You can stitch them by hand or use your sewing machine. The project is beginner-friendly. All you need to do is stitch 2 straight lines for the body, tack the edges together and attach the handle. An easy project!
Here’s a list of items you’ll need to make your tiny felt lanterns:
YOU WILL NEED:
Felt (per lantern)
- – green felt, at least 1.5 mm thick
- 5″ x 1/2″ (1 strip) – for the handle
- 4″ x 3″ (1 piece) – for the (inner) base
- – red felt, thinner than the green one
- 4″ x 4″ (1 piece) – for the (inner) base
Plus: - rickrack trim (two pieces of 4-inch length per lantern)
- matching thread
- sewing needle and sewing machine
- scissors
- measuring tape
How To Make Tiny Felt Lanterns ornament- Instructions
Step 1 – Cut the Felt and Trim Pieces
Cut the pieces of felt and rickrack trim, as marked above.
Step 2 – Fold the Red Felt Piece
Take the red square piece and fold it in half.
Step 3 – Mark the Cutting Lines
You want to make precise and even cuts. Draw a STOP line approximately 3/4 inch from the raw edge (not the folded edge!), then use a small ruler to mark the cutting lines at 3/8-inch increments (=1cm) between the folded edge and the stop line.
You’ll see the Felt Lanterns Ornament taking shape in the next step!
Step 4 – Cut the Fringe
Cut. You’ll be cutting on the folded edge.
Step 5 – Layer and Sew the First Side
Stack the pieces: place the green piece on a flat surface, and the red (fringed) piece aligned at the 4-inch edge. add a piece of rickrack approximately half an inch away from the edge, and pin or use wonder clips to keep the layers in place.
Using a straight stitch, sew through the rickrack, one straight line.
Step 6 – Sew the Second Side
Now, the other side: align the green and the red piece on the edge and add the rickrack trim. Pin or clip to prevent the layers from sliding, then stitch, just like you did in step 5.
Step 7 – Stitch the felt Lanterns ornament Body
Now fold the body piece in half and use a wonder clip to hold in place. Then hand stitch the top and the bottom portion, joining the two parts of the lantern. I used a simple whip stitch.
Step 8 – Attach the Handle
Attach the handle, i.e. the half-by-four-inch strip.
Step 9 – Finish the Felt Lanterns Ornament
Your lantern is finished! Now repeat as many times as you wish, they make an adorable handmade gift set.
So here they are, cute little handmade gifts for Christmas you just won’t be able to resist making yourselves!
More Handmade Christmas Sewing?

If you are in the mood for more handmade Christmas sewing, why not make your own, beautiful DIY gift bags? With 6 variants, this pattern is perfect to hold all your Christmas gifts – and the boxed corners are made the EASY way! (The best sewing hack ever!)
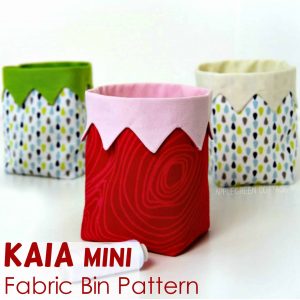
Here’s what my readers love, too: my popular Kaia Mini Bin, the cutest alternative to a Christmas stocking!
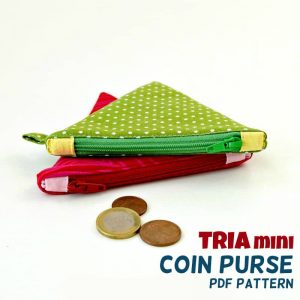
Or try out one of my most popular coin purse patterns that make a perfect Christmas gift for any age: the TRIA coin purse.
Happy sewing,
Damjana
like this Felt Lanterns Ornament? see More Ornaments for your Tree!
- Felt Stocking Ornament DIY
- Felt Ornament Pattern: Adorable Reindeer
- Free Ornament Template: Felt Santa
- Santa Ornament DIY
- Ballet Slipper Handmade Ornament
- DIY Homemade Ornament with Gnomes
- Wooden Christmas Ornament DIY
- Nutcracker Ornament DIY
- You can see all of Handmade Ornament Tutorials on this page
- You can see just my Felt Christmas Ornaments here
Explore More Christmas Projects You’ll Love
- Snowflake Ornament DIY
- Printable Holiday Gift Tags
- Mini Holiday Gift Tags
- Felt Fox Ornament DIY
- Mini Top Hat Ornament Tutorial
- Santa Hat How-To
- DIY Santa Hat Headband
- Quilted Christmas Table Runner Tutorial
- High Heel Christmas Stocking
- Printable Handmade Gift Planner