
Ballet Slipper Handmade Ornament Tutorial (Free Svg file)
This content contains affiliate links or sponsored elements, read our Disclosure Policy.


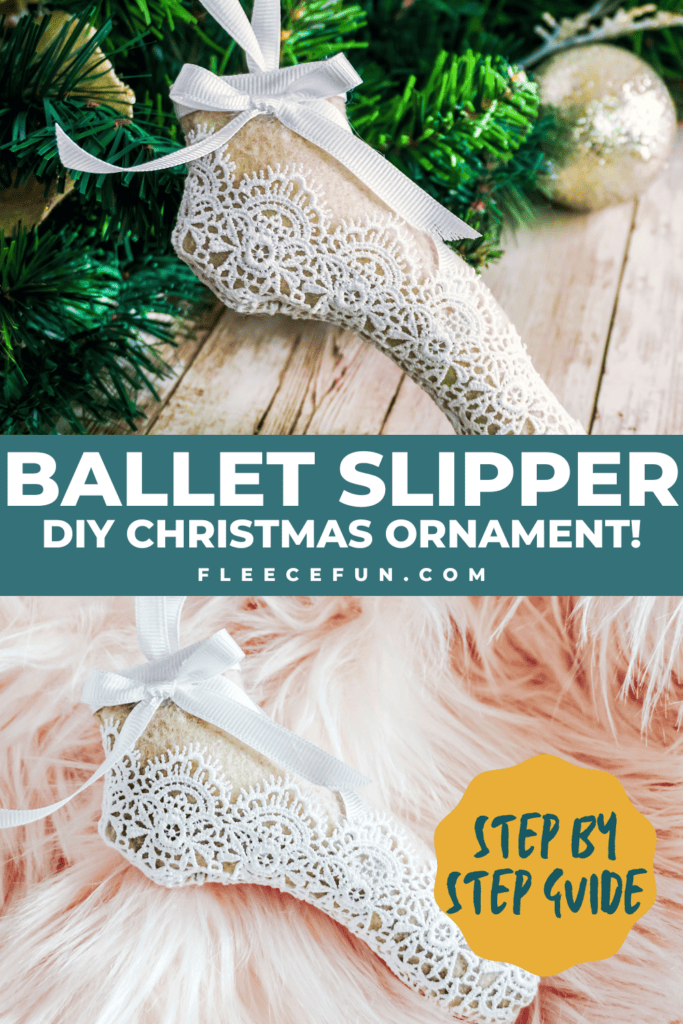
This delicate Ballet Slipper Handmade Ornament tutorial inspired by the Nutcracker Suite is the perfect addition to your Christmas Tree. Thanks to easy to cut SVG file you can make several ornaments in one sitting. Perfect little gift to friends and family or add some flair to gift wrapping. While a sewing machine is suggested this ornament can easily be hand stitched too.
YOU WILL NEED:
- Craft Felt in the skin color of your choice (Benzie Design has Tons of felt shades)
- White Lace Ribbon (2-3 inches wide or similar)
- Thread
- White Solid Ribbon (¼-inch wide or similar)
- Small Amount of Polyfill
- Scissors
- Sewing Machine
- Cricut Maker
- Needle
- Pins
- Hot Glue Gun
- Get the free pattern and SVG here.

Ballet Slipper Handmade Ornament Tutorial
Step 1 – Gather Materials and cut out the Ballet Foot
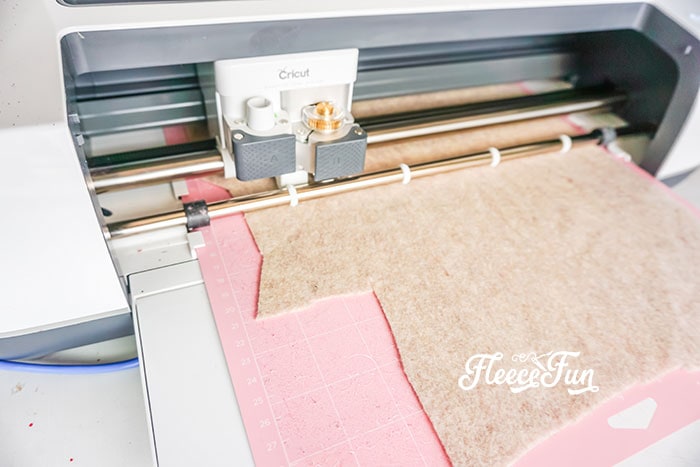
With the Cricut Maker or scissors, cut out two of the foot shape of the Foot Cut File Pattern from the skin tone craft felt.
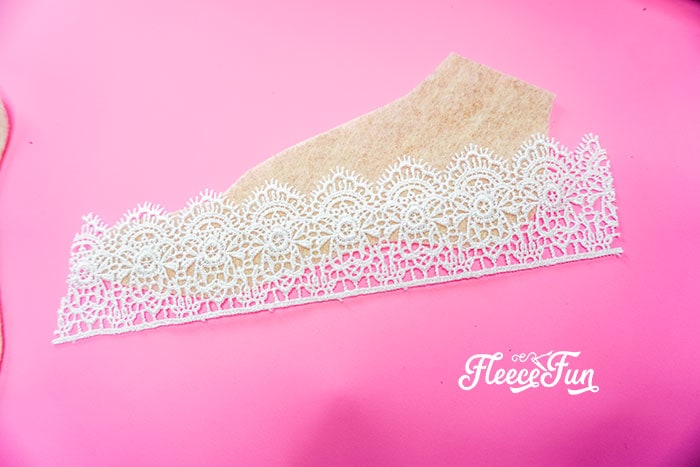
Using the cut out foot as a guide, cut a length of lace as long as the bottom side of the foot shape, plus 1 inch.
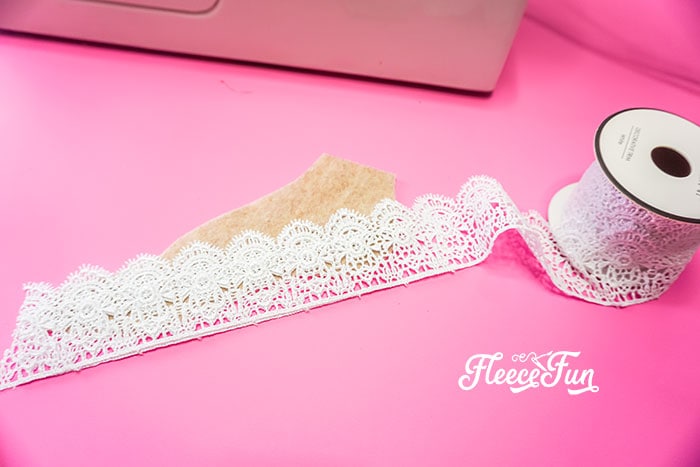
Cut another bit of lace the same length, so you have two feet and two lengths of lace.
Step 2 – Begin to Sew the Ballet Slipper Ornament
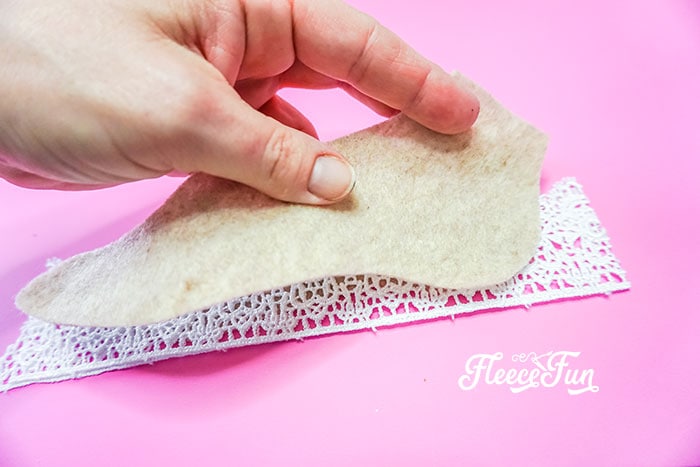
Sandwich the two lengths of white lace between the two foot-shaped pieces of felt. Pin this in place.
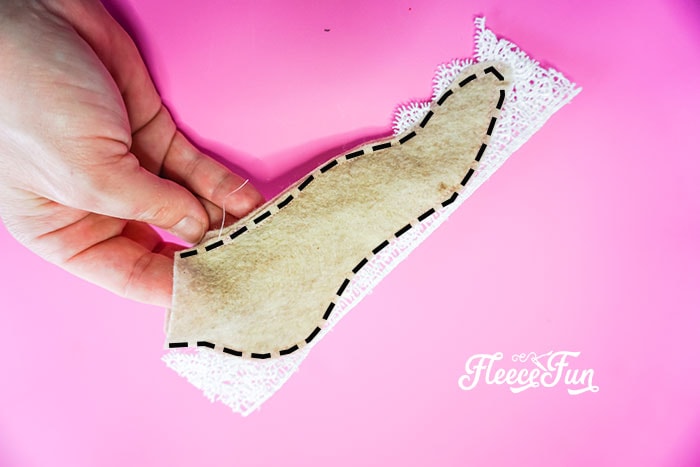
Sew along the edge of the foot shape with the sewing machine, leaving the top of the ankle open.

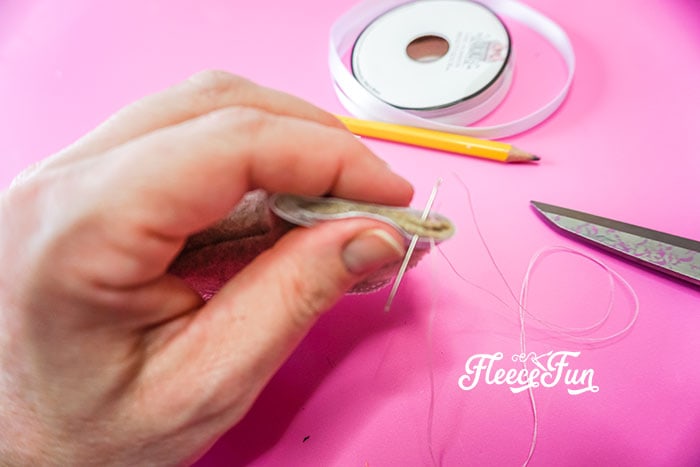
Trim down the excess lace at the toe and heel.
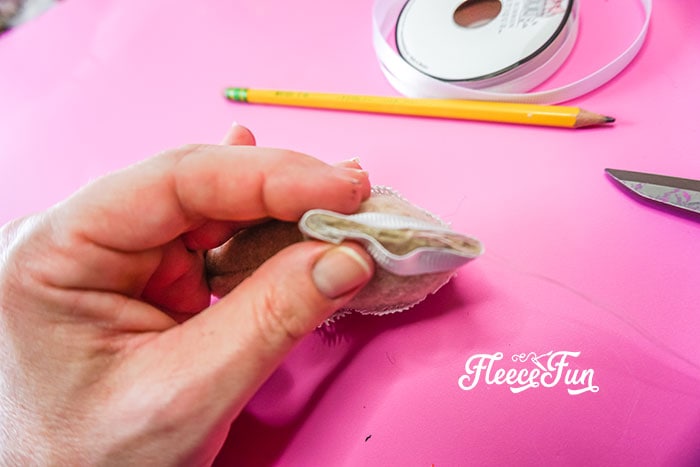
Step 3 – Turn the Ballet Slipper Ornament Right Side Out
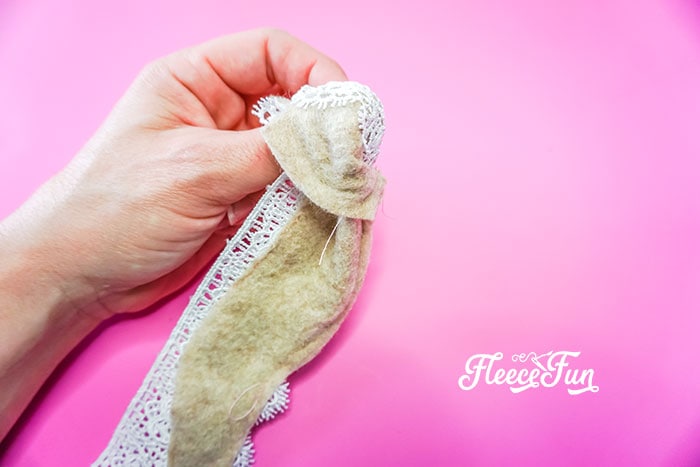
Turn the foot shape right-side out.
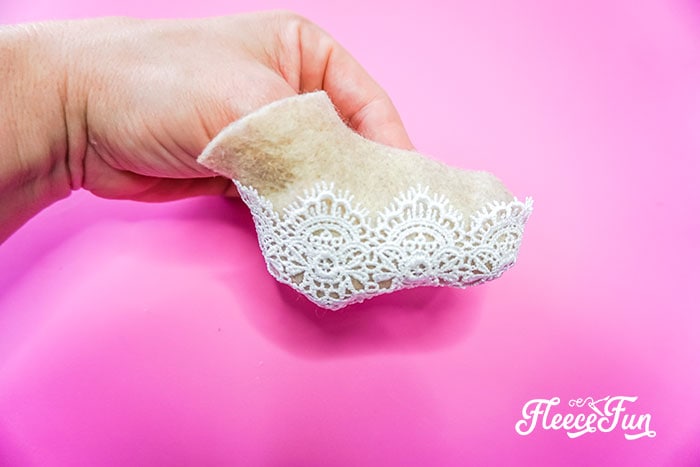
The lace should now be on the outside of the foot shape on each side.
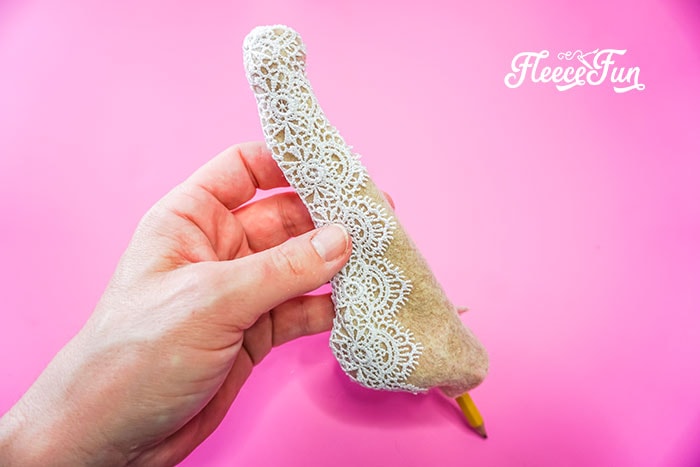
You might need to use a pencil to get the toe completely turned.
Step 4 – Stuff the DIY Ornament
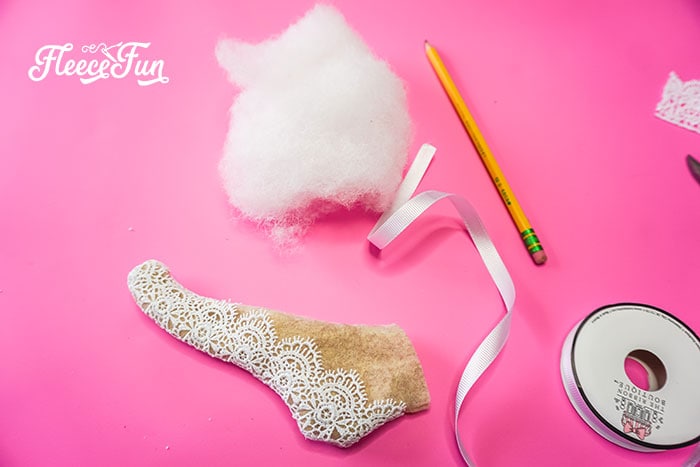
Place a small amount of polyfill inside the foot shape.
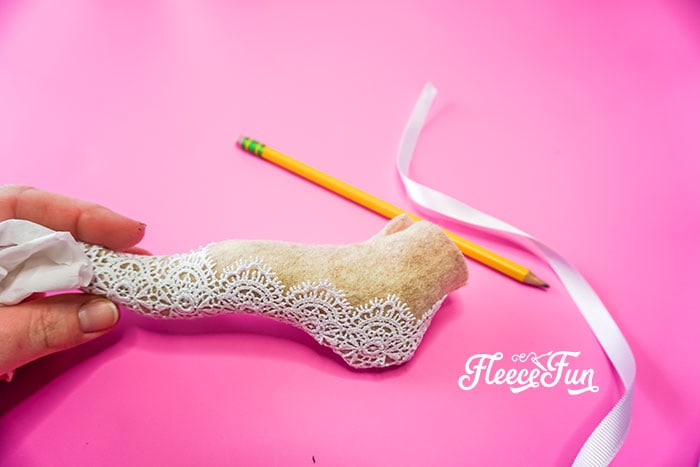
Use a pencil to help compact the polyfill into the toe.
Step 5 – Sew the Christmas Tree Ornament close
Wrap a piece of the solid white ribbon around the ankle, cleaning up the edge.
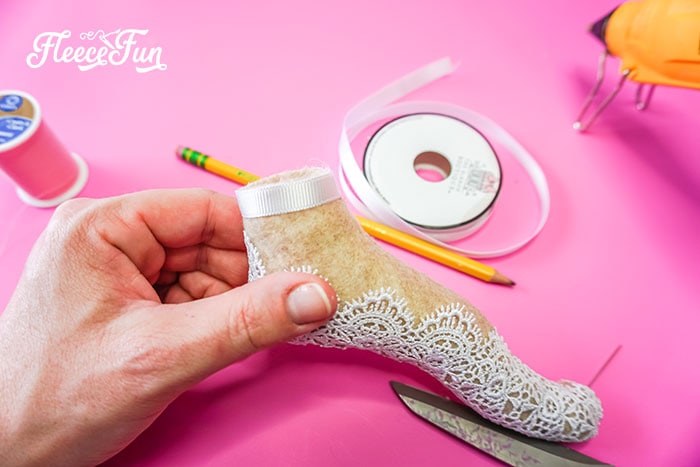
Whip-stitch or hot glue the ribbon in place.
Whip-stitch the top of the ankle closed
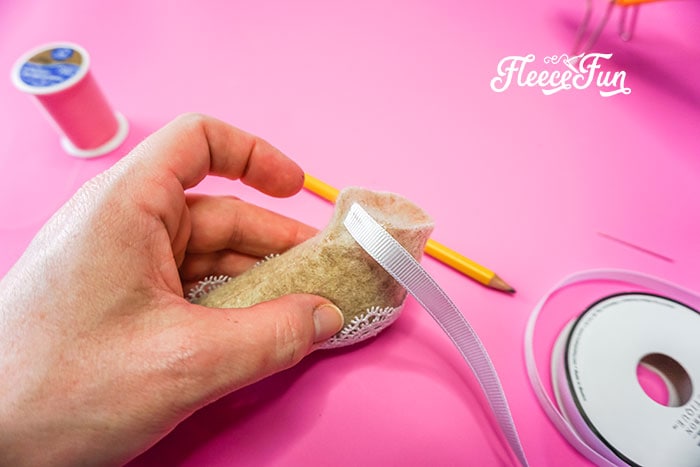
Step 6 – Finish up the Ballet Slipper DIY Ornament
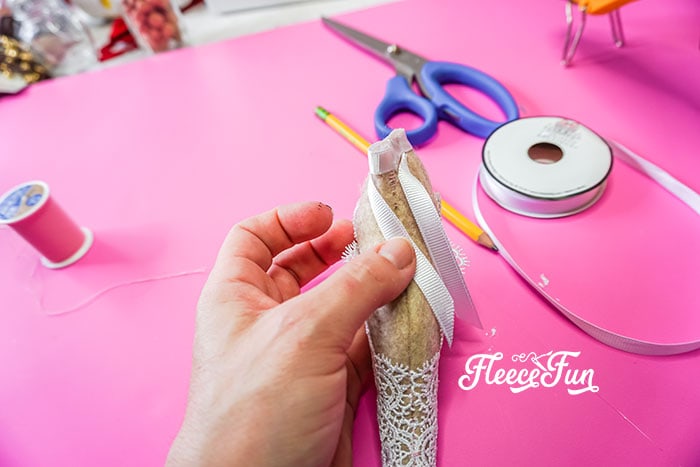
Measure and cut two lengths of ribbon that will go from the ankle to just underneath the lace edge.
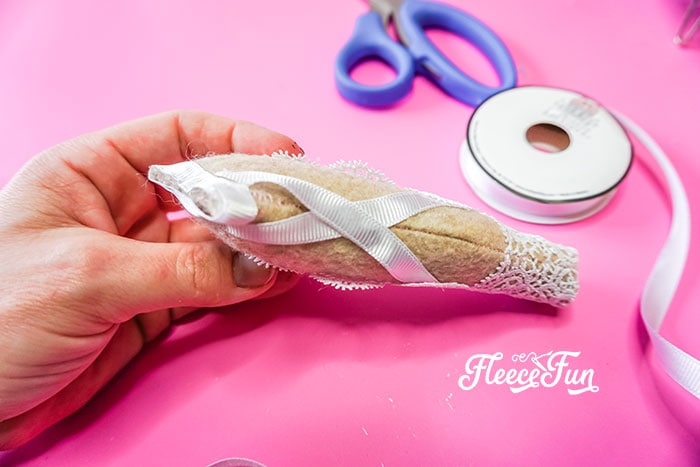
Then place the two pieces on either side of the foot crossing over each other to make straps. Whip-stitch or hot glue the ribbon in place.
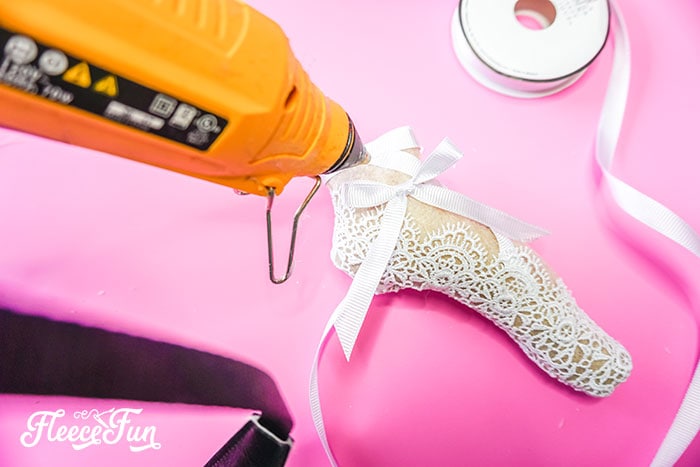
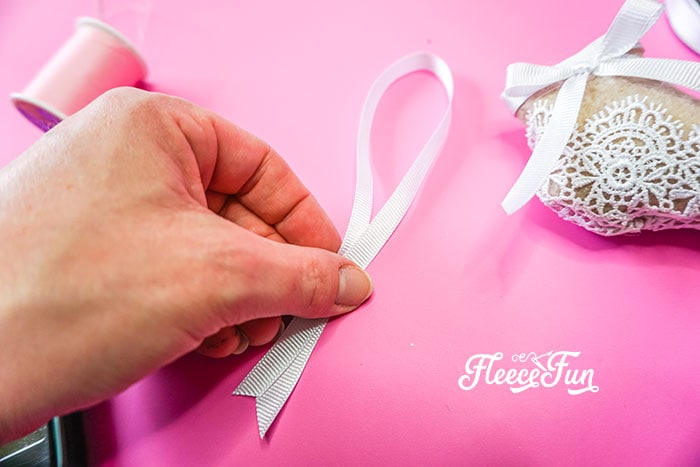
Make a small bow with the solid white ribbon and place on one side of the ankle. Whip-stitch or hot glue the bow in place.
Create a small loop to hang the ornament and hot glue or whip-stitch it to the back of the ankle.
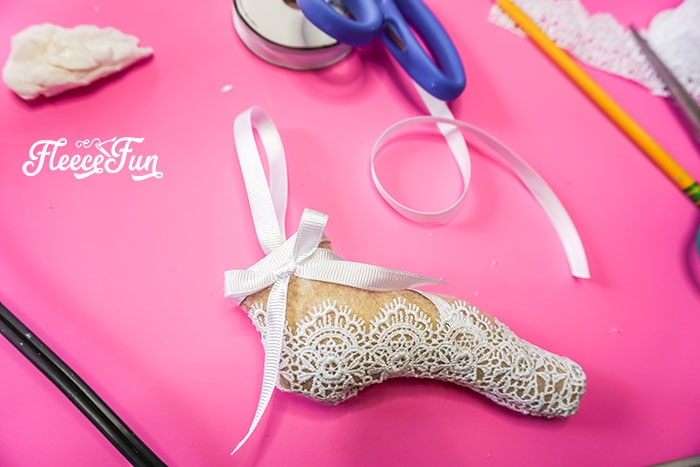
Whip-stitch the top of the ankle closed and hang from your tree!
DOWNLOAD THE TEMPLATE FILE BELOW (FILL OUT THE FORM)
By downloading you are agreeing to pattern terms of use. Click the picture below and fill up the form to get the SVG and PDF file.

More Ornaments for your Tree!
- Felt Stocking Ornament DIY
- Felt Ornament Pattern: Adorable Reindeer
- Free Ornament Template: Felt Santa
- Santa Ornament DIY
- DIY Homemade Ornament with Gnomes
- Wooden Christmas Ornament DIY
- Nutcracker Ornament DIY
- Felt Lanterns Handmade Ornament
- You can see all of Handmade Ornament Tutorials on this page
- You can see just my Felt Christmas Ornaments here
Explore More Christmas Projects You’ll Love
- DIY Cloche Ornament
- Felt Gingerbread Man Pattern
- DIY Gnome Ornament
- Christmas Embroidery Designs Noel Hoop Ornament DIY
- Angel Handmade Ornament DIY
- Christmas Advent Calendar DIY
- Homemade Christmas Tags
- Cozy Christmas Tall Tree Pillow Tutorial
- Holiday Bath Bombs DIY
- Christmas Tree Pillow
- Christmas Terrarium DIY with Cricut Maker
- Free Christmas Printable Joy World
- Free Christmas Printable for Hot Chocolate
- Free Christmas Printable for Apron


I love it! It is so delicate and pretty. I too am ready for some Christmas magic. Thank you.