
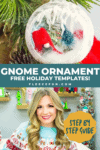
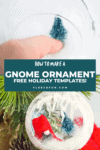
DIY Homemade Ornament with Gnomes
This content contains affiliate links or sponsored elements, read our Disclosure Policy.
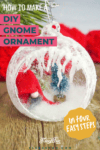


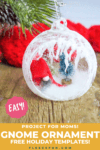


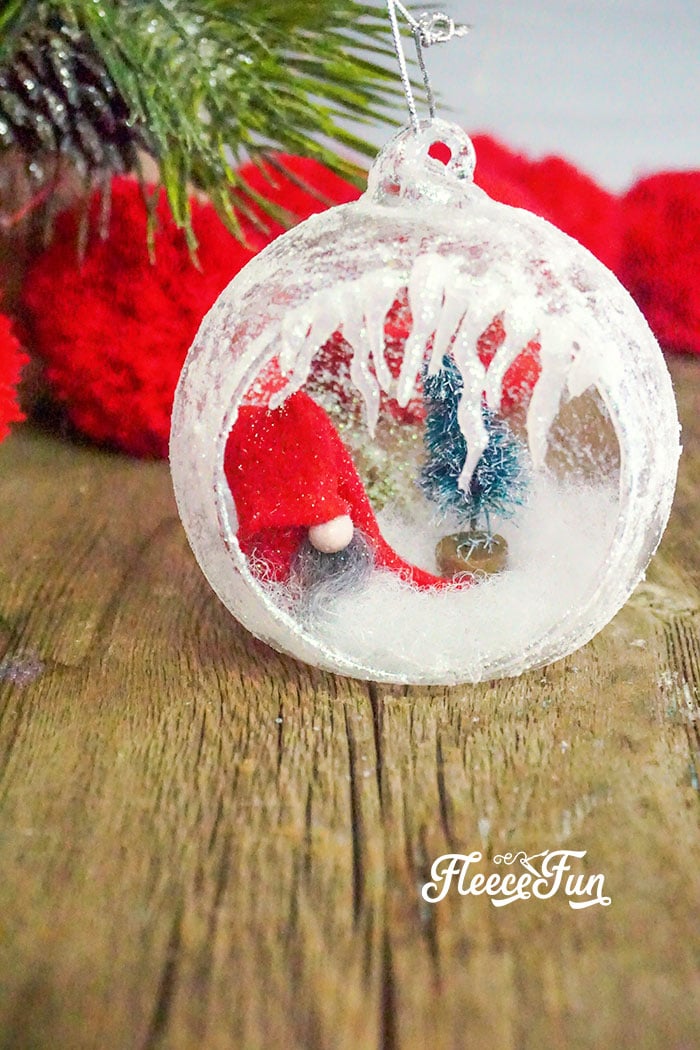
This adorable little Gnome DIY Homemade Ornament makes for a fun and festive winter scene to add to your tree. While this handmade Ornament tutorial features a bottle brush tree you can easily add other elements like a present, candy cane and other novelty items.

If you’re looking for a just felt Gnome Ornament you’ll love this tutorial here.
YOU WILL NEED:
Supplies:
- Glass Ornament with Opening (Like this one)
- Red Scrap Craft Felt
- Light Brown and White Polymer Clay (tiny portions)
- Small Amount of Polyfill
- Scrap Mongolian Fur
- 1-inch Bottlebrush Tree (Like this one)
- White Glitter
- Translucent School Glue
- Printable Tiny Gnome Template
- Parchment Paper Scrap
Tools:
- Hot Glue Gun and Glue
- Paintbrush
DIY Homemade Ornament with Gnomes Instructions
Step 1 – Prepare and Shape the Polymer for Your Gnome Ornament
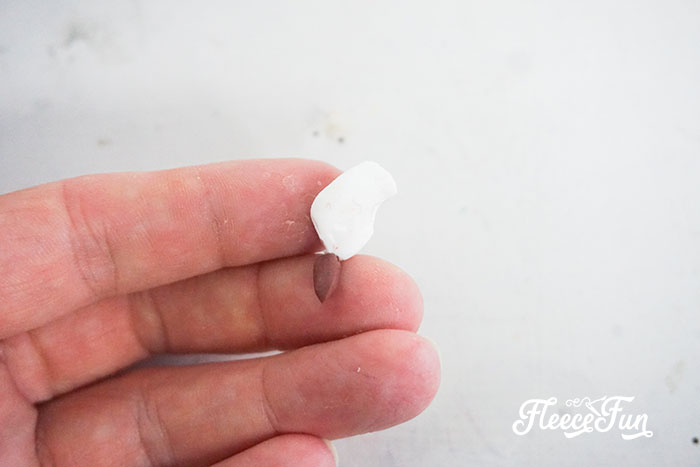
Start by making your Homemade Ornament Gnome’s nose by combining the brown and white clay into a light brown clay.
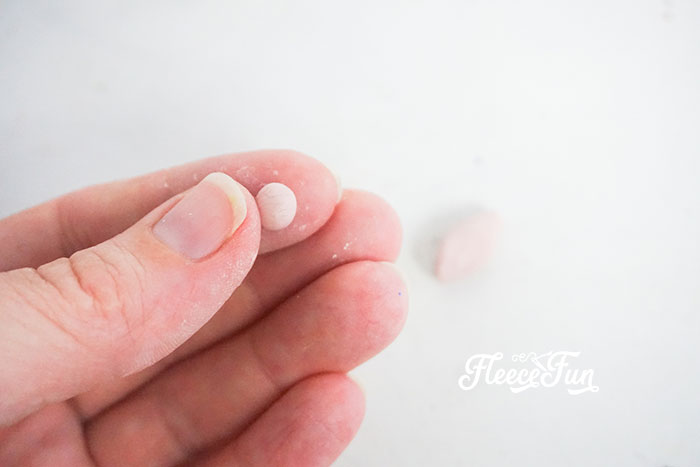
Roll this into a neat ball.
Bake per the polymer clay package directions. Allow gnome nose to cool completely before handling.
Step 2 – Prep the Ornament
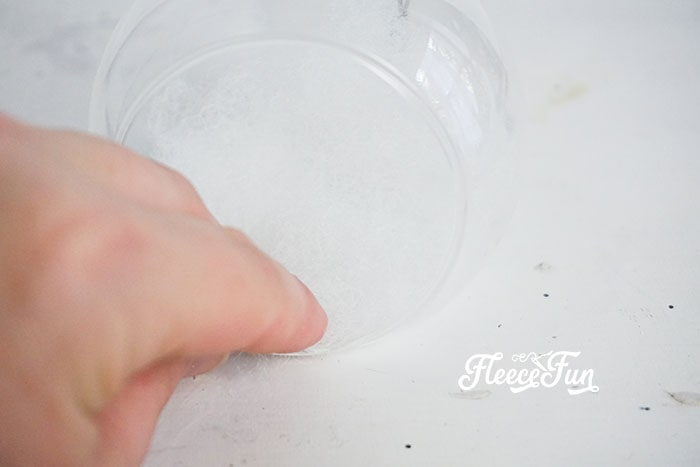
Hot glue the poly-fill in place inside the flat part of your ornament.
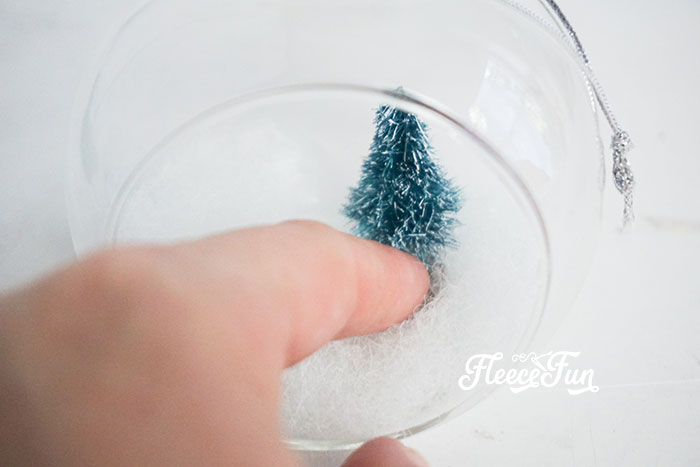
Affix the tree into the back of the ornament leaving plenty of room for your gnome. Set aside.
Step 3 – Craft Your DIY Gnome for the homemade Ornament

Cut the pieces from the template out of the red felt.
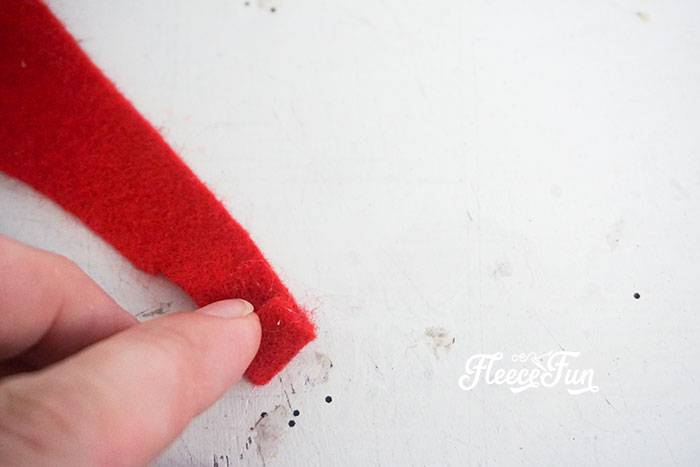
Roll the long rectangle into a cone, hot gluing it in multiple places so it holds its shape.
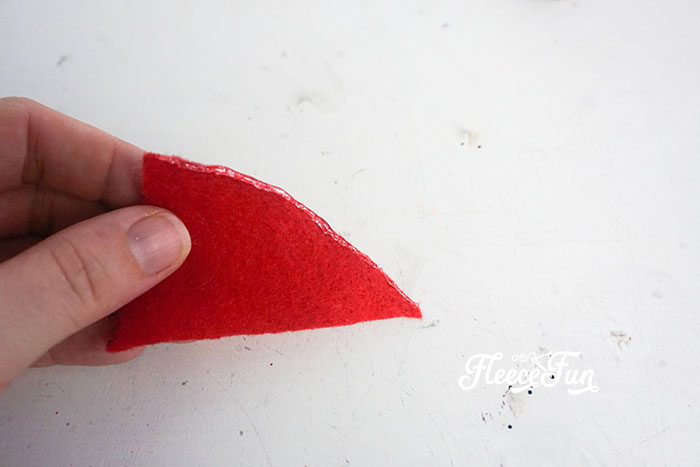
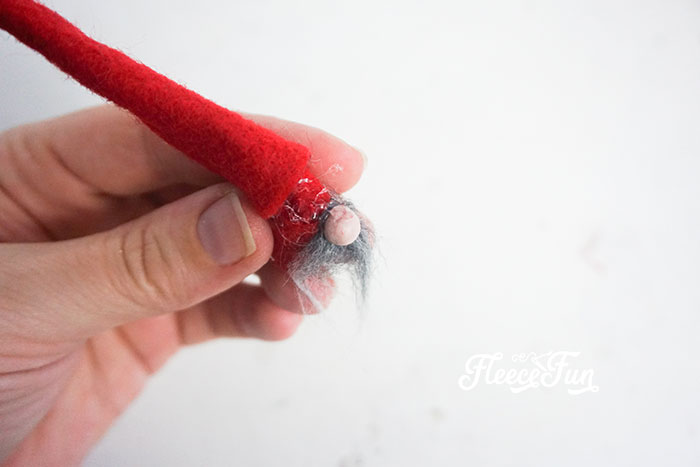
Hot glue the hat (the triangle shape)
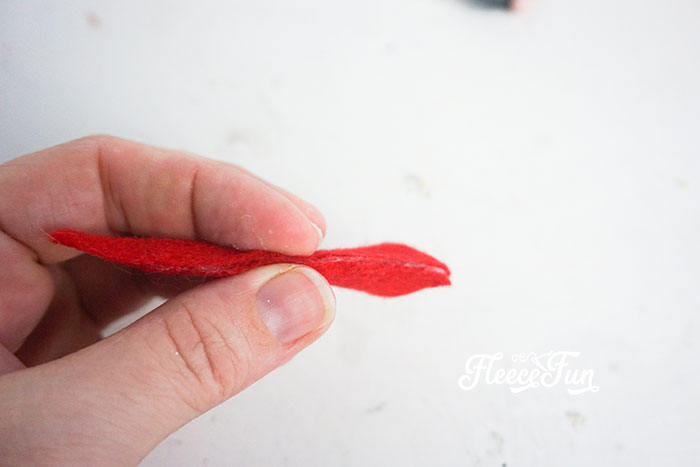
by folding it in half and gluing the sides together.
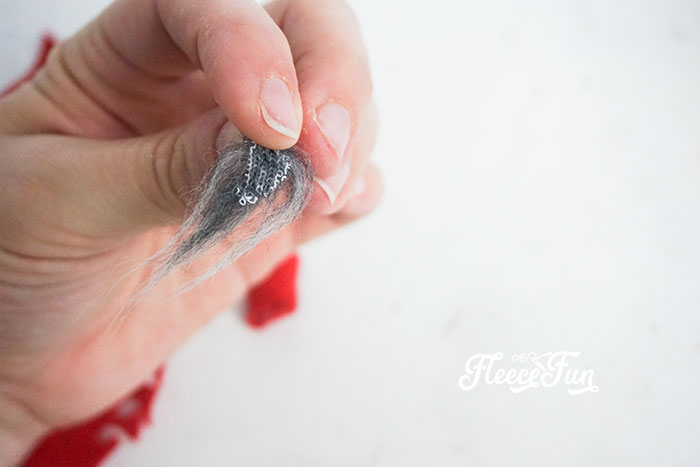
Cut out a tiny triangle of Mongolian fur and trim it to fit your cylinder of red felt.
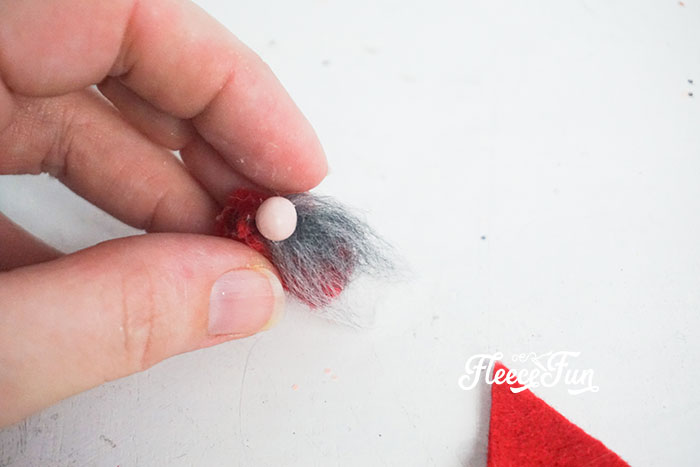
Glue the Mongolian fur in place on the gnome body (cylinder of red felt).
Affix the gnome nose at the top of the beard.
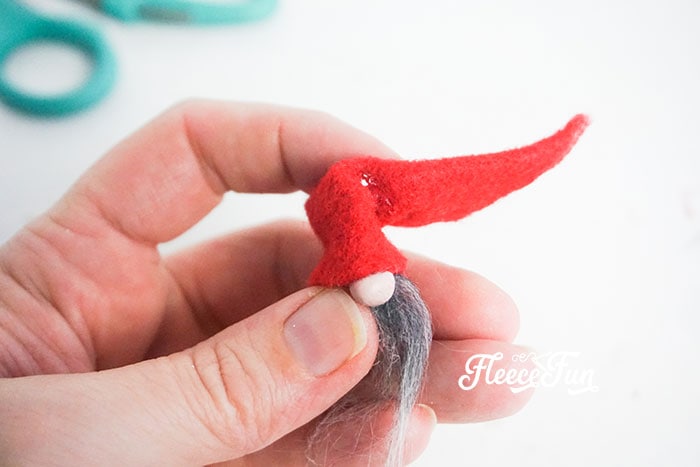
Glue the hat in place over the beard and bunched-up over the nose.
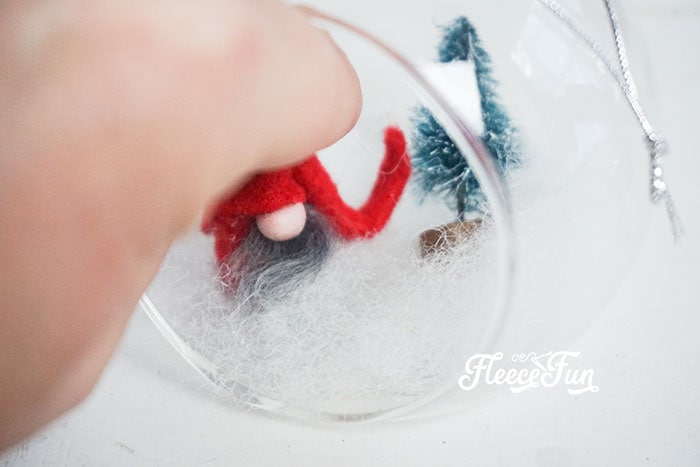
Fold the hat over and hot glue in place.
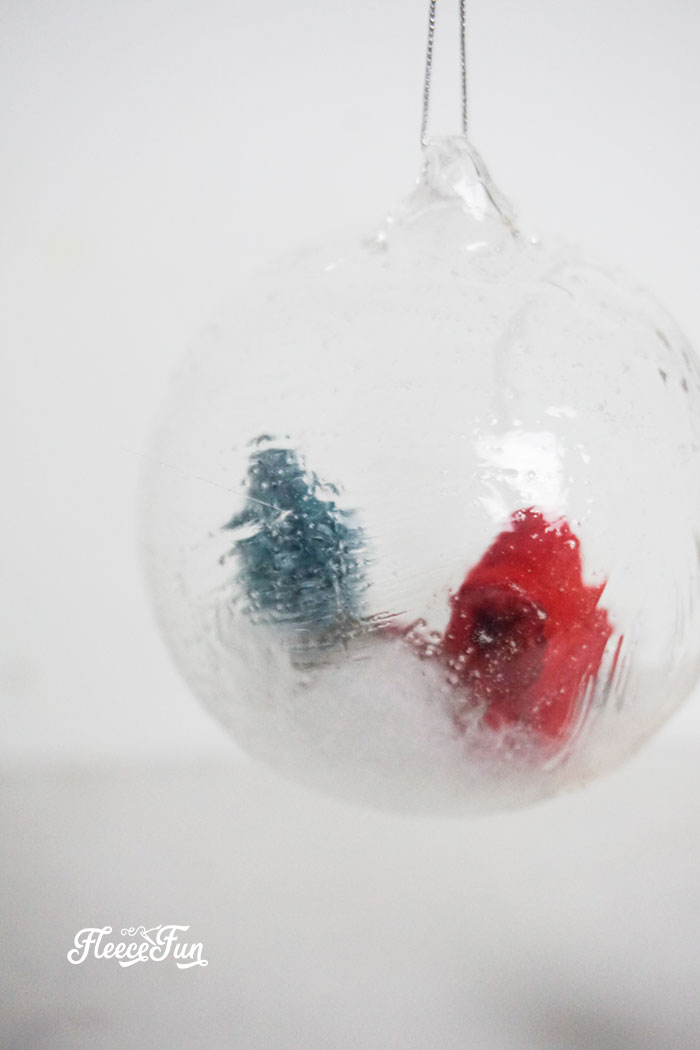
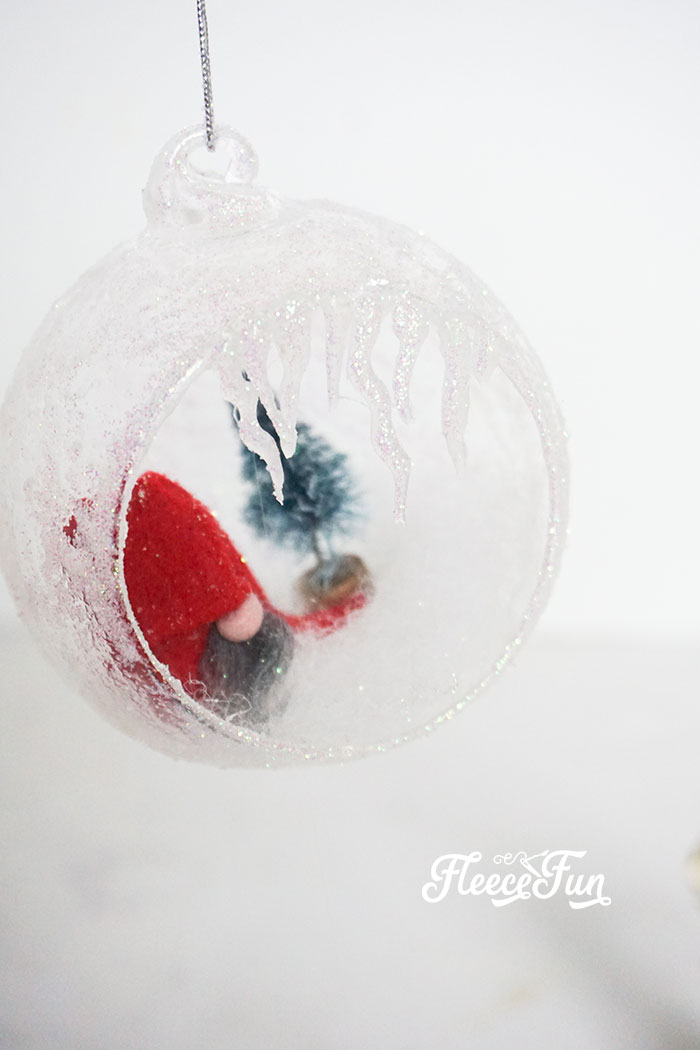
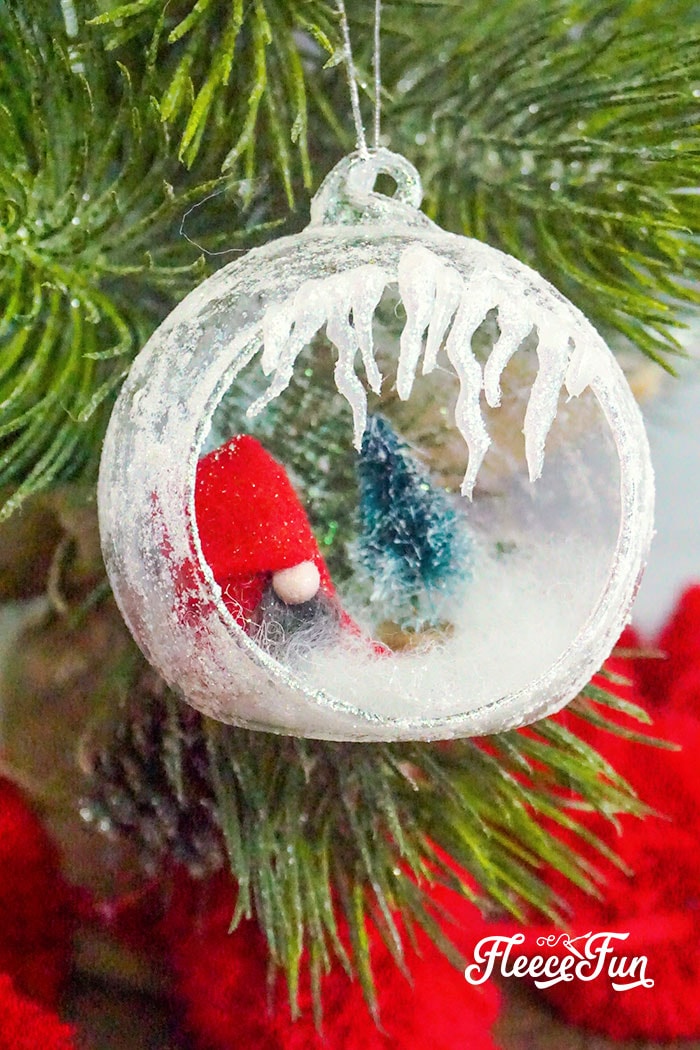
Place the Gnomes inside the Homemade Ornament and glue in place.
Step 4 – Add the Snow scene to the DIY Christmas Ornament
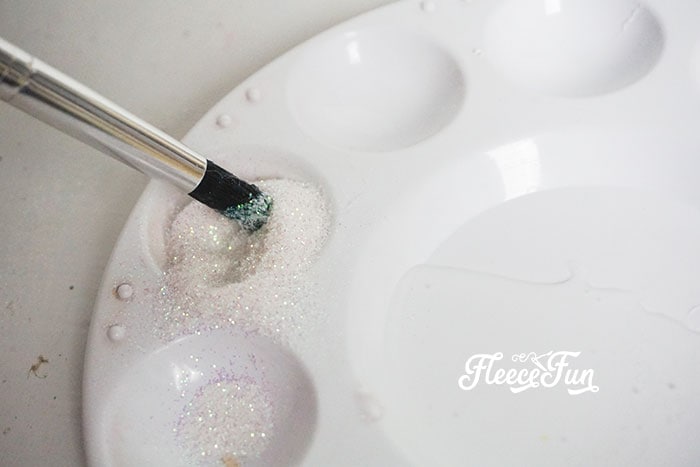
With the paint brush, cover the outside of the ornament in translucent glue.
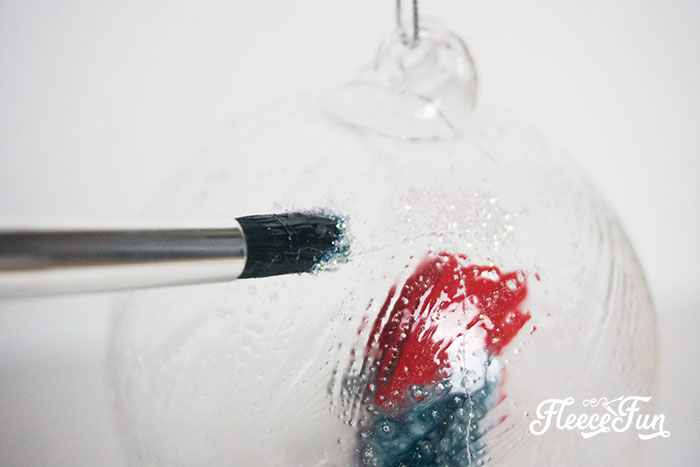
Follow this with glitter by dabbing it on with the paintbrush.

To make the icicles, draw icicles with hot glue on the parchment paper and sprinkle with the glitter.
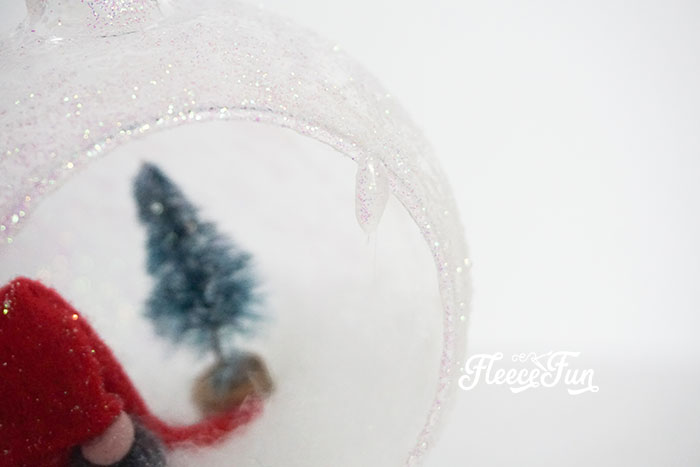
When the icicles are completely cool, remove them from the parchment paper and affix them to the top edge of the ornament opening with a dab of hot glue.
Enjoy you just completed the DIY Homemade Ornament with Gnomes.
Download the Free Gnome Ornament Template Below
By downloading you are agreeing to pattern terms of use. Click the picture below and fill up the form to get the file.

More Ornaments for your Tree!
- Felt Stocking Ornament DIY
- Felt Ornament Pattern: Adorable Reindeer
- Free Ornament Template: Felt Santa
- Santa Ornament DIY
- Ballet Slipper Handmade Ornament
- Wooden Christmas Ornament DIY
- Nutcracker Ornament DIY
- Felt Lanterns Handmade Ornament
- You can see all of Handmade Ornament Tutorials on this page
- You can see just my Felt Christmas Ornaments here
Explore More Christmas Projects You’ll Love
- DIY Cloche Ornament
- Felt Gingerbread Man Pattern
- DIY Gnome Ornament
- Christmas Embroidery Designs Noel Hoop Ornament DIY
- Angel Handmade Ornament DIY
- Christmas Advent Calendar DIY
- Homemade Christmas Tags
- Cozy Christmas Tall Tree Pillow Tutorial
- Holiday Bath Bombs DIY
- Christmas Tree Pillow
- Christmas Terrarium DIY with Cricut Maker
- Free Christmas Printable Joy World
- Free Christmas Printable for Hot Chocolate
- Free Christmas Printable for Apron

Just love this diy ornament😍😍