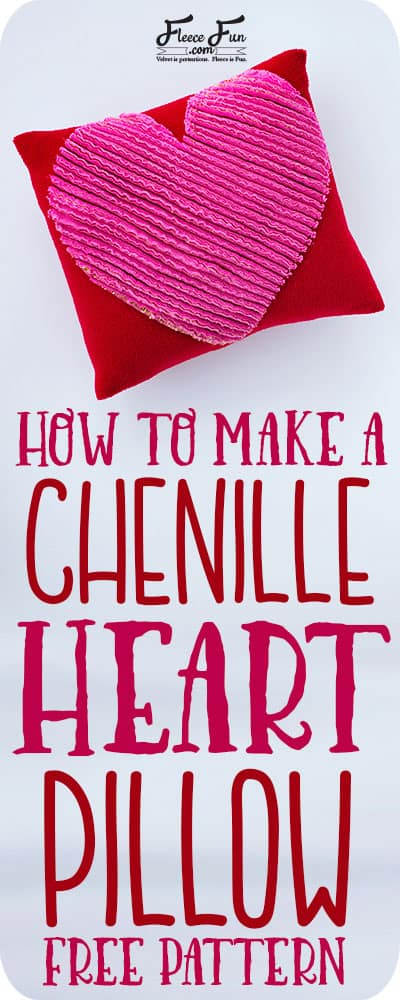
How to Make a Chenille Heart Pillow Tutorial
This content contains affiliate links or sponsored elements, read our Disclosure Policy.


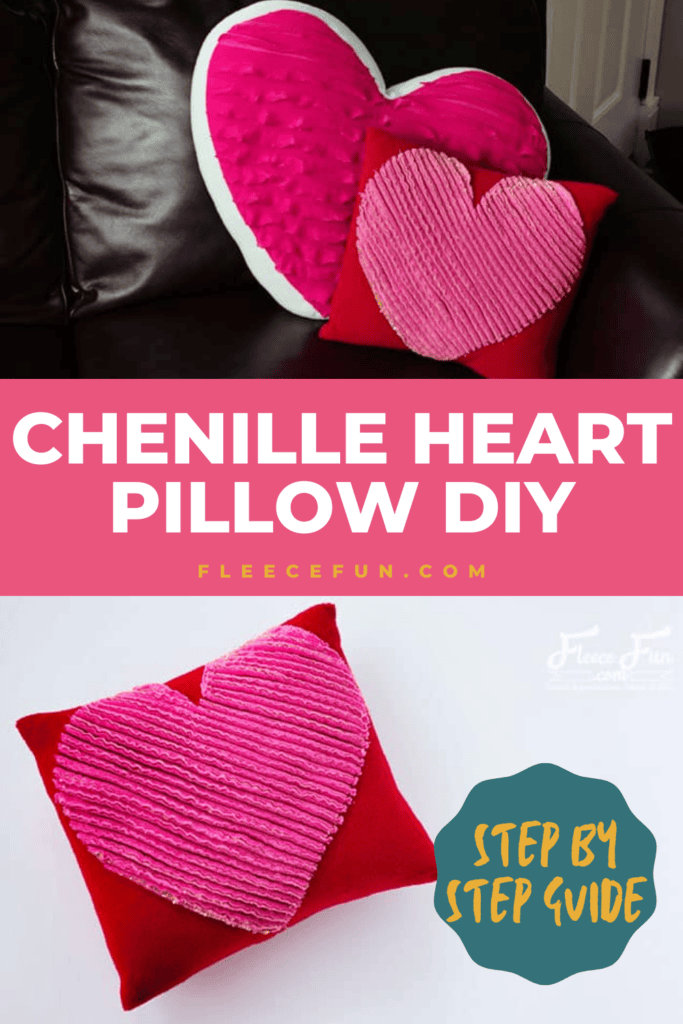
This how to make a chenille heart pillow tutorial is a great way to learn how to make faux chenille. With a little work and patience you can learn this technique and apply it to your other sewing projects. I confess there is something fun about cutting the fabric and seeing the raw edges fluff up after washing.
YOU WILL NEED:
- 1/2 of fleece or minky fabric
- 1/2 yard flannel
- 1/2 yard of gold lame (optional but fun to add)
- Rotary Cutter, Ruler and Mat
- Fabric Marking Pen
- Olfa Chenille Cutter (you can use scissors, but trust me this will make your life MUCH easier)
- 12 by 12 pillow form
- Sewing Essentials (scissors, pins, etc.)
- Washing machine (and some dirty laundry – multitasking!)
- Get the free sewing pattern here.

How to make a Chenille Heart Pillow
Step 1 – Cut out the Following

You will need to assemble the pattern. For instructions on how to assemble the sewing pattern click here.
The pattern is just the heart shape. The pillow construction is so simple that you won’t need a pattern.

From the flannel out 2 to 4 heart shapes. (if you want the heart to be really thick and full like mine cut 4 if you want it to be a little less full (so you can see the fabric behind the flannel, cut only 2).
note
Make sure that the heart lines up with the lengthwise grain – this is so when we cut the fabric is will fluff properly.
From the Lame cut 2 heart shapes.

From the fleece cut a rectangle that is 13 inches tall by 30 inches wide.
Step 2 – Pin the heart

Fold the fleece in half, mark the half way point with a pin.
Stack the cut out hearts (I like to alternate the Lame with the flannel so the Lame can’t slip against itself) and center on the pin.

Pin the heart stack into place, pin well along the edge.
note
You might be tempted to use 505 spray or a glue stick to hold the heart in place, but this can interfere with the fluffing process later.

Using your ruler and marking pen, draw a line at a 45 degree angle across the heart (try to do this at the longest point). This will be your reference line for sewing the channels.
Step 3 – Sew the Channels for the Chenille Heart Pillow.

Using your reference line as you guide, sew a straight stitch down the heart – making sure to lock your seams.
note
You’re sewing through a lot of layers so you will need to lengthen your stitch and possibly adjust your tension.

Using the side you your sewing foot against the seam you just sewed for reference, sew seam to form the channel. Continue sewing the next line, using the previous line of sewing for reference. Continue until the entire heart is covered.
If the heart layers shift a little, it’s no big deal. Once the fabric is cut it won’t be noticeable.

Once that’s completed trim all the threads.
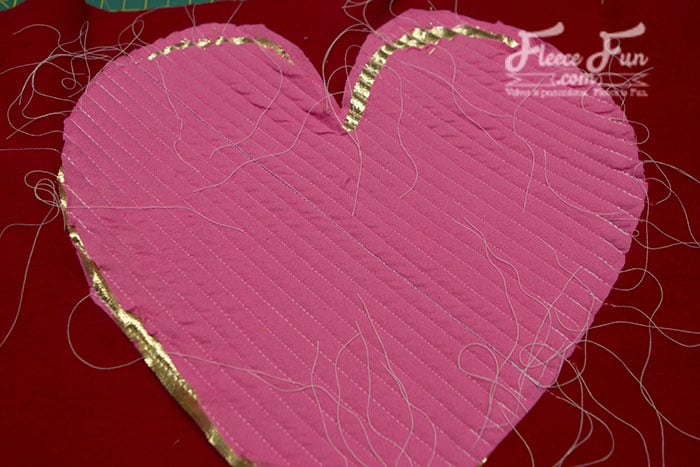
Step 4 – Cut the Chenille Channels
Now comes the fun part of the Chenille Heart Pillow tutorial – time to cut the channels open.

Using the Chenille cutter (or scissors) cut the channels open.

quick tip
The chenille cutter should cut through the fabric just fine. If it becomes hard or seams to be tearing the fabric more than slicing it, it’s time to rotate the blade.
Step 5 – Wash it!

Now it’s time to wash the heart to get it to fray and fluff up.

Wash the fabric – preferably with some other laundry (like towels) to add friction and help with the fluffing. Just be mindful if using reds that they could run.
Step 6 – Finish up the side of the Chenille Heart Pillow

Turn over one edge one inch and sew down along the edge using a zig zag stitch.

Since we’re sewing on fleece don’t worry about finishing the other side.
Step 7 – Finish up the Heart Pillow
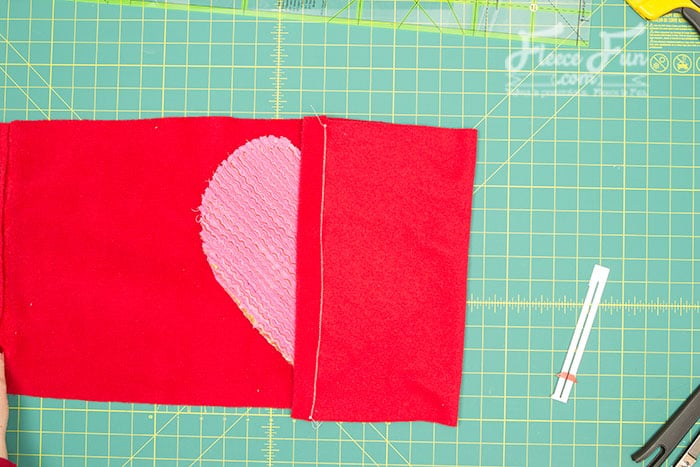
Fold the side that is finished to the center first.

Then fold in the other side. There should be over lap of about 3 inches of each side.

Make sure the pillow is 12 inches wide.
Sew the top and bottom using a 1/2 inch seam allowance.
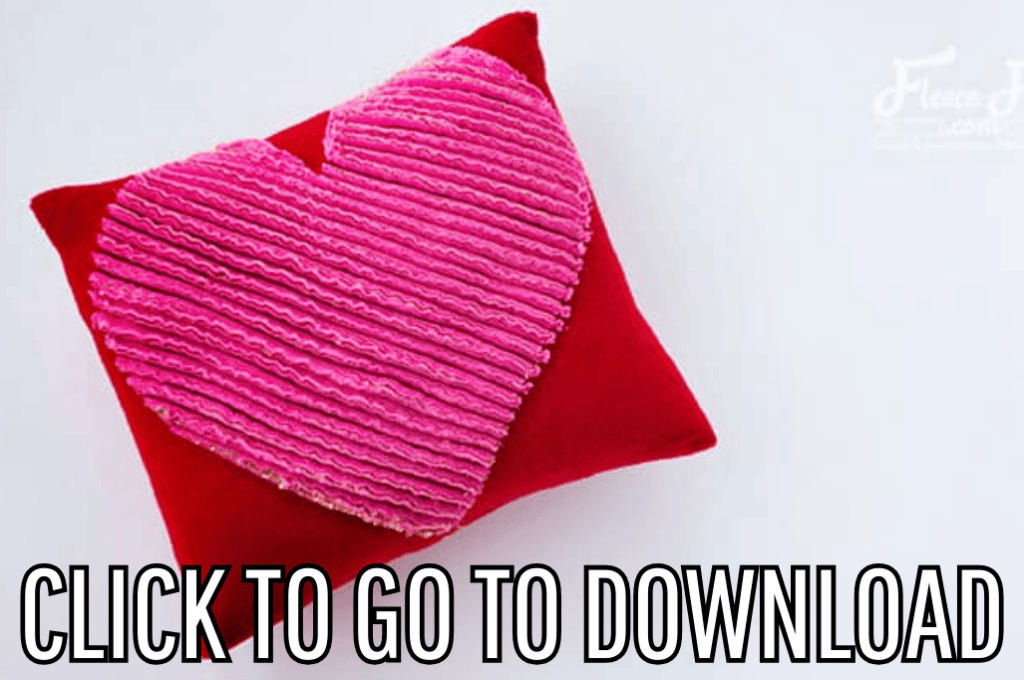
Download the Free Chenille Heart Pillow Pattern Below:
You can get a free copy of Adobe reader here. By downloading you are agreeing to pattern terms of use. Click the picture below and fill up the form to download the free pattern .pdf !
See more DIY Valentine’s Day Crafts and Decorations
- DIY Valentine Craft Cozy Home Sign
- Valentine Decoration Ideas Rustic Heart Branch DIY
- Valentine’s Day Table Decorations Heart Tree DIY
- How to Make Giant Love Letters Tutorial
- Easy Valentine’s Day Fleece Pillow Slipcover Tutorial
More Free Valentine’s Day Tutorials!
- Sharpie Mug Tutorial Free Templates Printable
- 29 Candy Free Valentine’s Day Ideas!
- 19 Ideas Secret Love Notes
- Heart No Sew Satin Hair Clip
- Make Beaded Cake Stand
- See all of Fleece Fun’s Valentine’s Day Tutorials here!
LOVE THIS Chenille Heart Pillow? SEE THESE Tutorials!
- All Americana Stars Pillow
- Easy Ribbon Pillow
- Lego Brick Pillow
- Valentine’s Day Fleece Pillow Slipcover
- Ruched Pillow
- Seeing Stars Pillow
- Cozy Christmas Tall Tree Pillow
- Heart Pillow
- Pinwheel Quilt Block Pillowcase
- Faux Fur Pillow
- Easy Block Pillow