
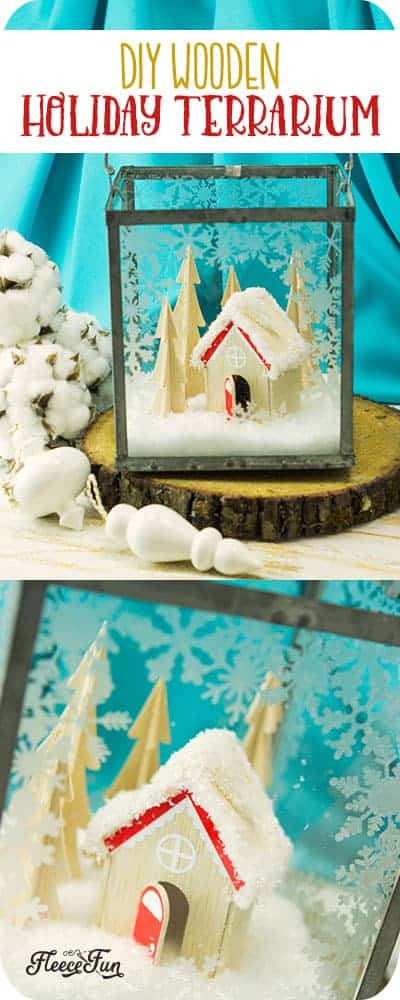
Christmas Terrarium DIY with Cricut Maker
This content contains affiliate links or sponsored elements, read our Disclosure Policy.

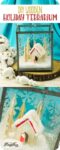

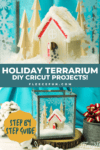
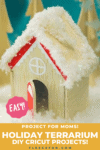

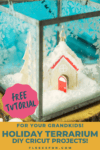

Holiday Craft Tutorial: This Christmas Terrarium DIY features wooden elements for a different look. With step by step instructions and lots of pictures this holiday decoration comes together quickly.
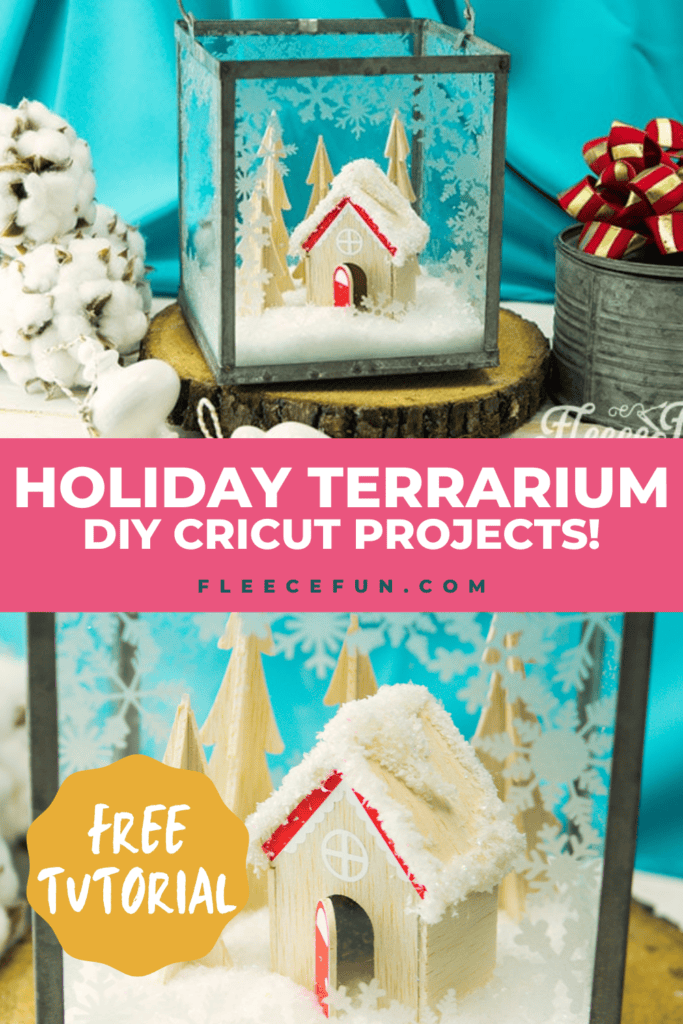
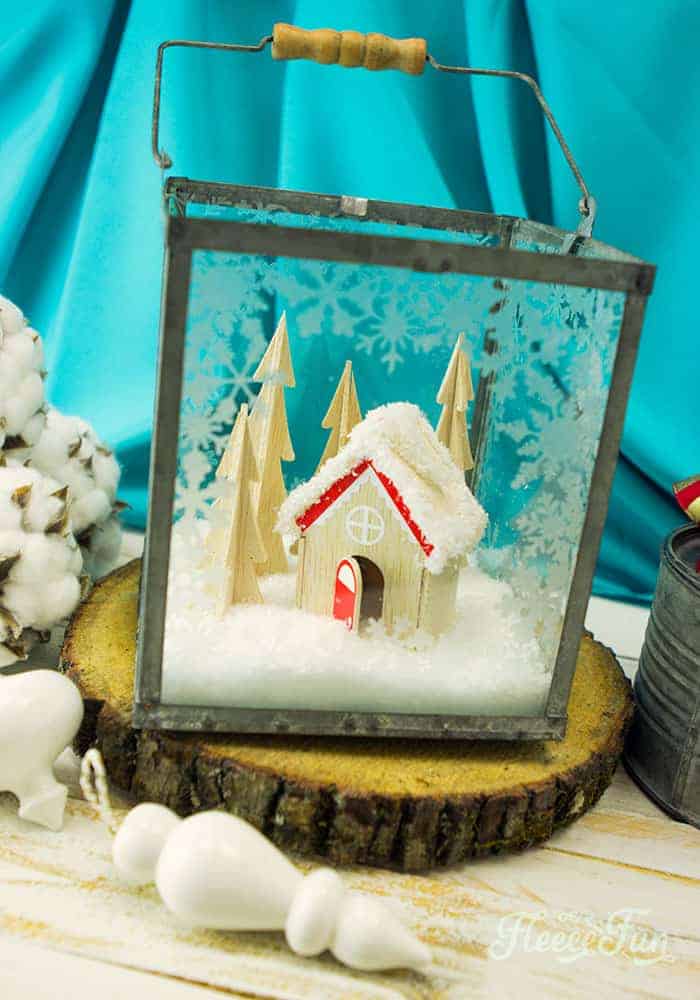
This is a sponsored post by Cricut, the project and words however are my own. This Adorable Christmas Terrarium makes a wonderful DIY holiday decoration. Make it for a hostess gift or keep it for yourself, it’s sure to add to any centerpiece or mantle. This wonderful snow scene can be make with balsa wood for a more Scandinavian feel or use chipboard with paper/ paint to make it any color you desire. The possibility are endless. The best part is that you can leave this decoration up past the holidays!
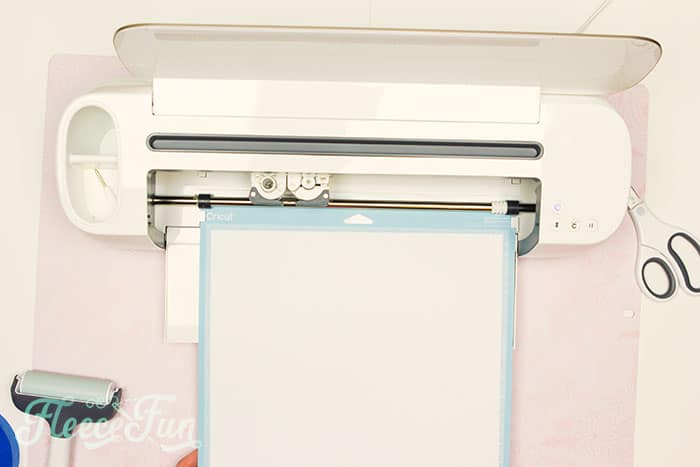
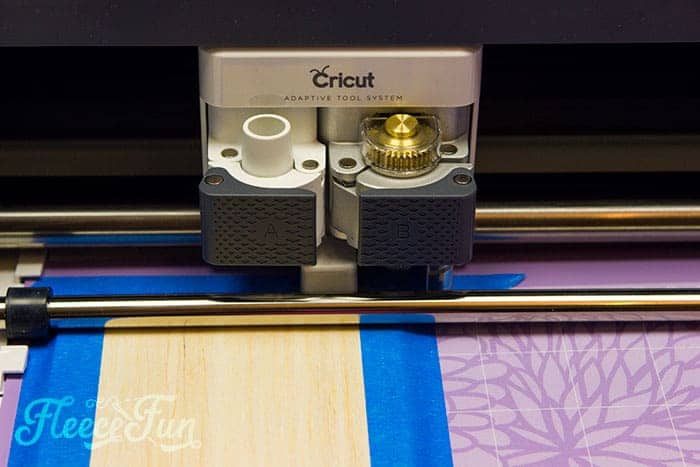
This was my first time using my Cricut Maker knife blade – and I have to tell you I LOVED using it. It’s so easy and exact. My mind is swimming with other projects and possibilities. It’s a great tool and if you understand what it’s capabilities are you can make some really cool stuff! I also like that during this project all I had to do was to switch out the knife blade for my fine point to cut out the window cling and vinyl. No need for a second machine, I could just cut out all my elements in one crafting session.
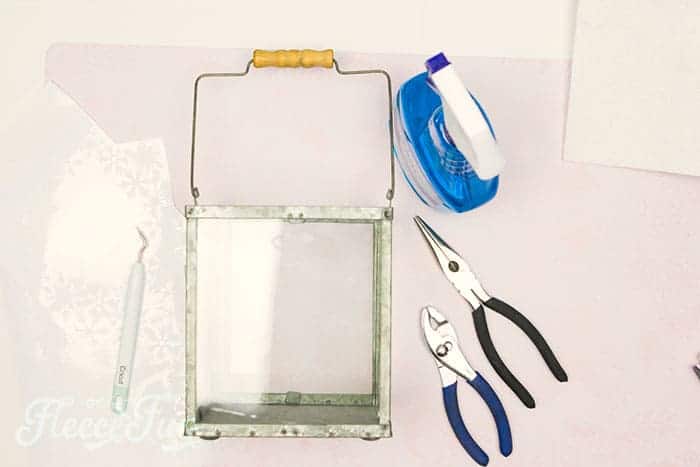
YOU WILL NEED:
- Cricut Maker
- Cricut Maker Knife Blade
- EasyPress 6×7
- EasyPress Mat
- BrightPad
- Weeding tools
- Brayer
- Strong Grip Mat
- Light grip Mat
- Everyday Iron on in white and red
- Frosted Window Cling
- Lantern with glass panes
- Chipboard or Balsa wood that is 1/16 thick
- Epson Salt
- Fake Snow
- Glue Gun and glue sticks
- Masking or painter’s tape
- This File I’ve made for you in Design Space

Christmas Terrarium DIY Tutorial:
Step 1: Prepare Window Cling and Vinyl Cutouts
In Design Space adjust the snowflakes so they will fit the panes on your lantern.
Using the fine point blade, Cut out 4 snow flake sides from the Frosted window cling. Then cut out the white and red vinyl for the house.
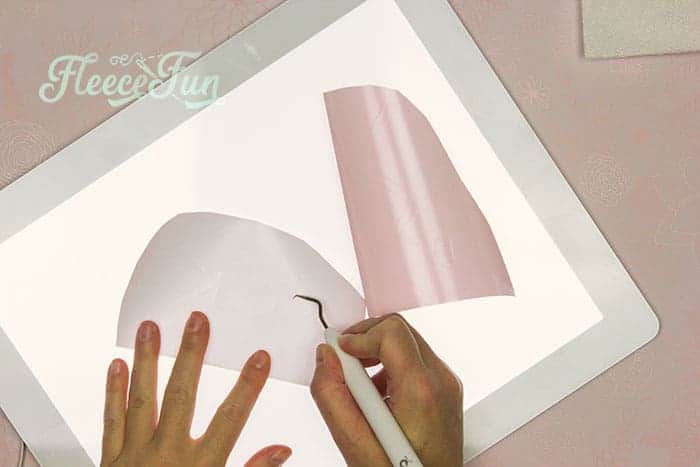
Using your BrightPad weed the Window cling and the vinyl.
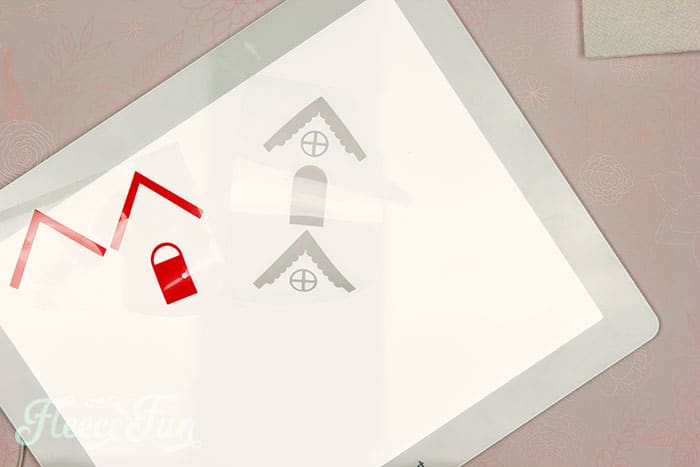
Set aside.
Step 2: Create the christmas terrarium Base Using Chipboard or Balsa Wood
When using the knife blade you need to tweak a few things to have success.
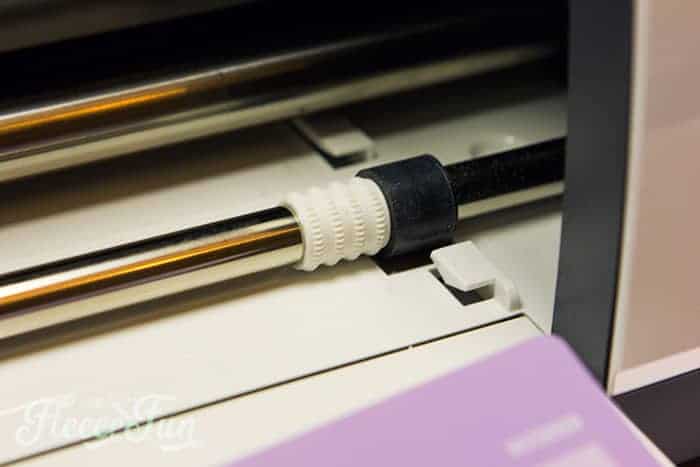
First be sure to move the star wheels completely over to the right.
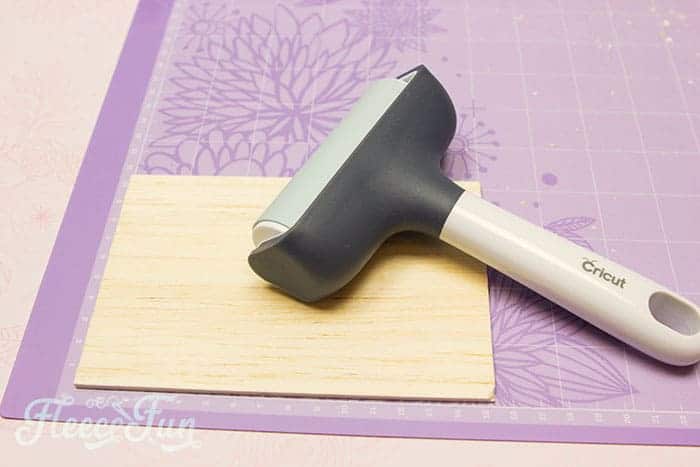
Use the brayer to make sure that the material in secured to the mat.
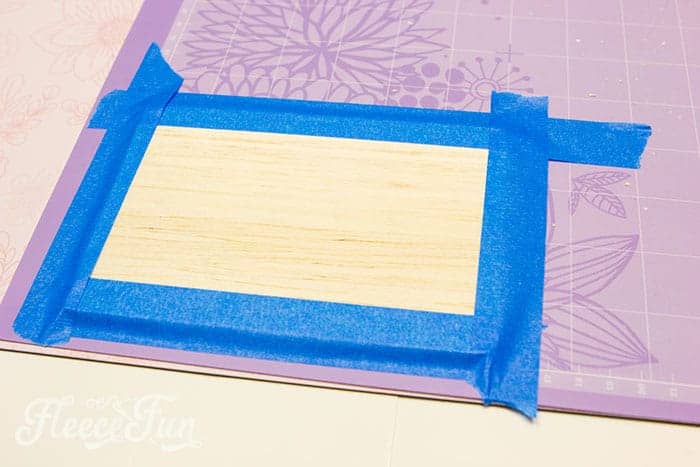
Then using masking or painter’s tape, tape the edges to the mat as well.
Cut out the house elements and trees.
Quick Tip
Keep an eye on the machine while it’s cutting to make sure that everything goes smoothly. Set the wood elements of the Christmas Terrarium DIY aside.
Step 3 – Add the window cling to the lantern
If possible, carefully remove the glass from the lantern.
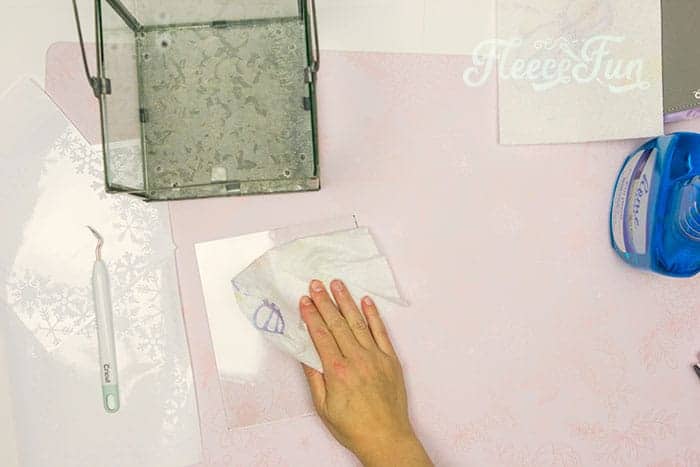
Clean it with some window cleaner.
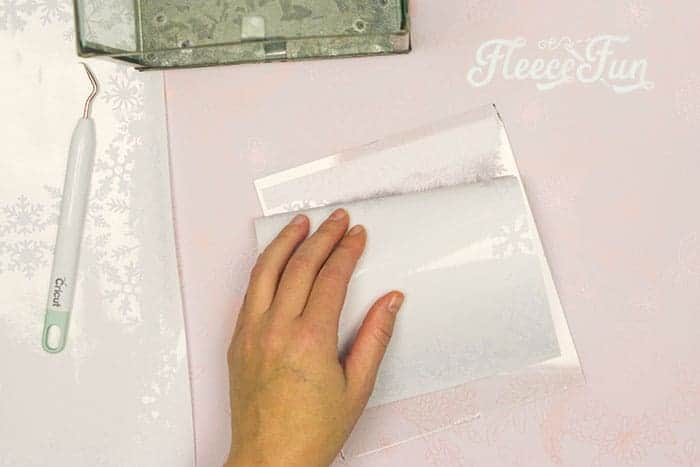
Then add the window cling to the lantern, taking care not to stretch or distort it. The nice part is if you mess up it’s easy to lift up and reposition.
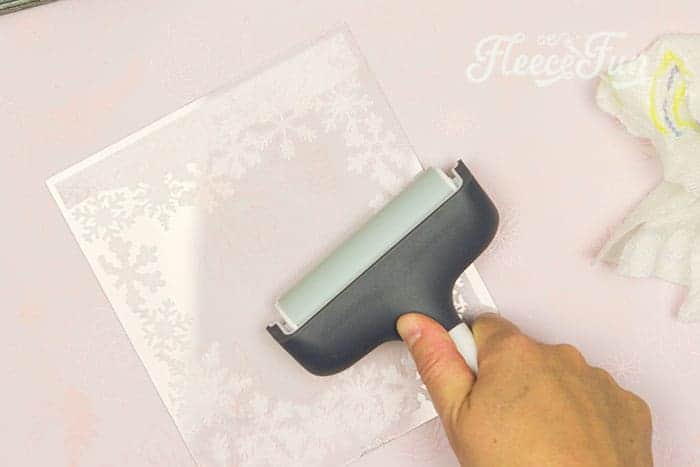
Quick Tip
Use the brayer to get out any air bubbles and to secure it.
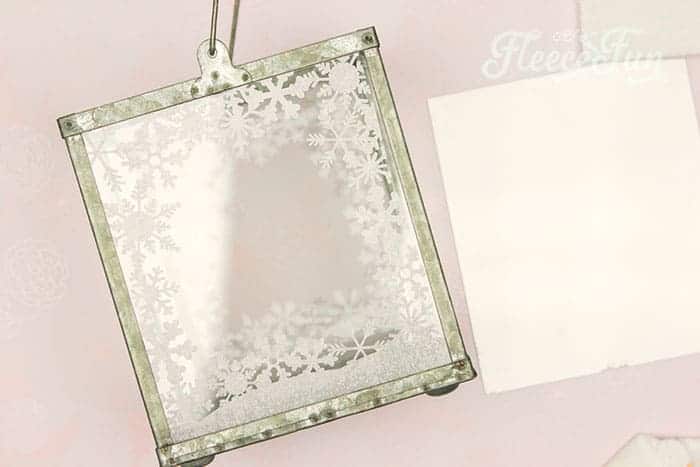
Repeat with all 4 panes.
Put the panes back into the Christmas Terrarium DIY lantern.
Step 4: Craft Festive Trees for the Terrarium
Assembling the wood trees is easy.
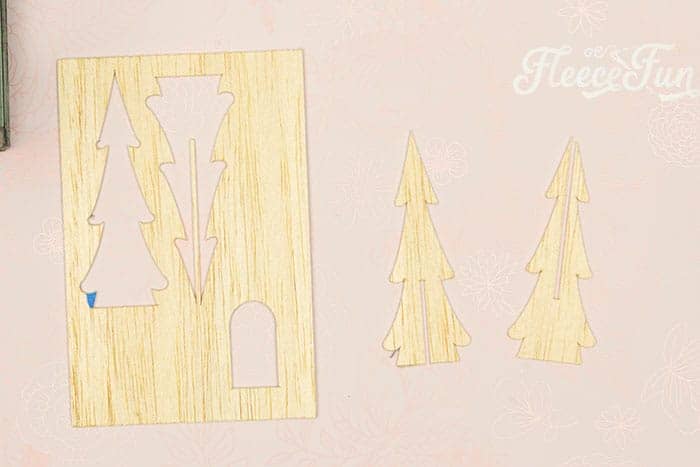
Pop them out of the wood.
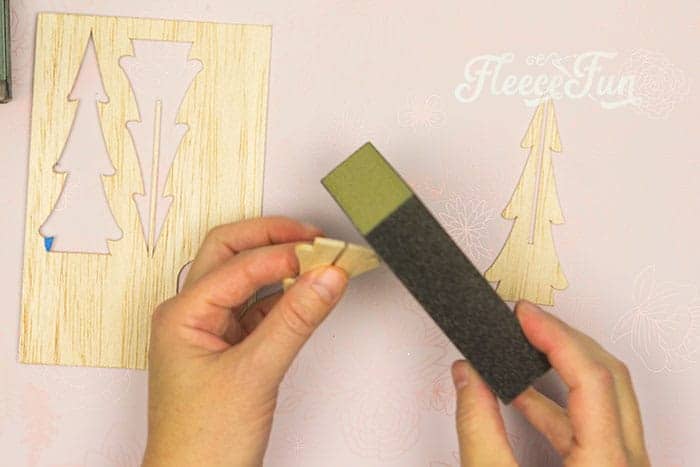
If there are any slightly rough edges sand them.
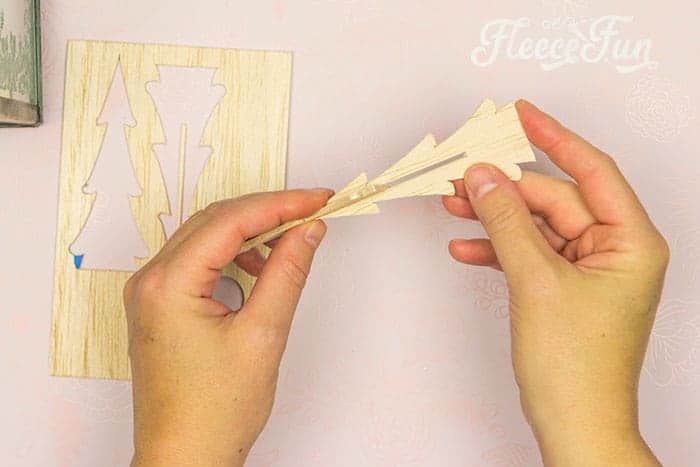
Slide the two together, to form the tree.
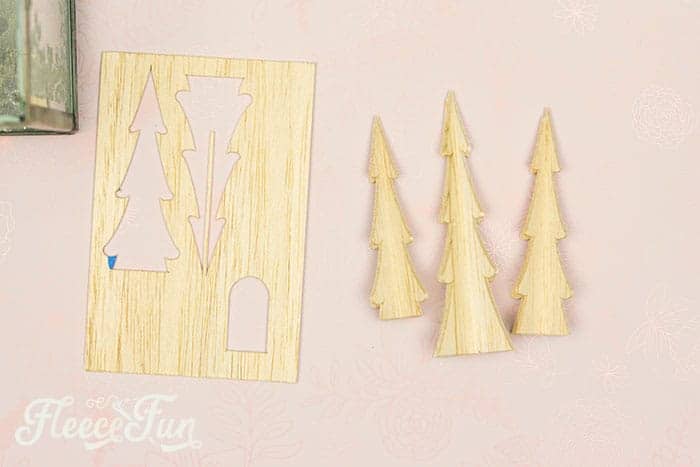
Repeat with the other trees.
Step 5 – Add Vinyl to the house
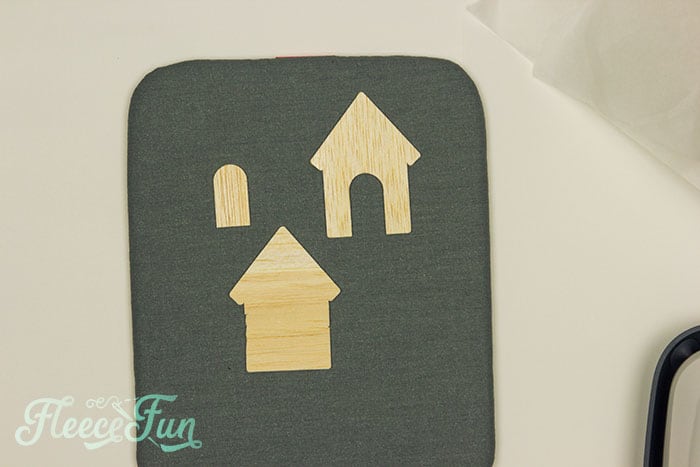
Gather the front and back of the house plus the door.

Using the EasyPress, iron on the first layer of vinyl (white).
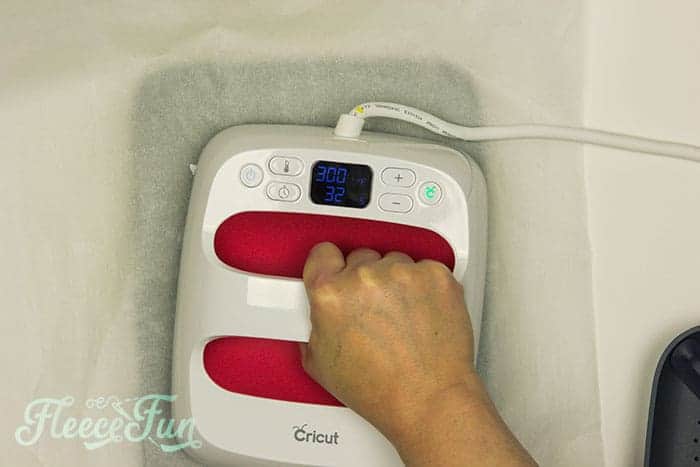
I set it to 300 Degrees Fahrenheit for 40 seconds.

Remove the plastic and layer the red vinyl on top.
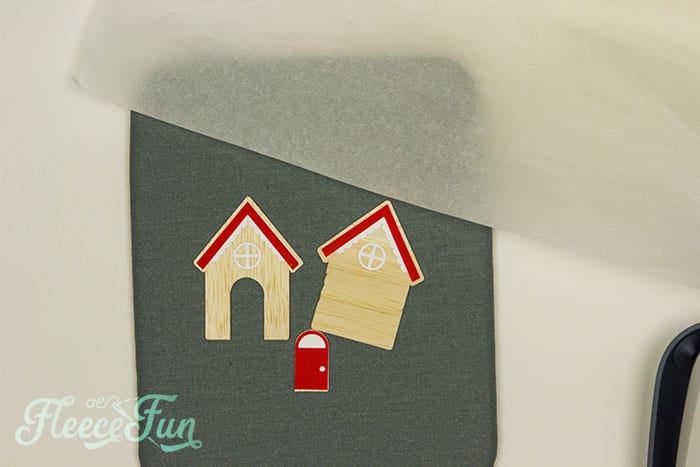
Use baking parchment to protect your press from any exposed vinyl.
Step 6 – Build the House for the diy Terrarium
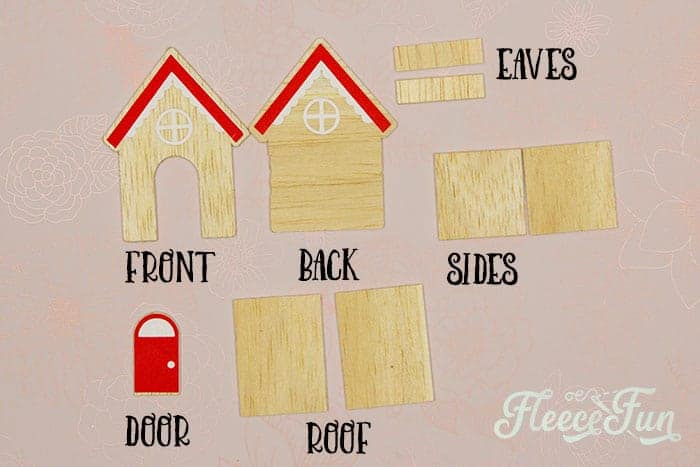
Gather all the pieces to the house of the Christmas Terrarium DIY.
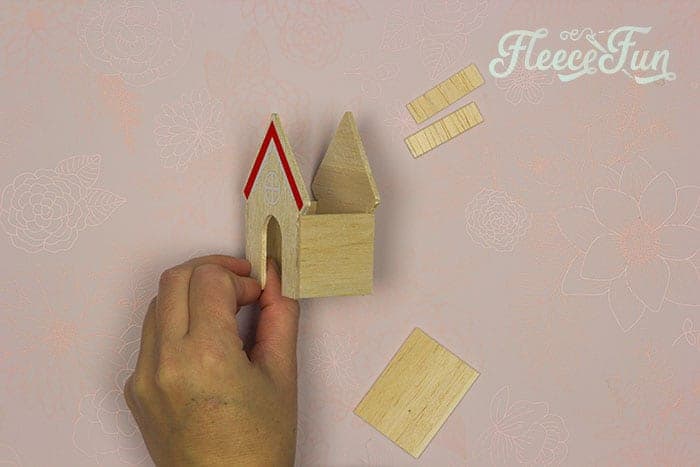
Using a glue gun, glue the sides to the front and the back.
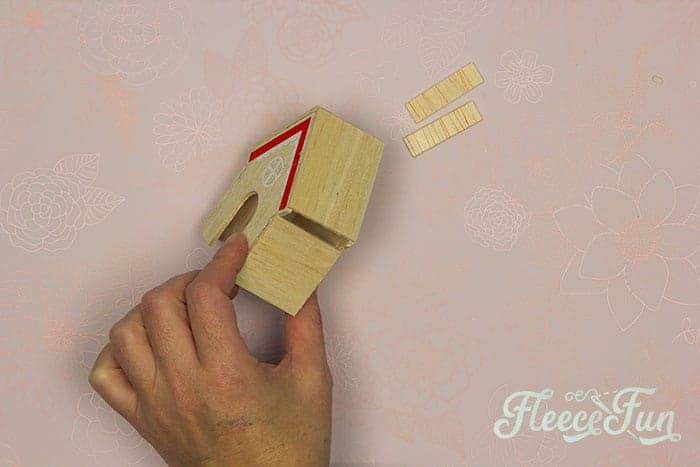
Now glue on the roof and glue on the eaves.
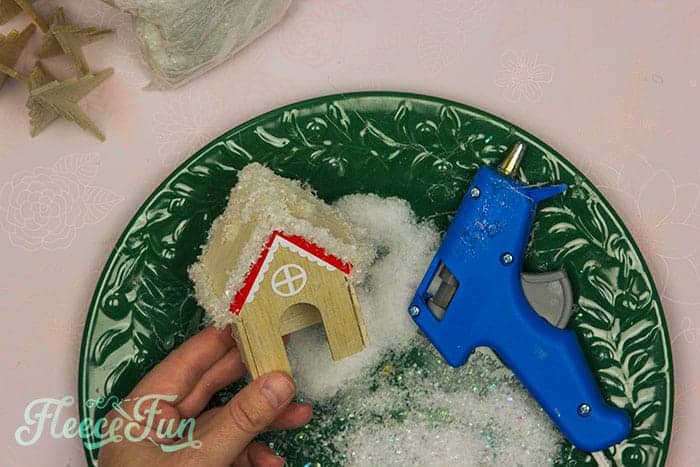
To add snow to the roof, put on a large line of hot glue and dip it into Epson salt and the fake snow mixture,
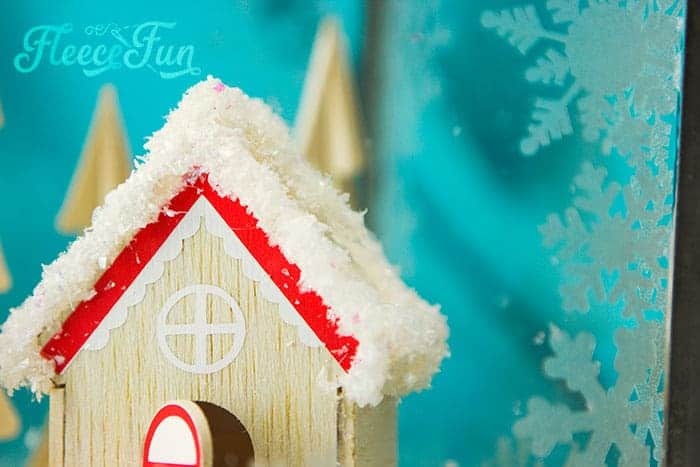
Repeat until you’re happy with the look.
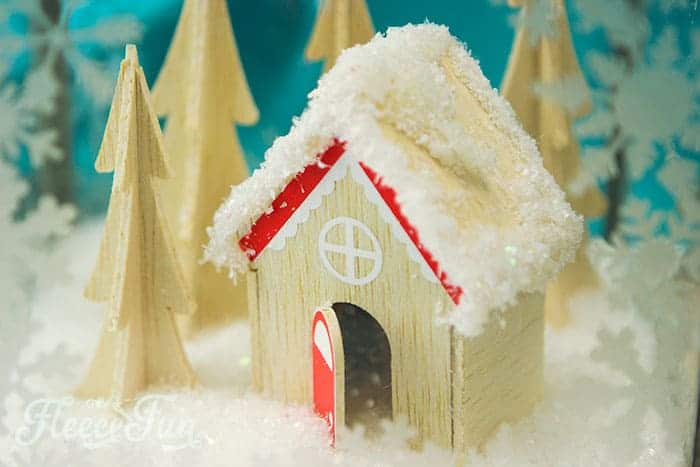
Finally glue on the door so it is slightly ajar. Also I glued a mini bottle brush tree to the inside corner for interest!
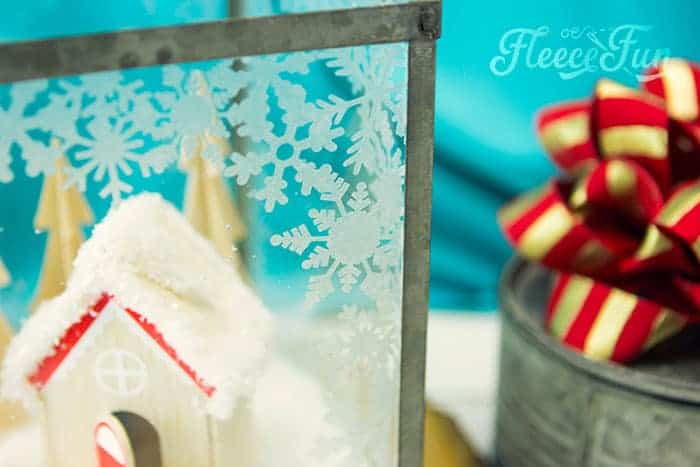
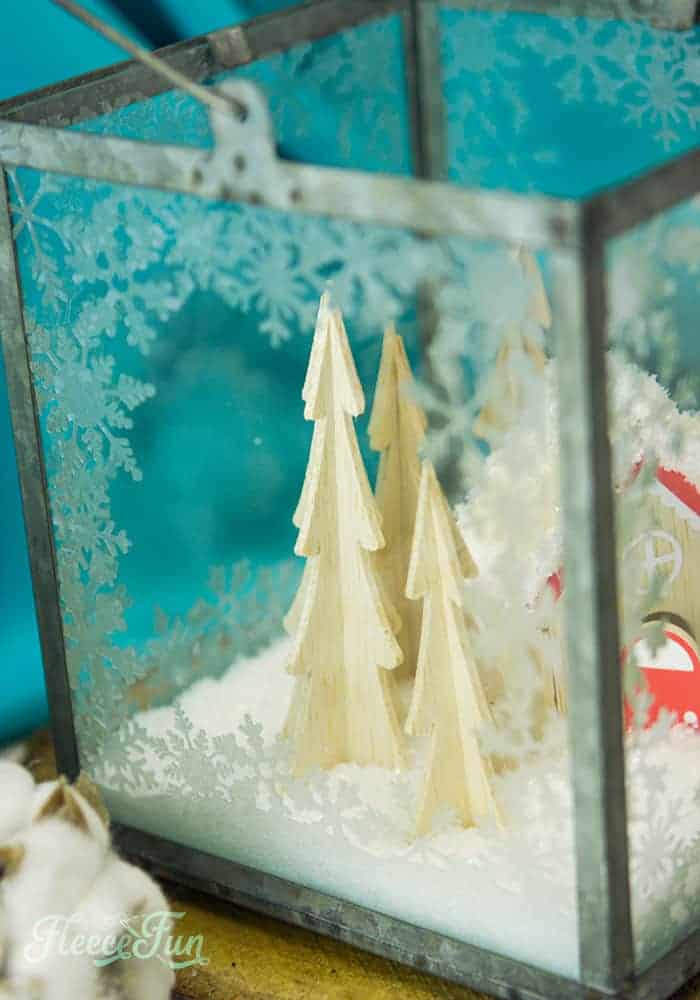
Step 7: Combine All Elements to Complete Your Christmas Terrarium diy
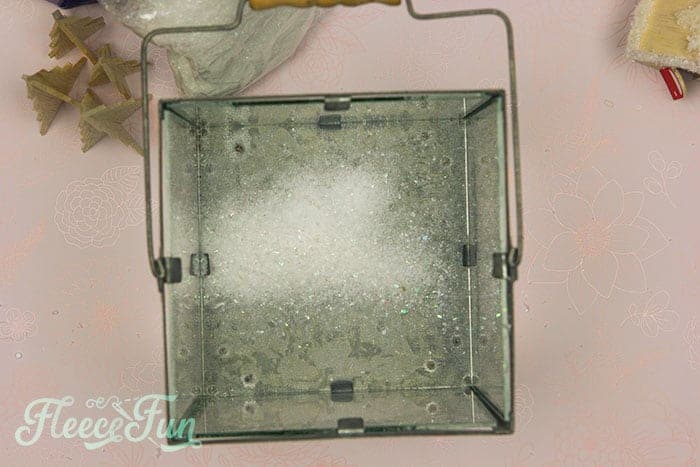
Fill bottom of the lantern with Epson salt and/or fake snow.
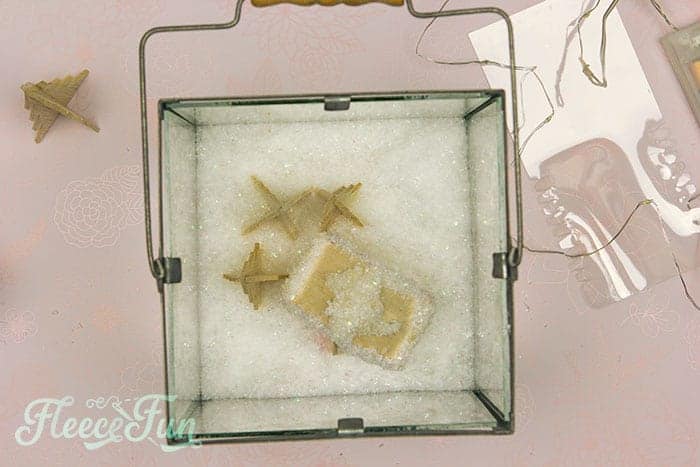
Place the trees and house into the snow,
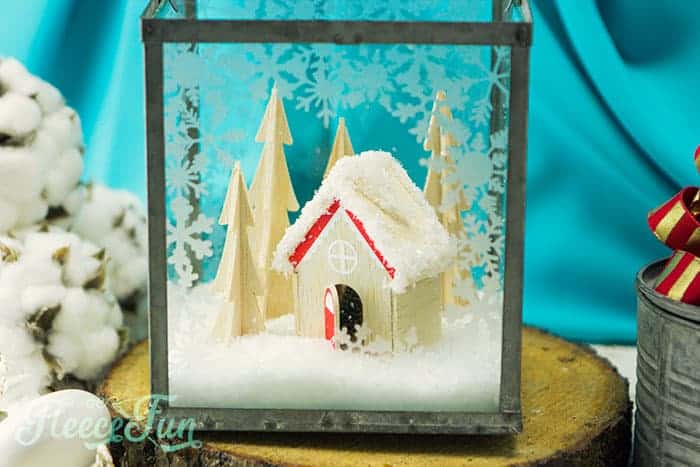
Add some fairy lights if you wish, but I liked it just as it was! You just finished the Christmas Terrarium DIY Tutorial.
Christmas Crafts and Recipes for Gifts!
- Holiday Spa Set Tutorial
- Christmas Stocking How-To
- No-Sew Christmas Stocking Patterns
- Holiday Bath Bombs DIY
- Christmas Tree Pillow
- Christmas Ideas
- No-Bake Christmas Wreath Cookies
- Quilted Christmas Table Runner Tutorial
- Mason Jar Cover Gift Idea
- High Heel Christmas Stocking
Explore More Christmas Projects You’ll Love
- DIY Cloche Ornament
- Vintage Apron
- Deer Head Pillow
- Advent Calendar Wreath
- Let Us Sew SVG Christmas Décor
- Felt Gingerbread Man Pattern
- DIY Gnome Ornament
- Santa Ornament DIY
- Ballet Slipper Handmade Ornament
- DIY Homemade Ornament with Gnomes
- Christmas Embroidery Designs Noel Hoop Ornament DIY
- Angel Handmade Ornament DIY
- Christmas Advent Calendar DIY
- Homemade Christmas Tags
- Cozy Christmas Tall Tree Pillow Tutorial
- Free Christmas Printable Joy World
- Free Christmas Printable for Hot Chocolate
- Free Christmas Printable for Apron
This is a sponsored conversation written by me on behalf of Cricut. The opinions and text are all mine.
Can you recommend a good source for the Balsa wood?
Hi Judy,
I found a little “variety pack” at Hobby Lobby that worked well for this project. 🙂